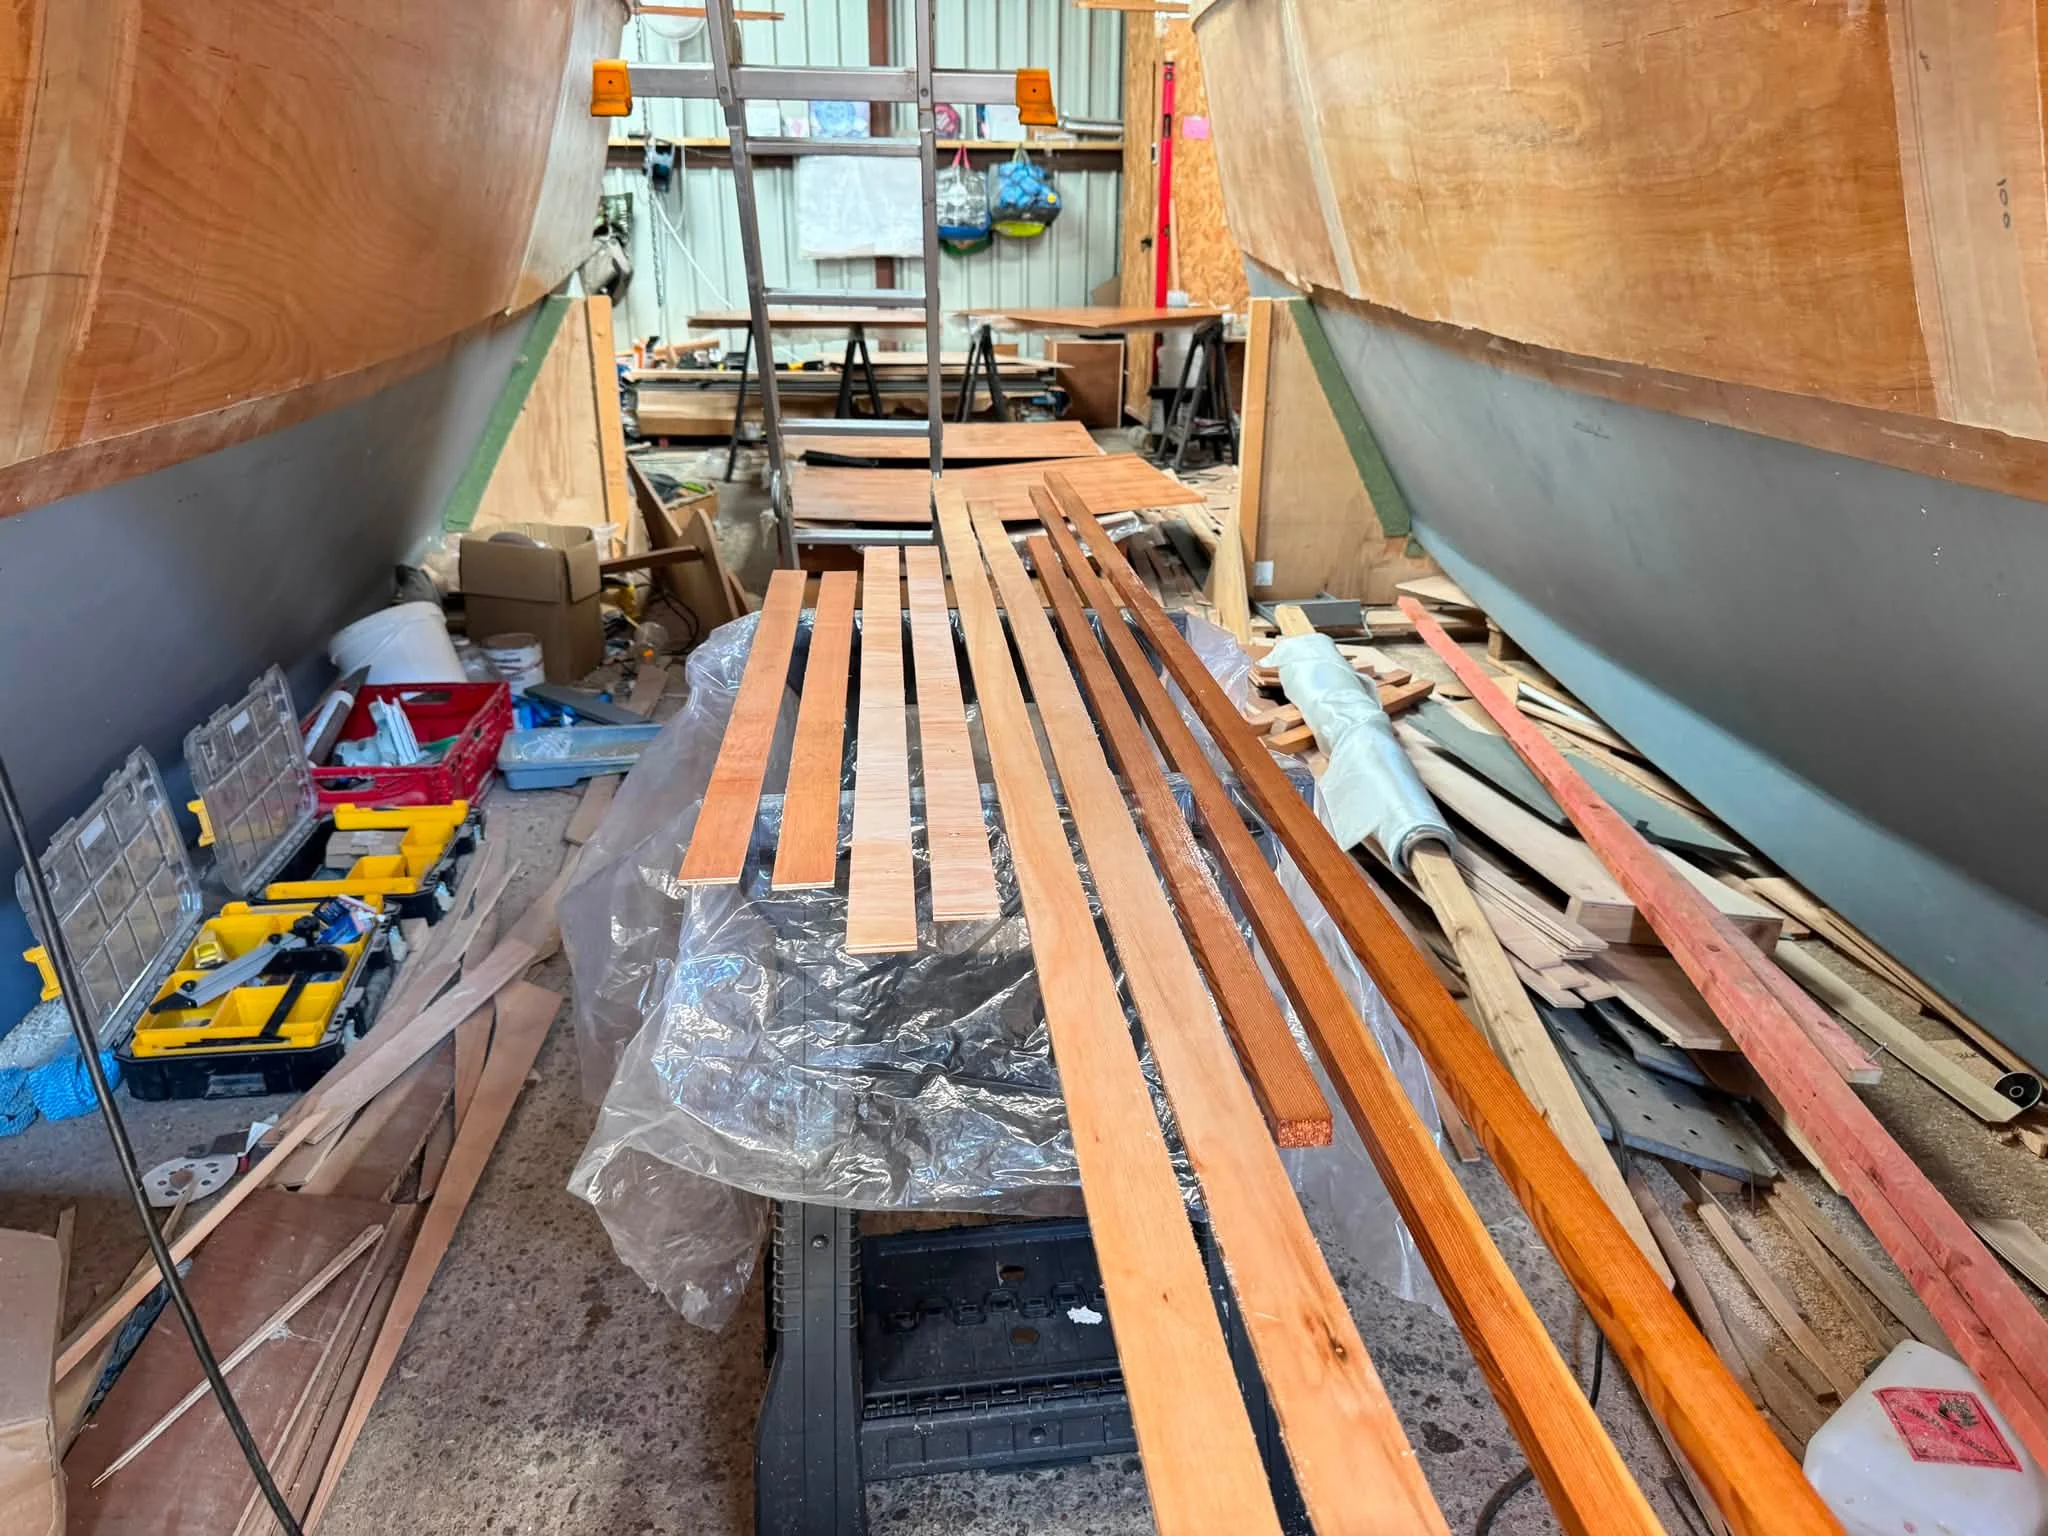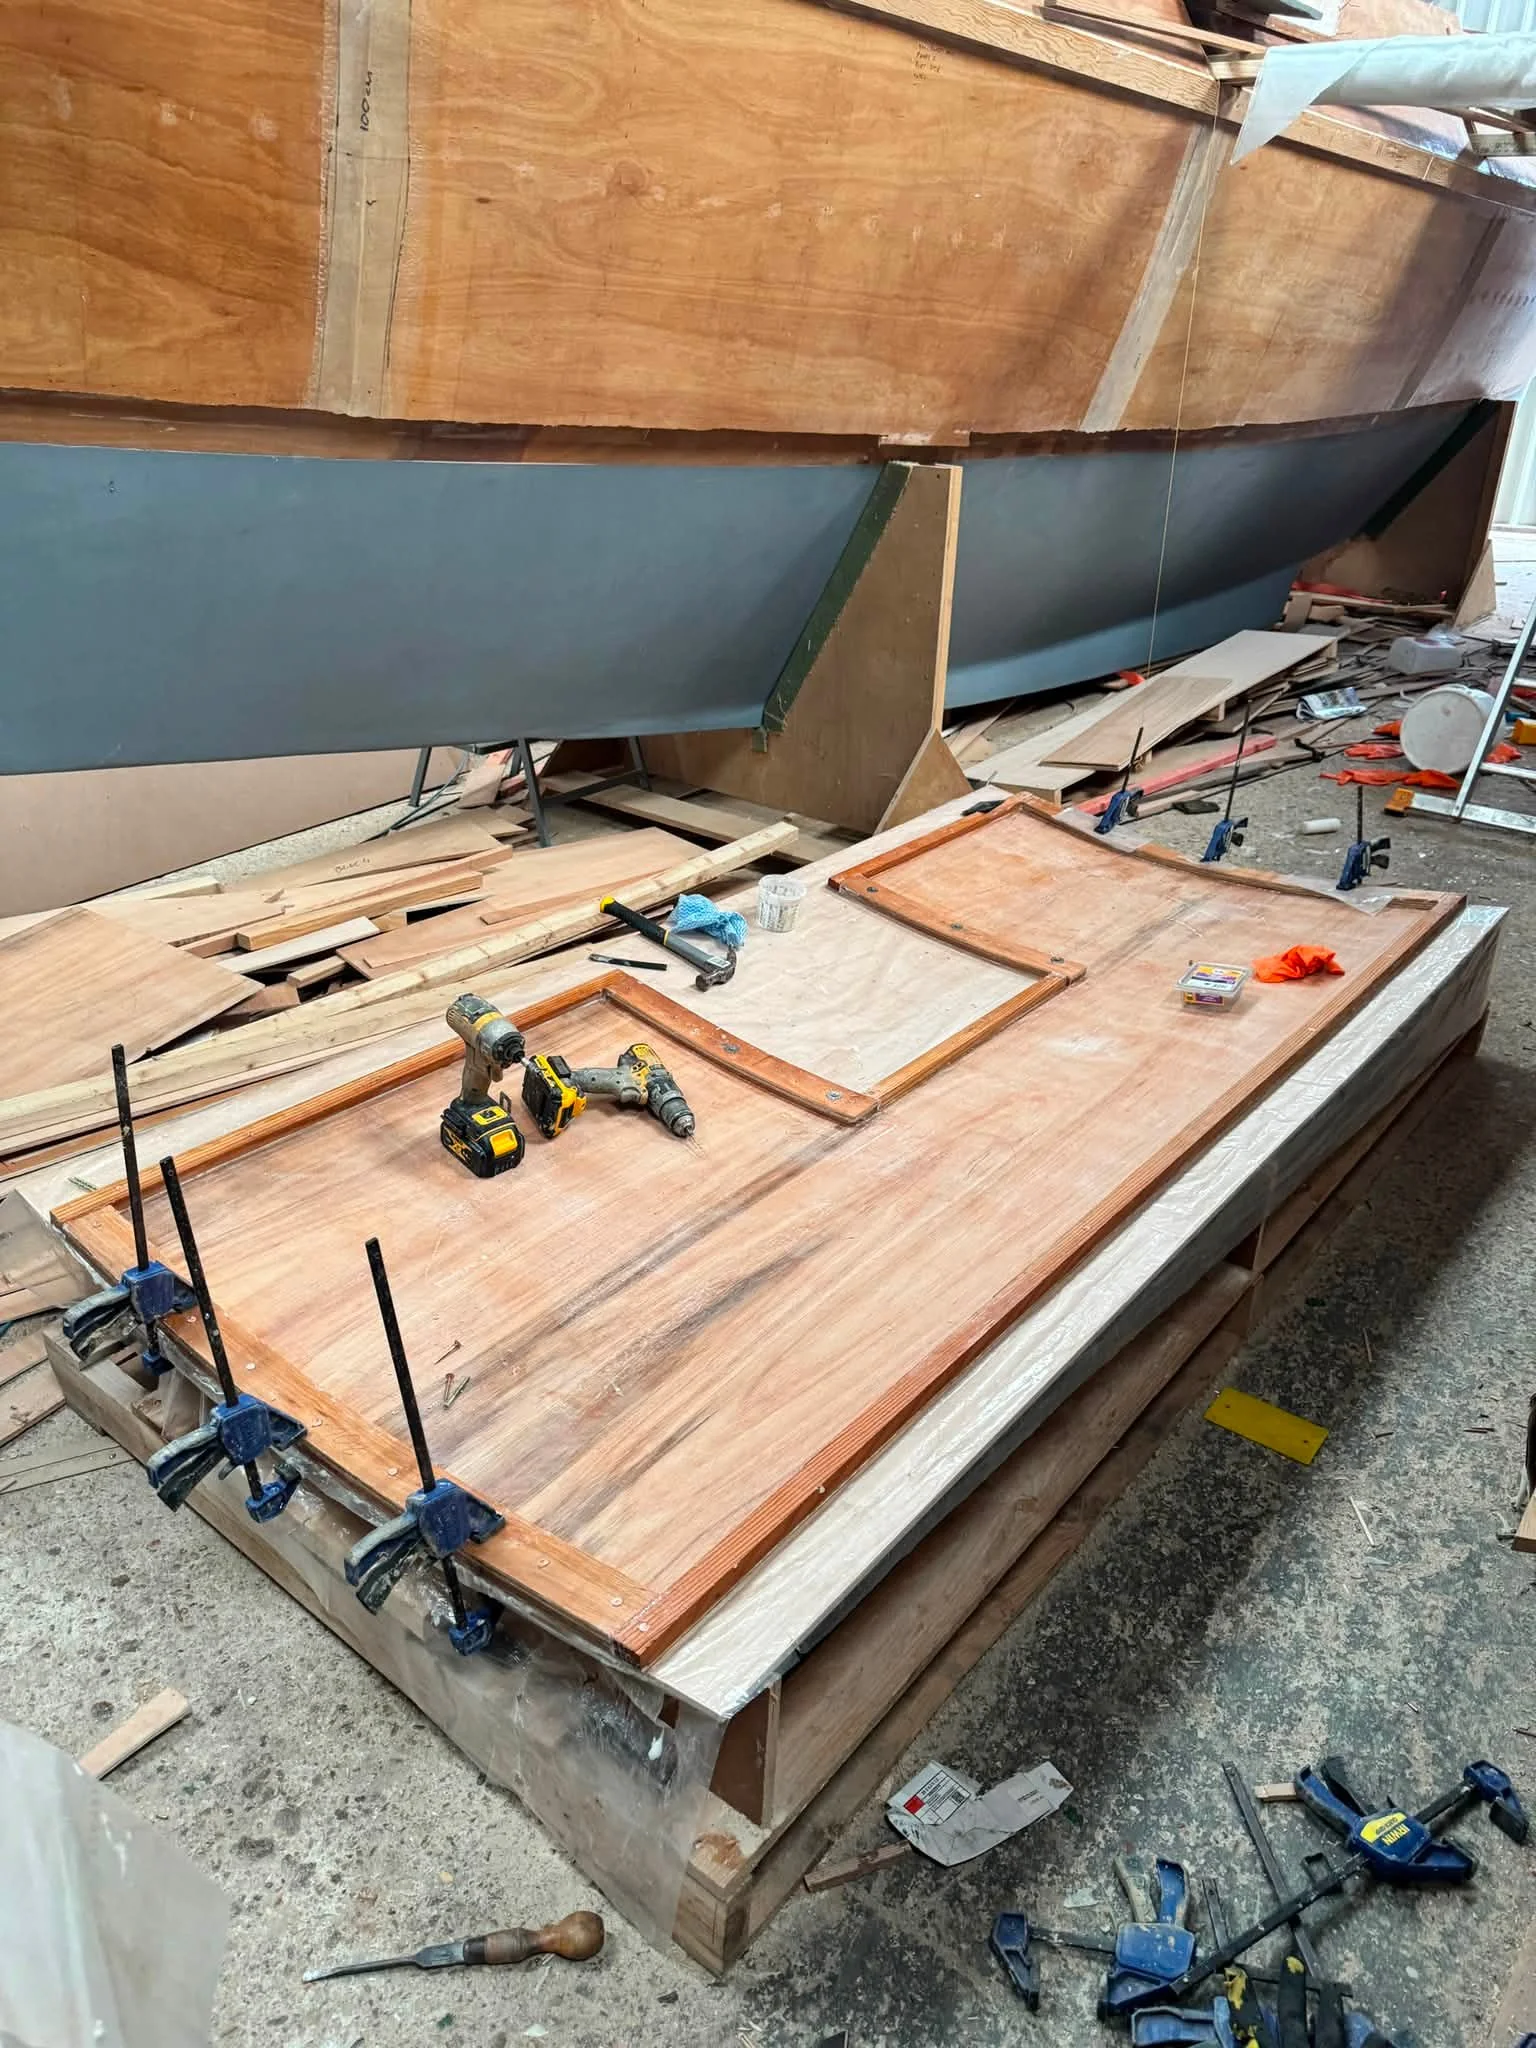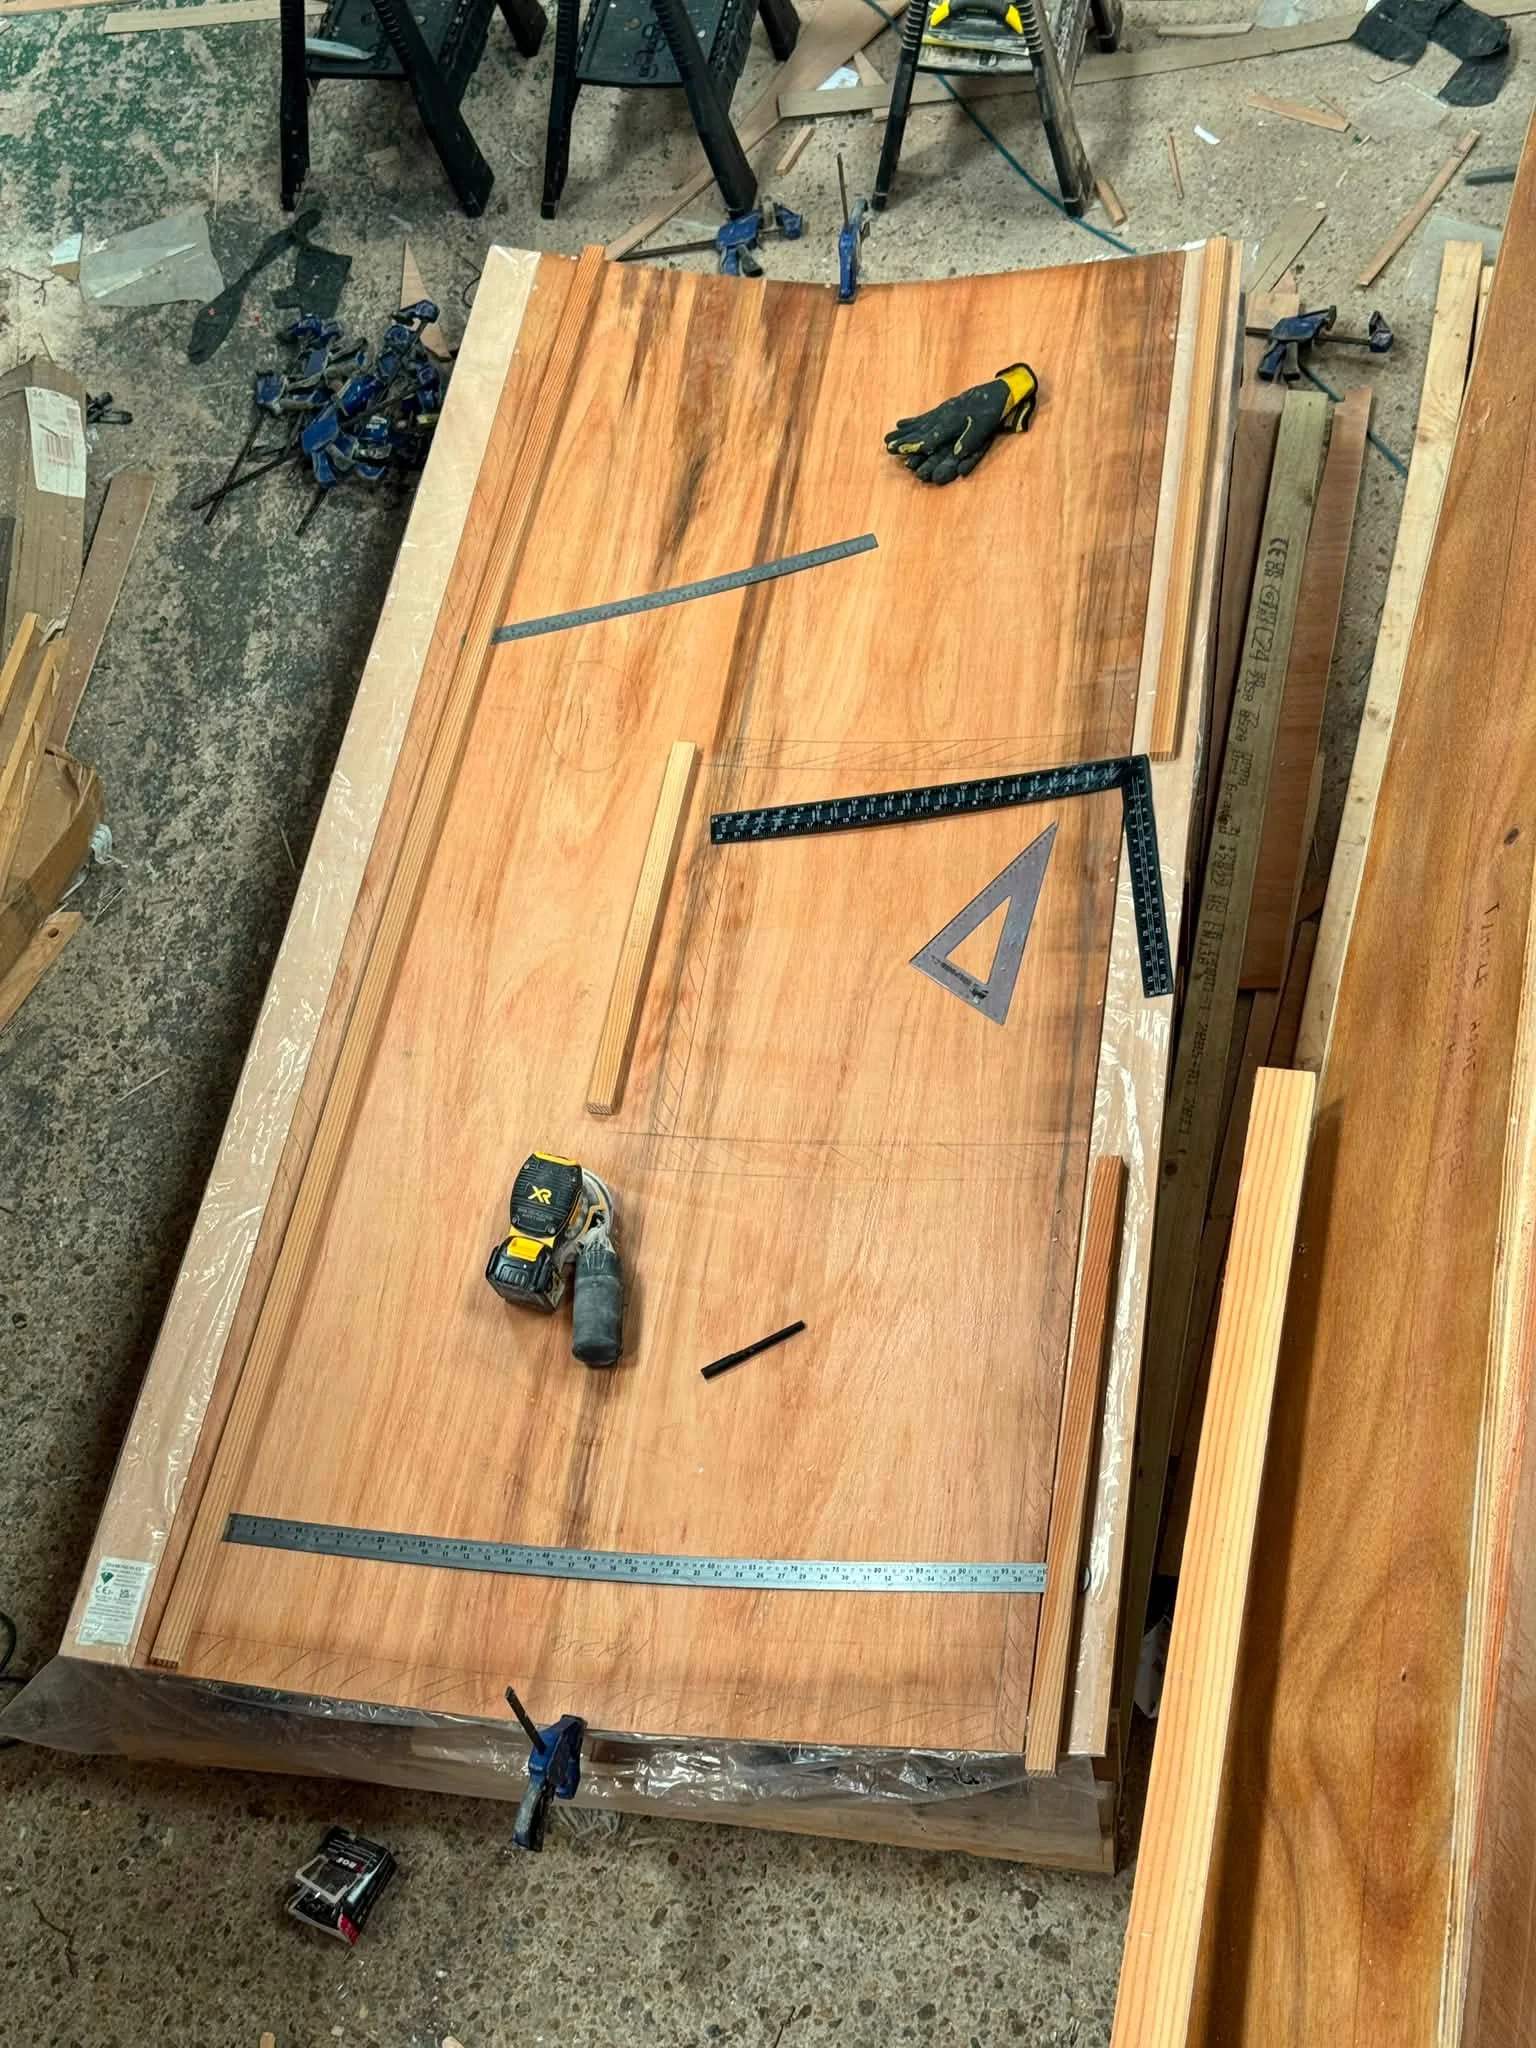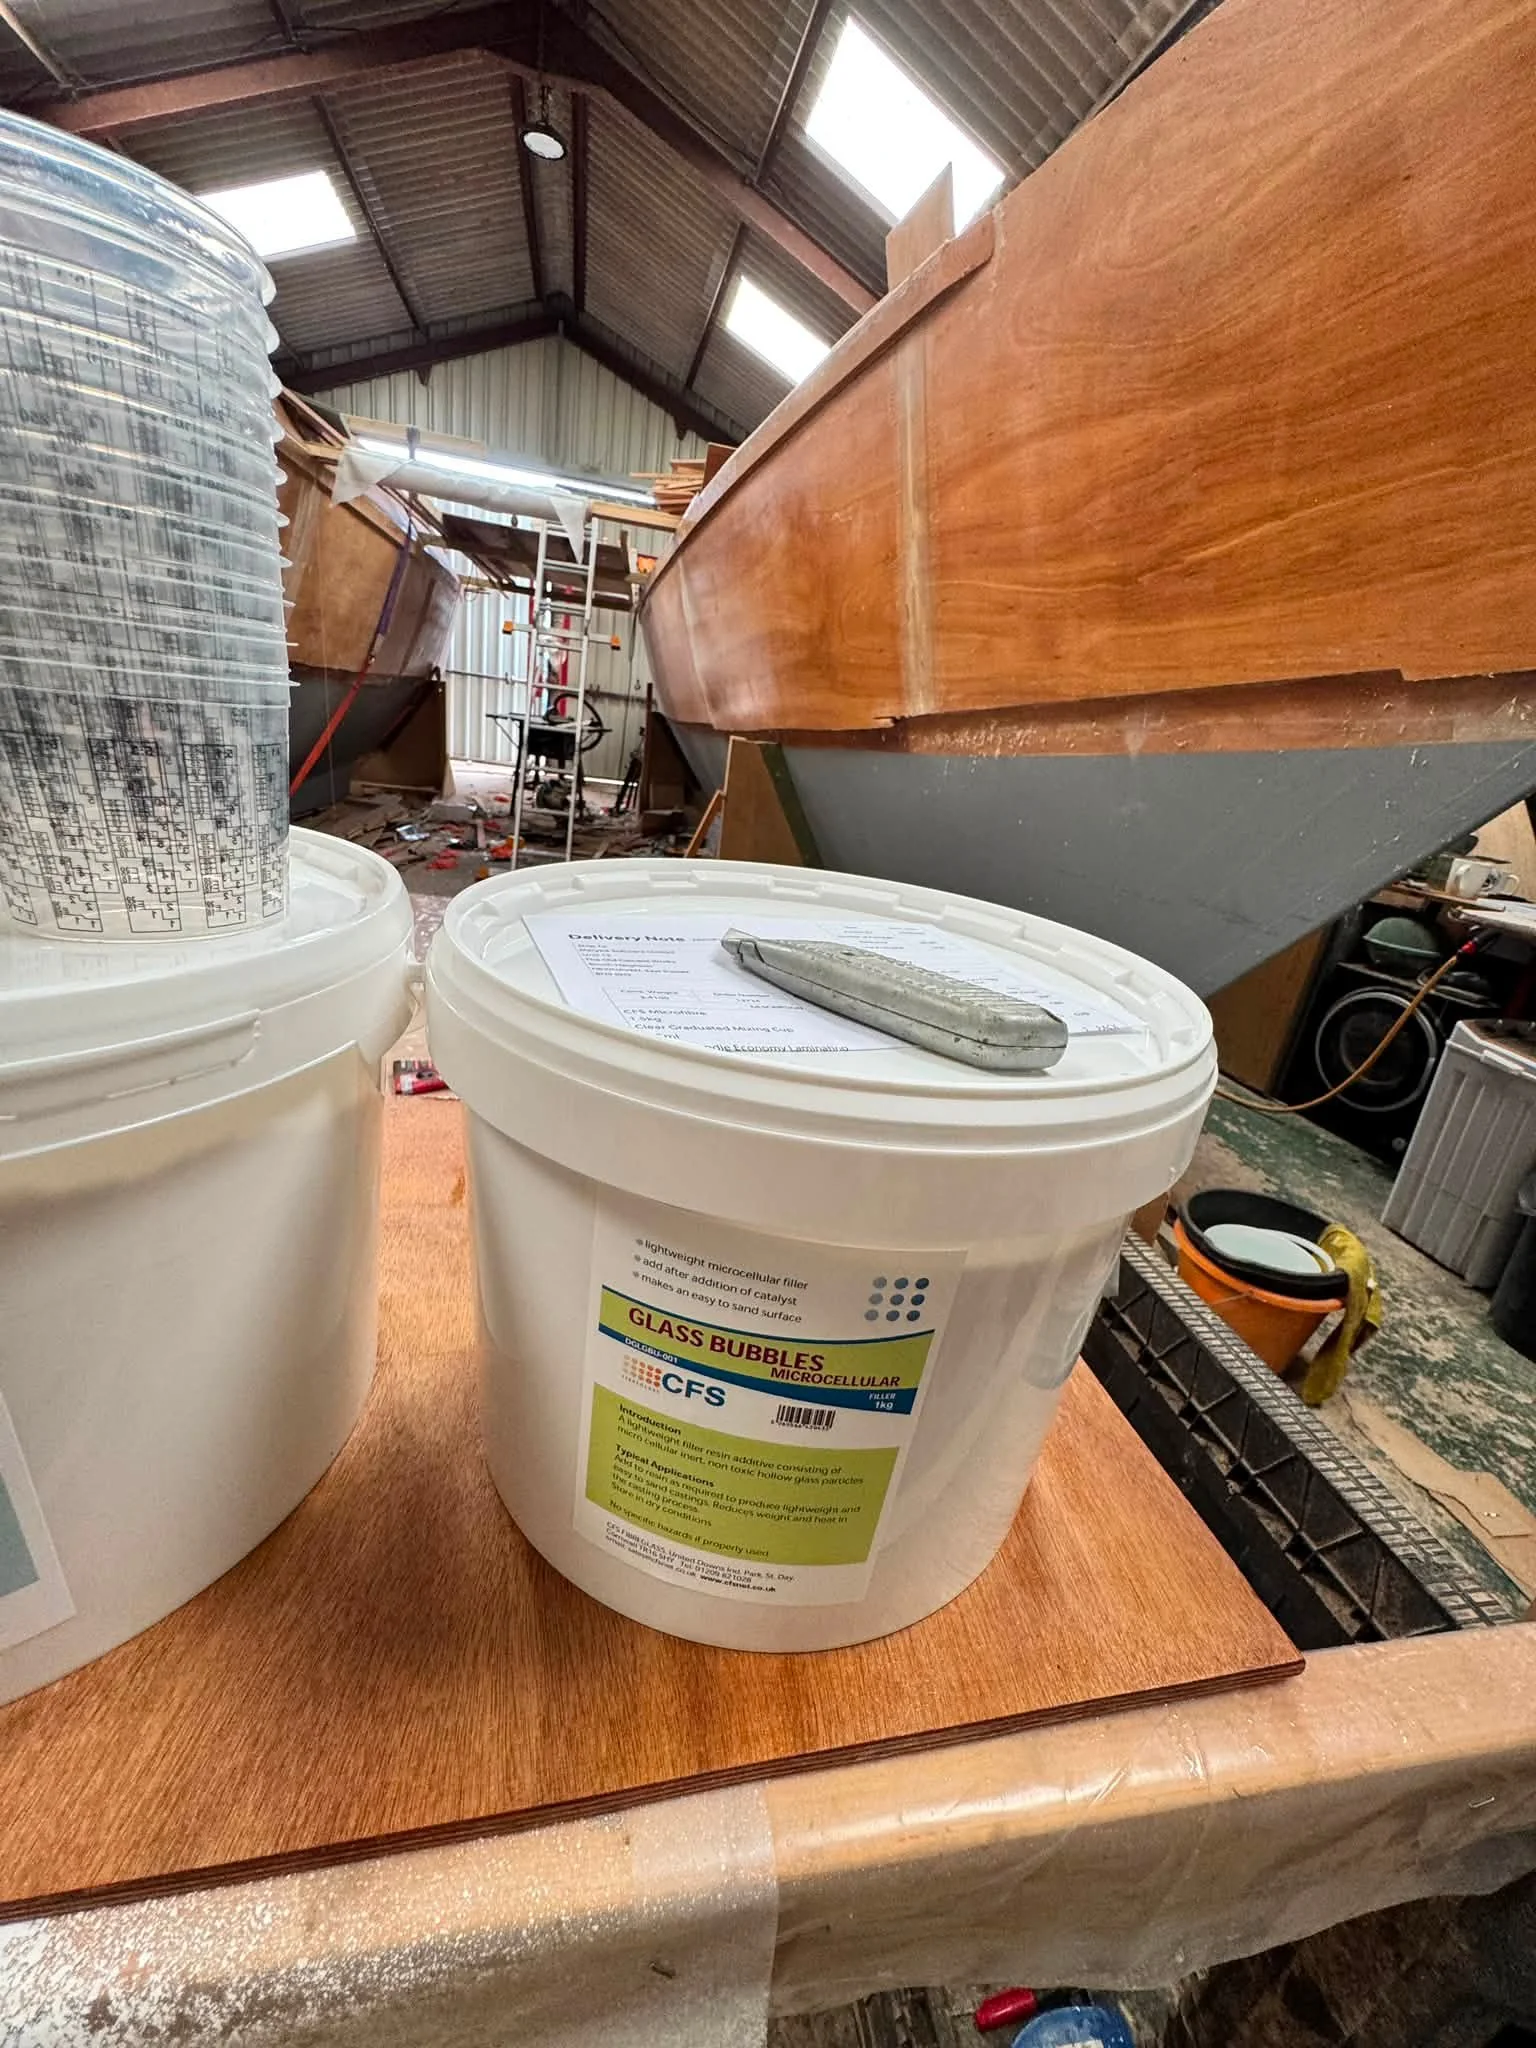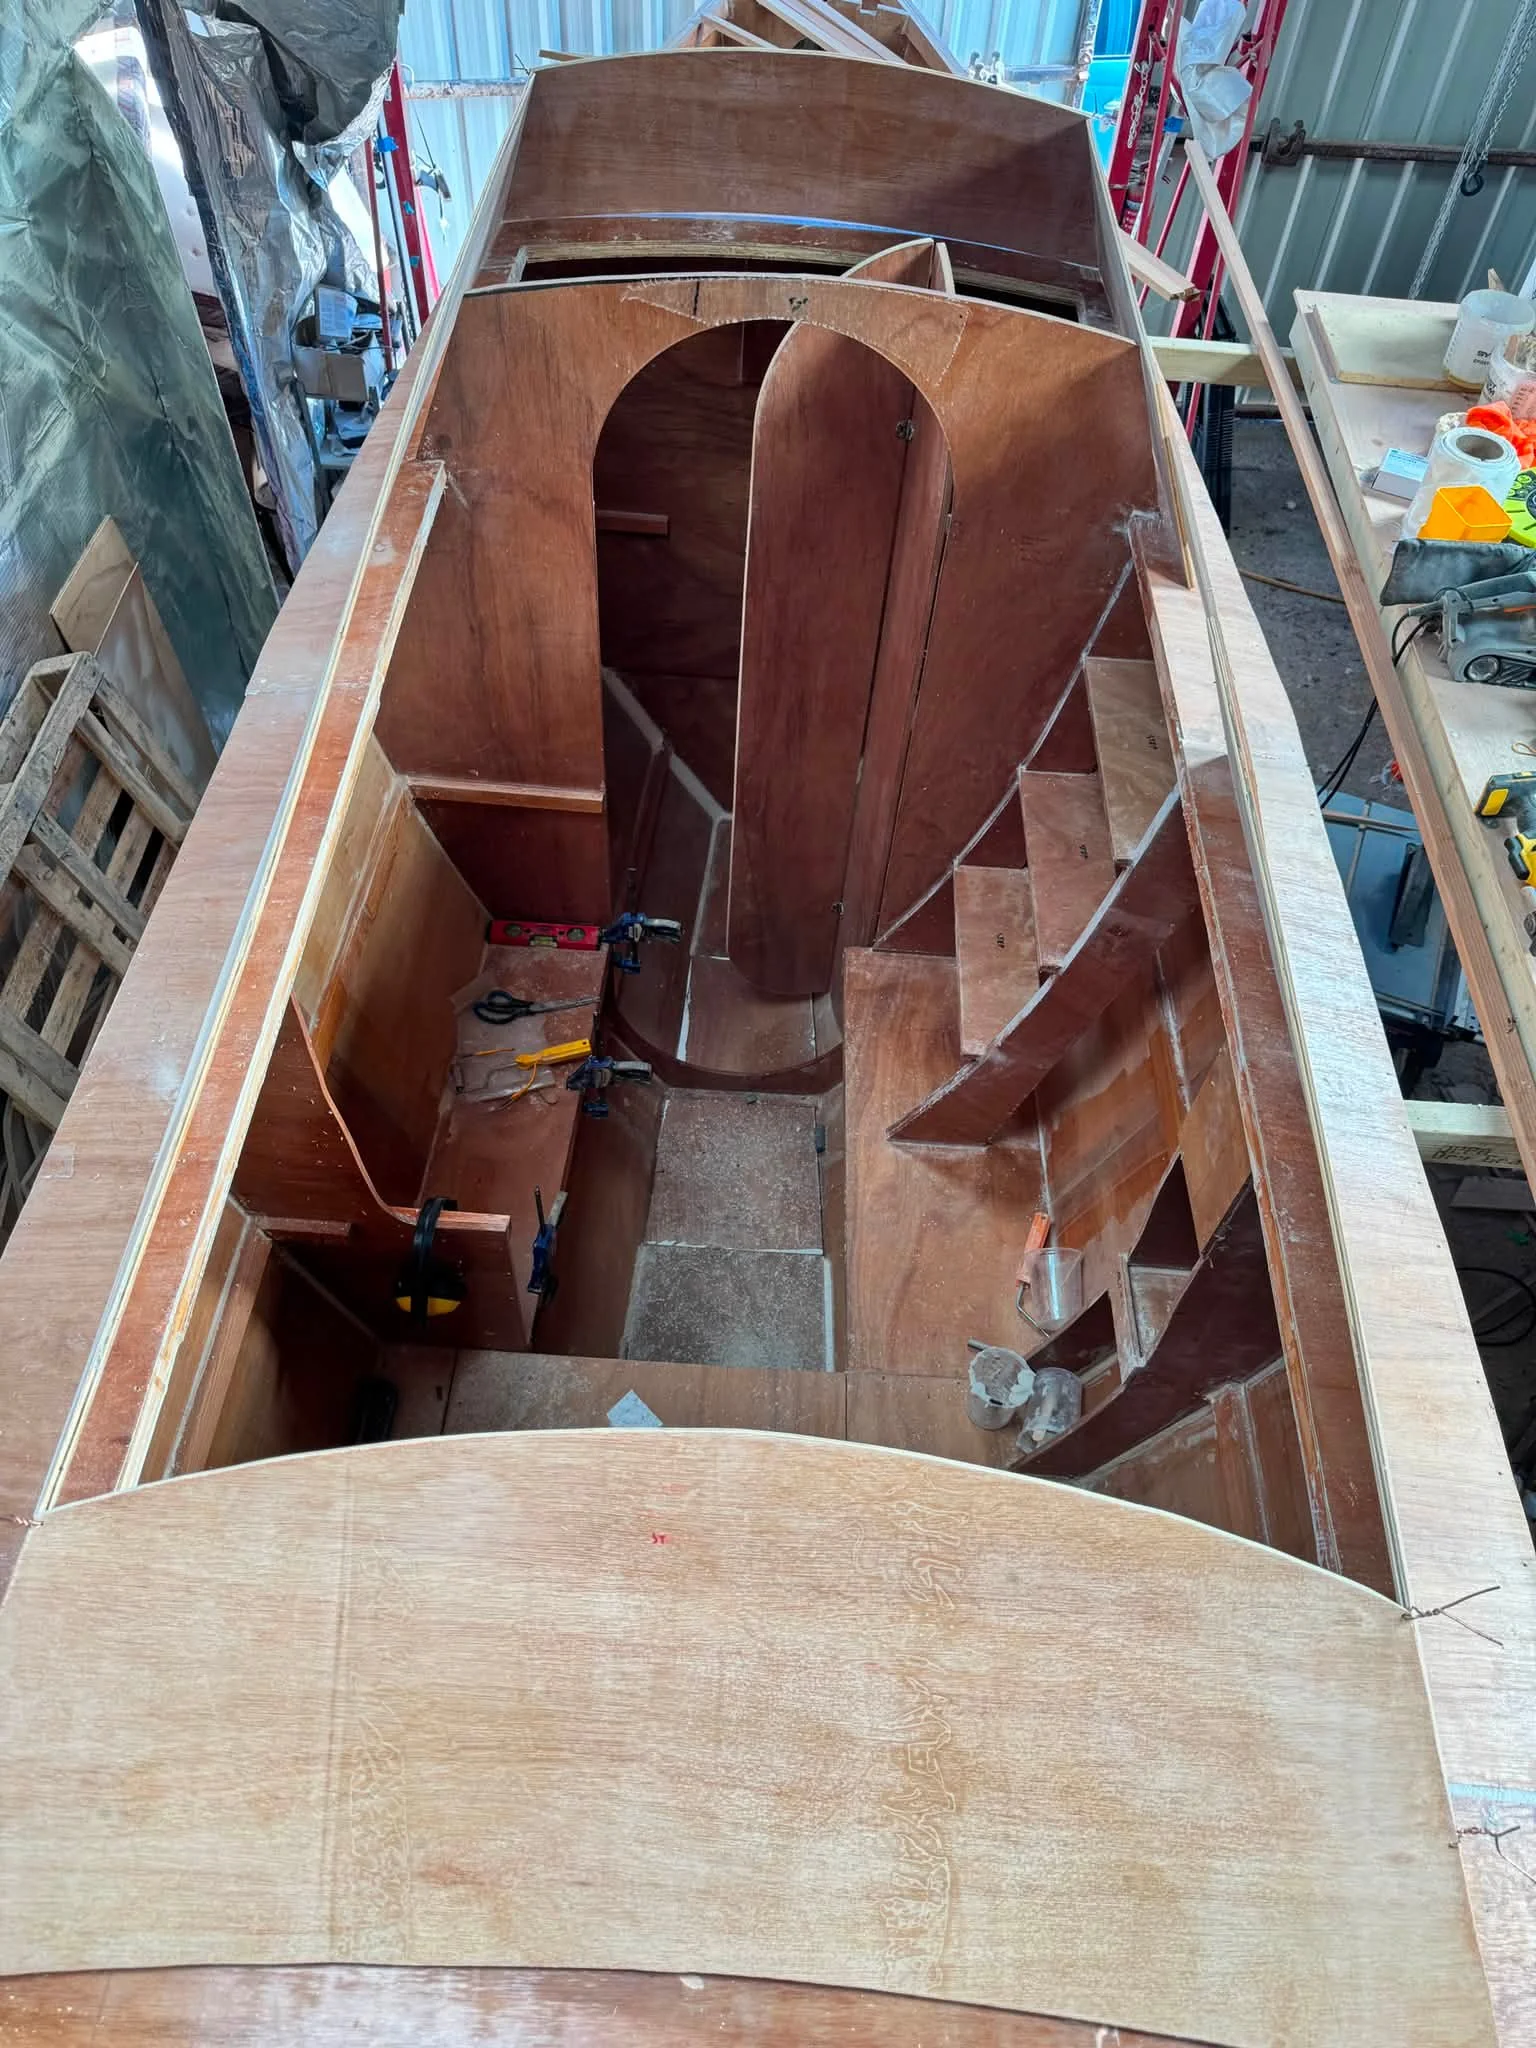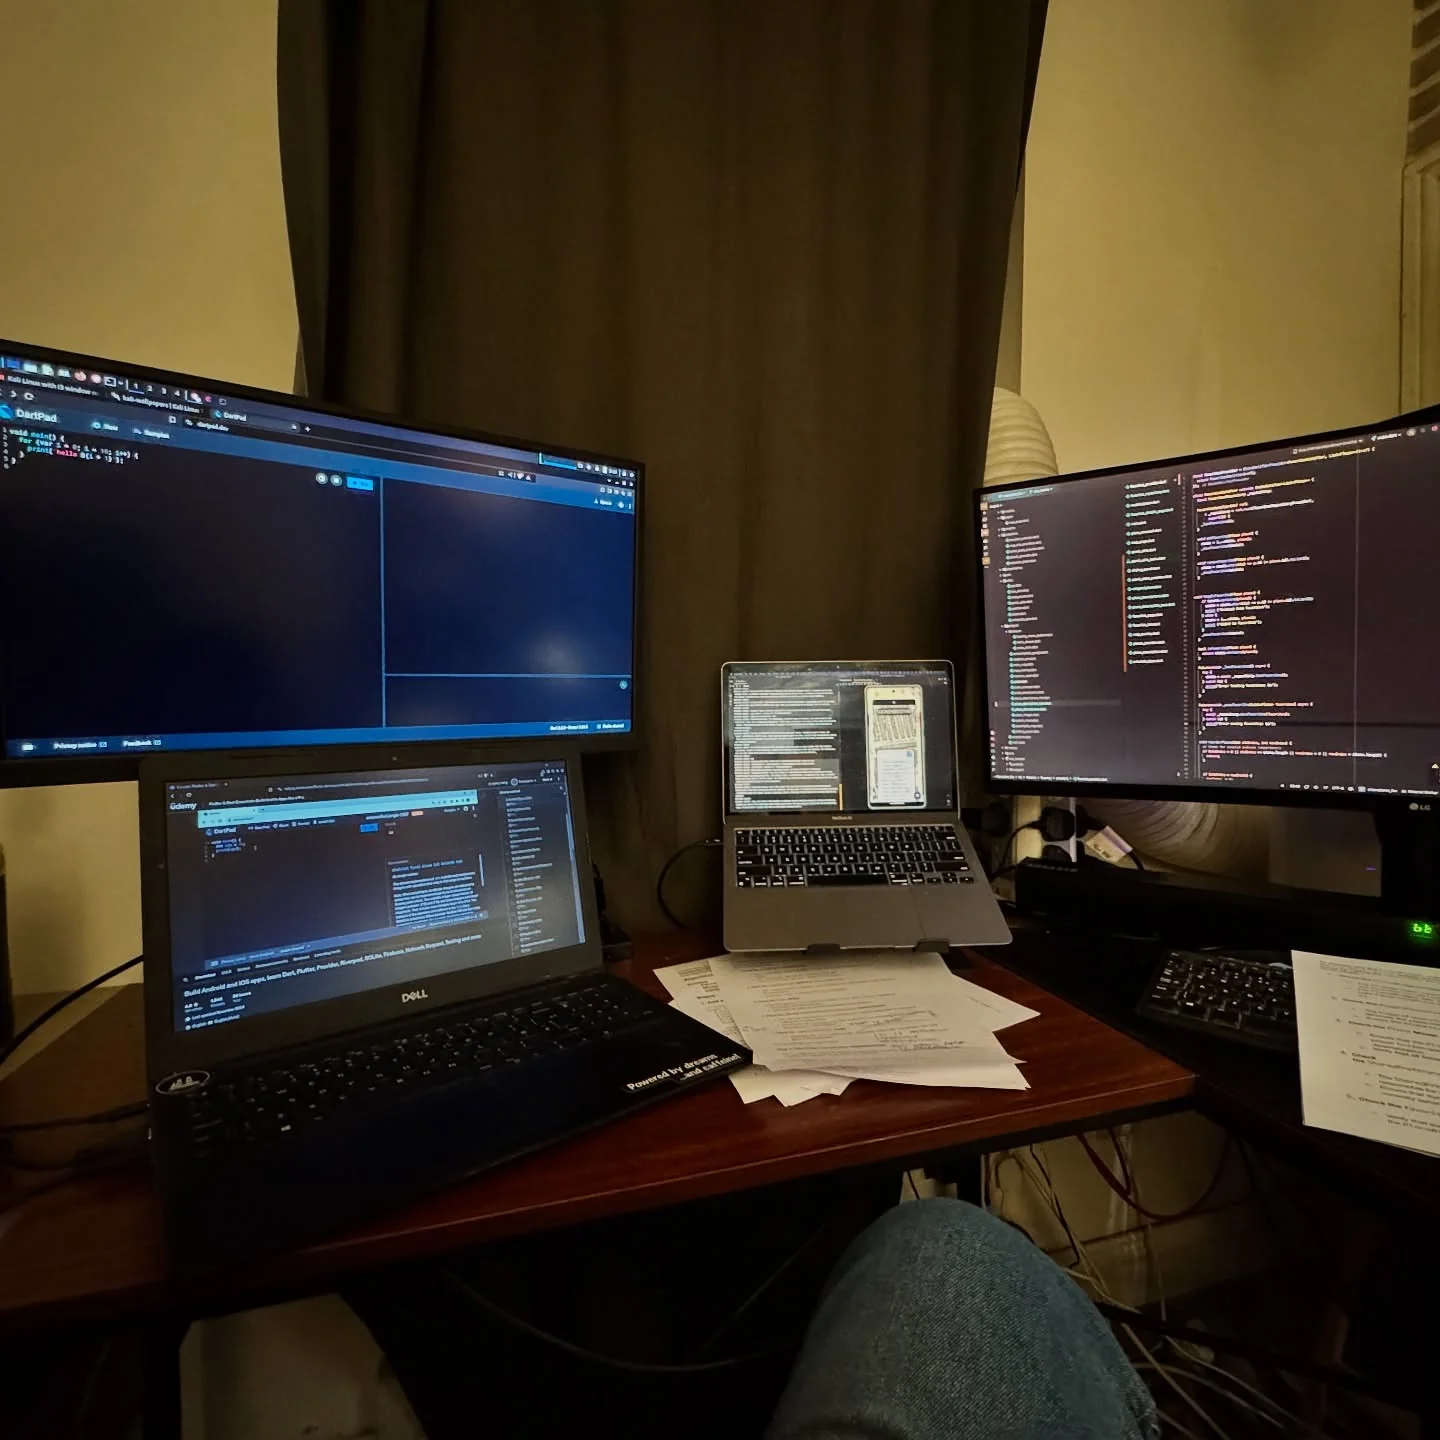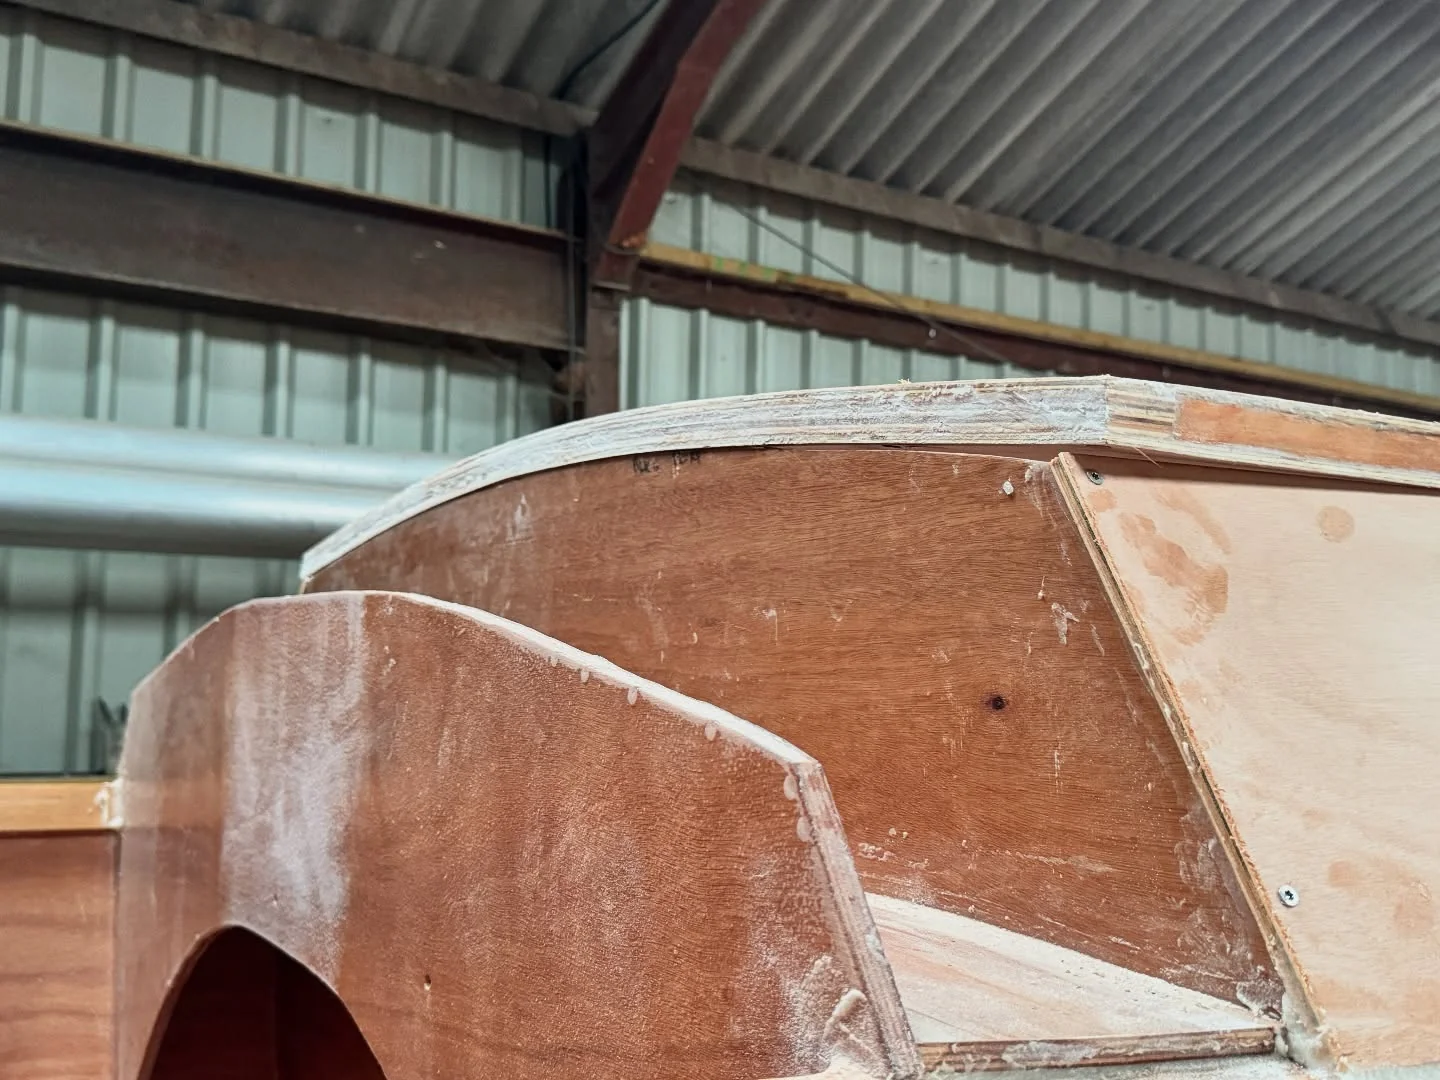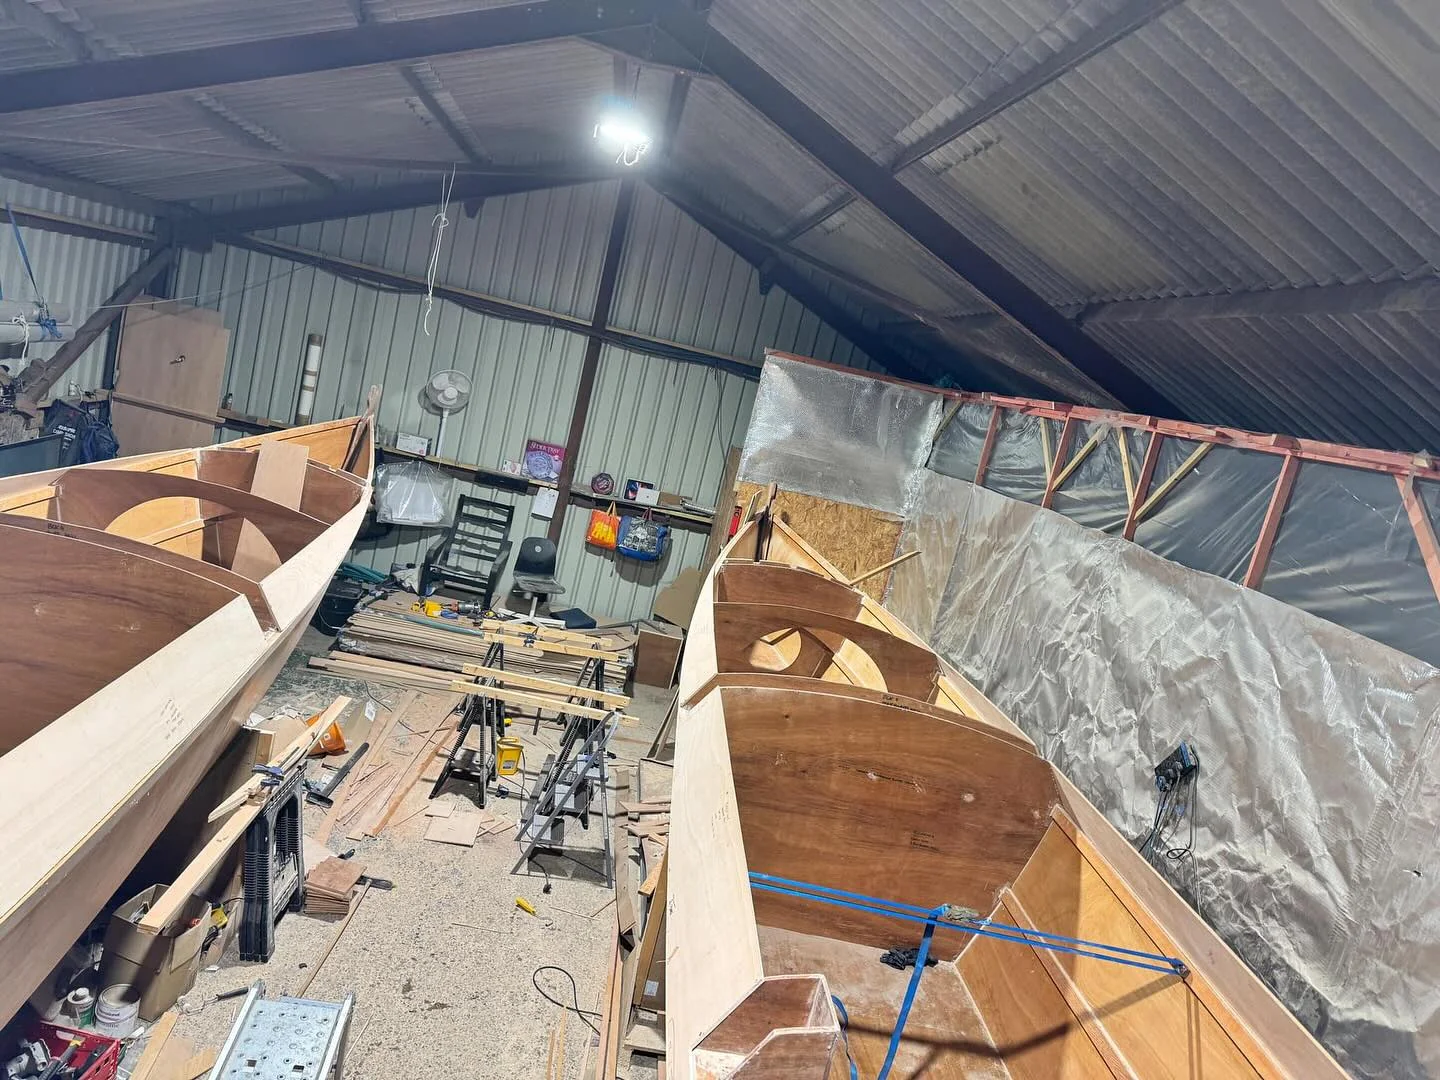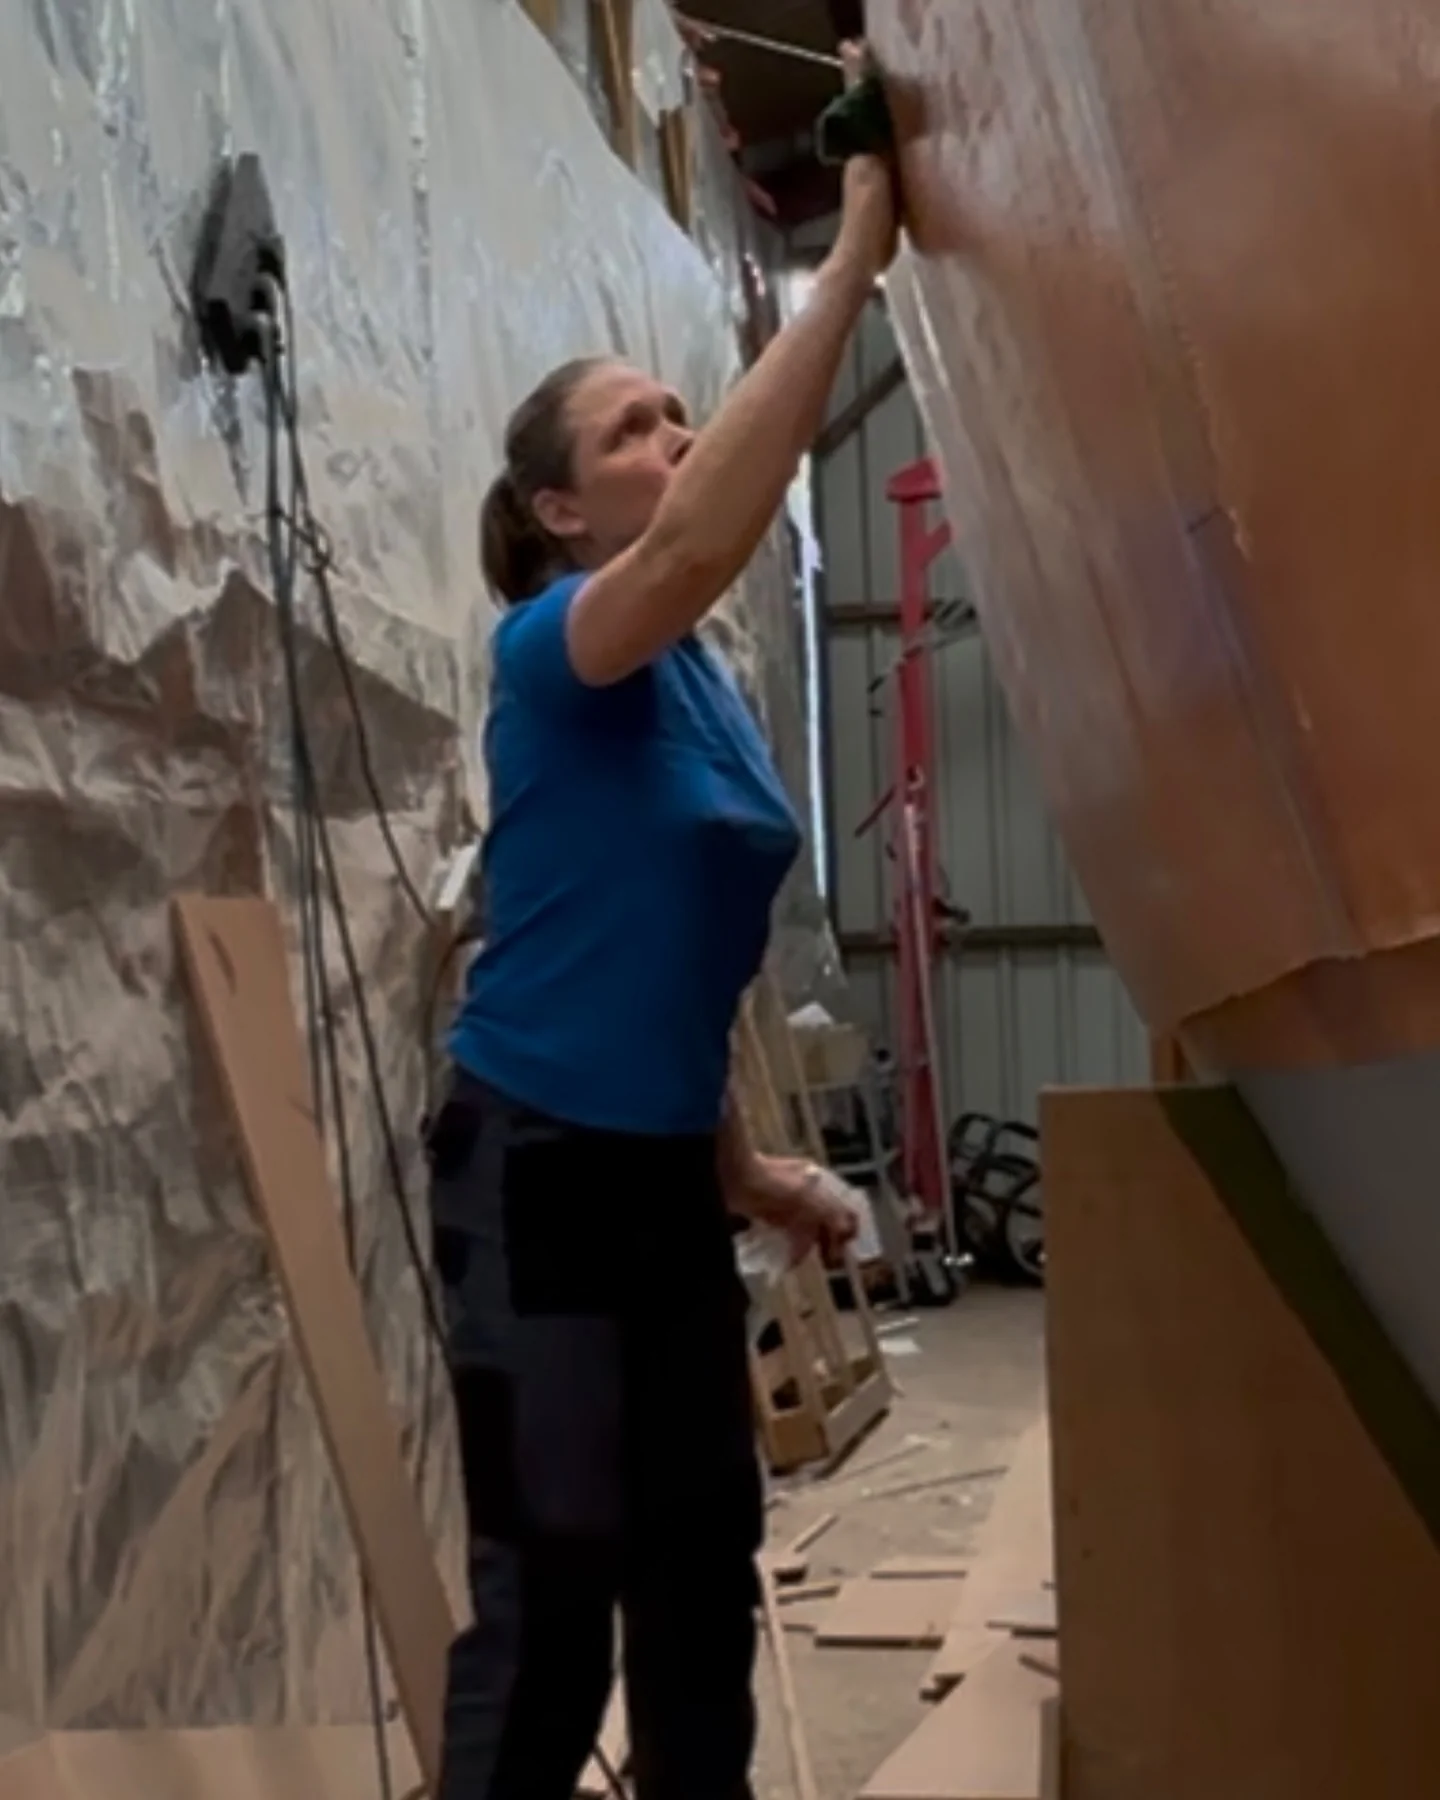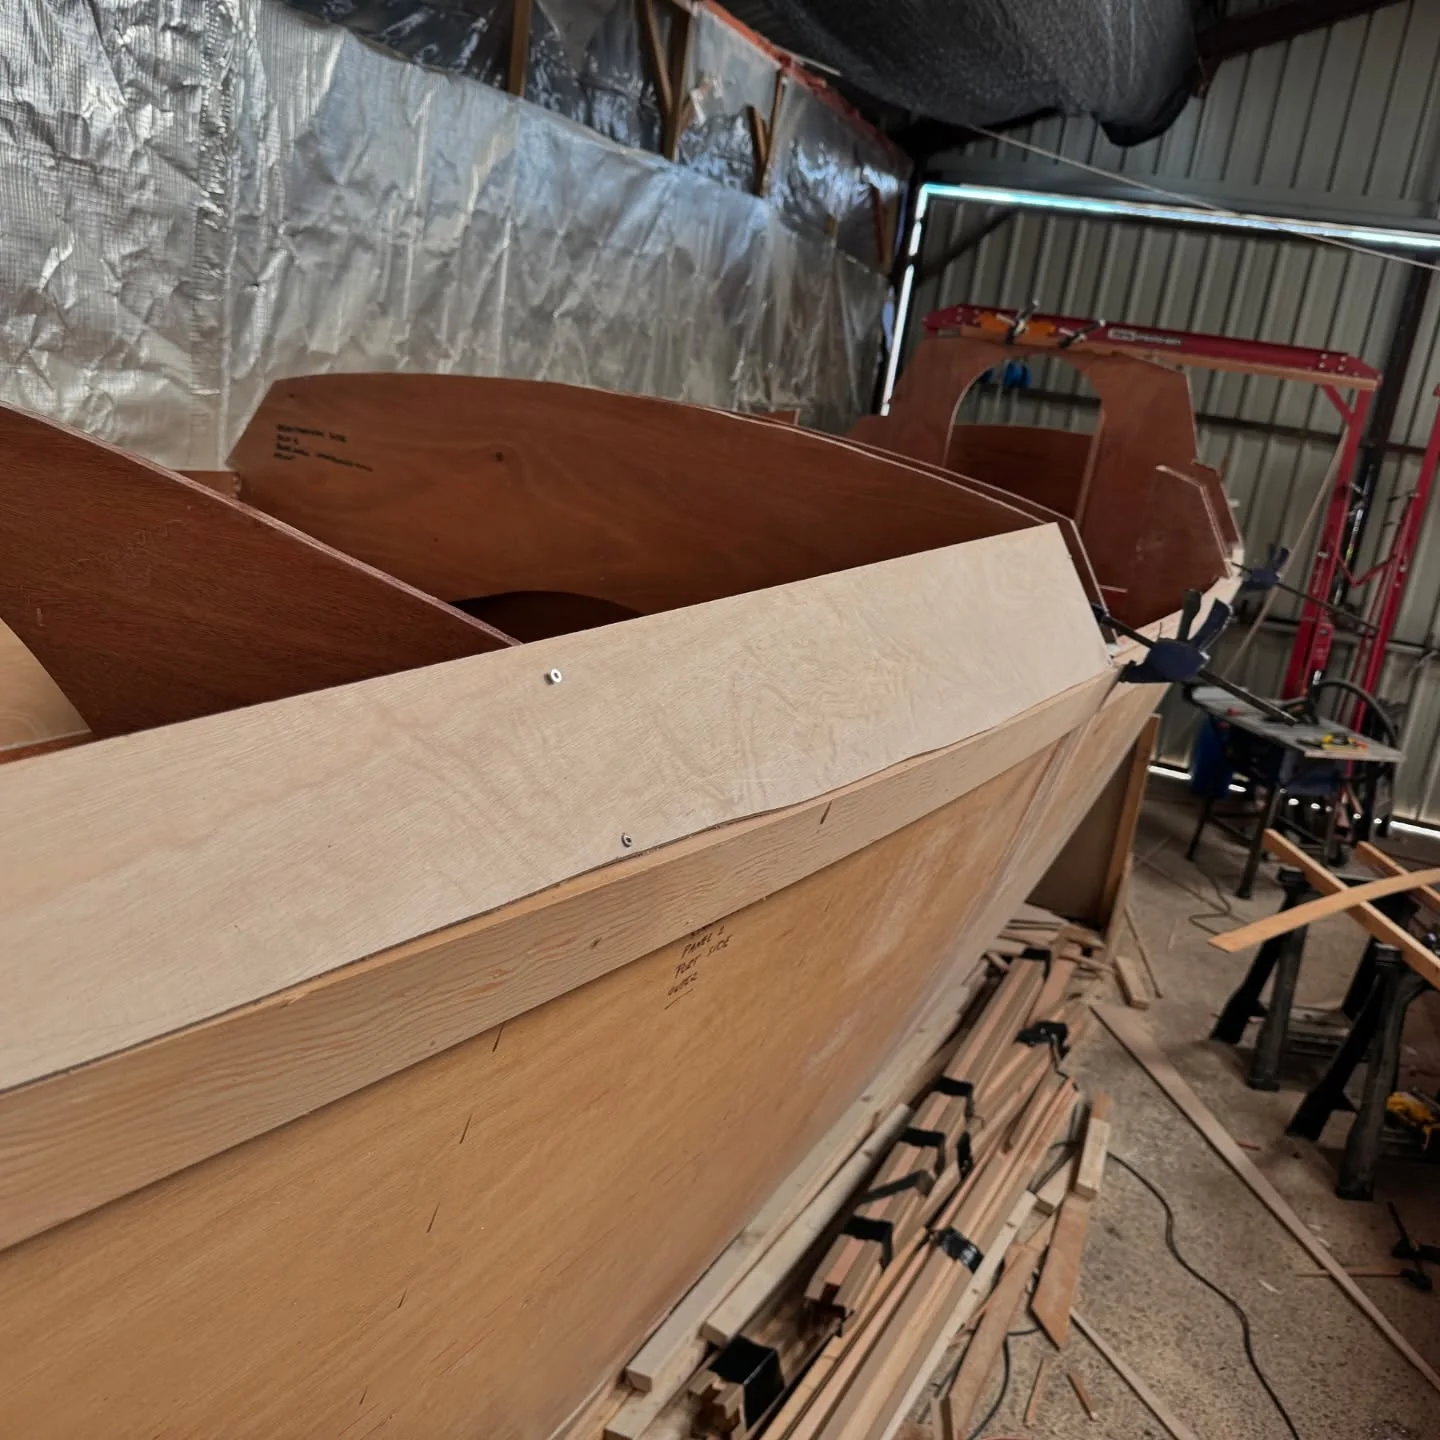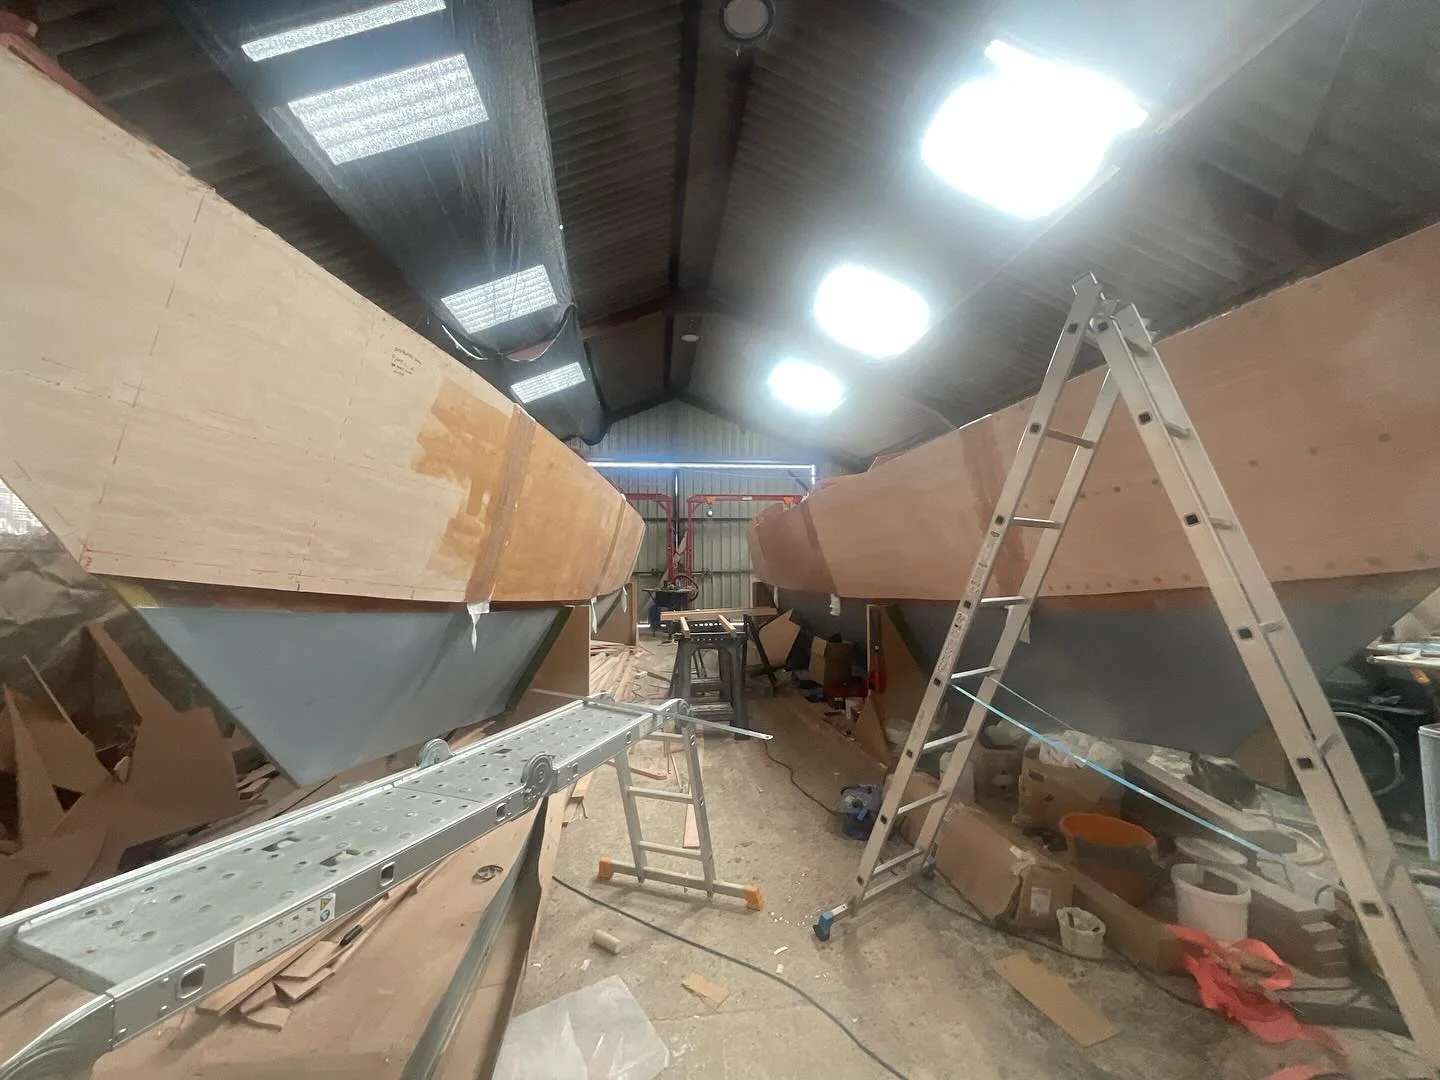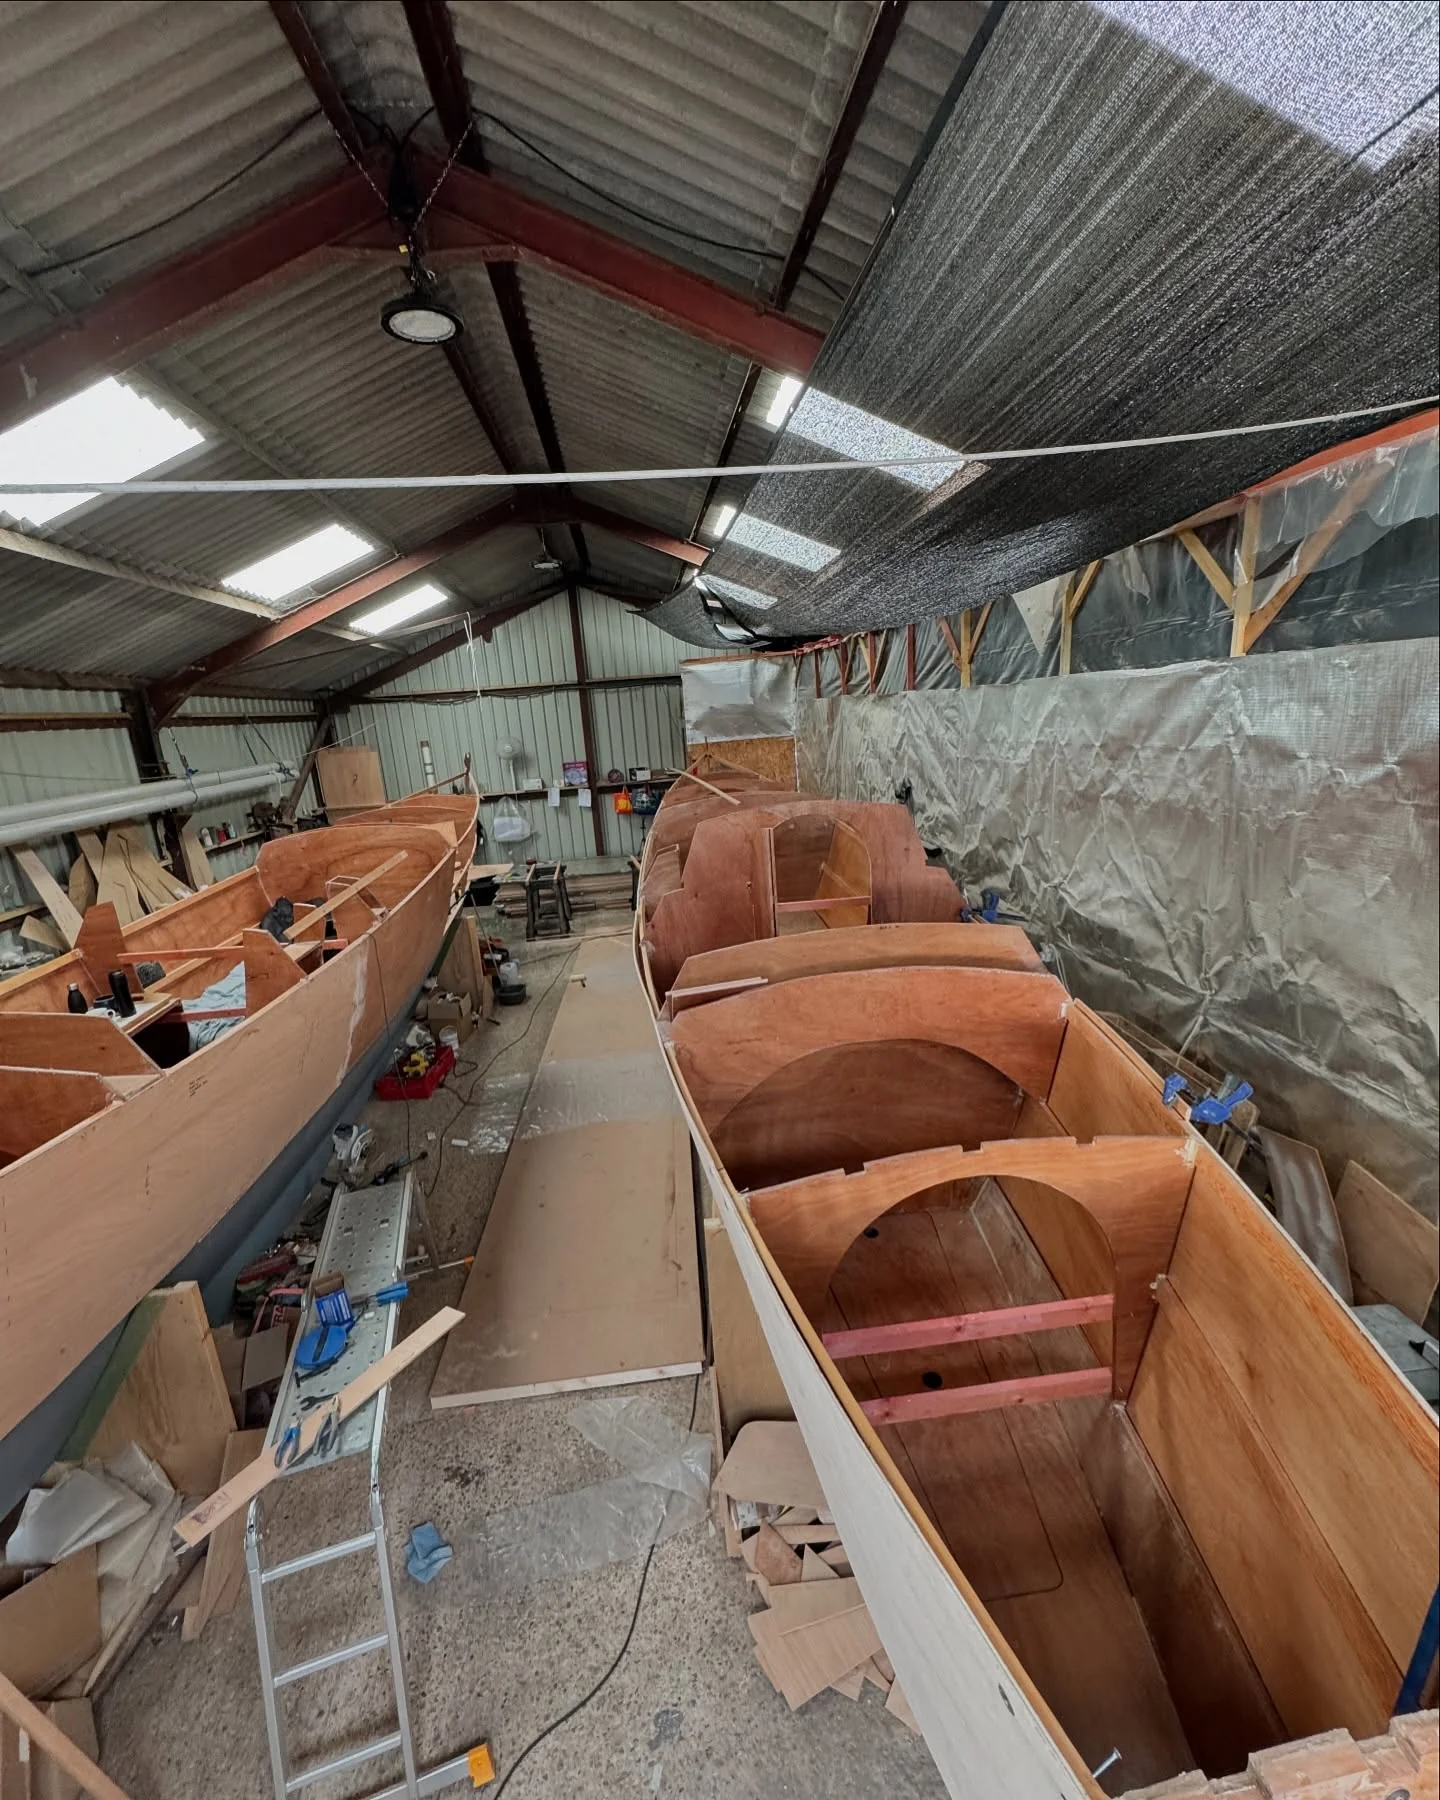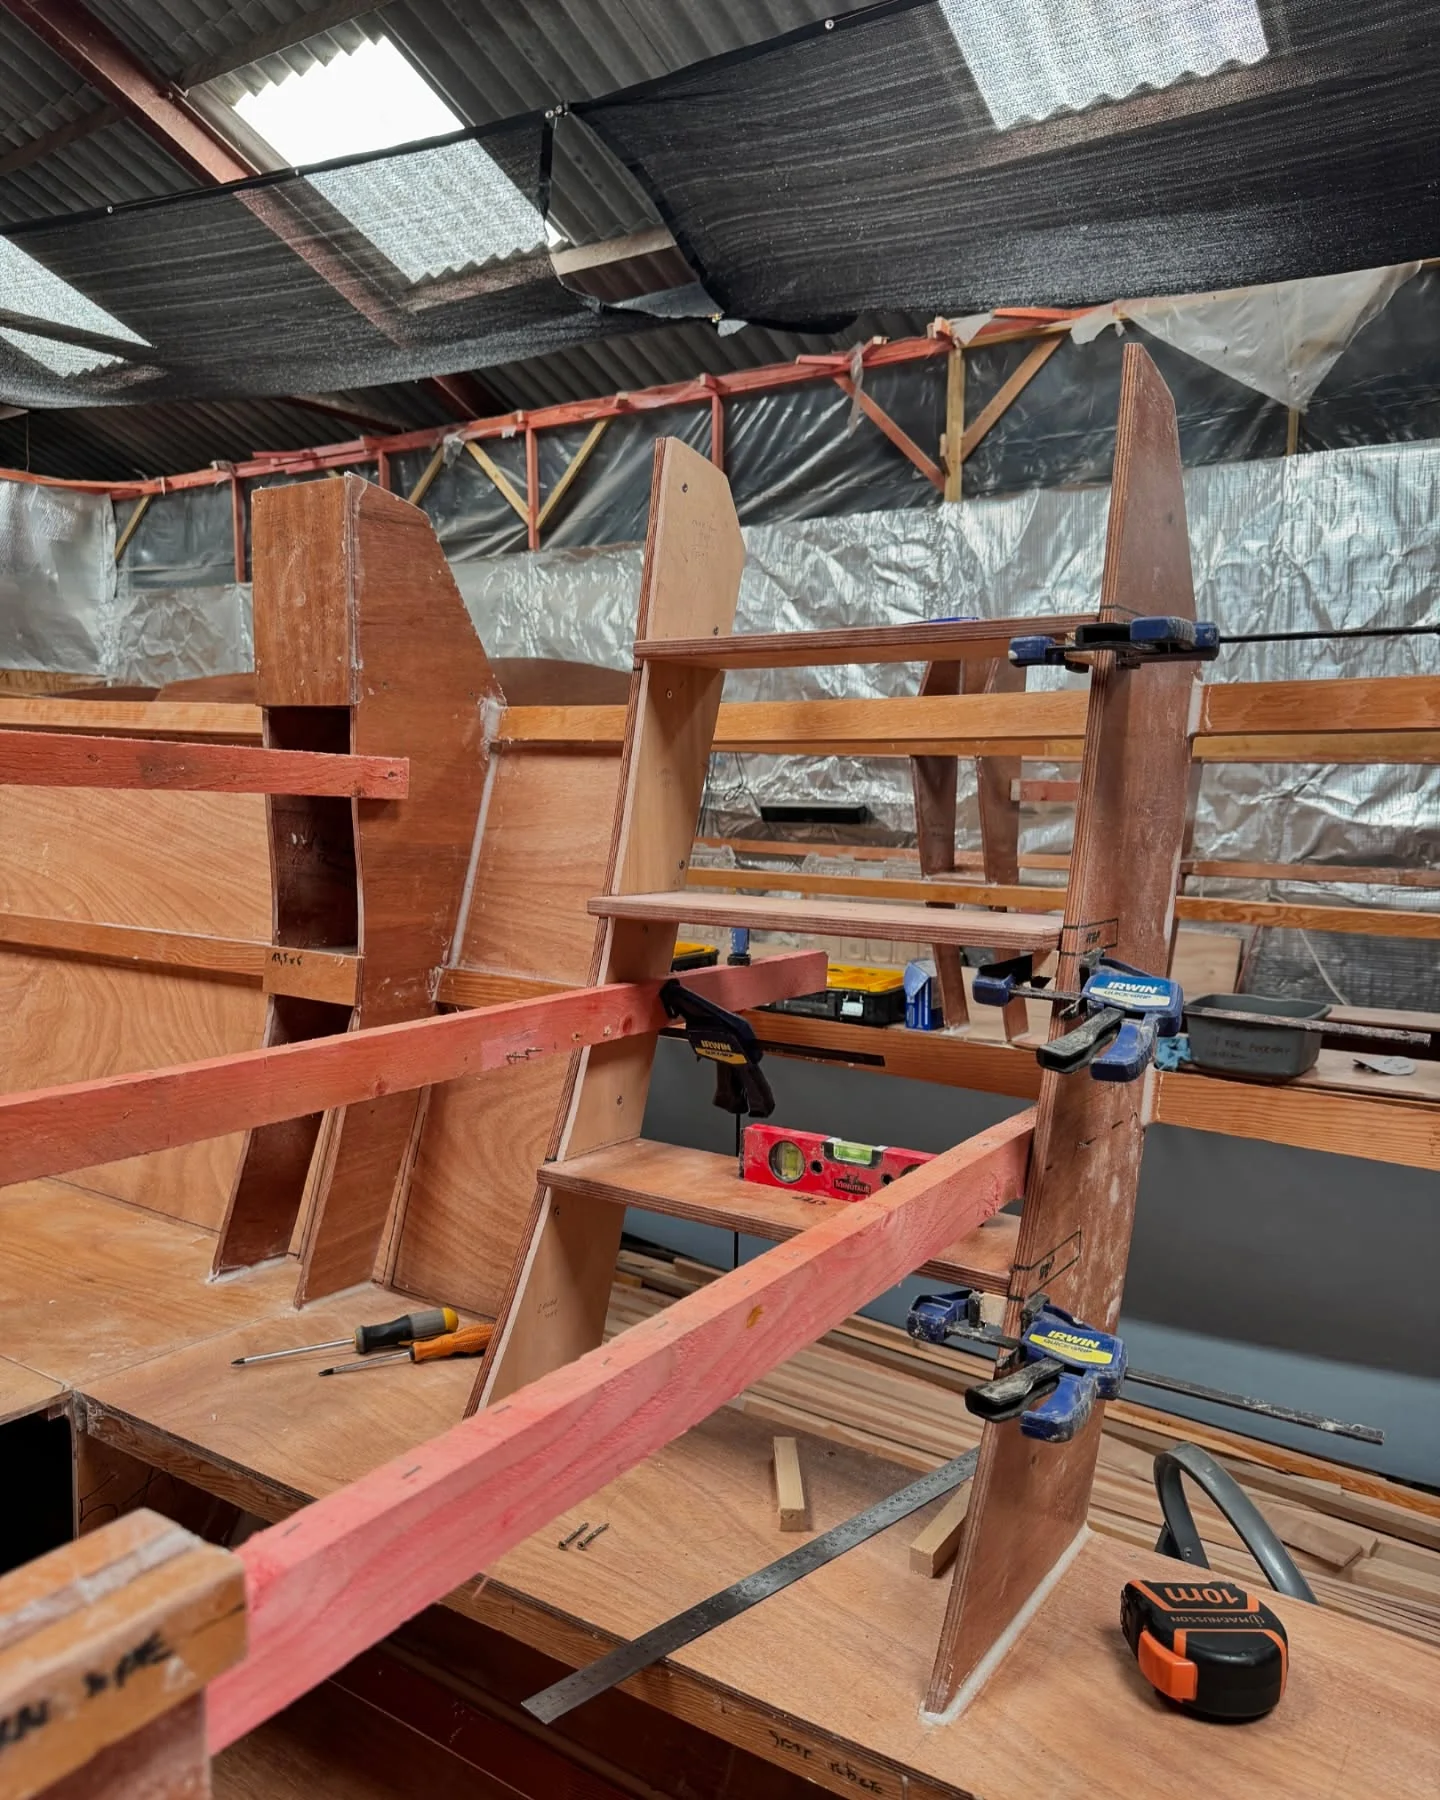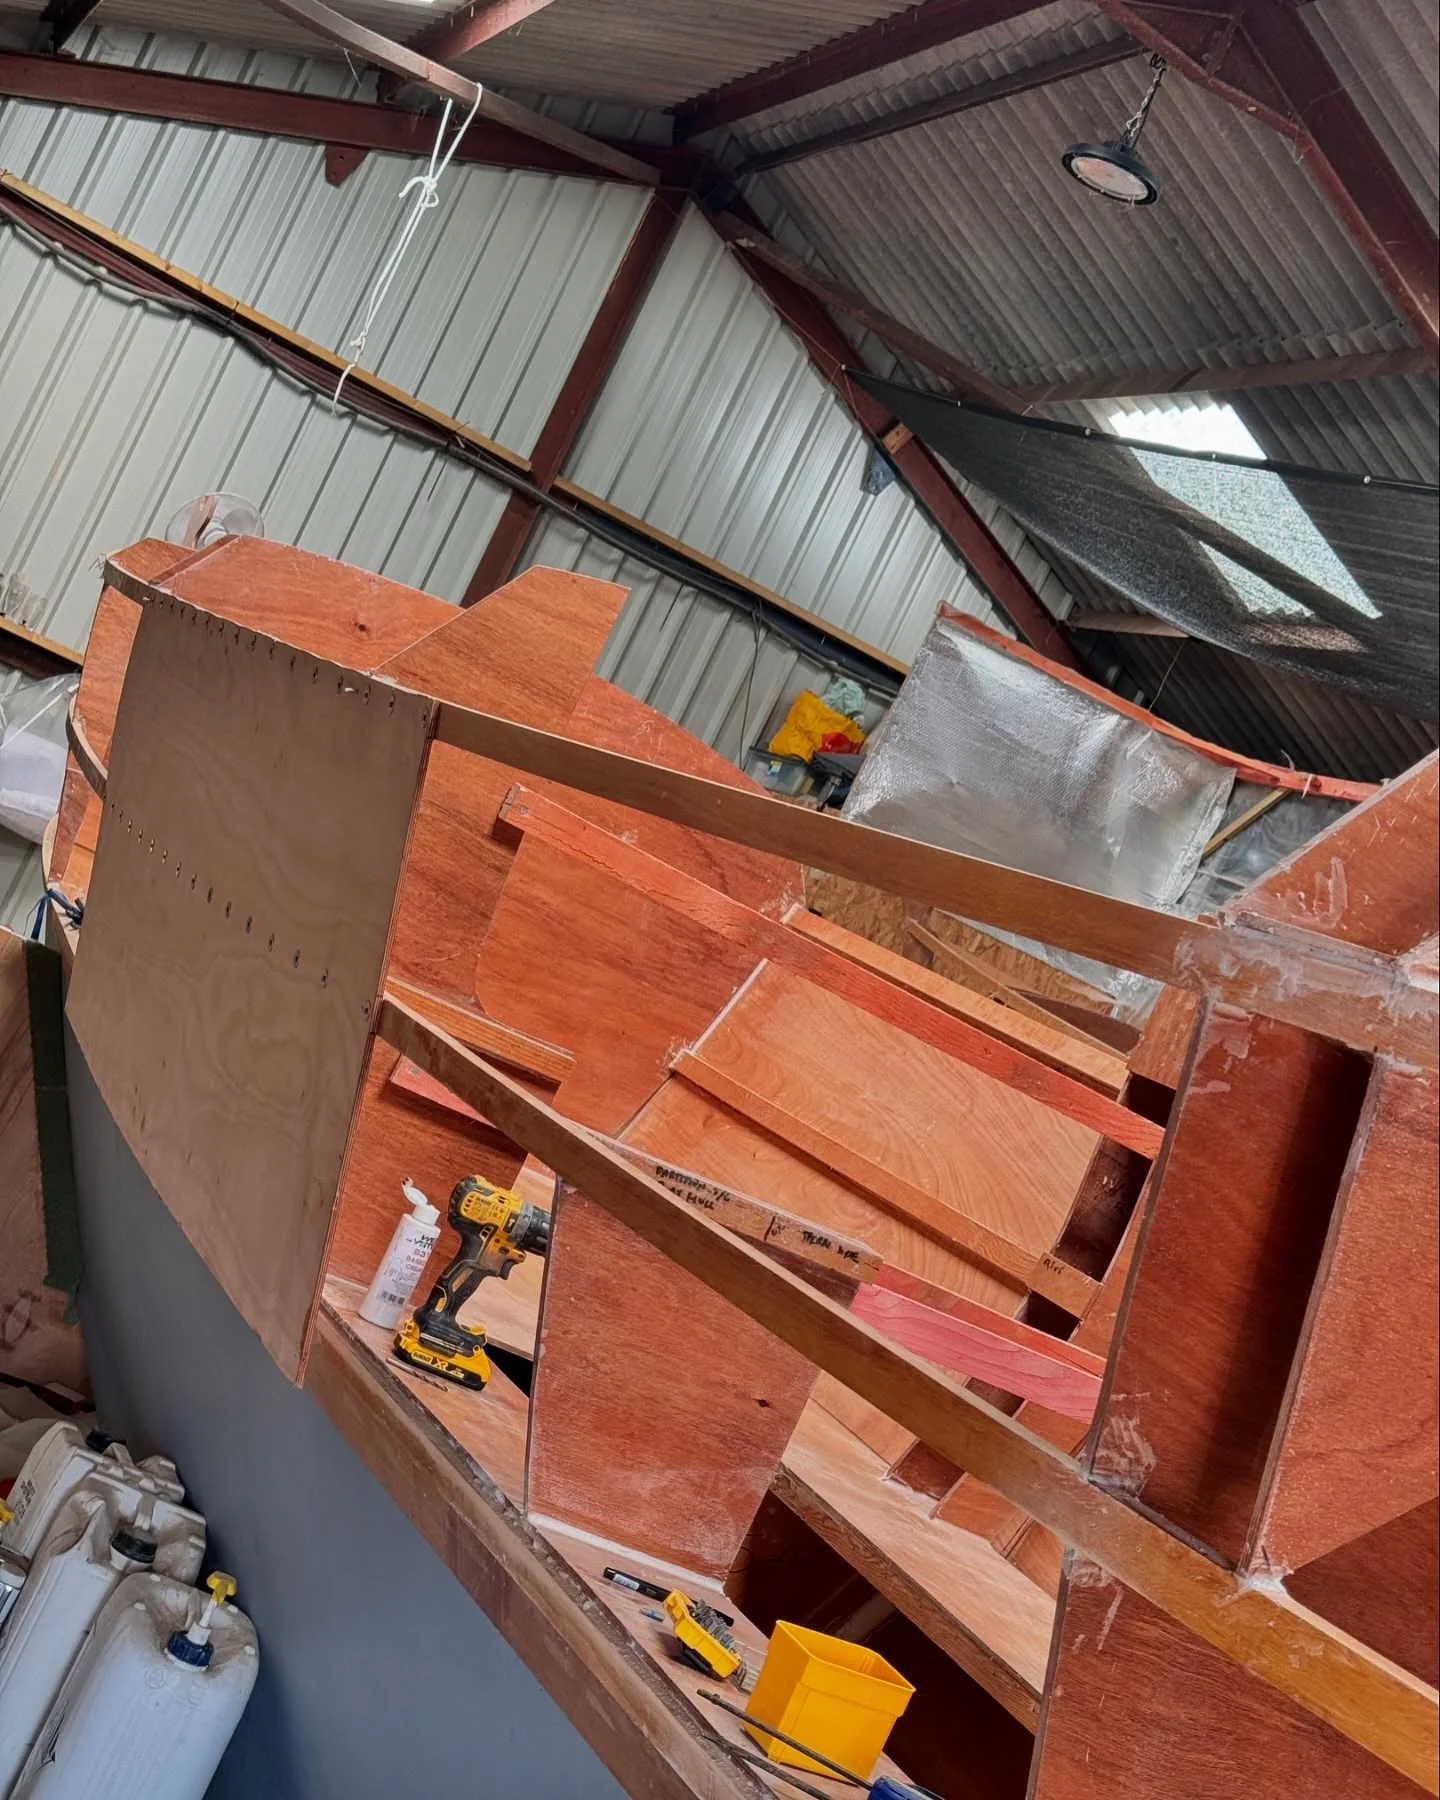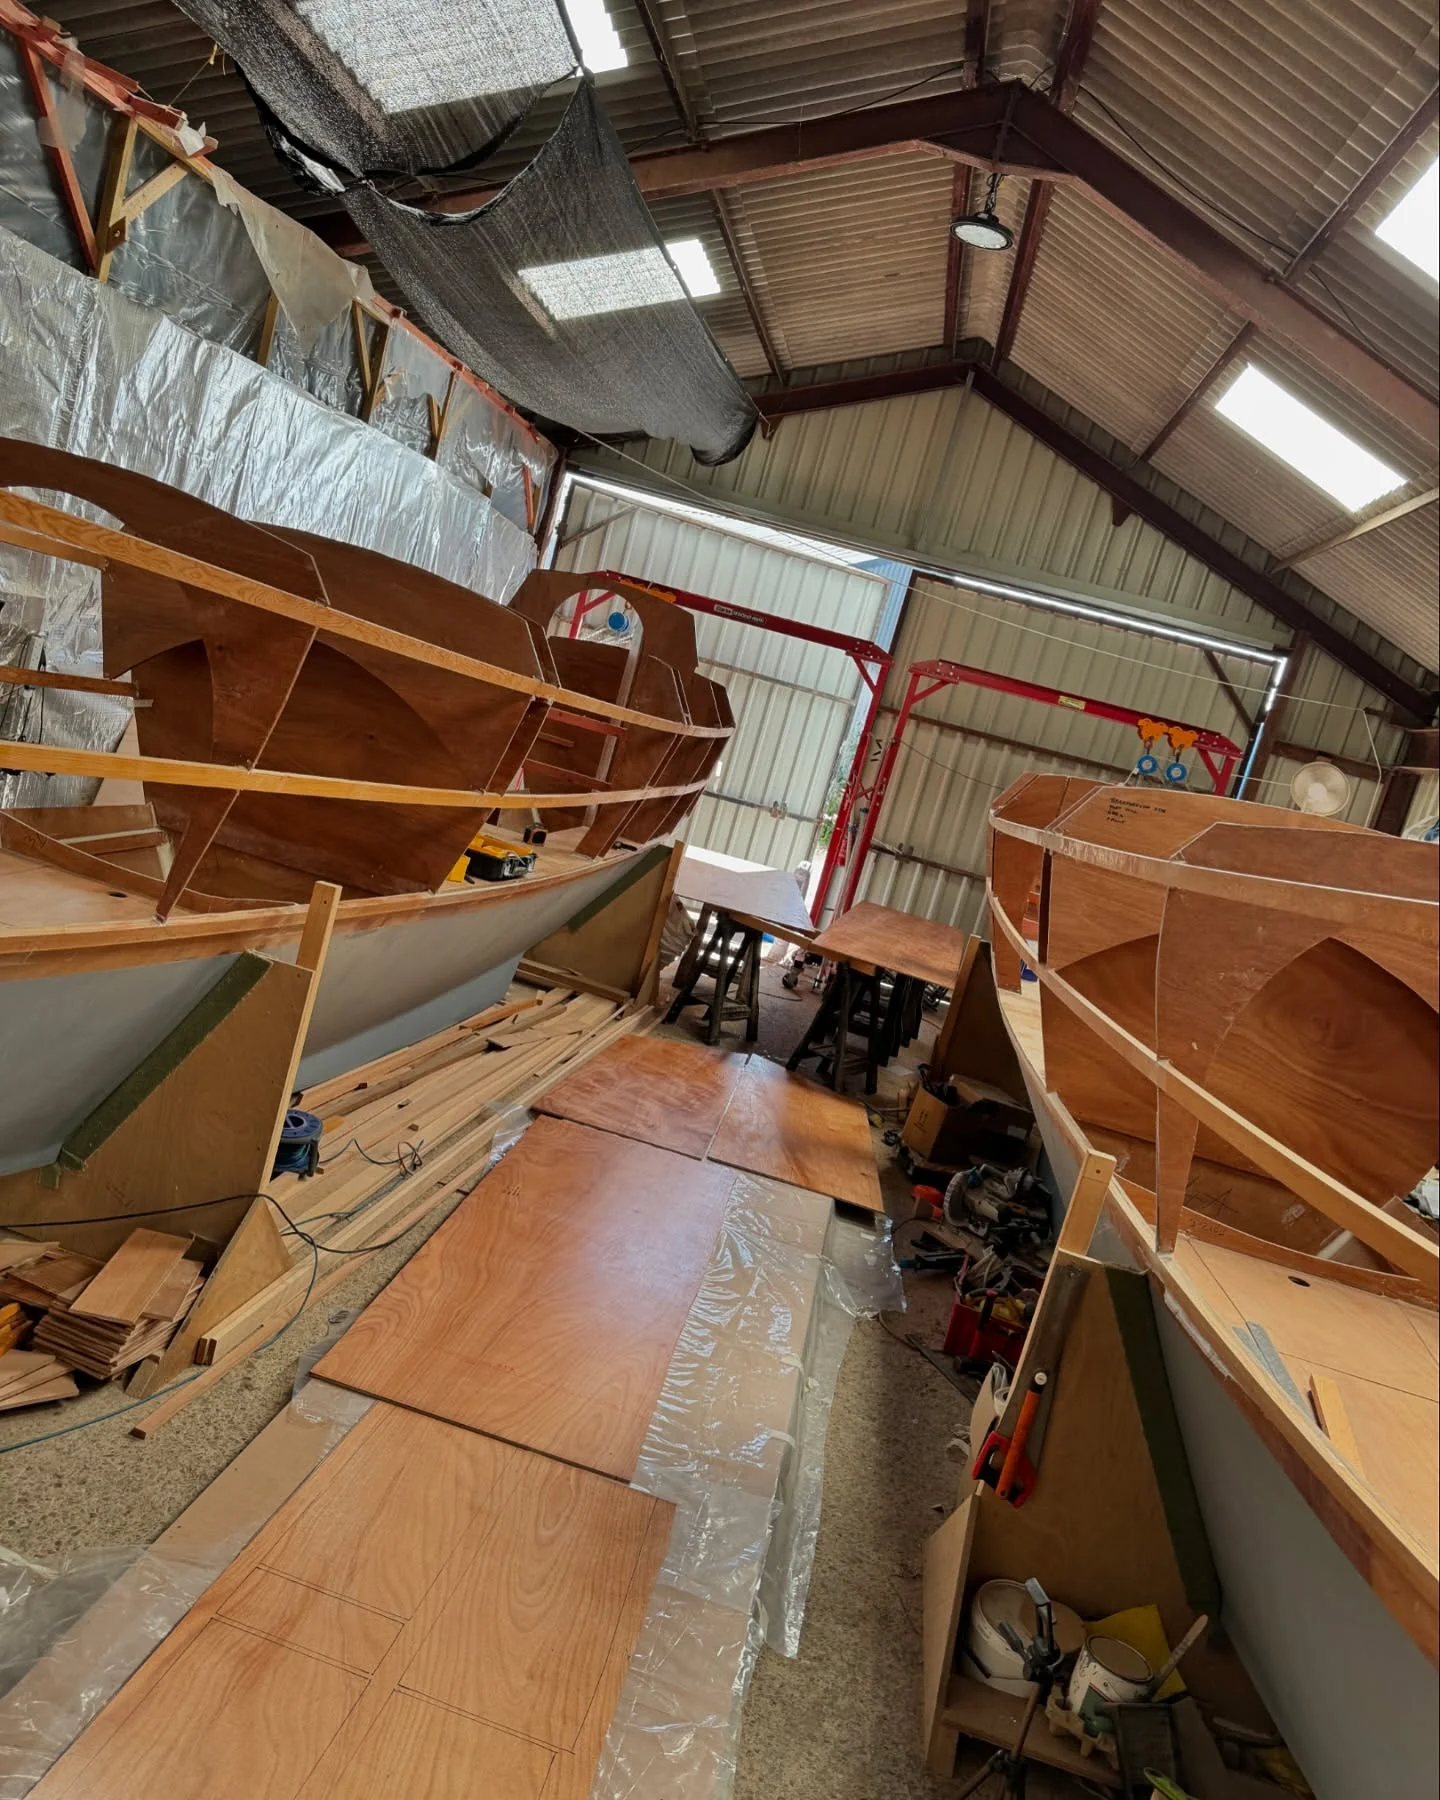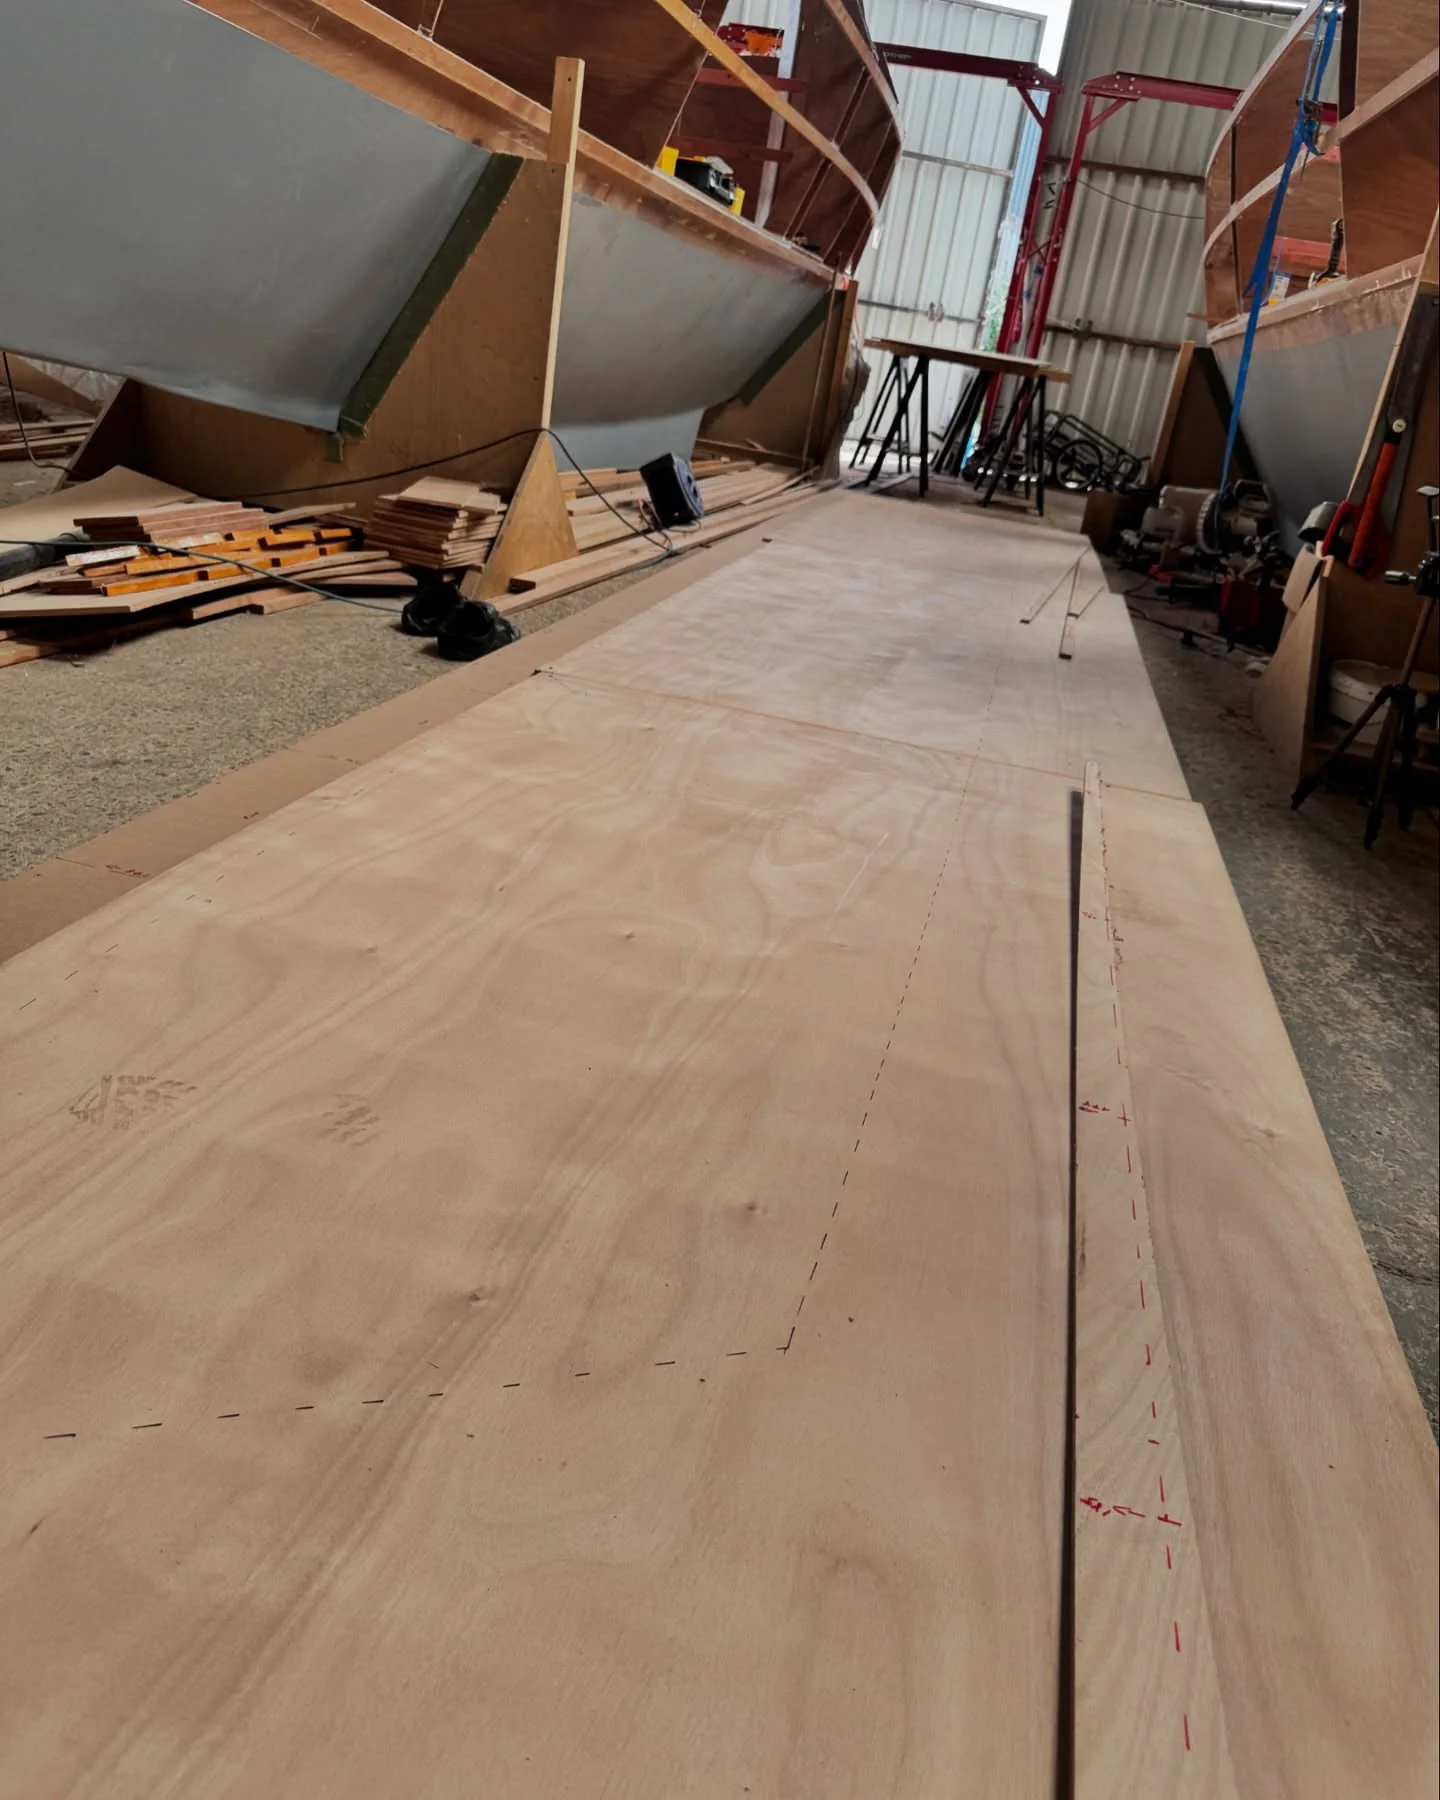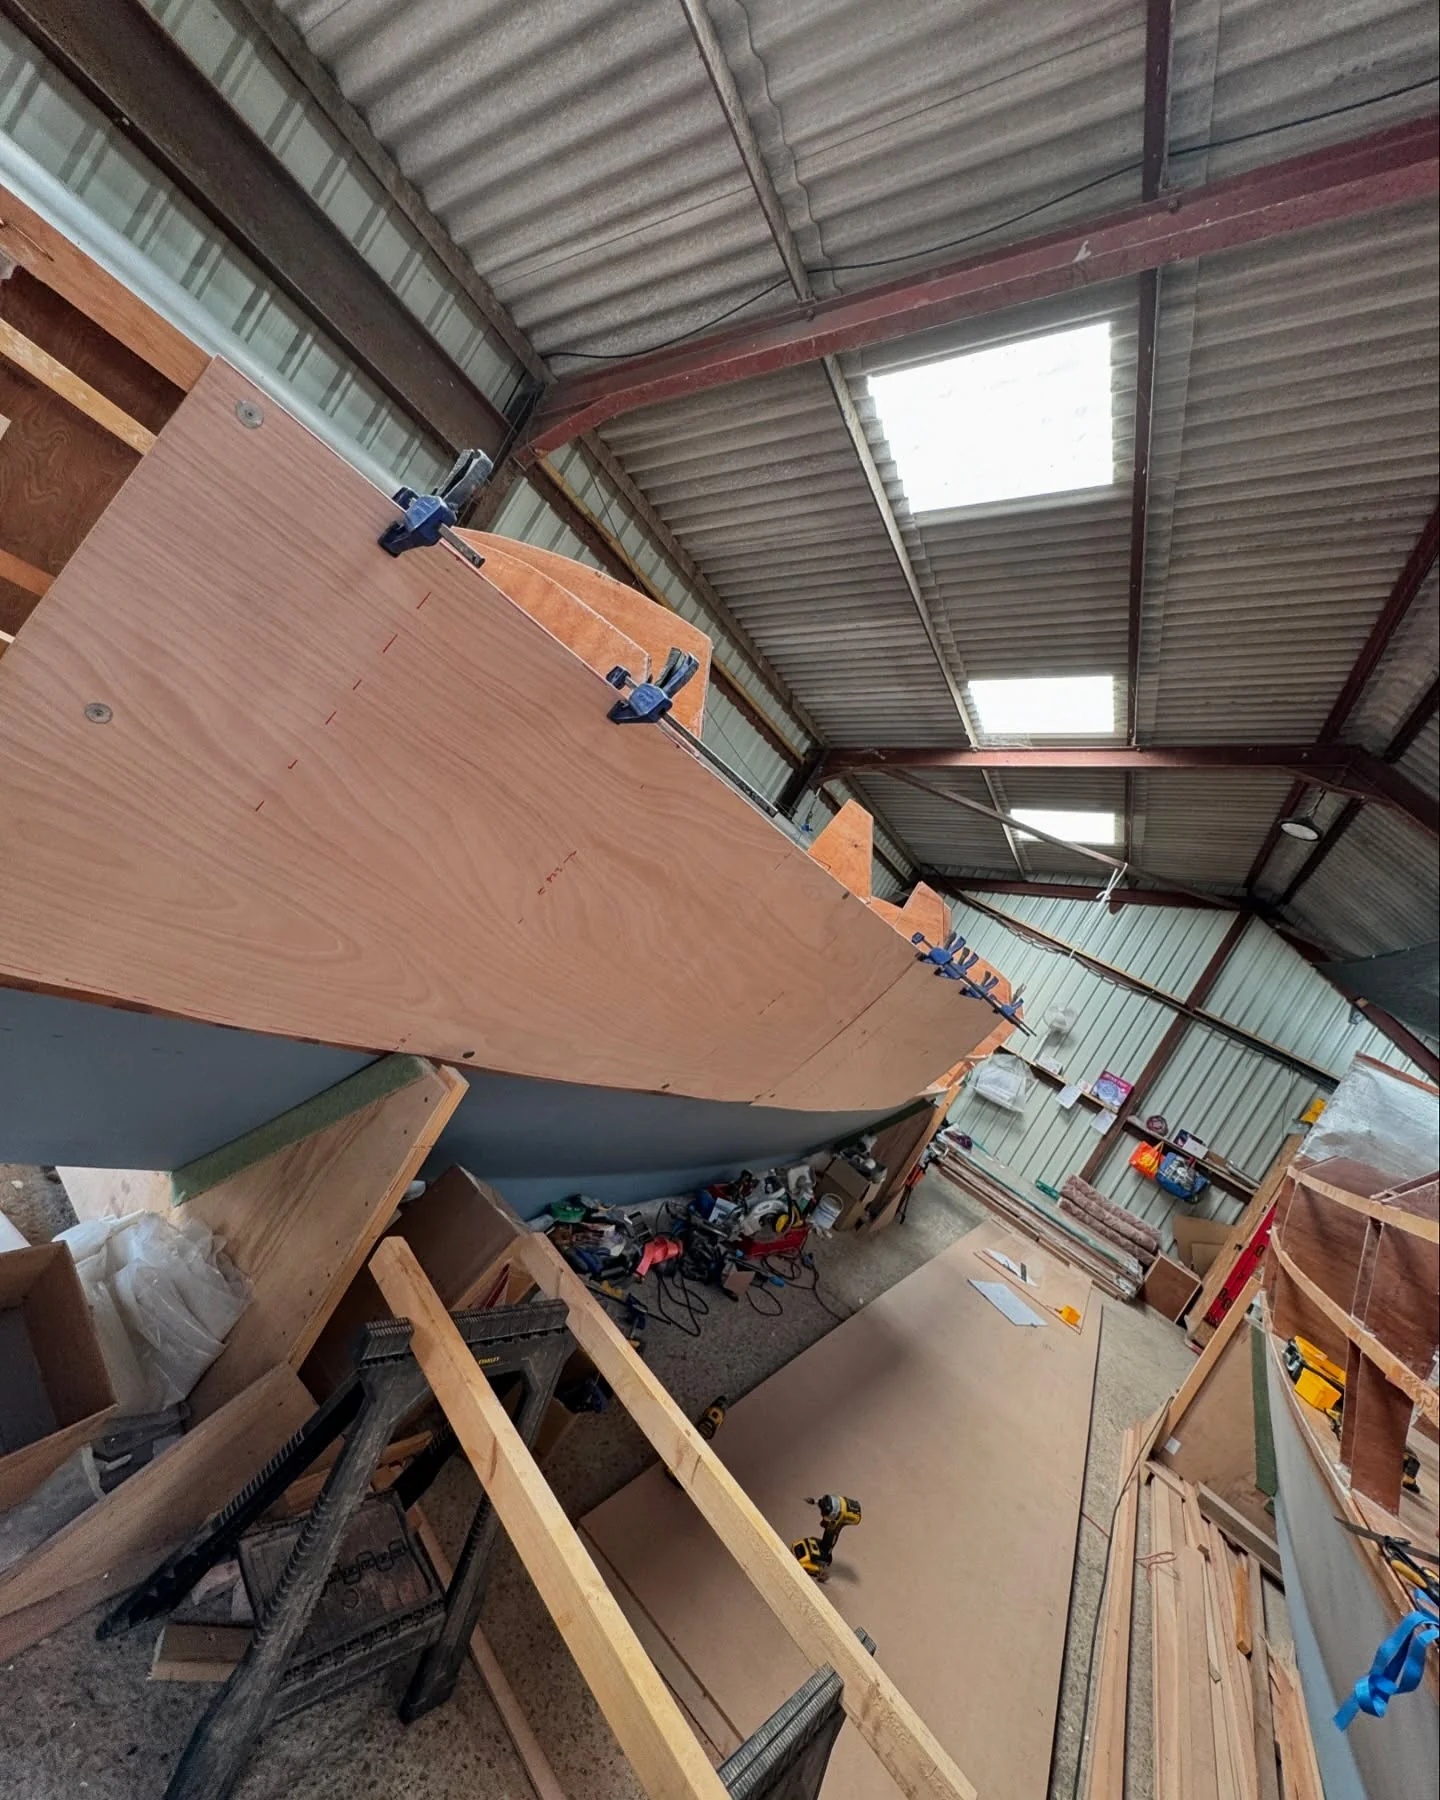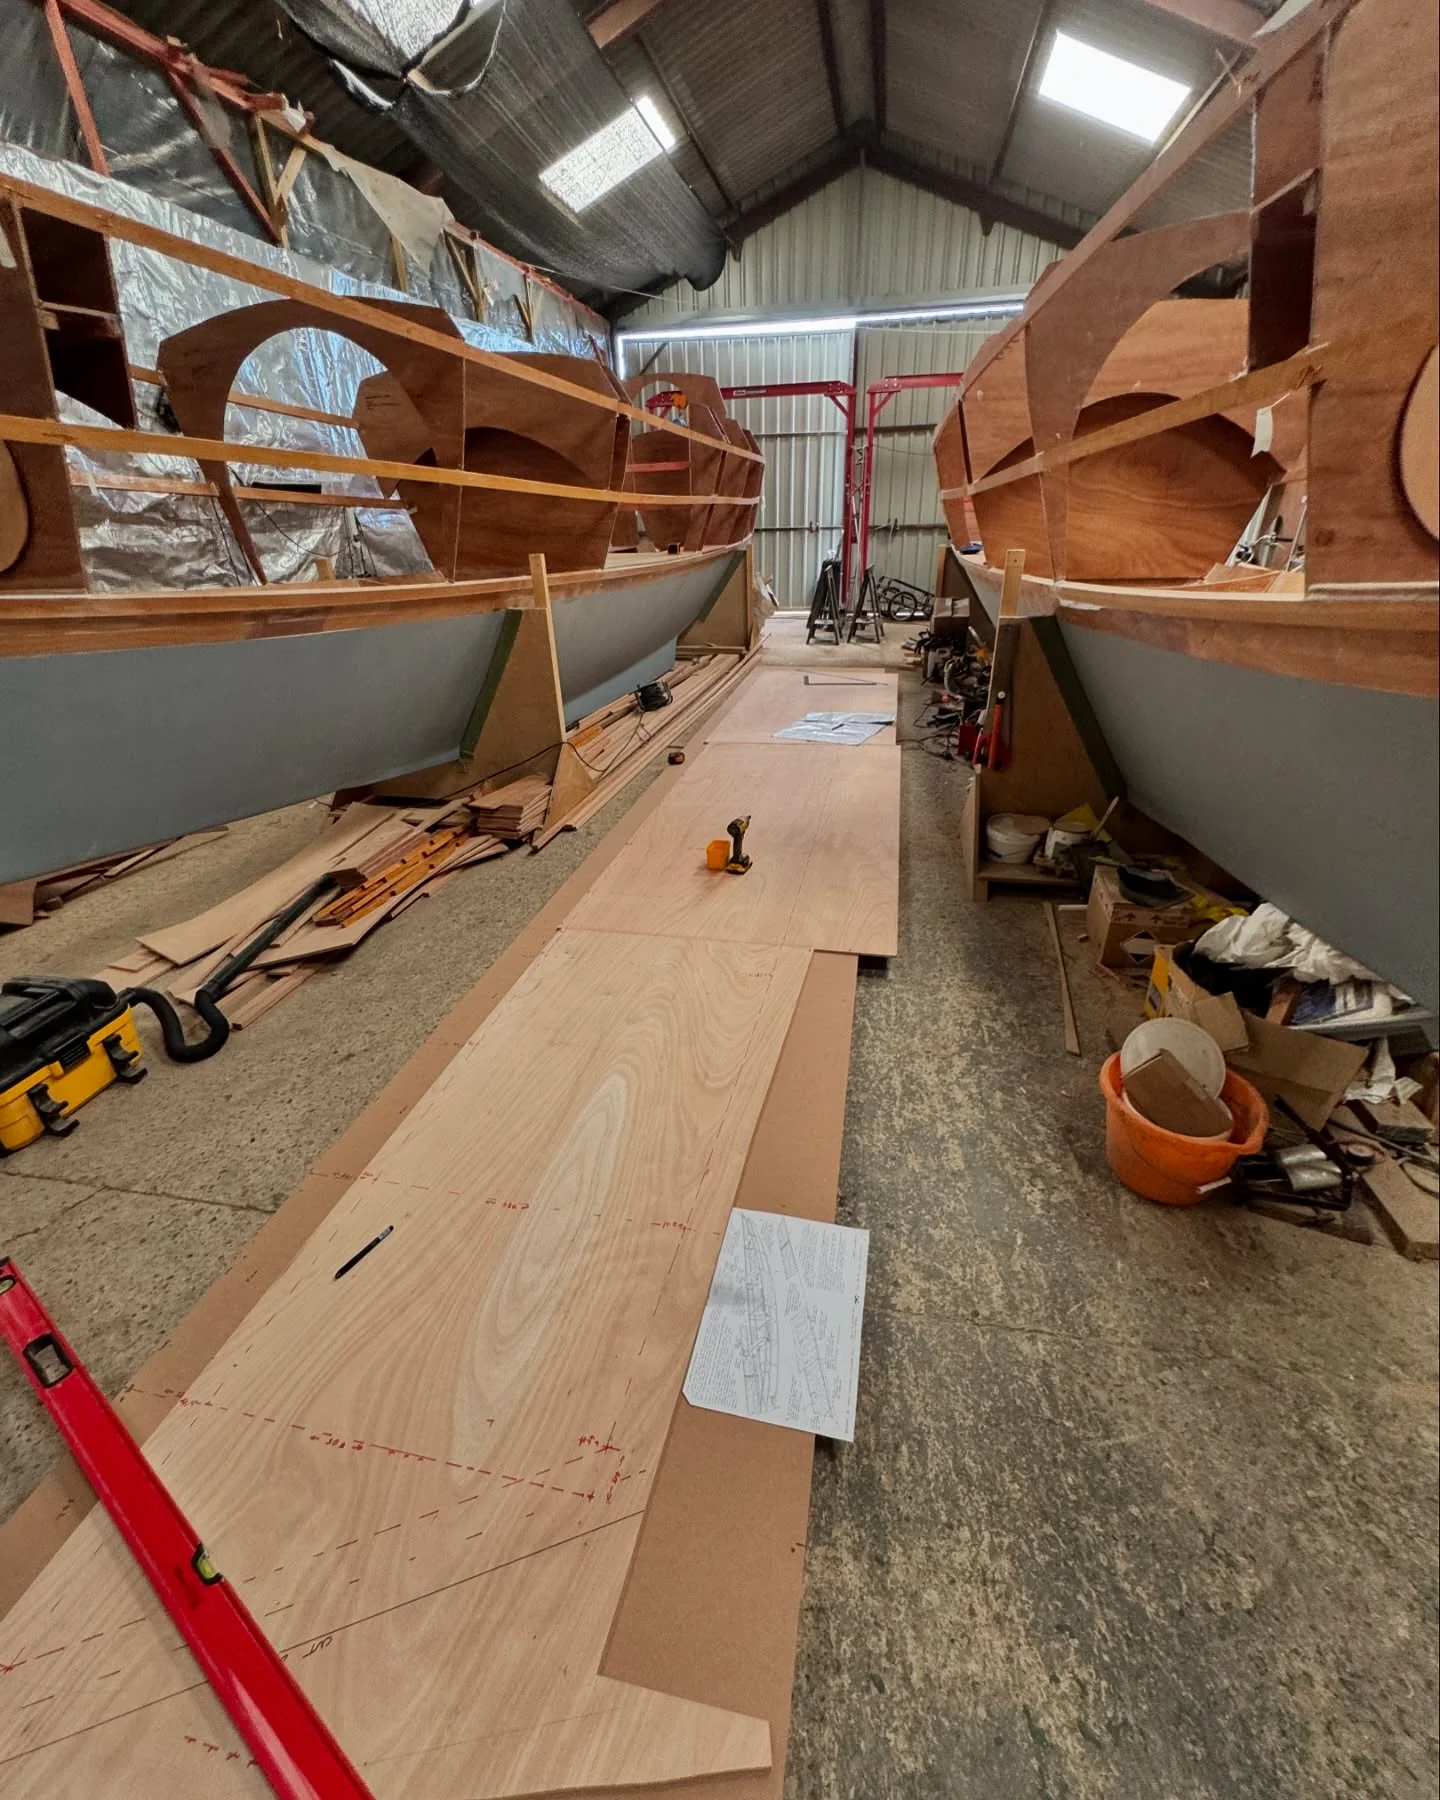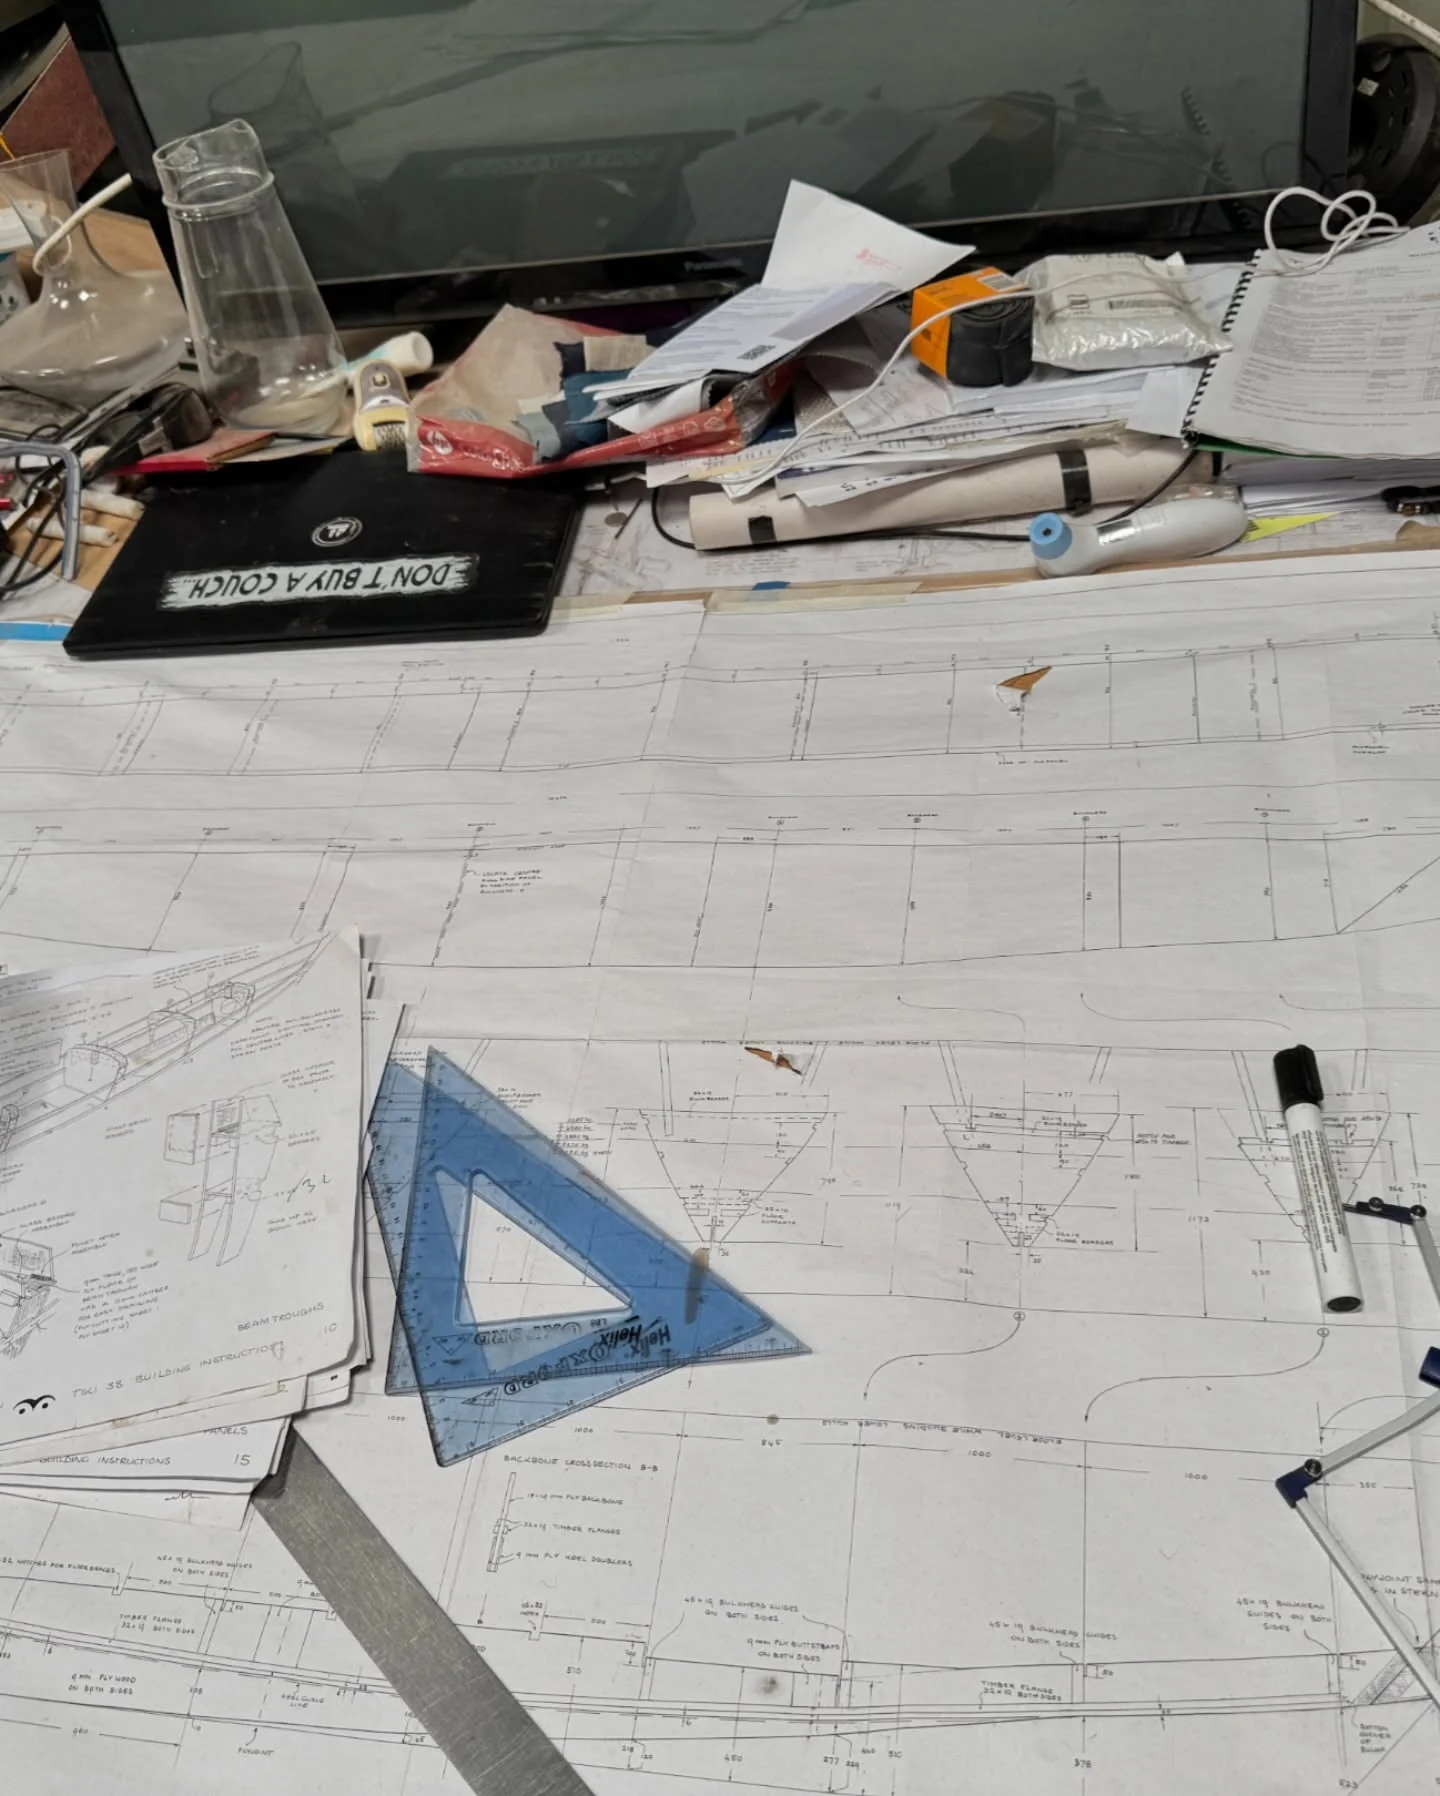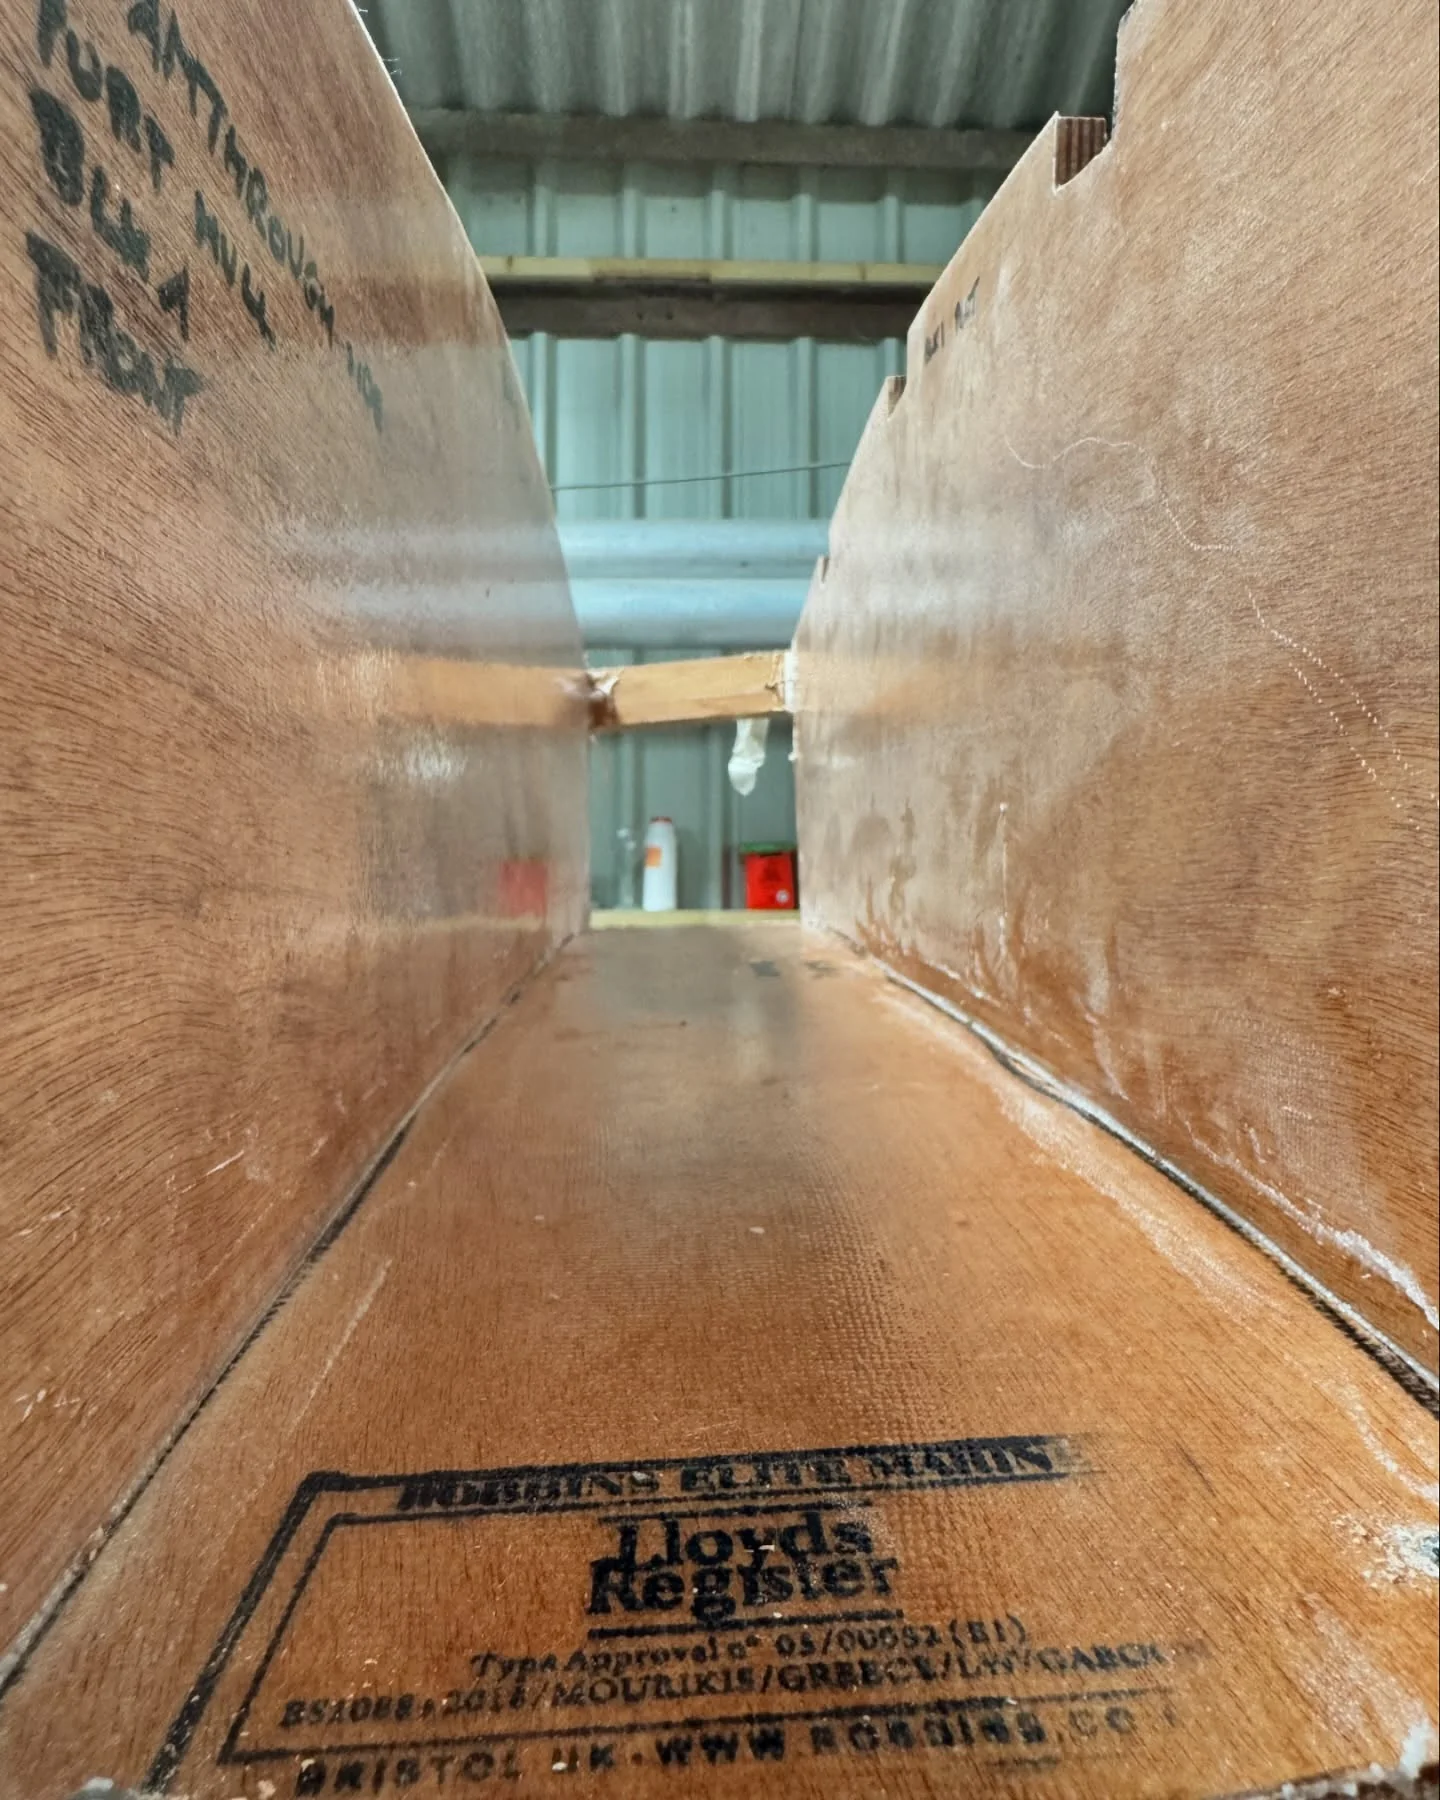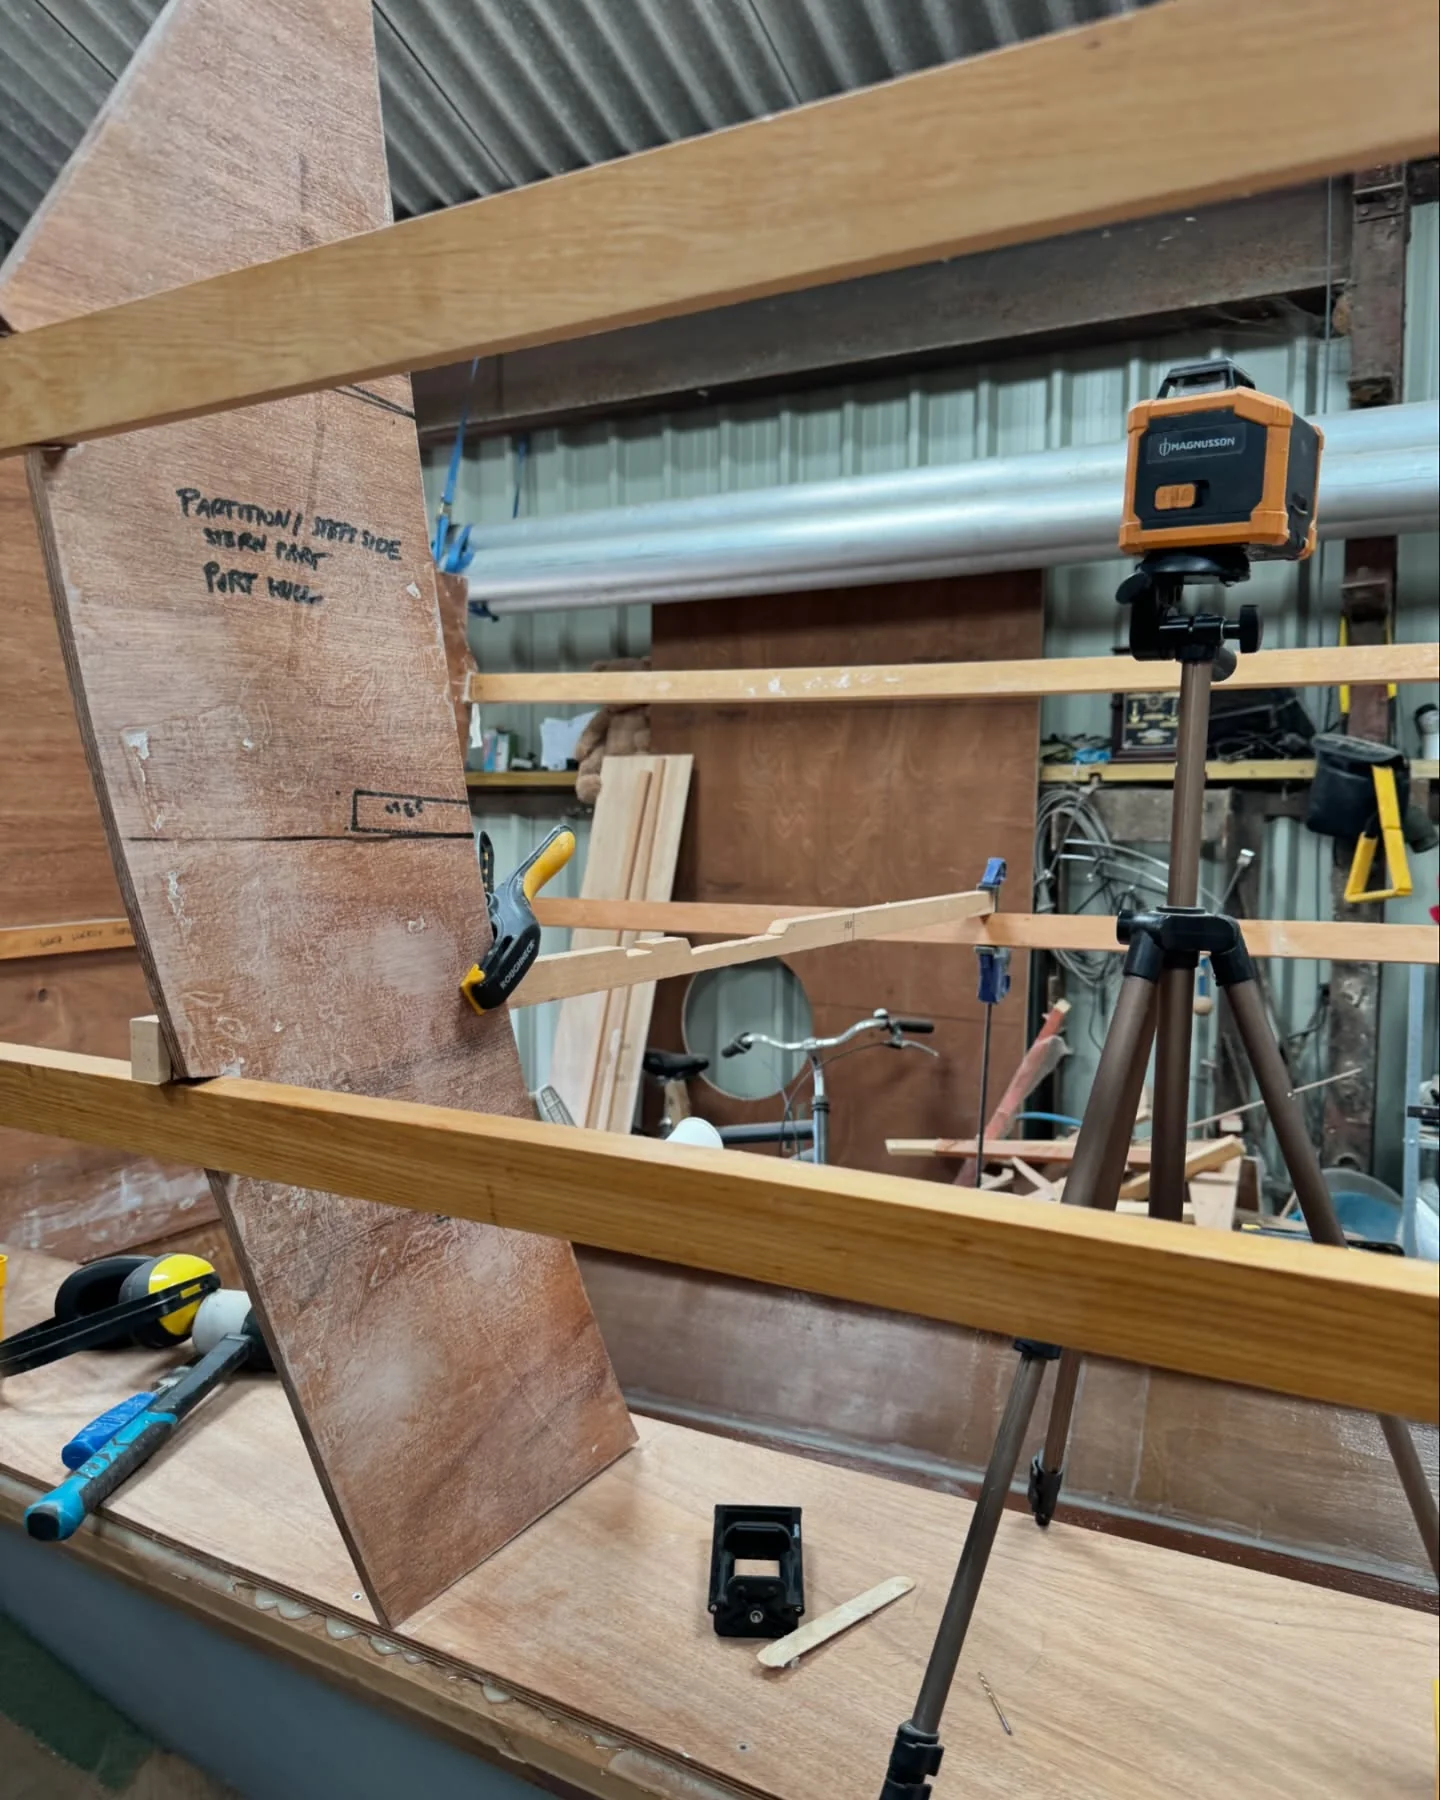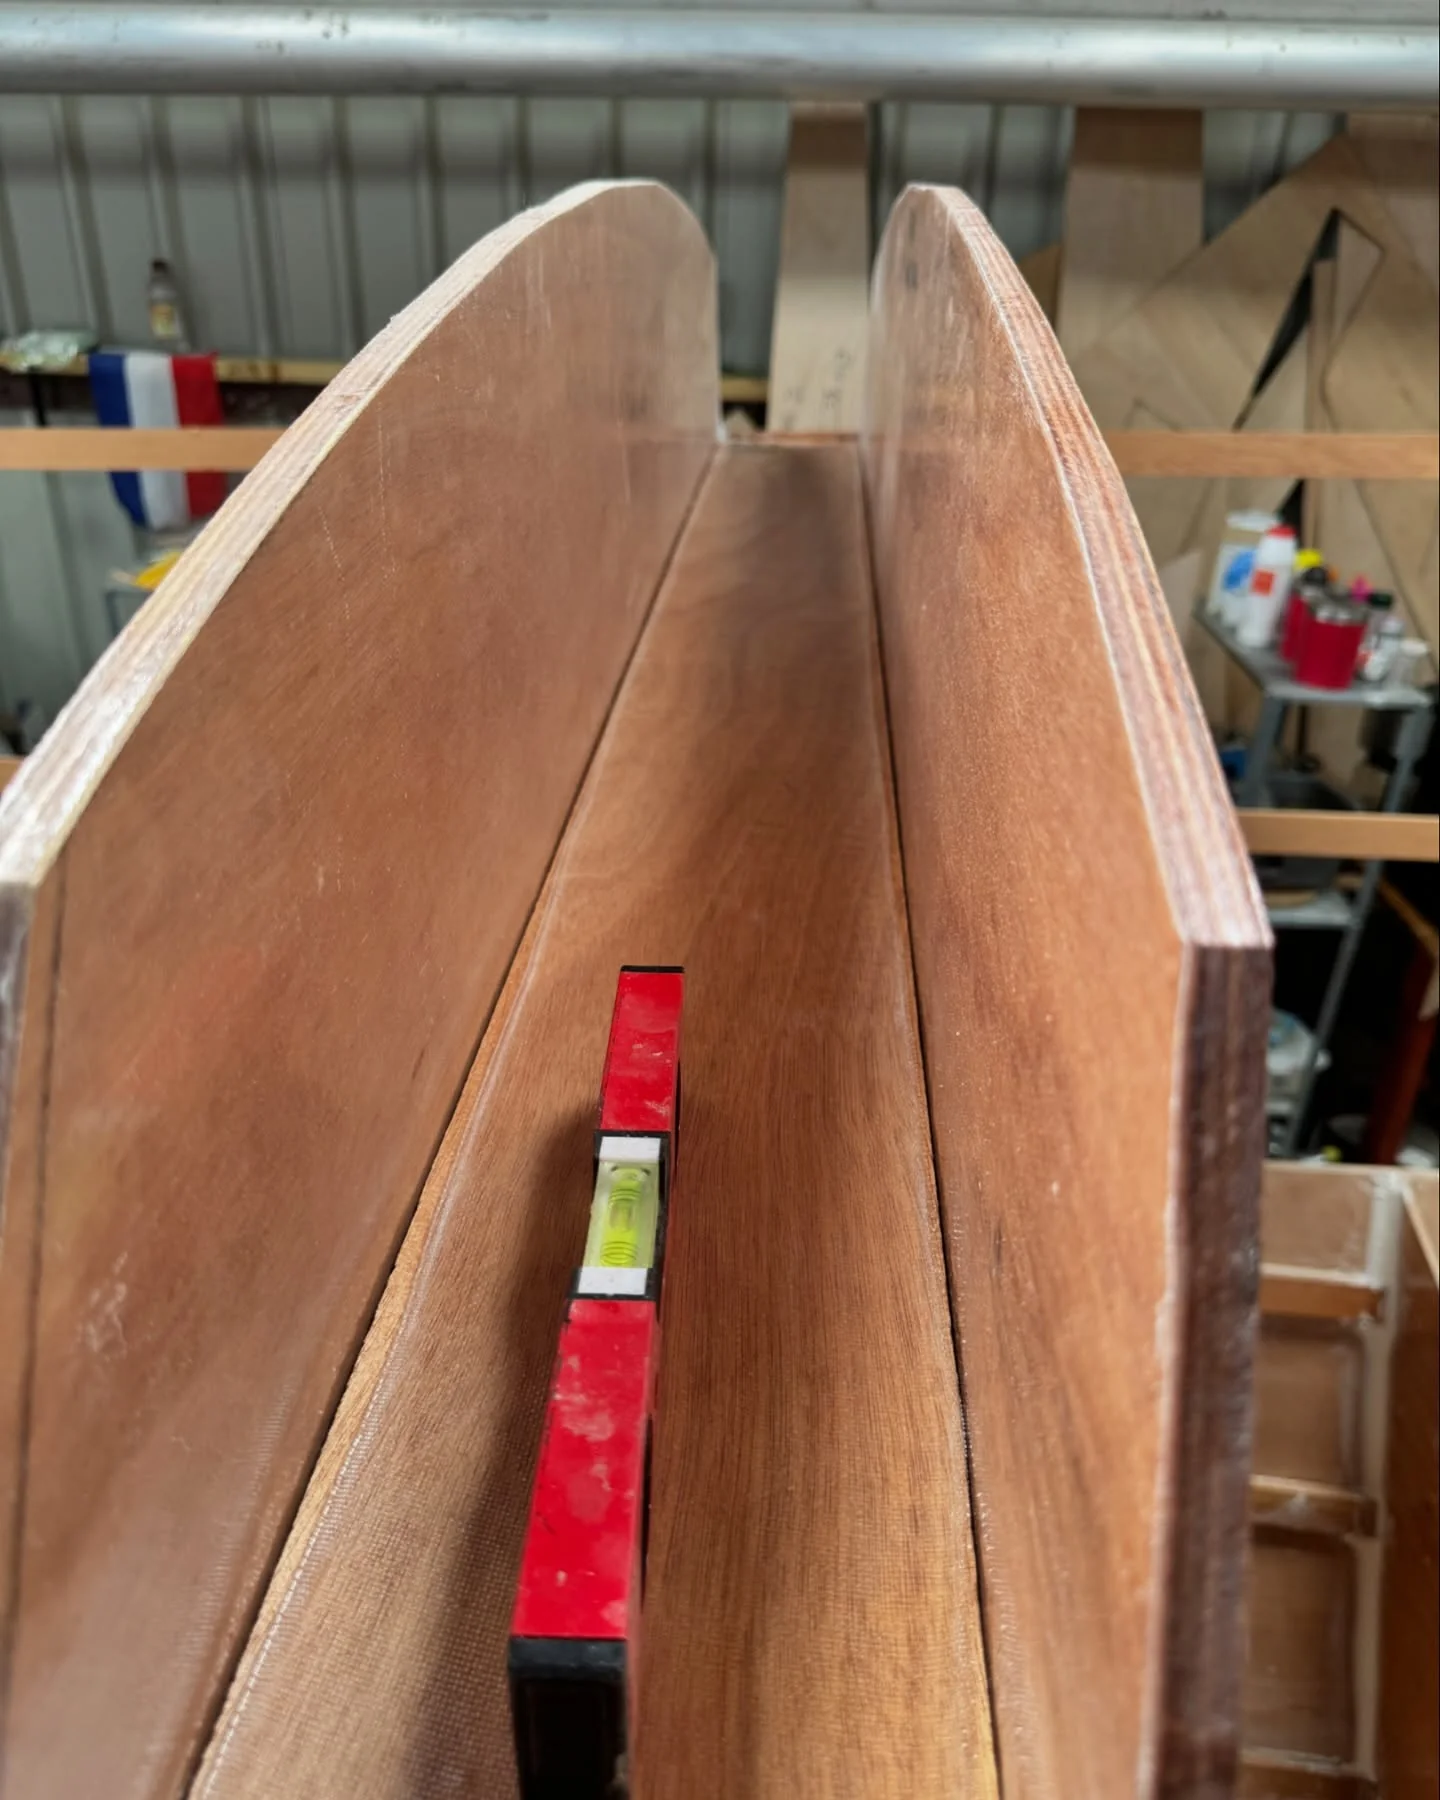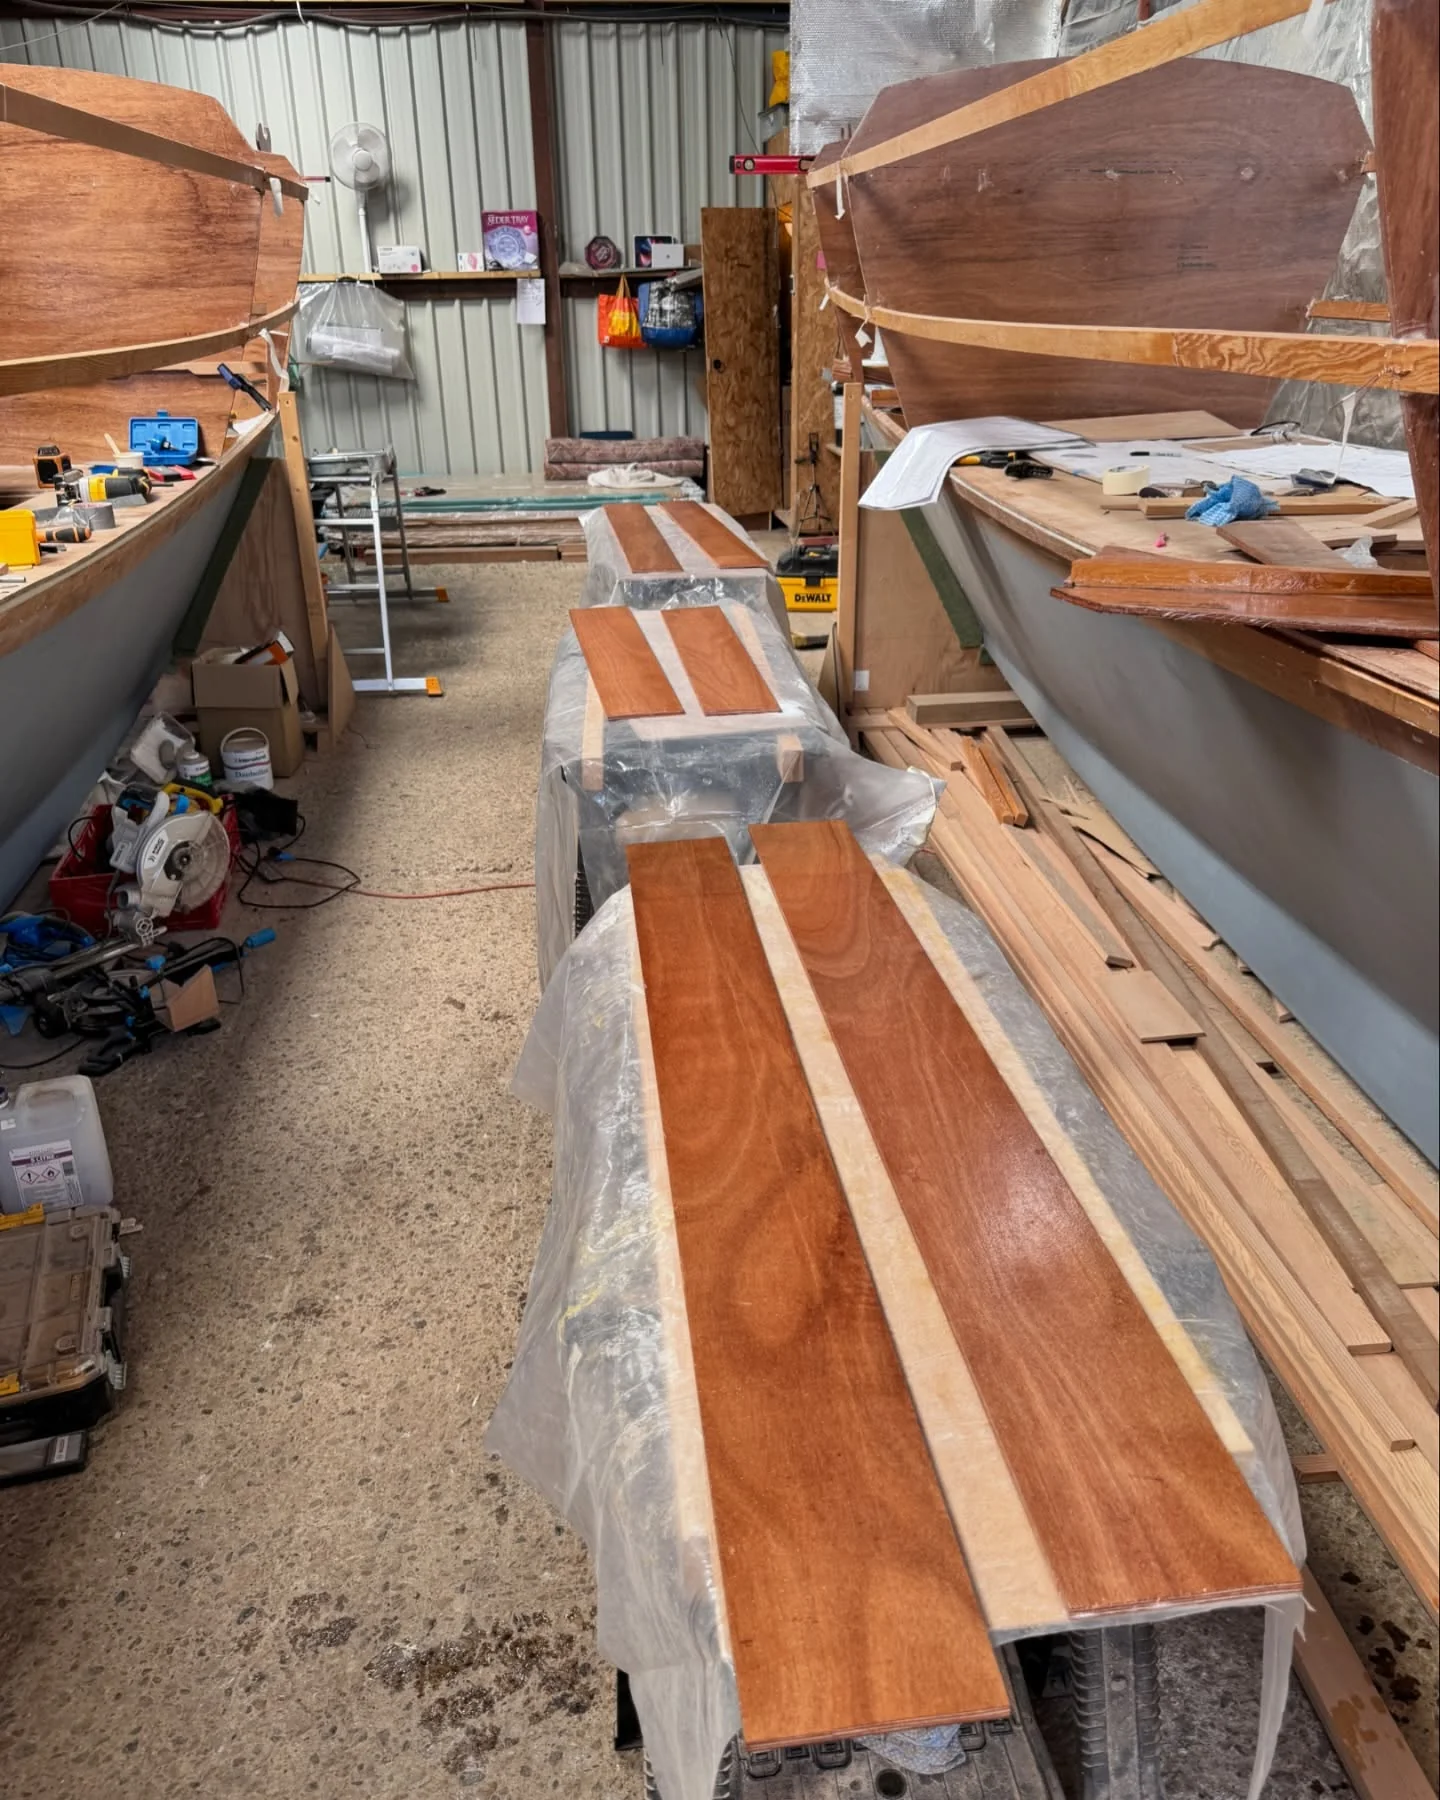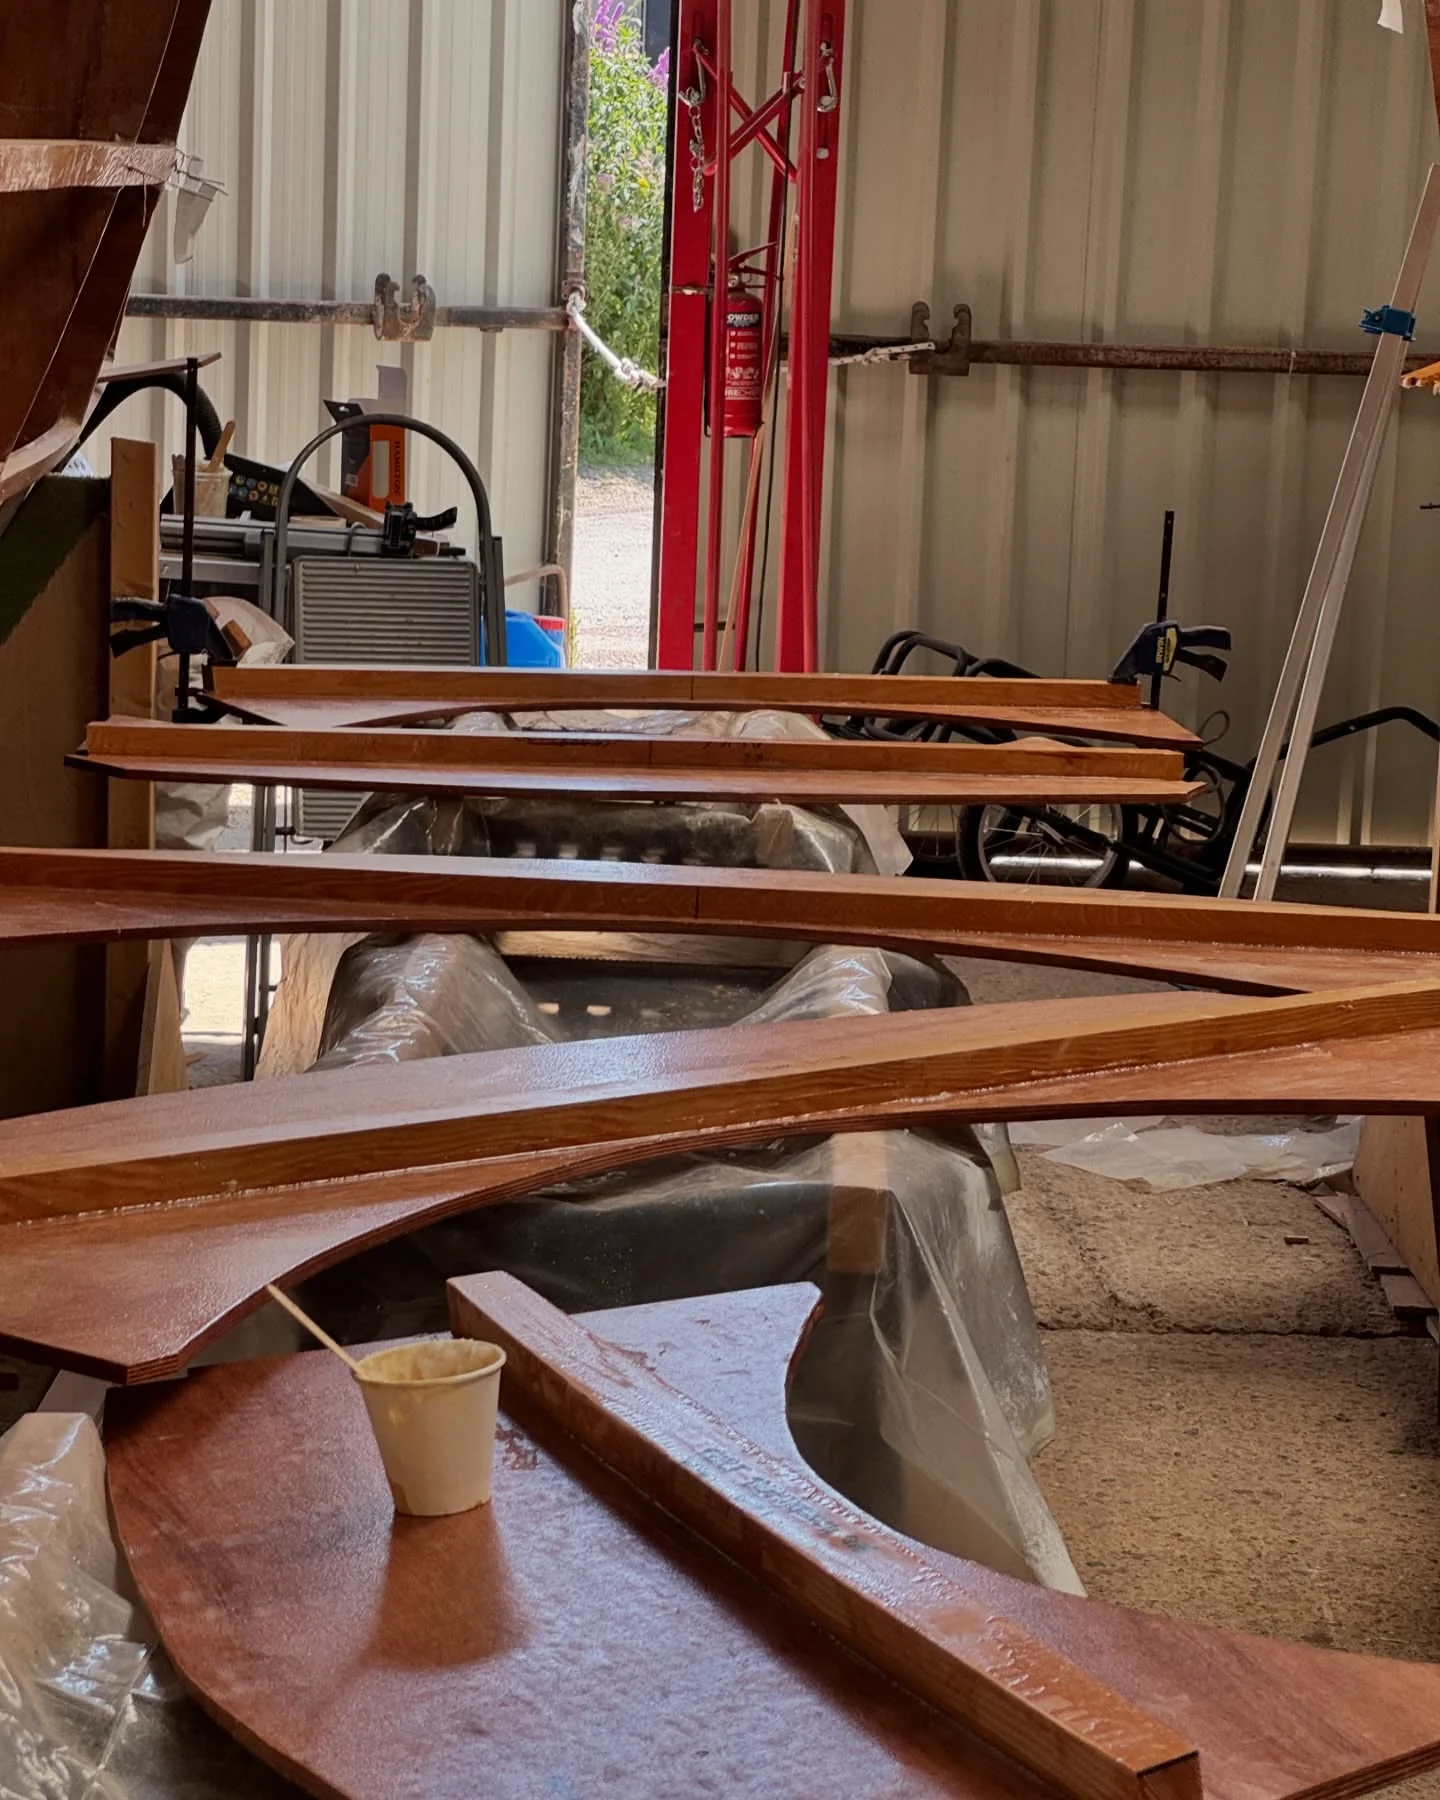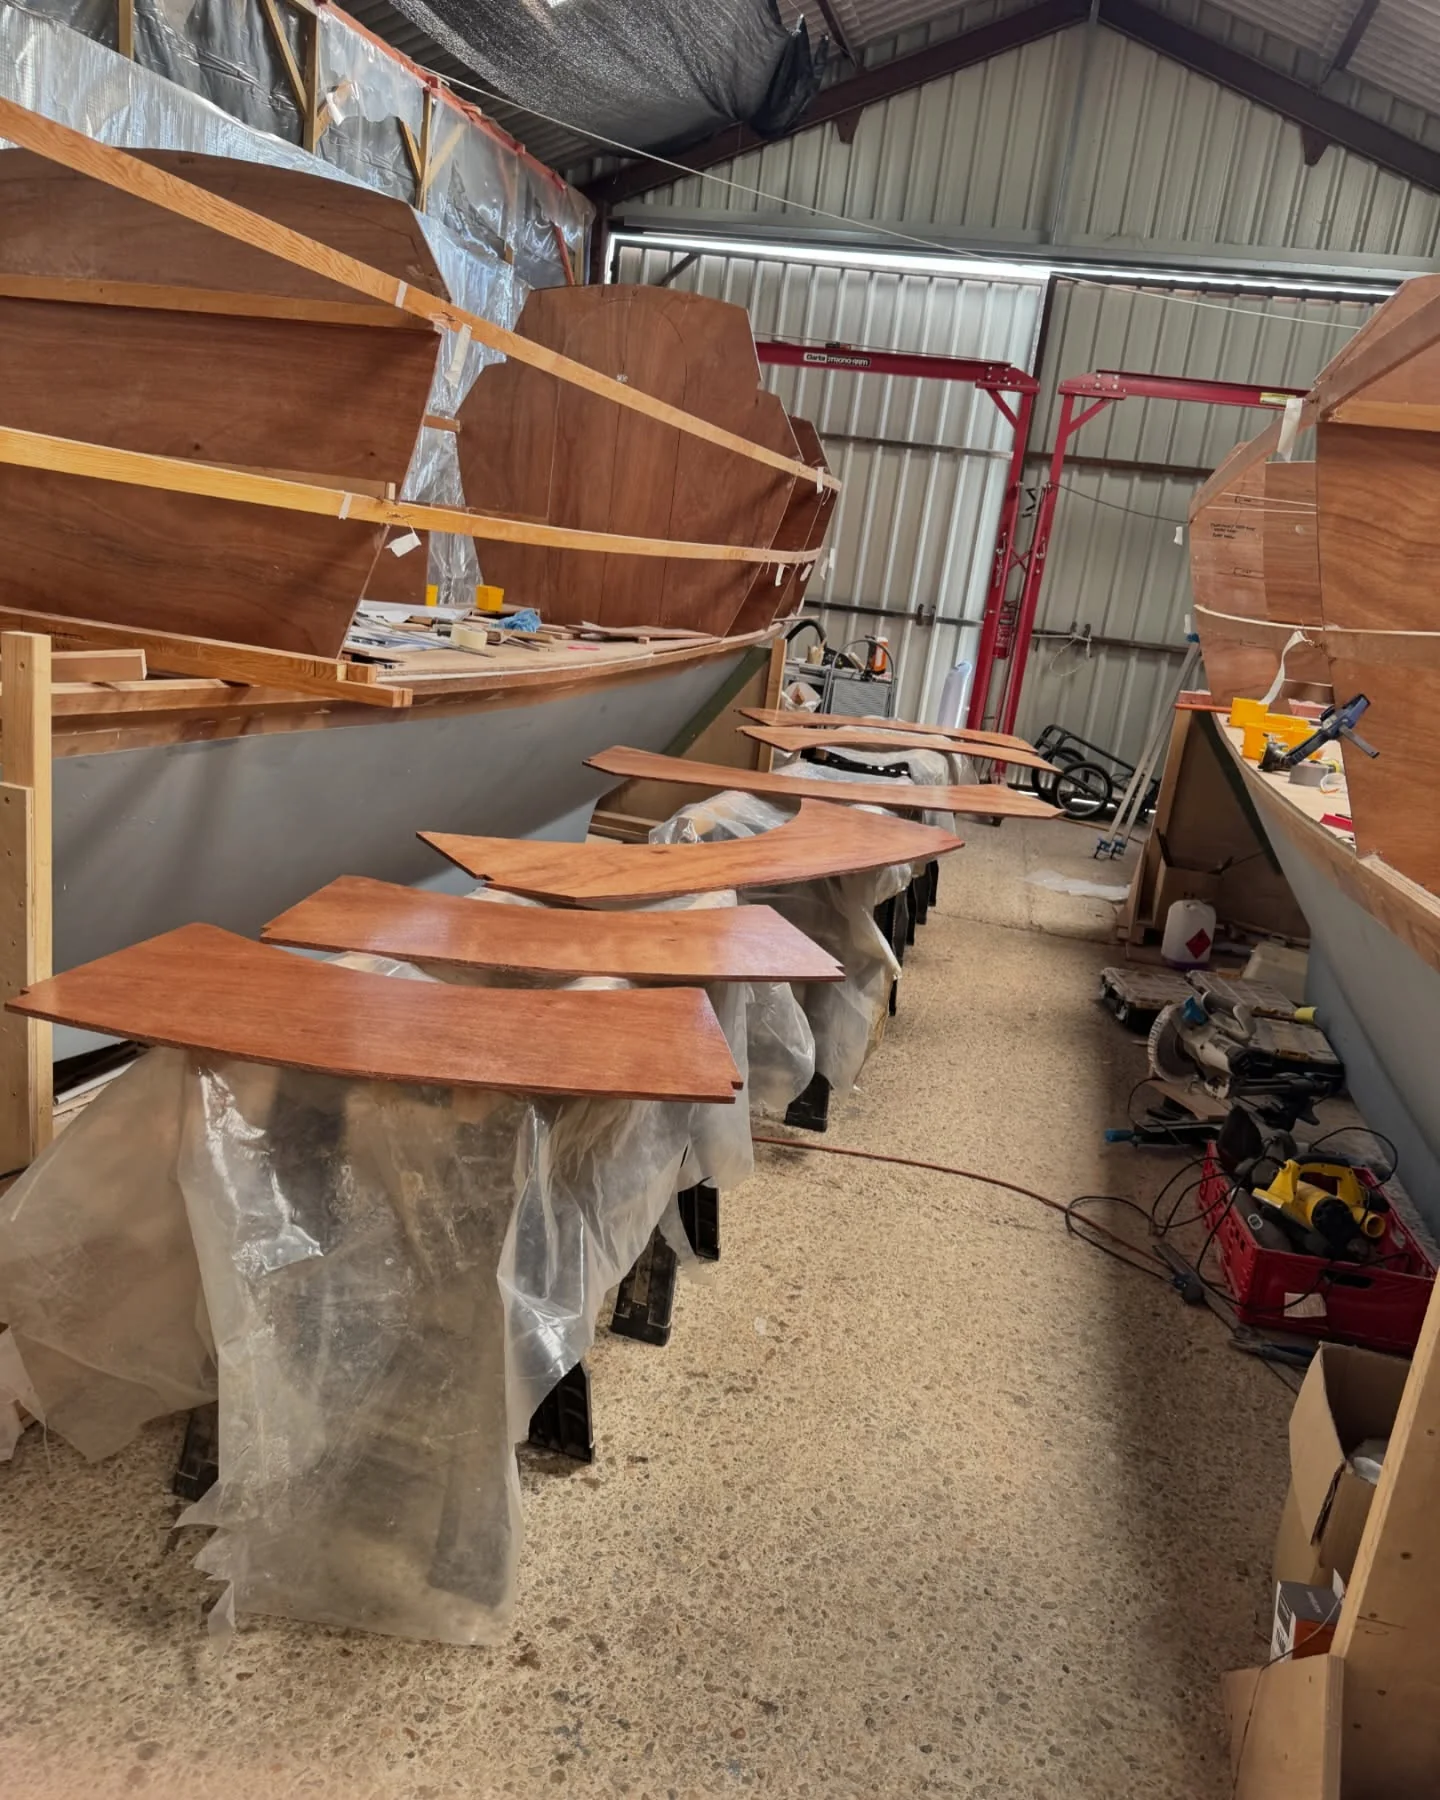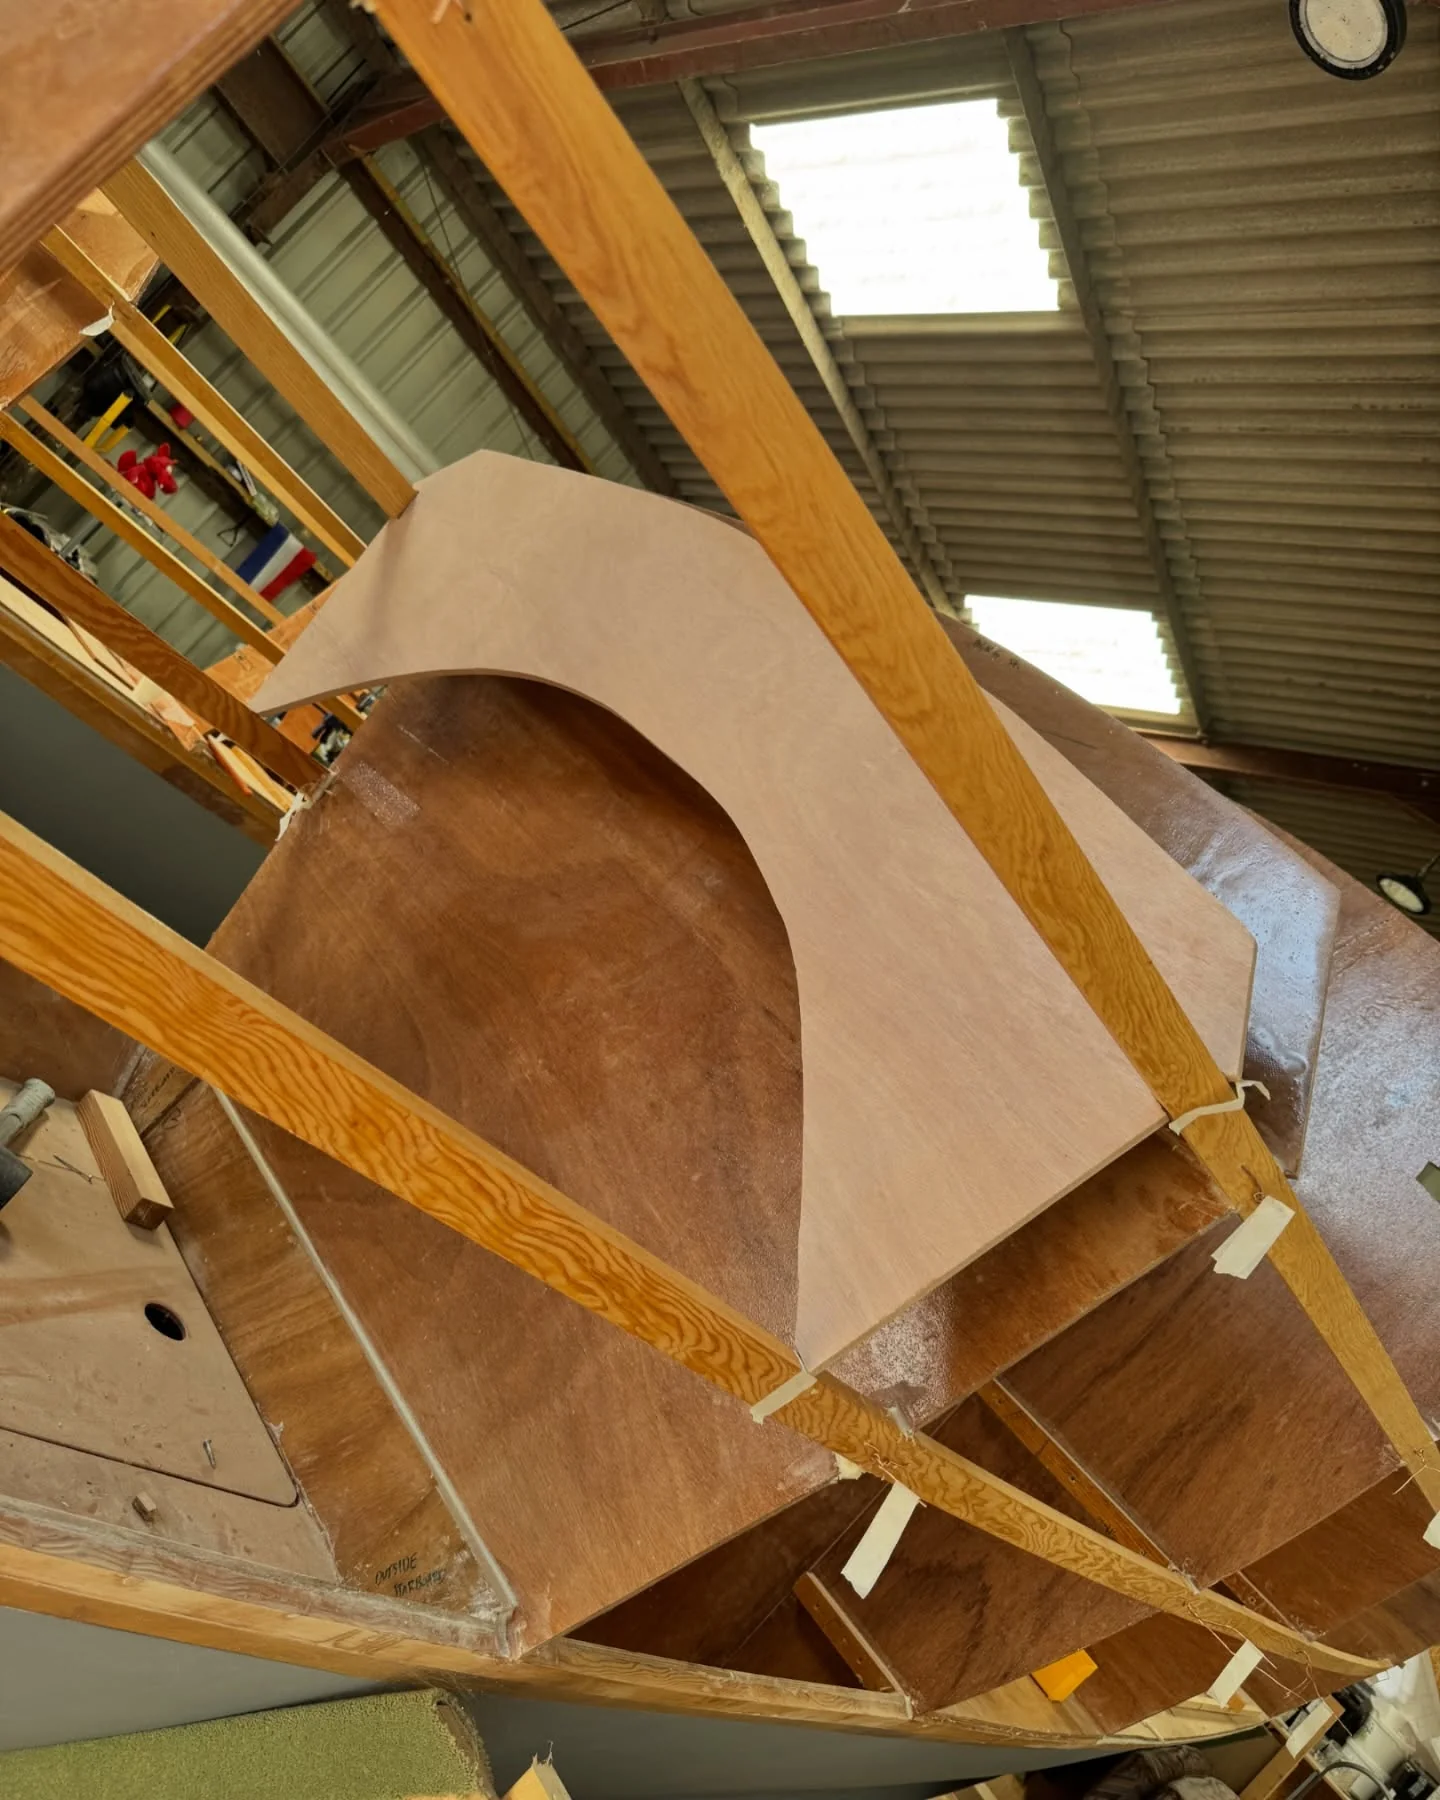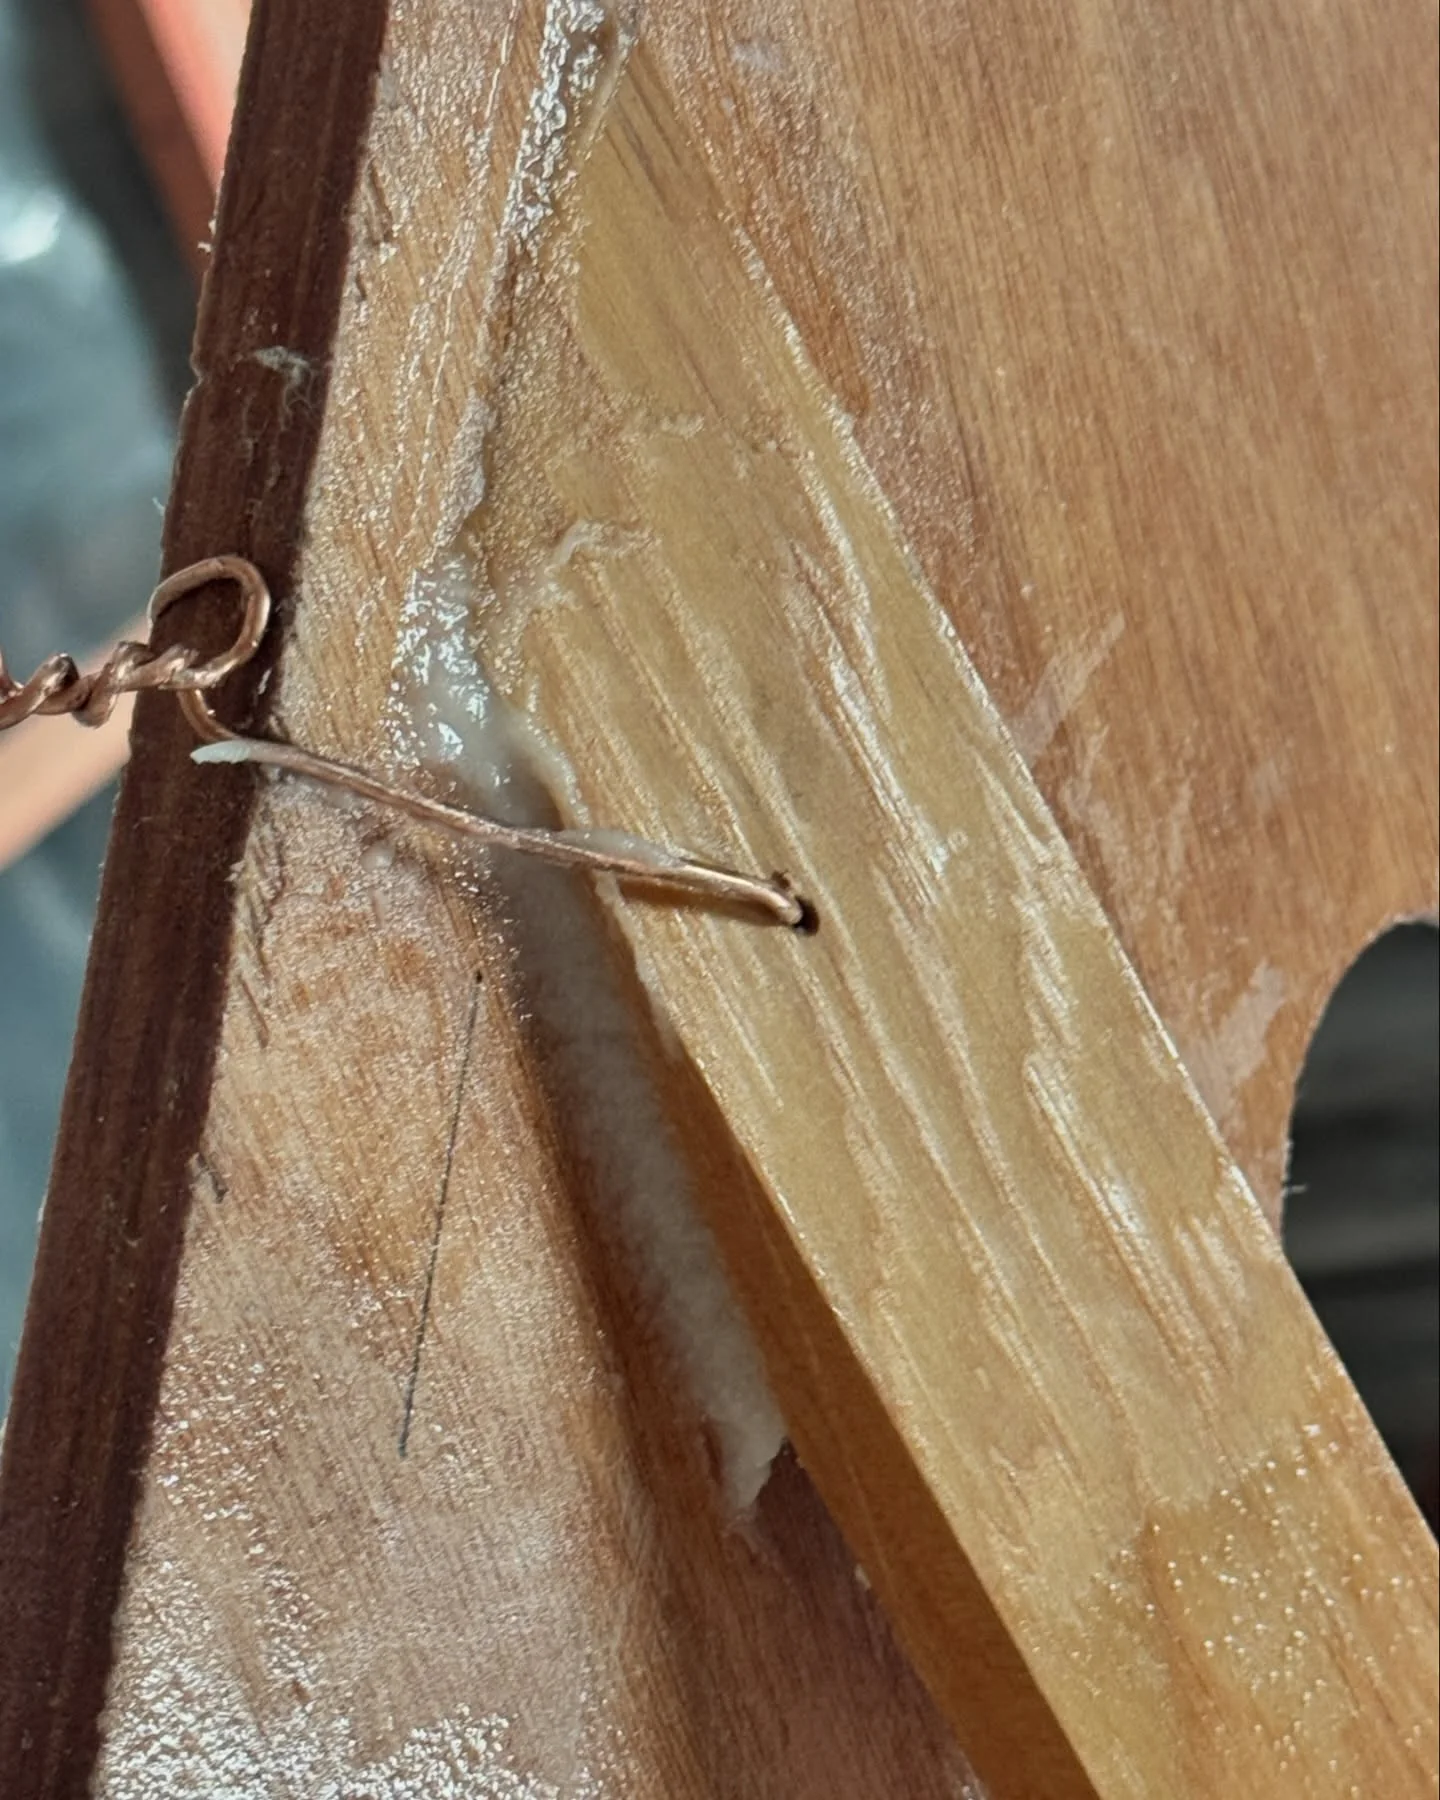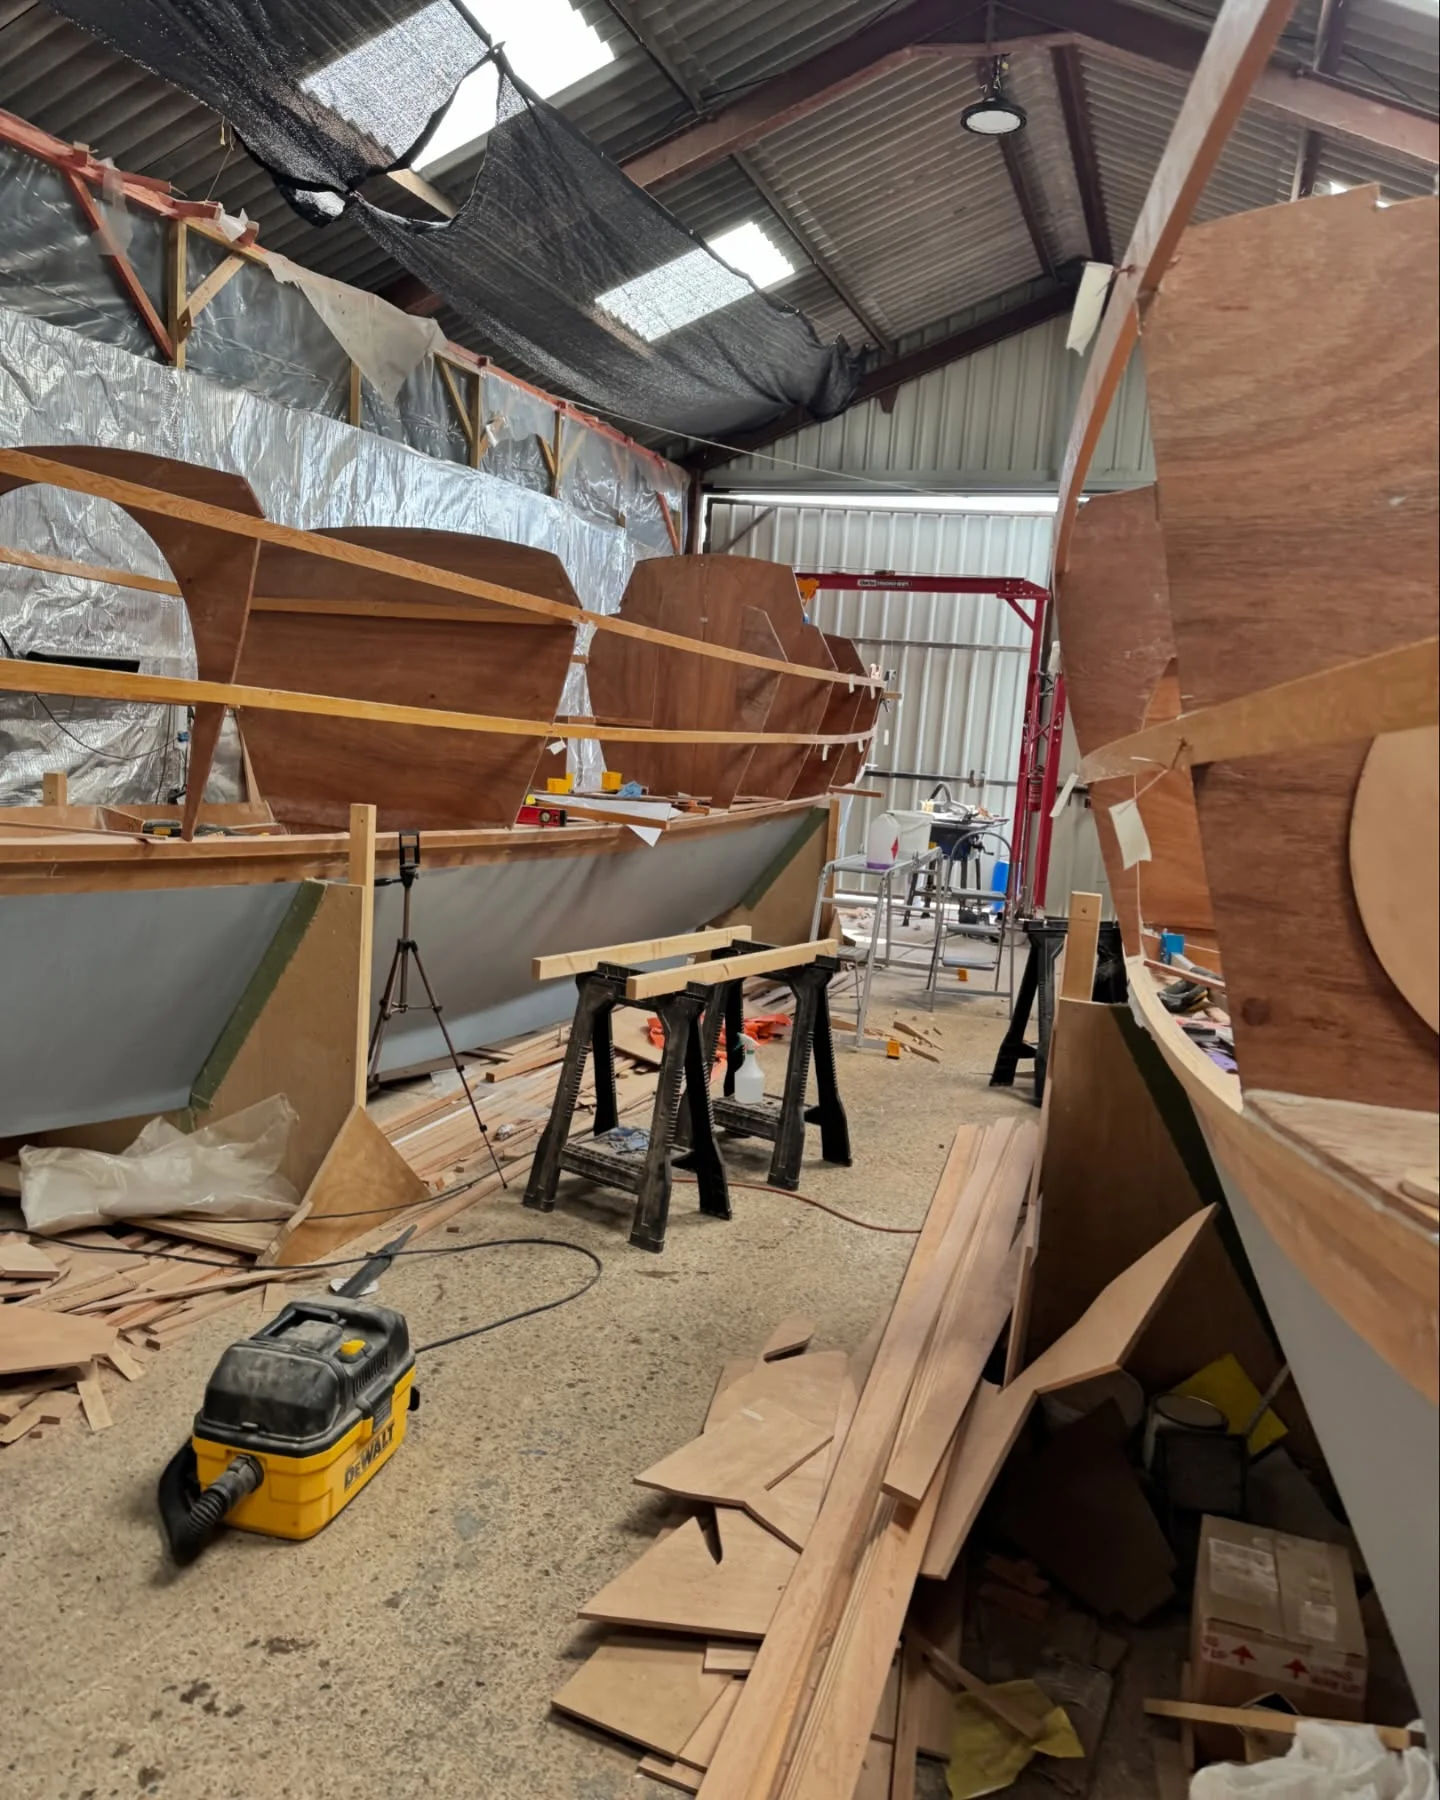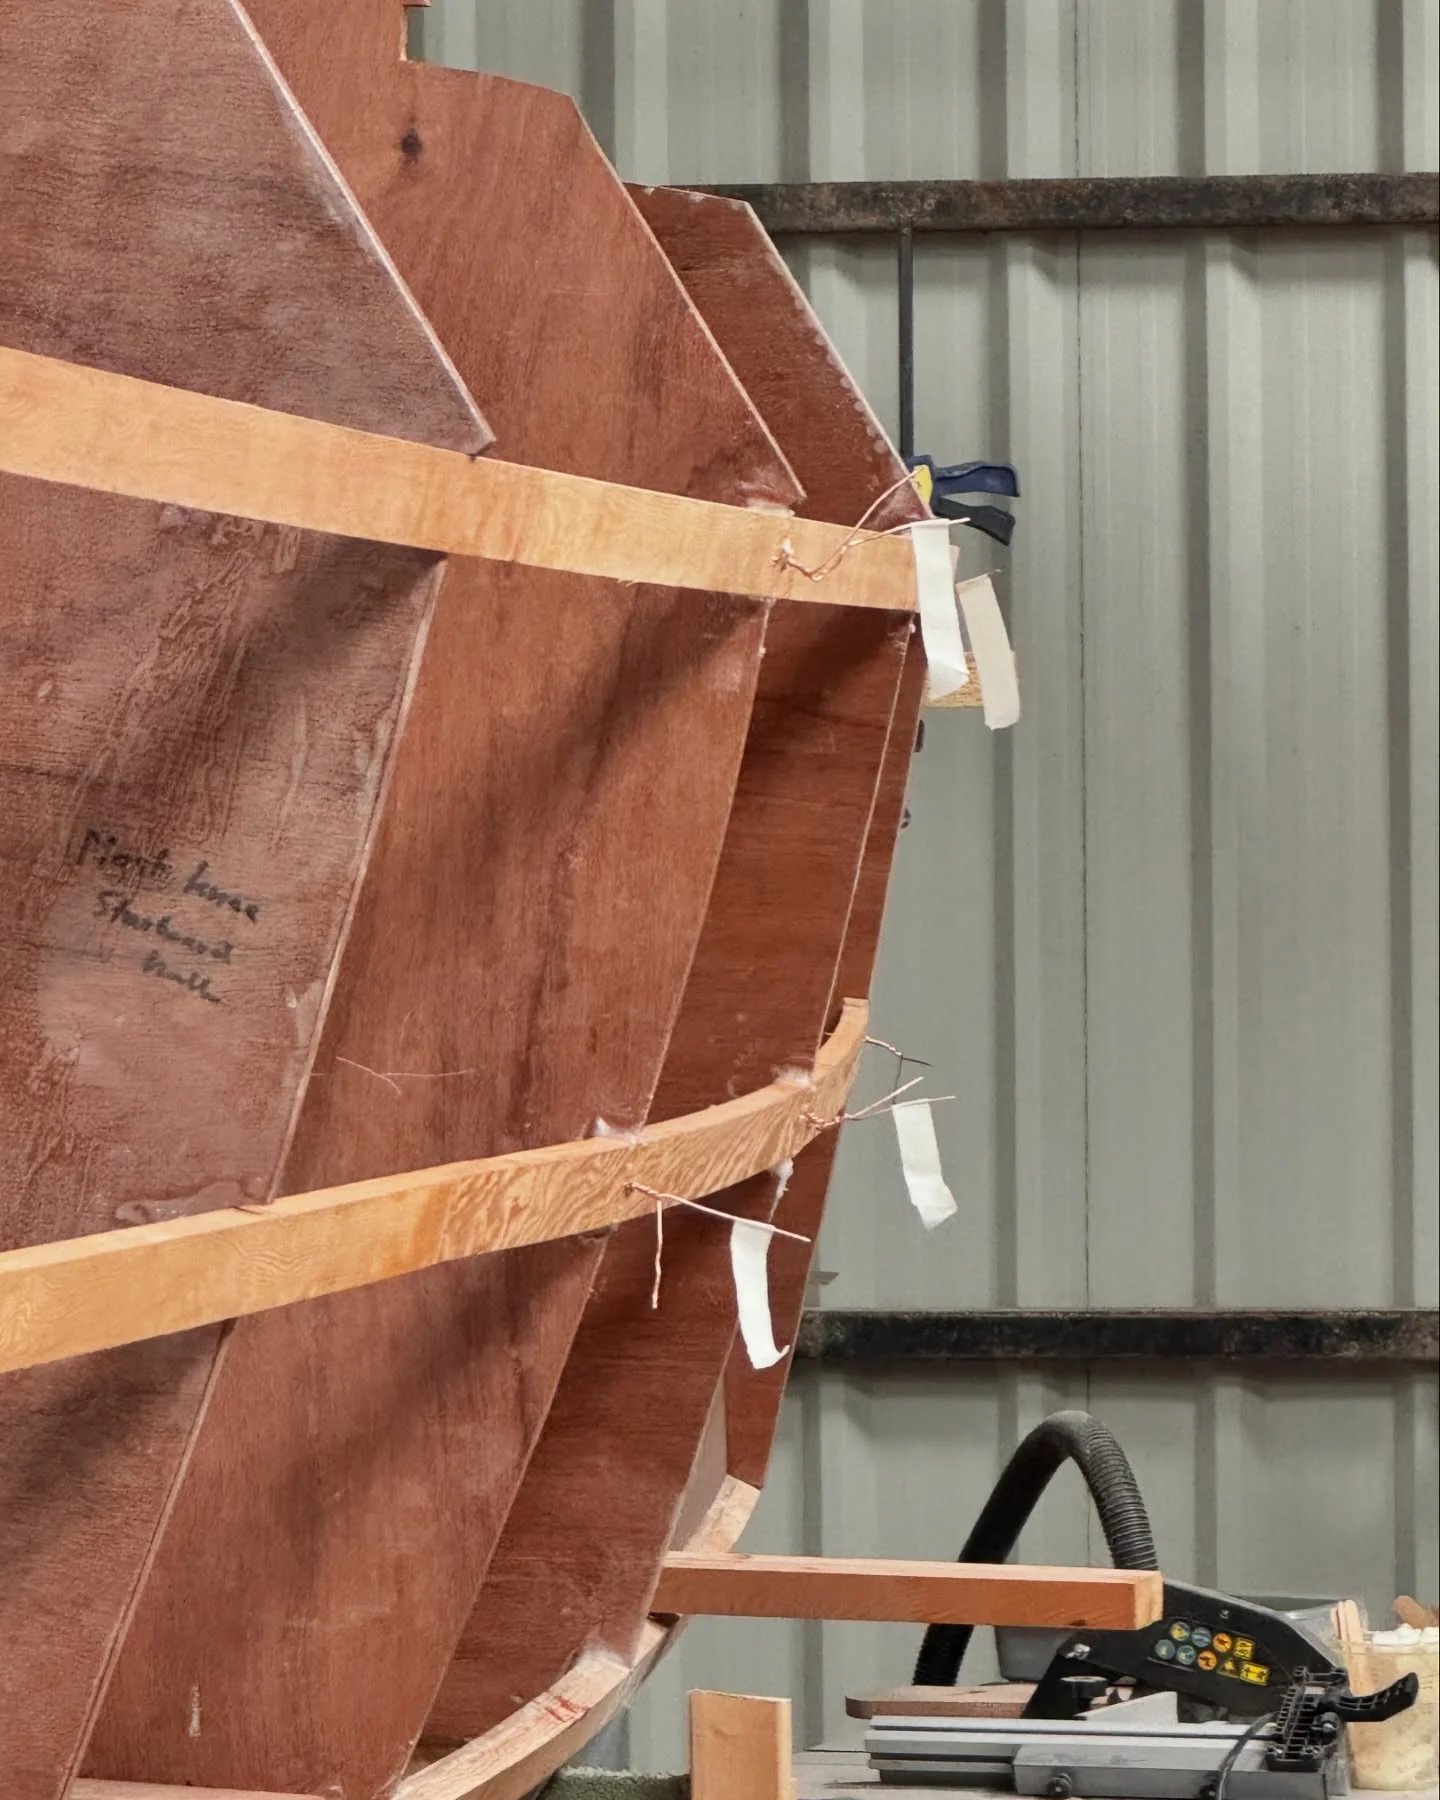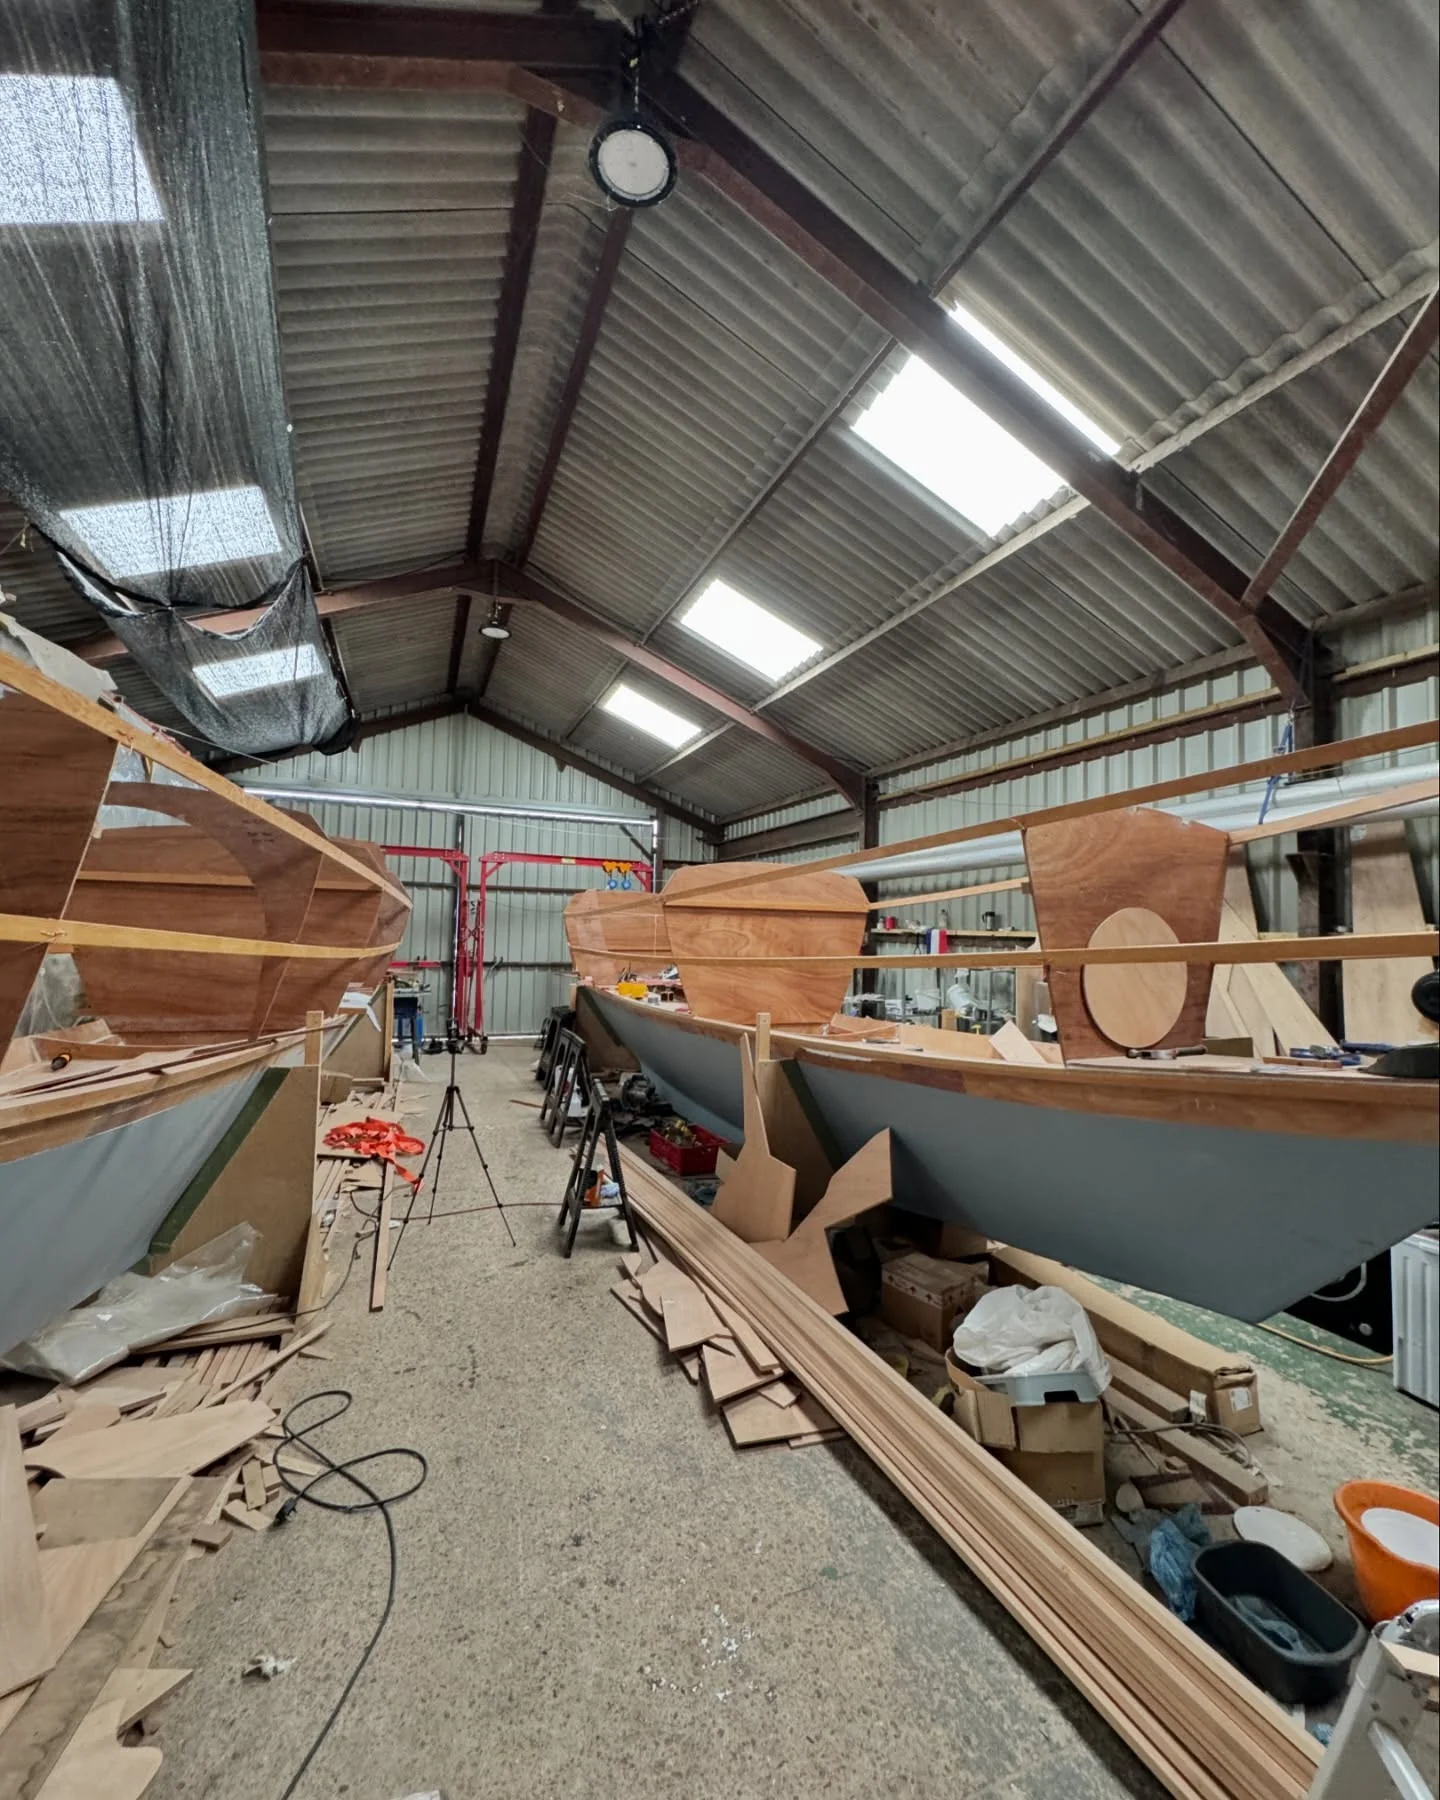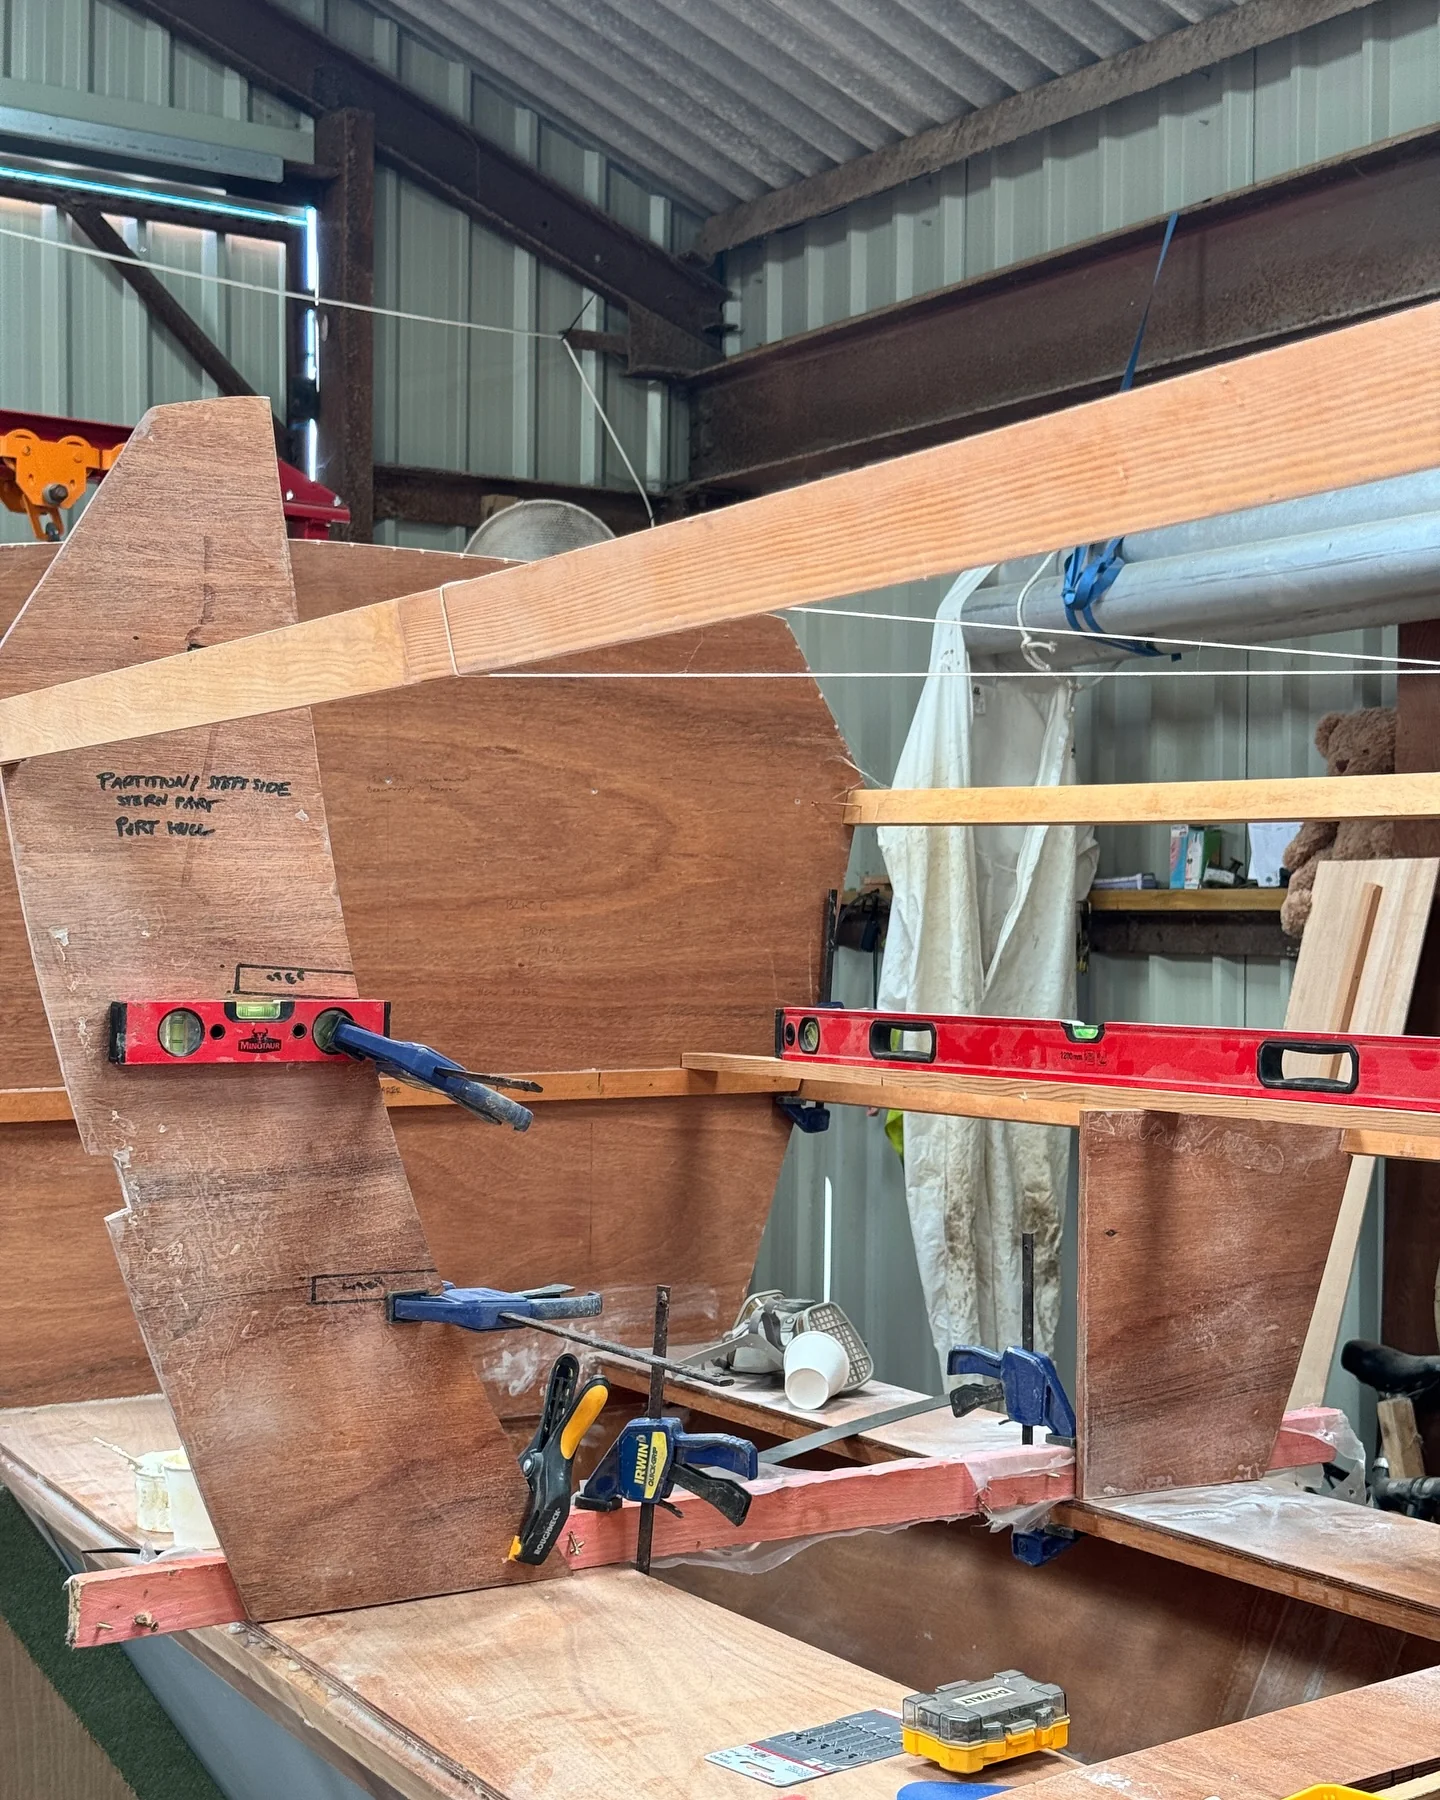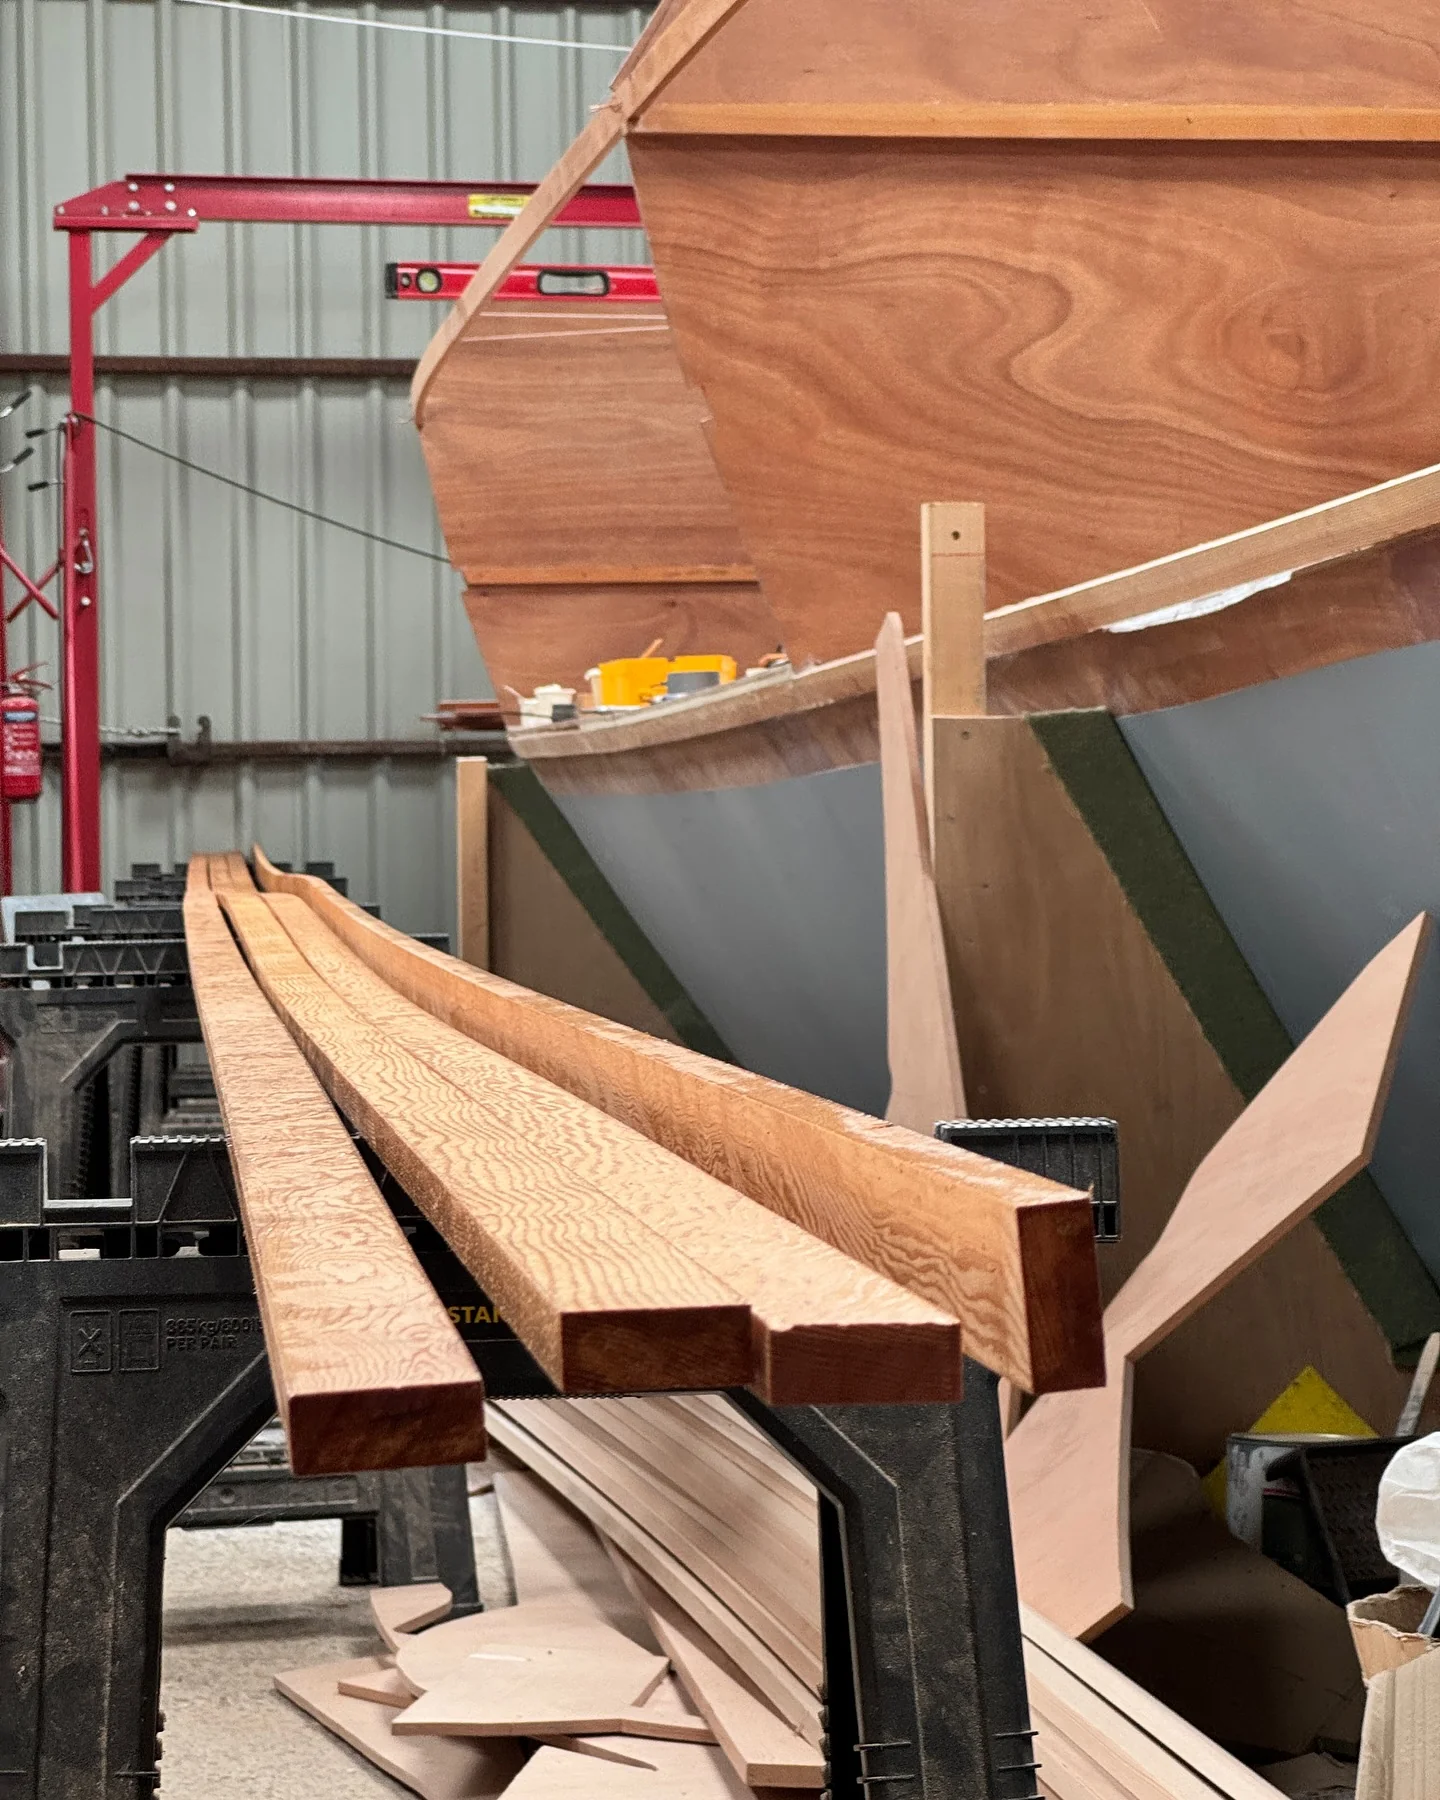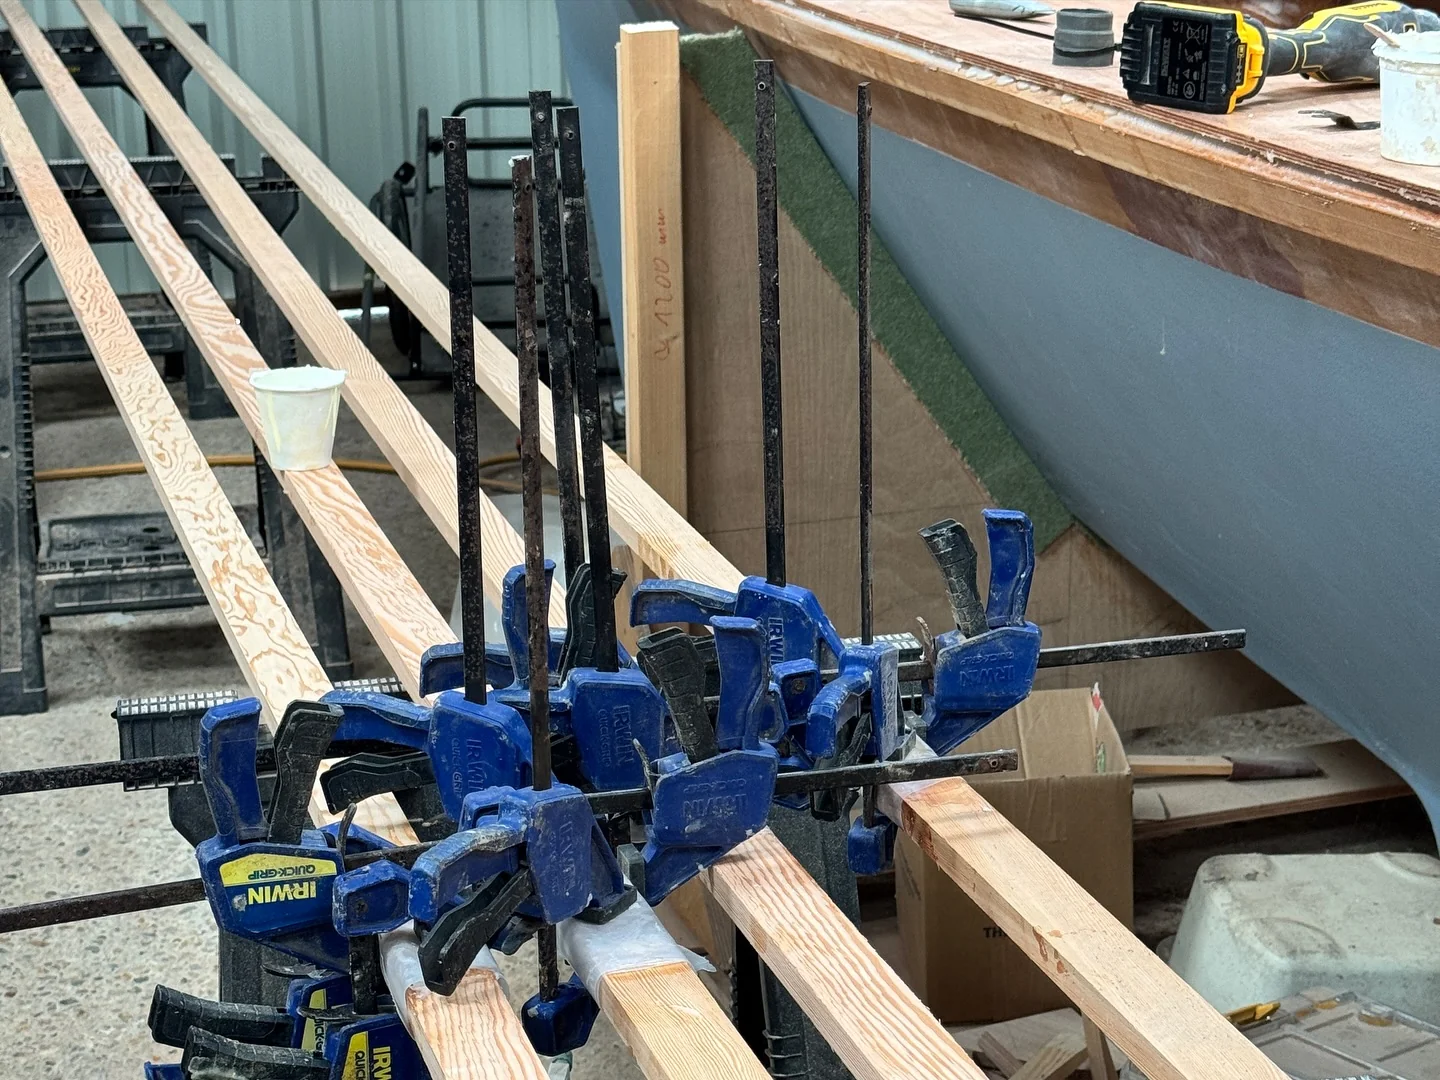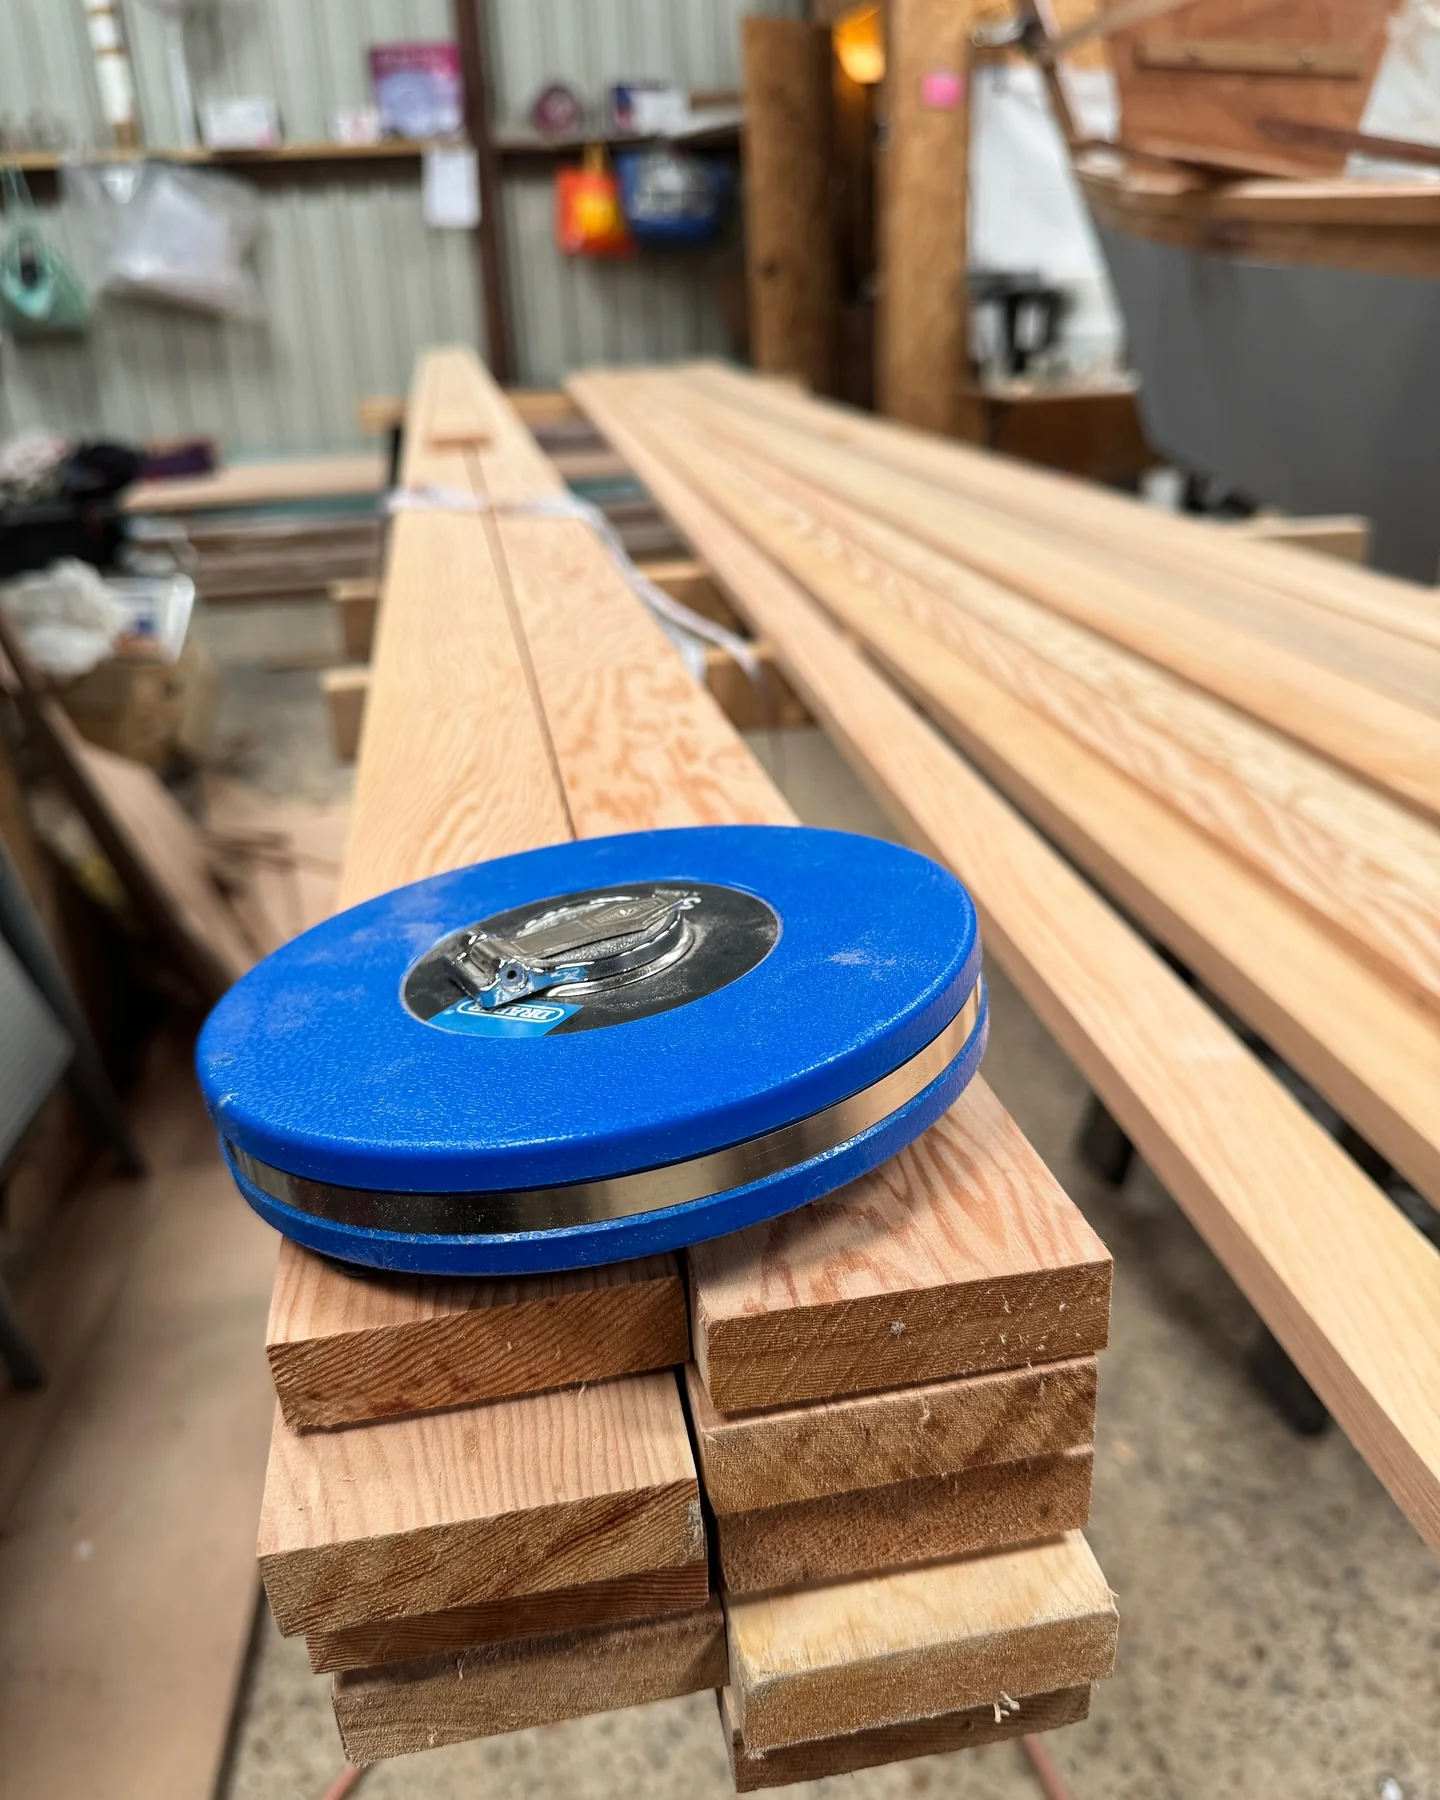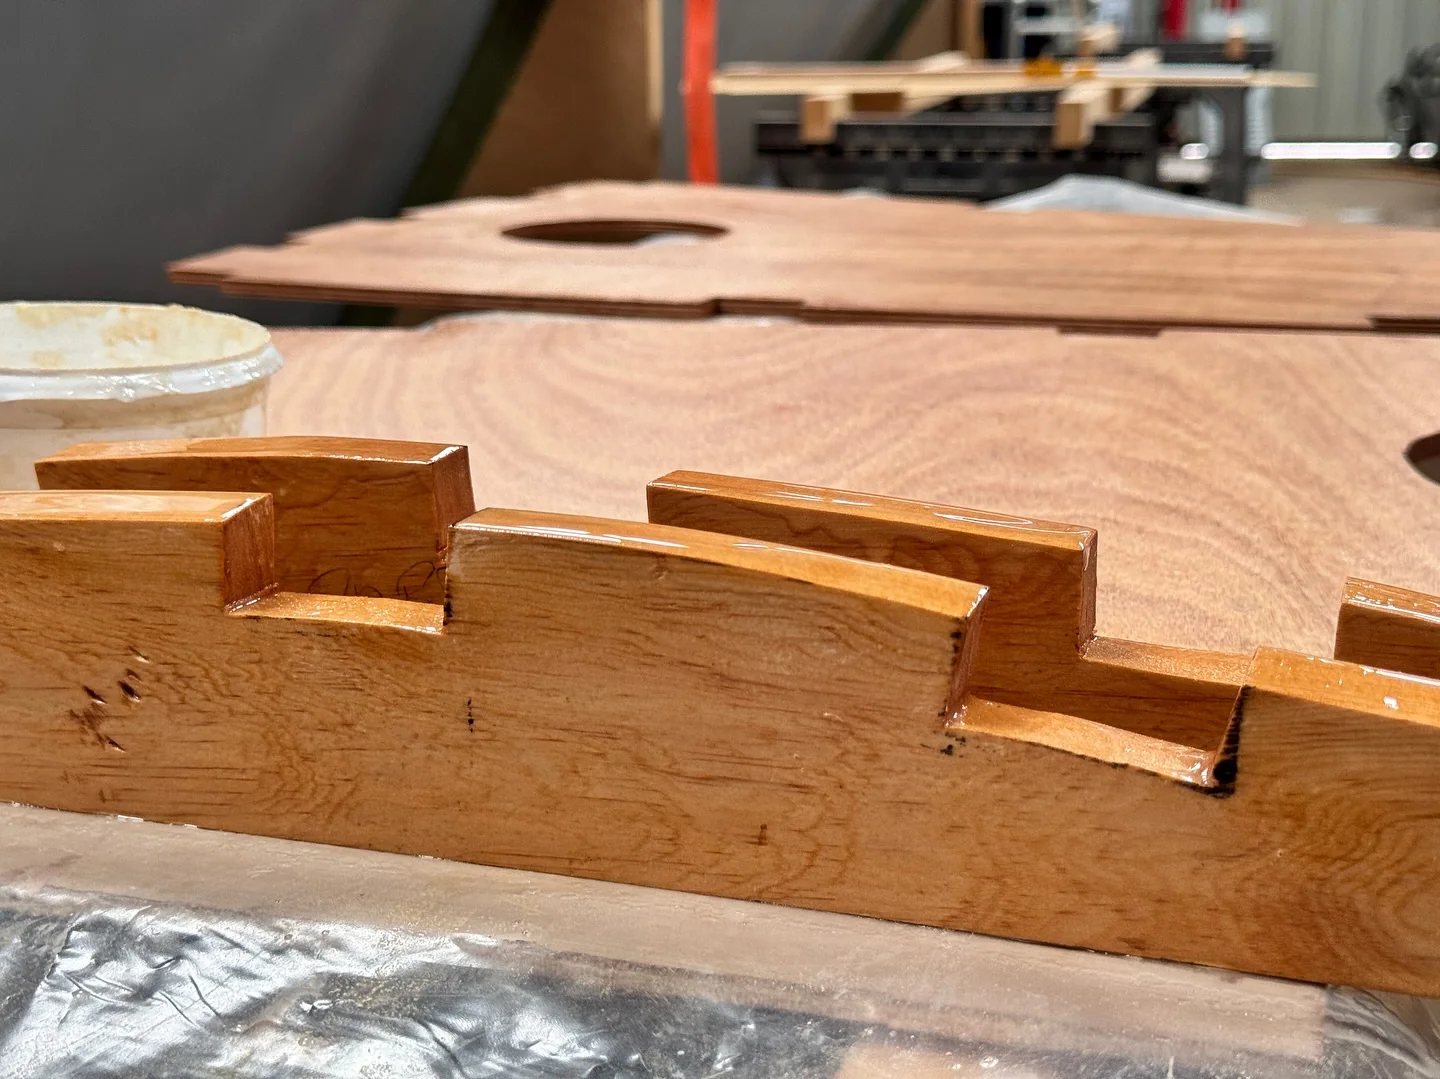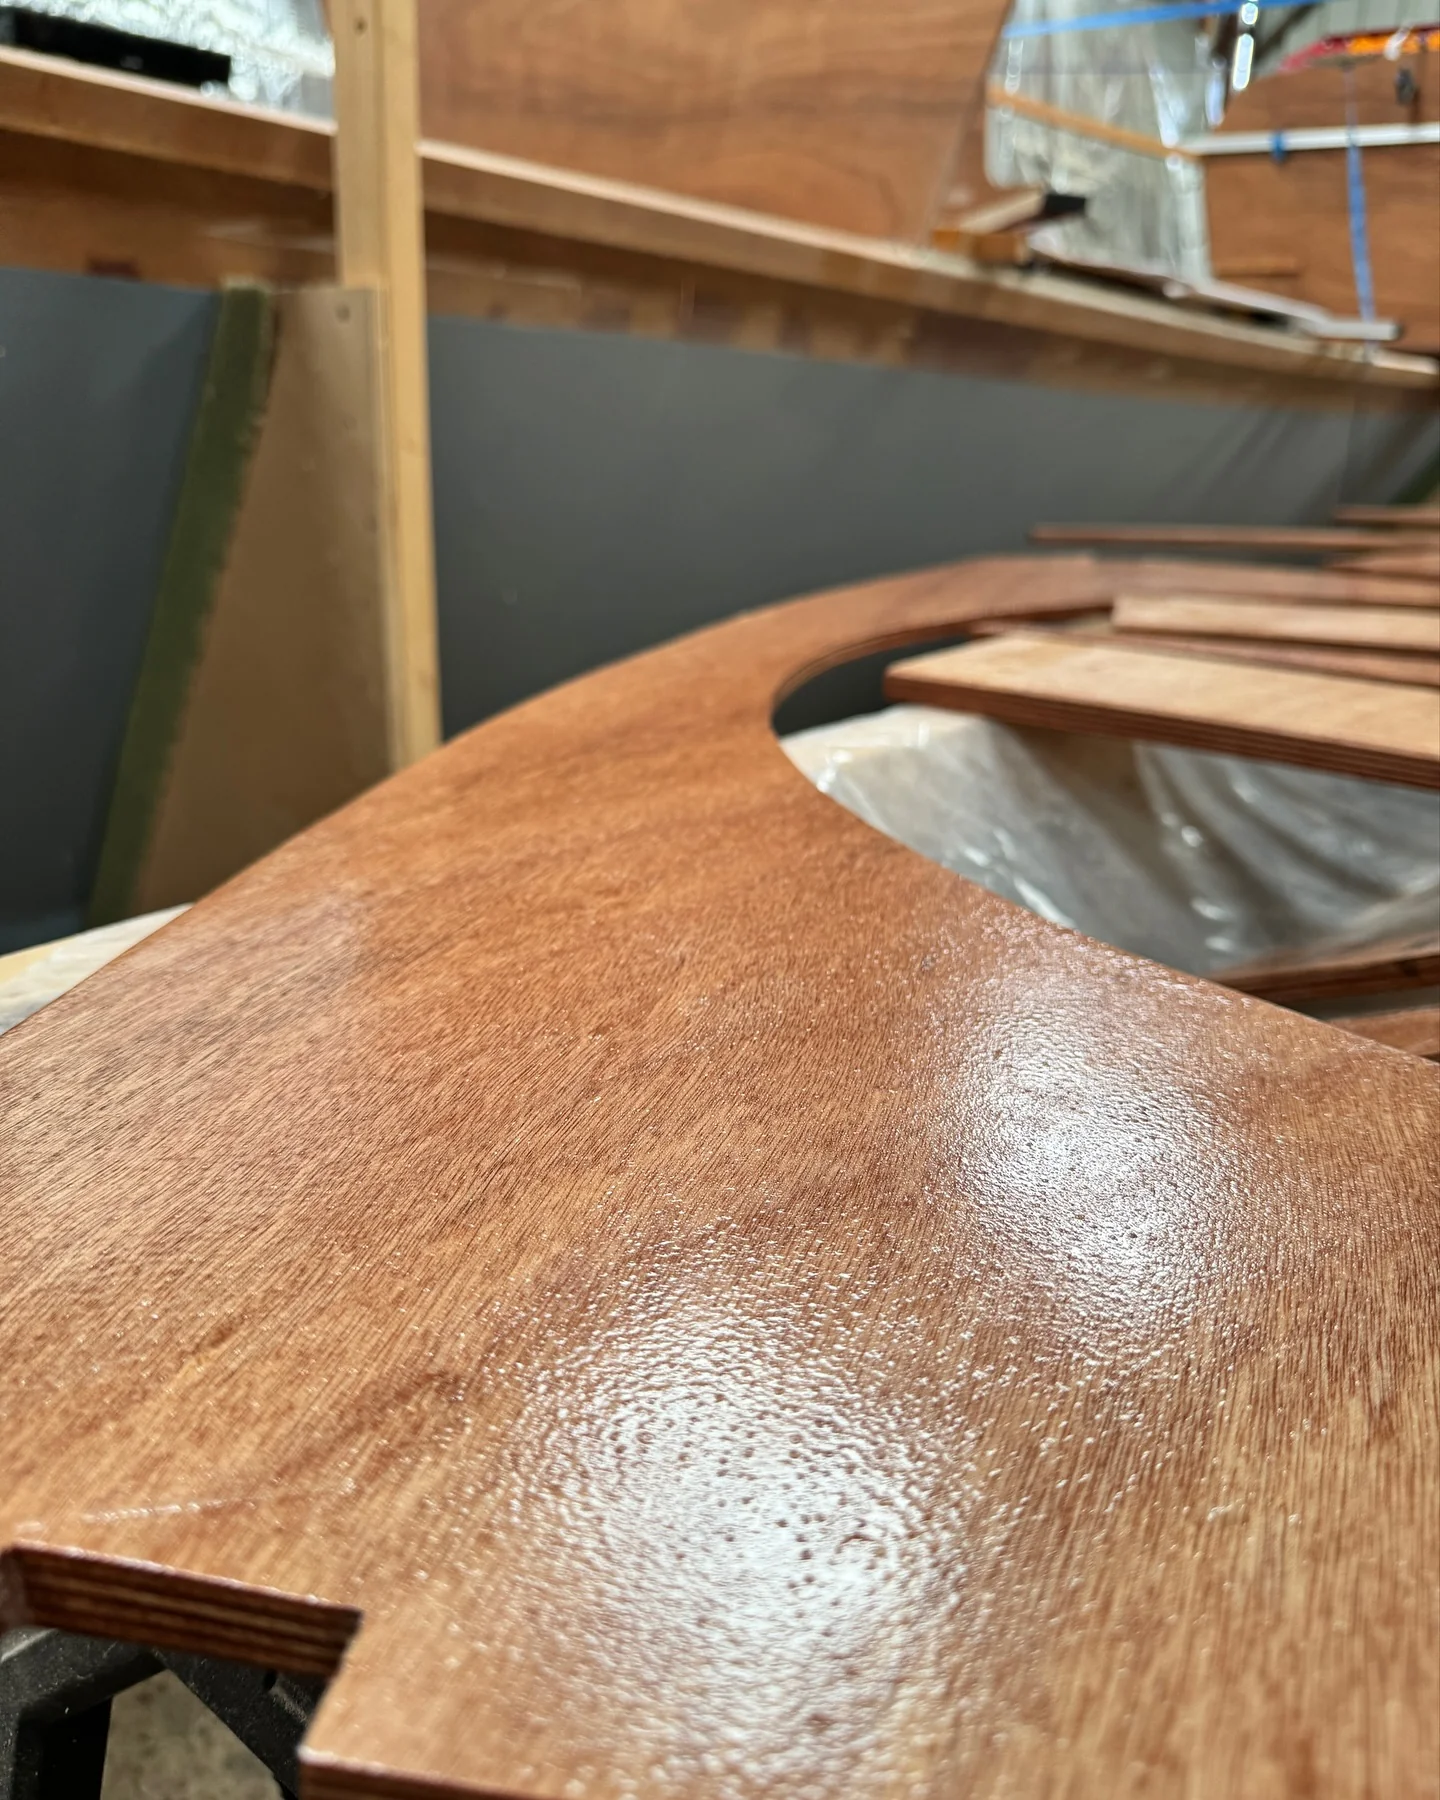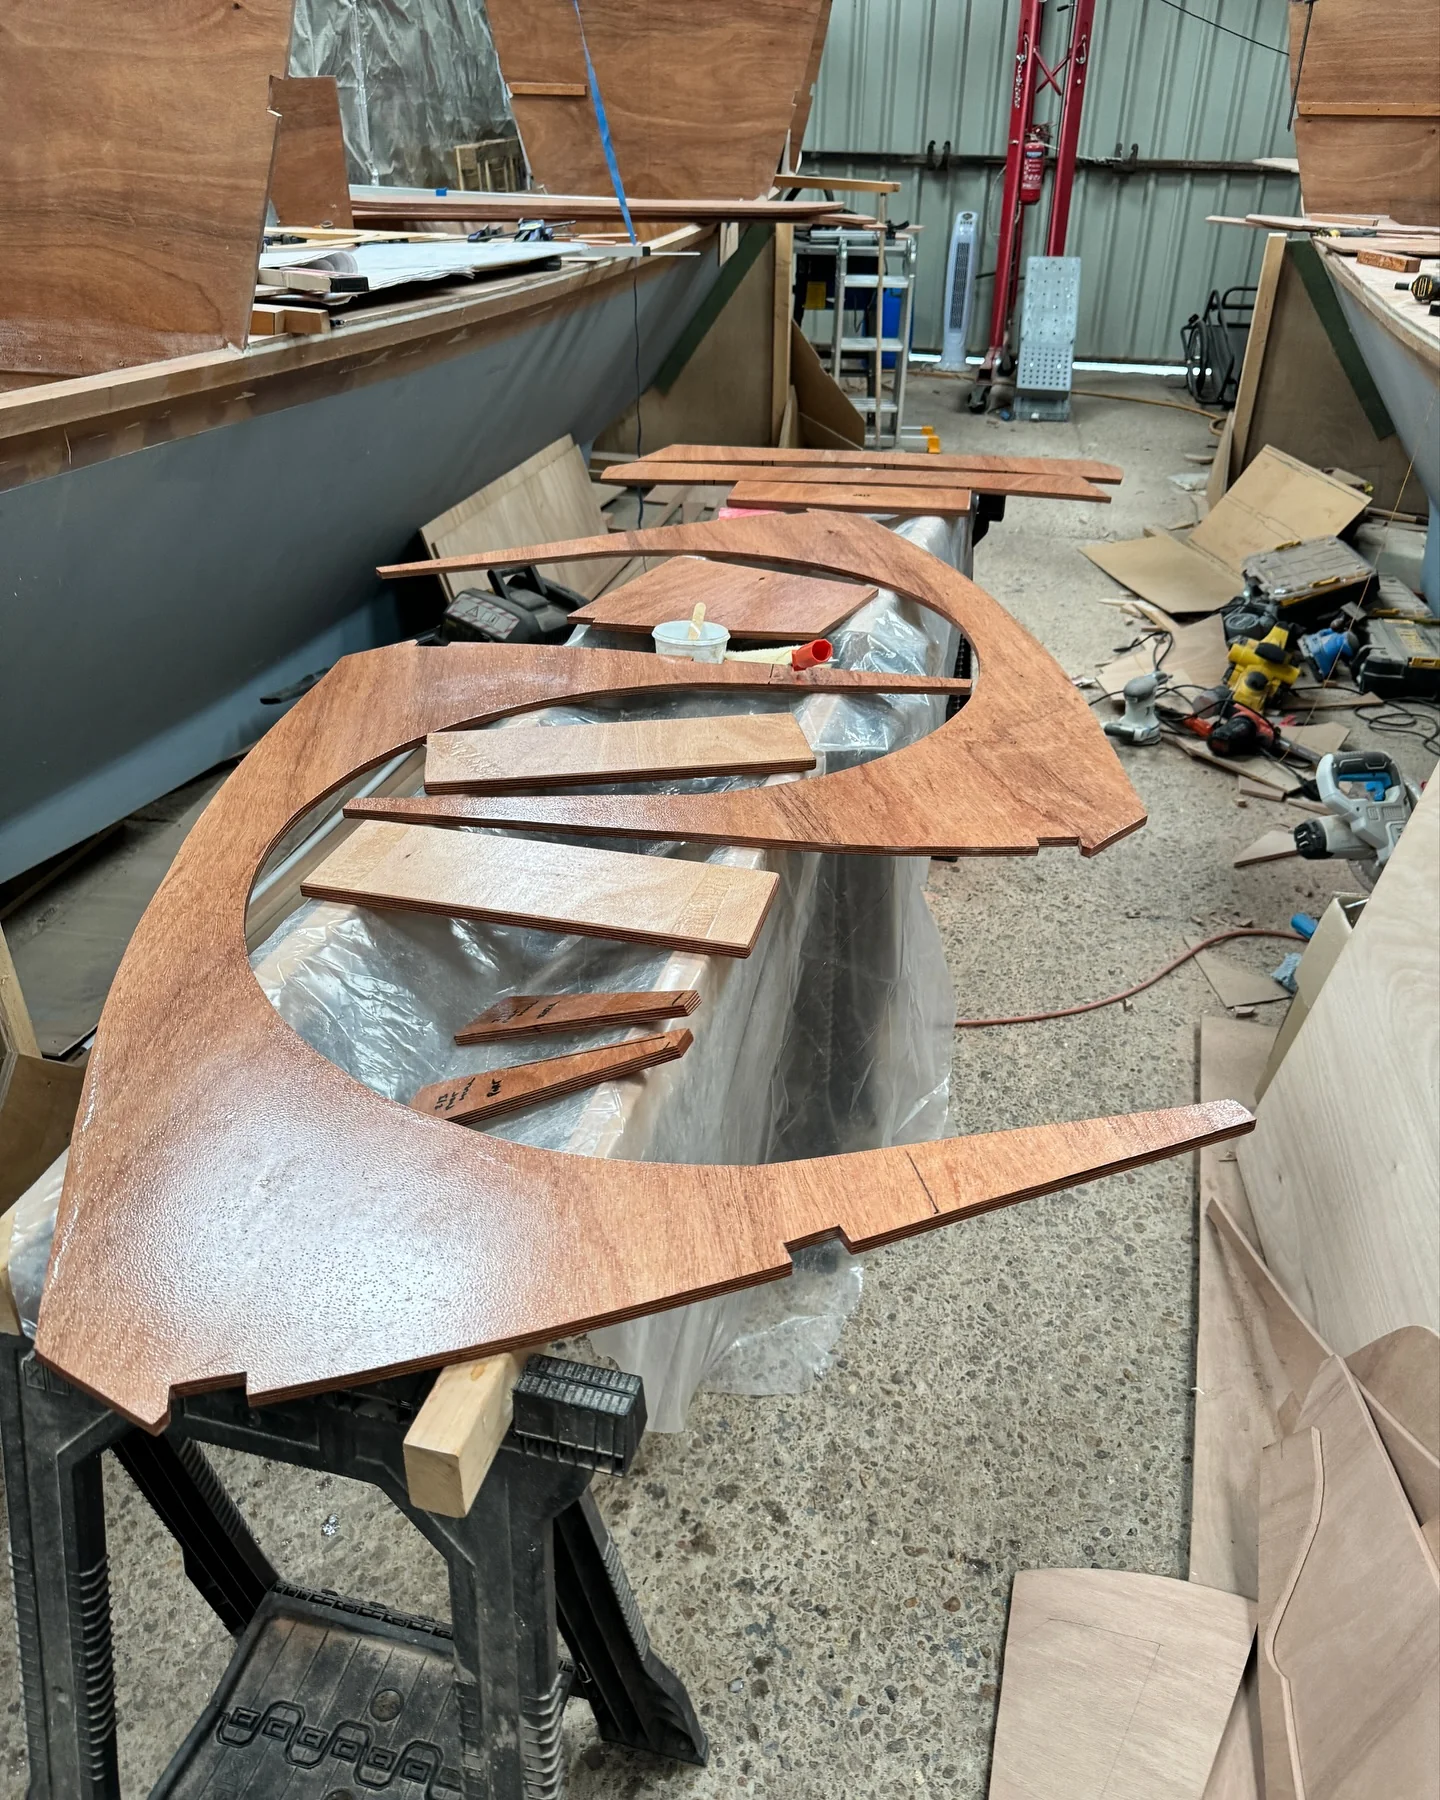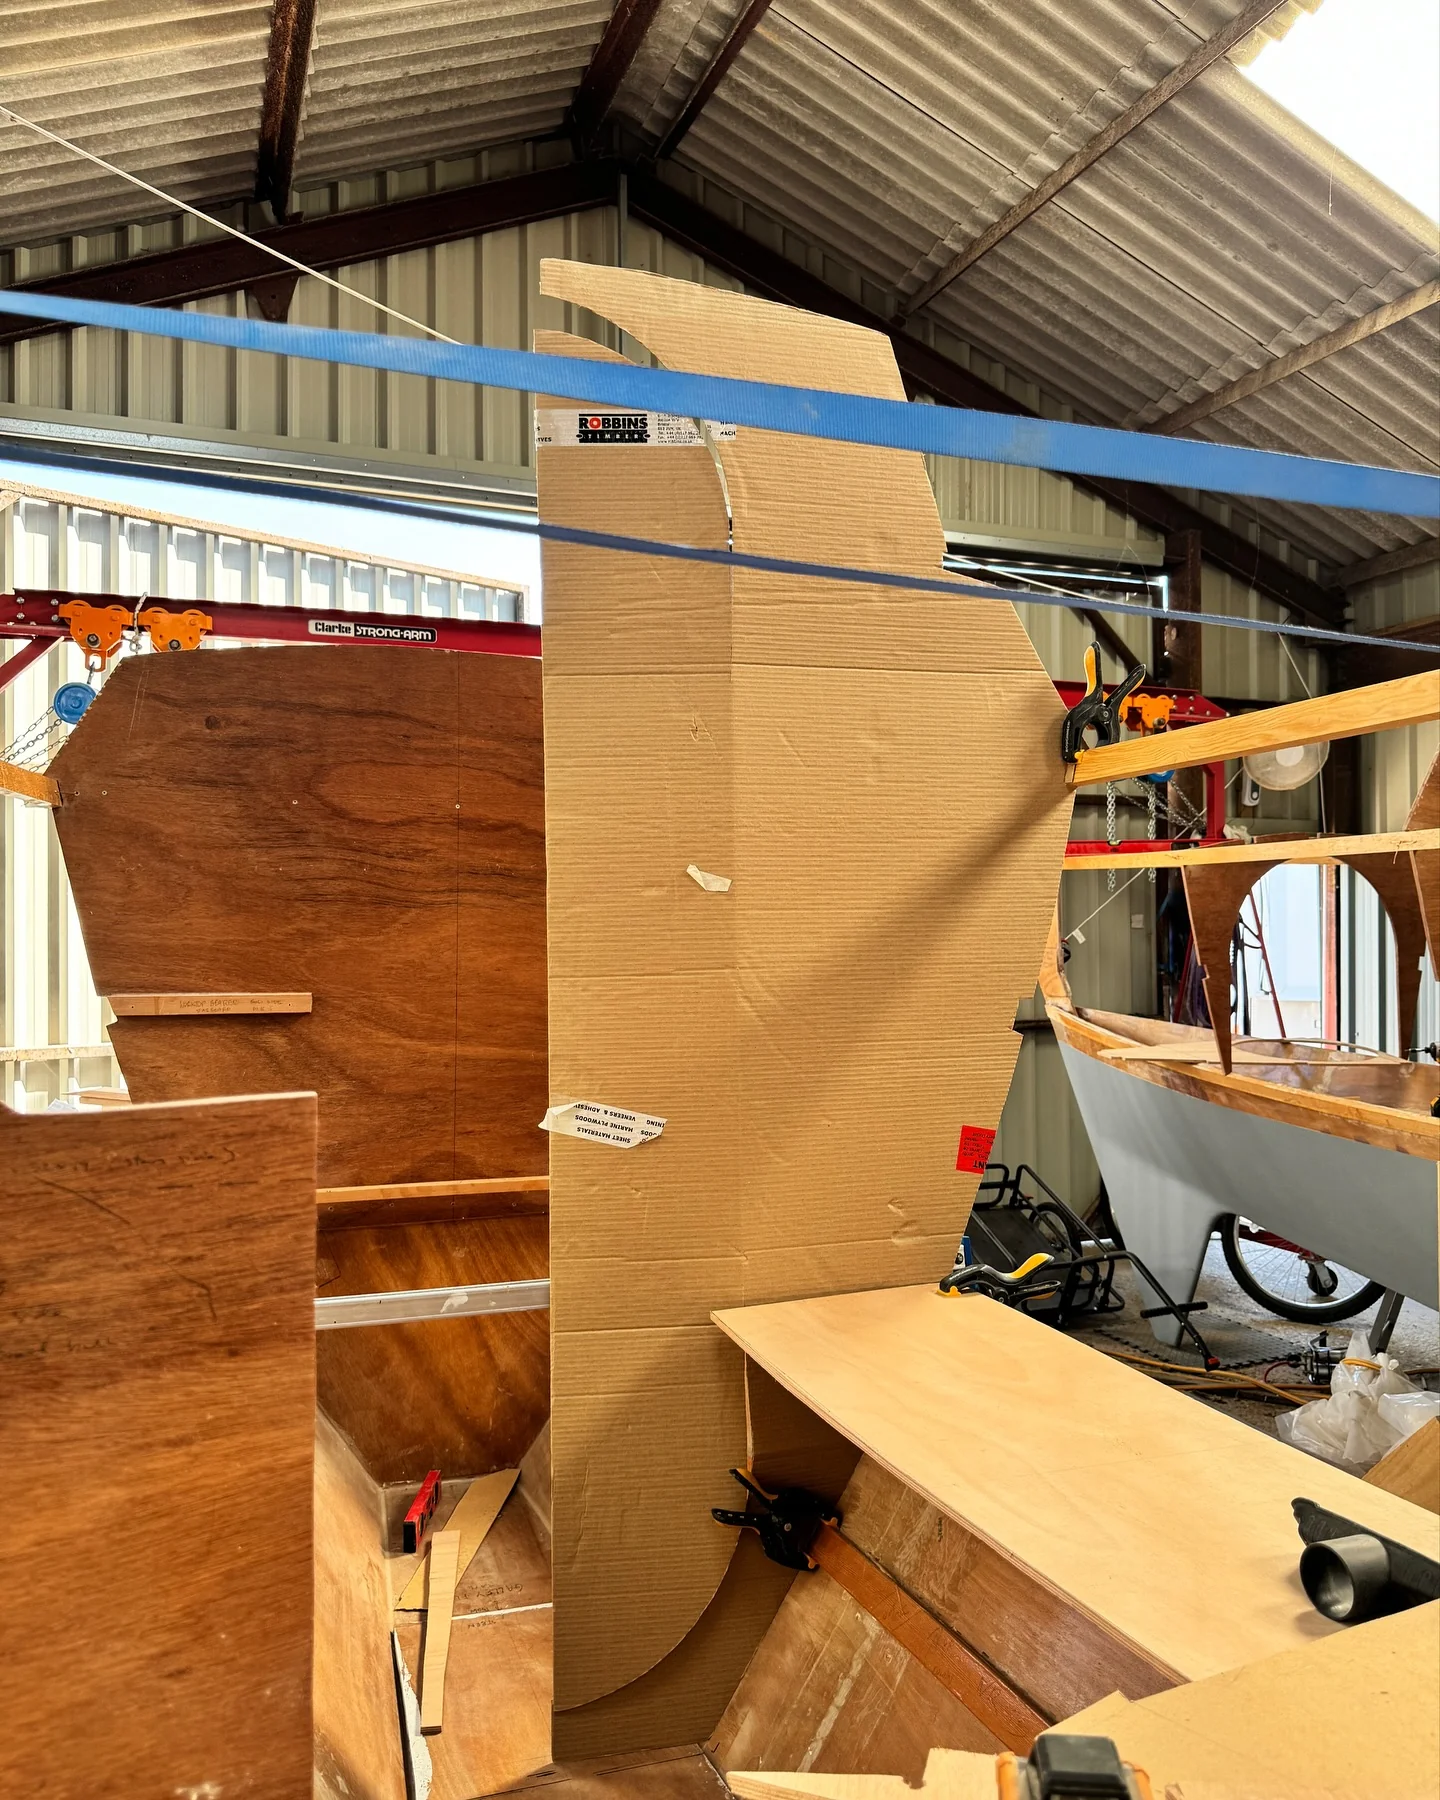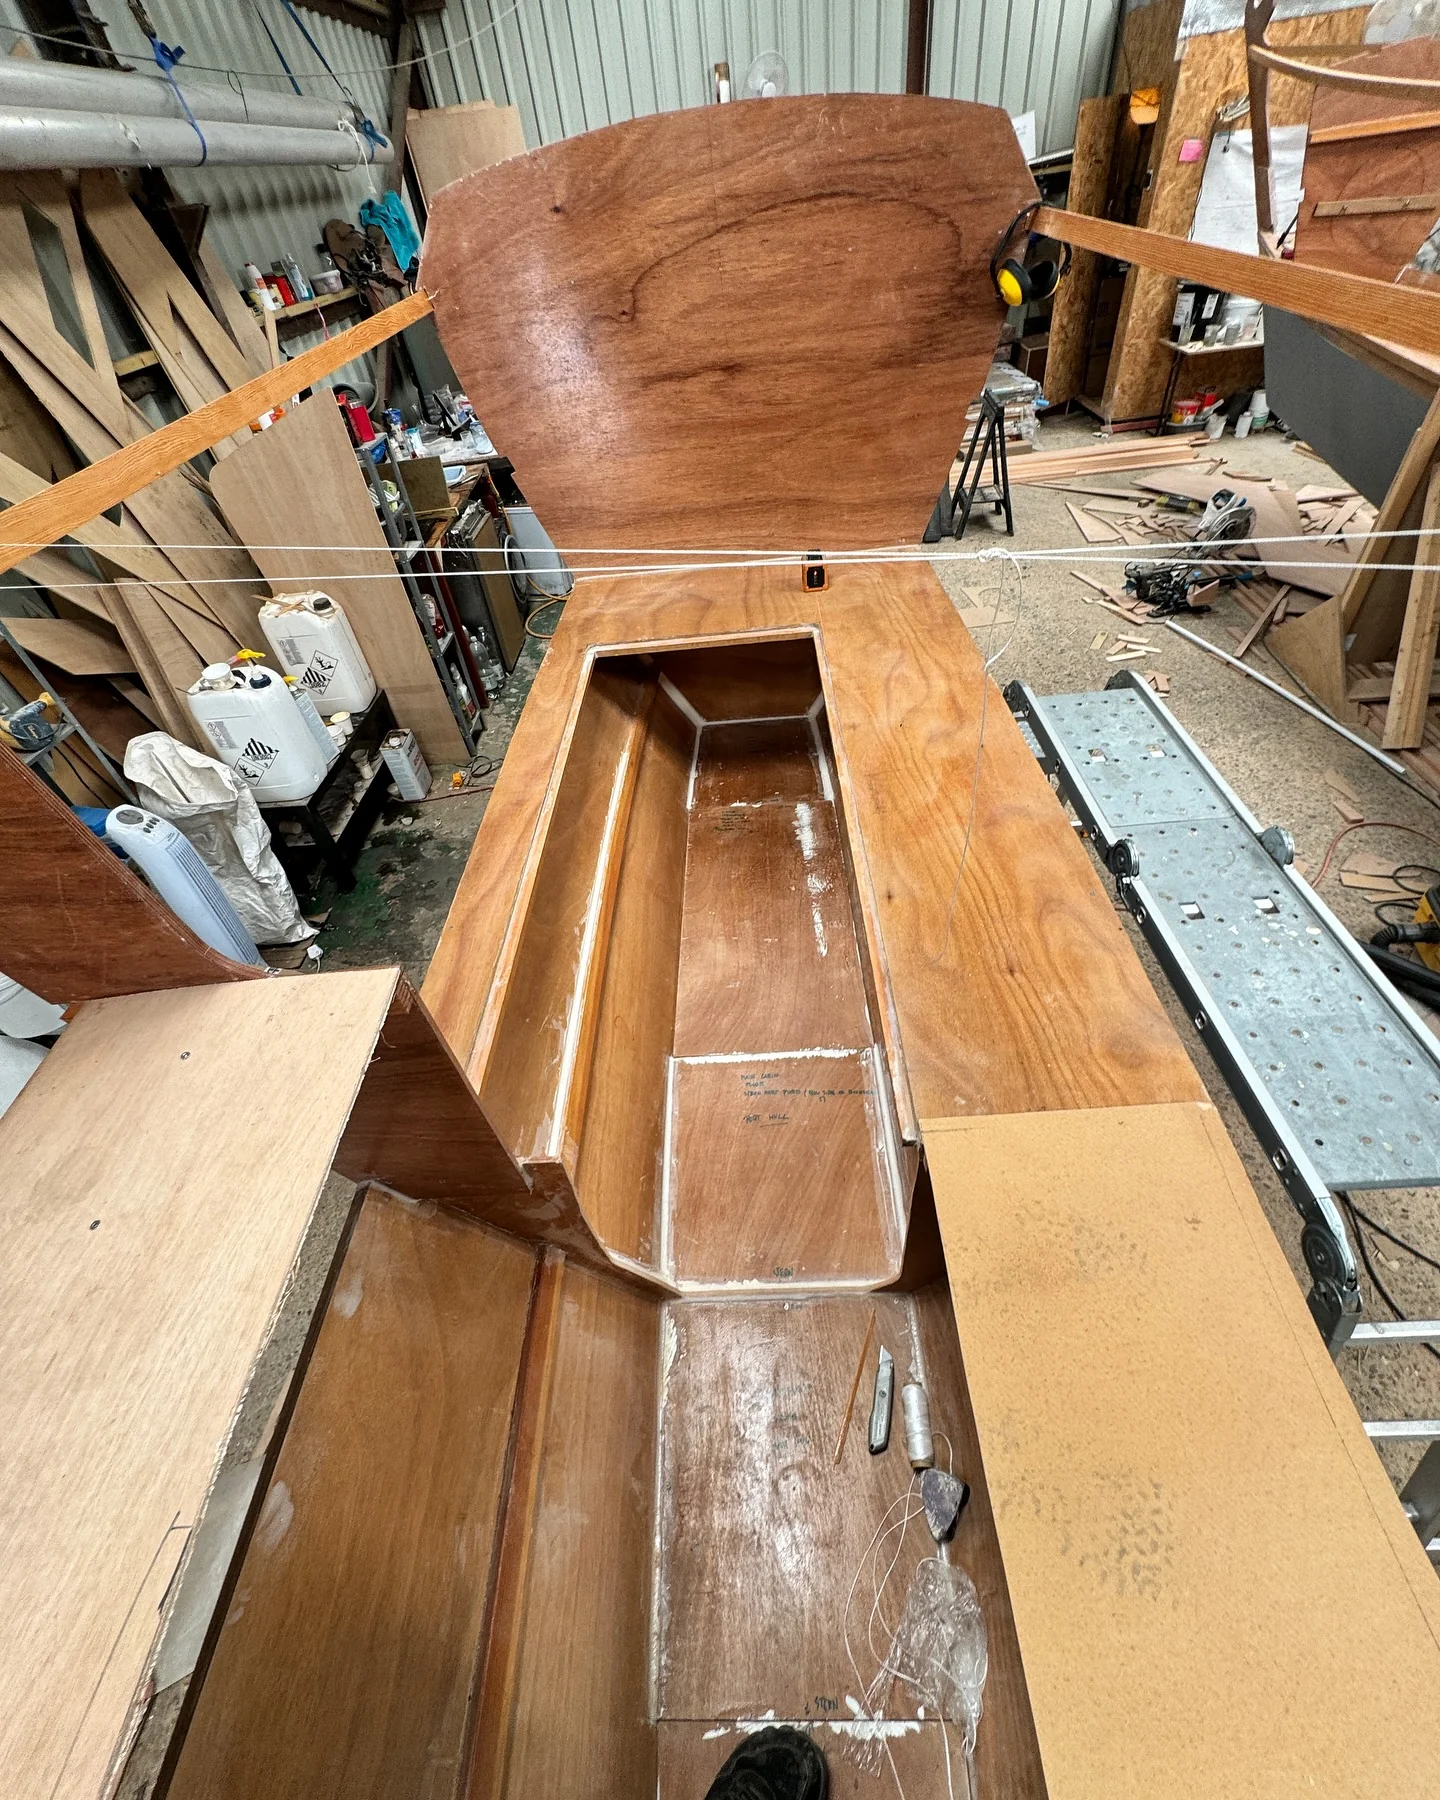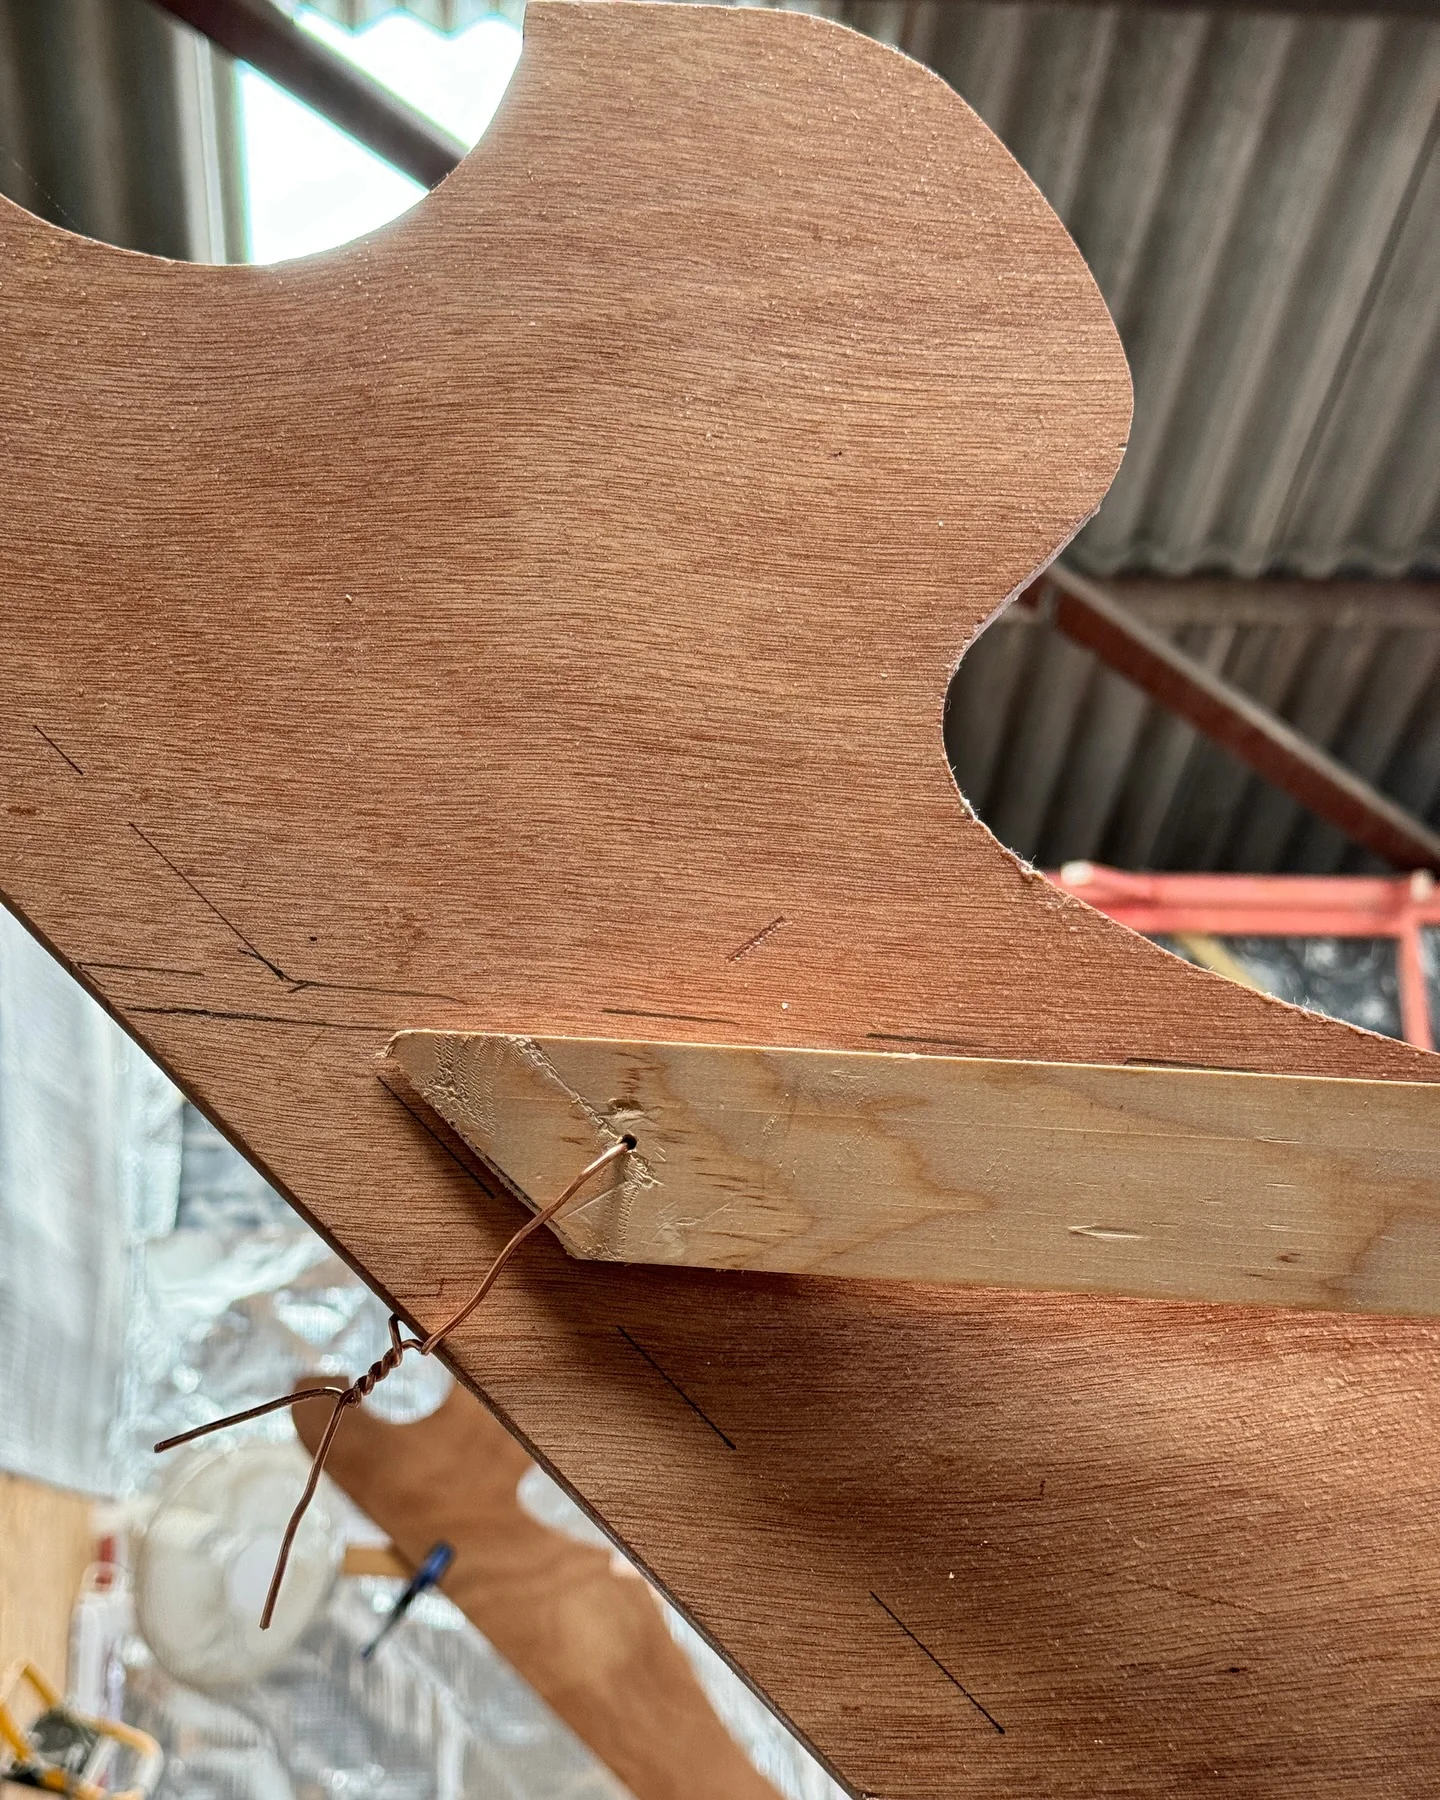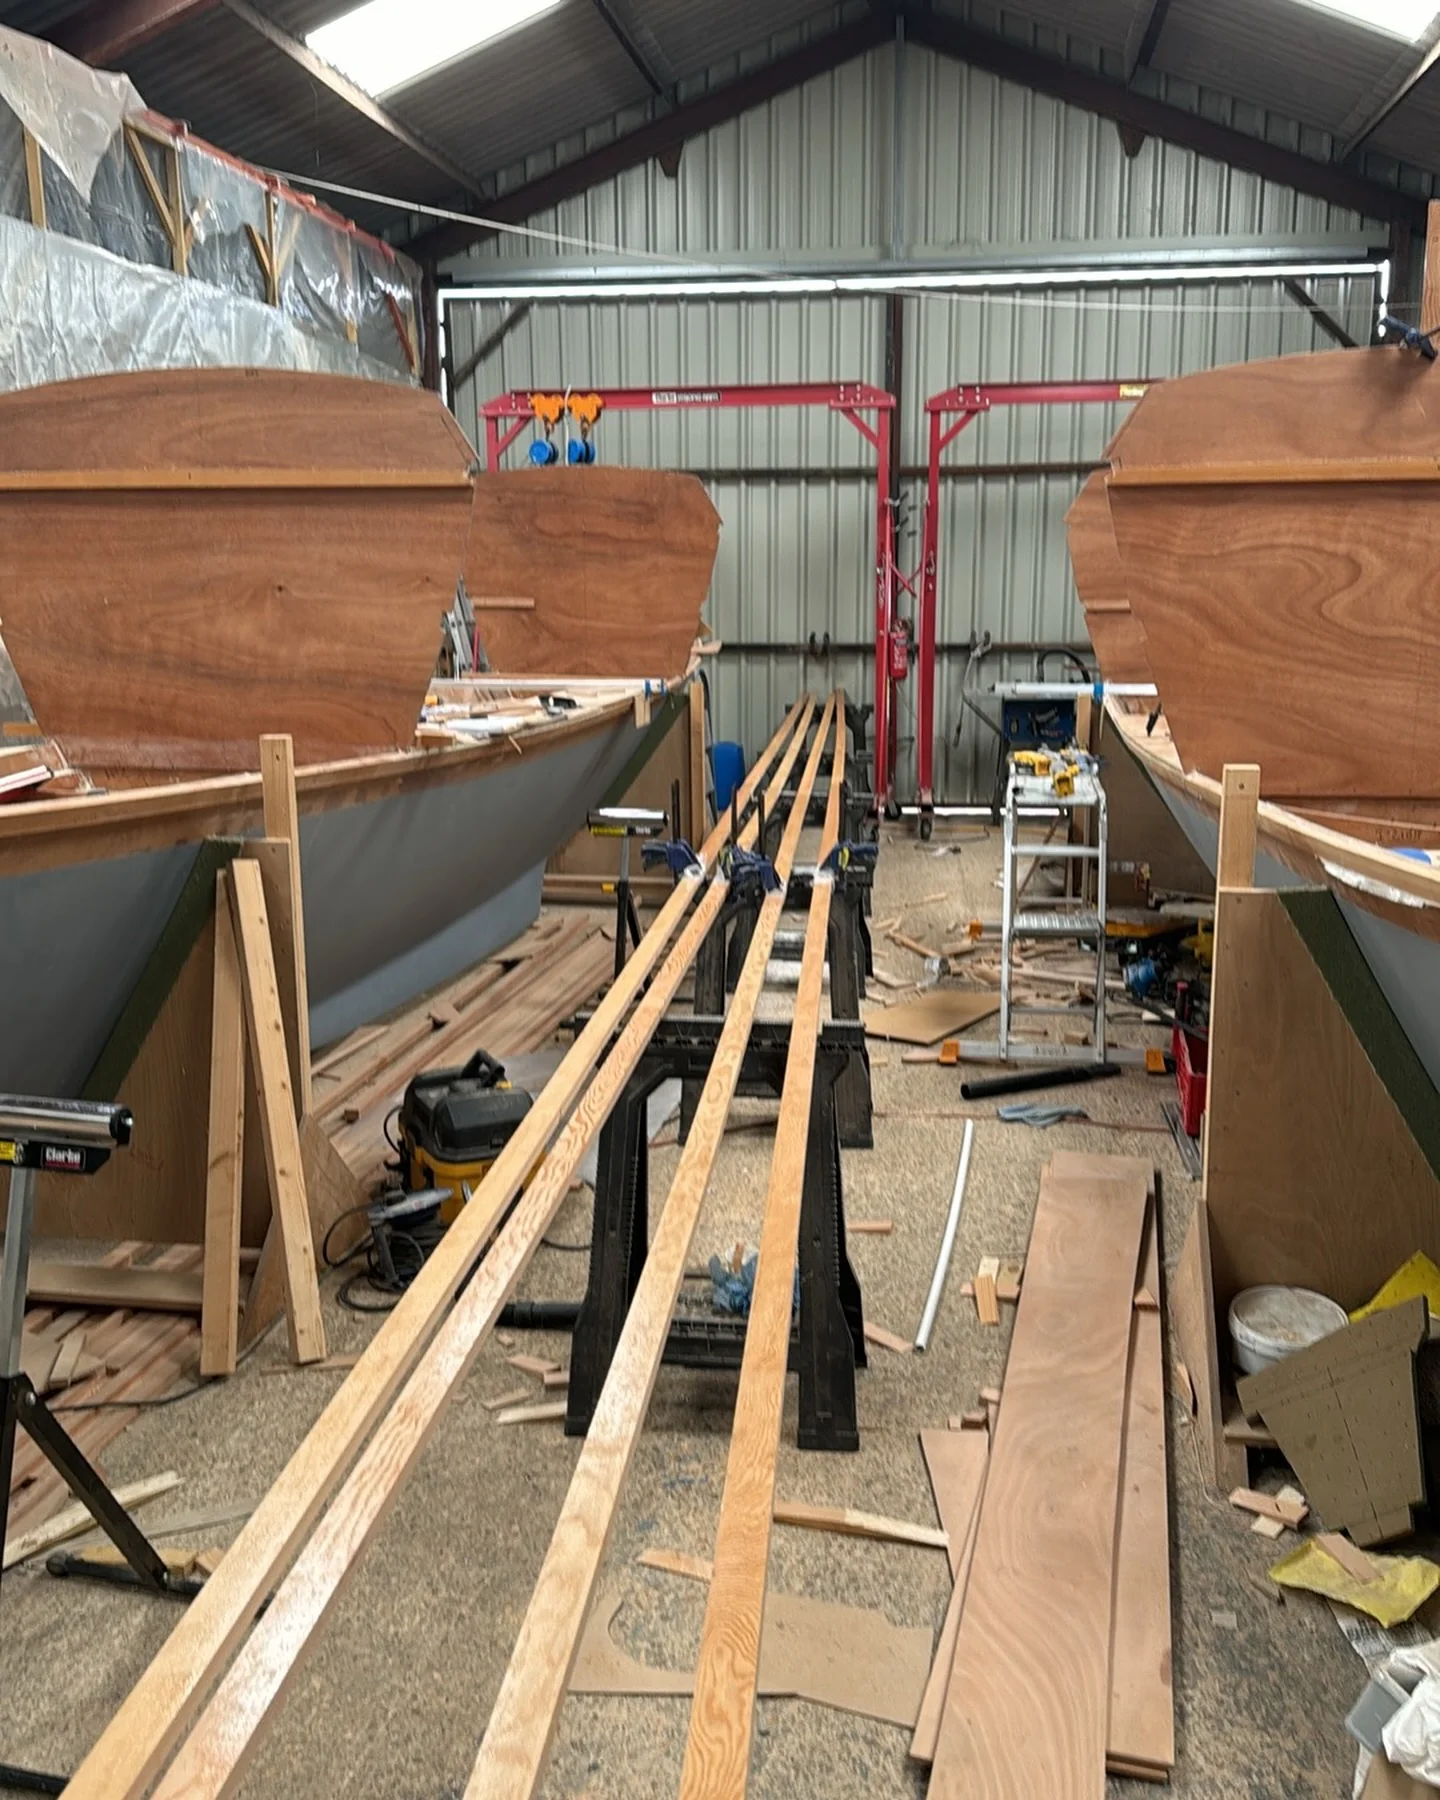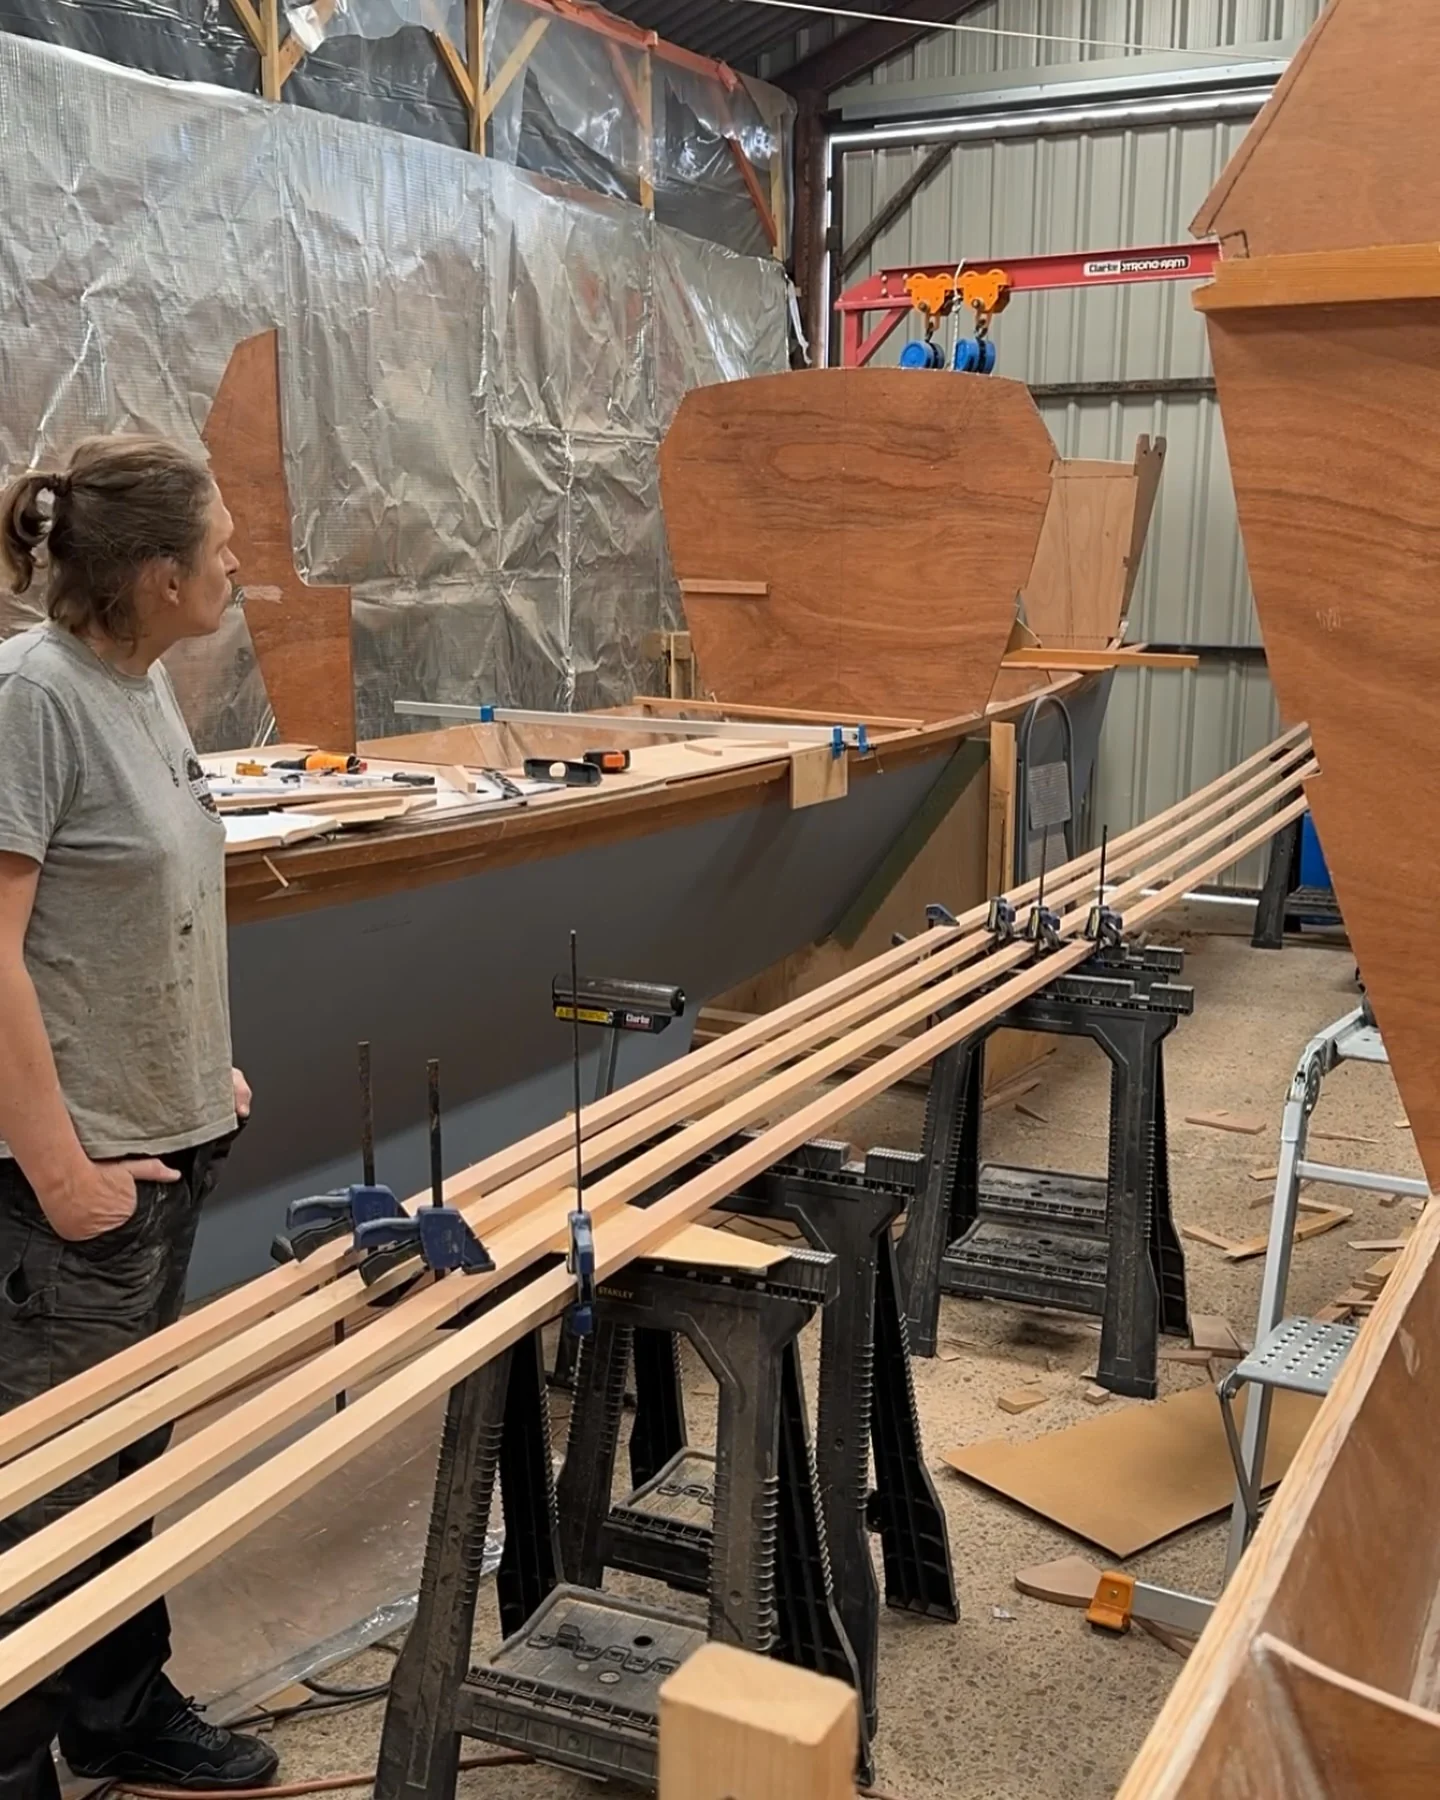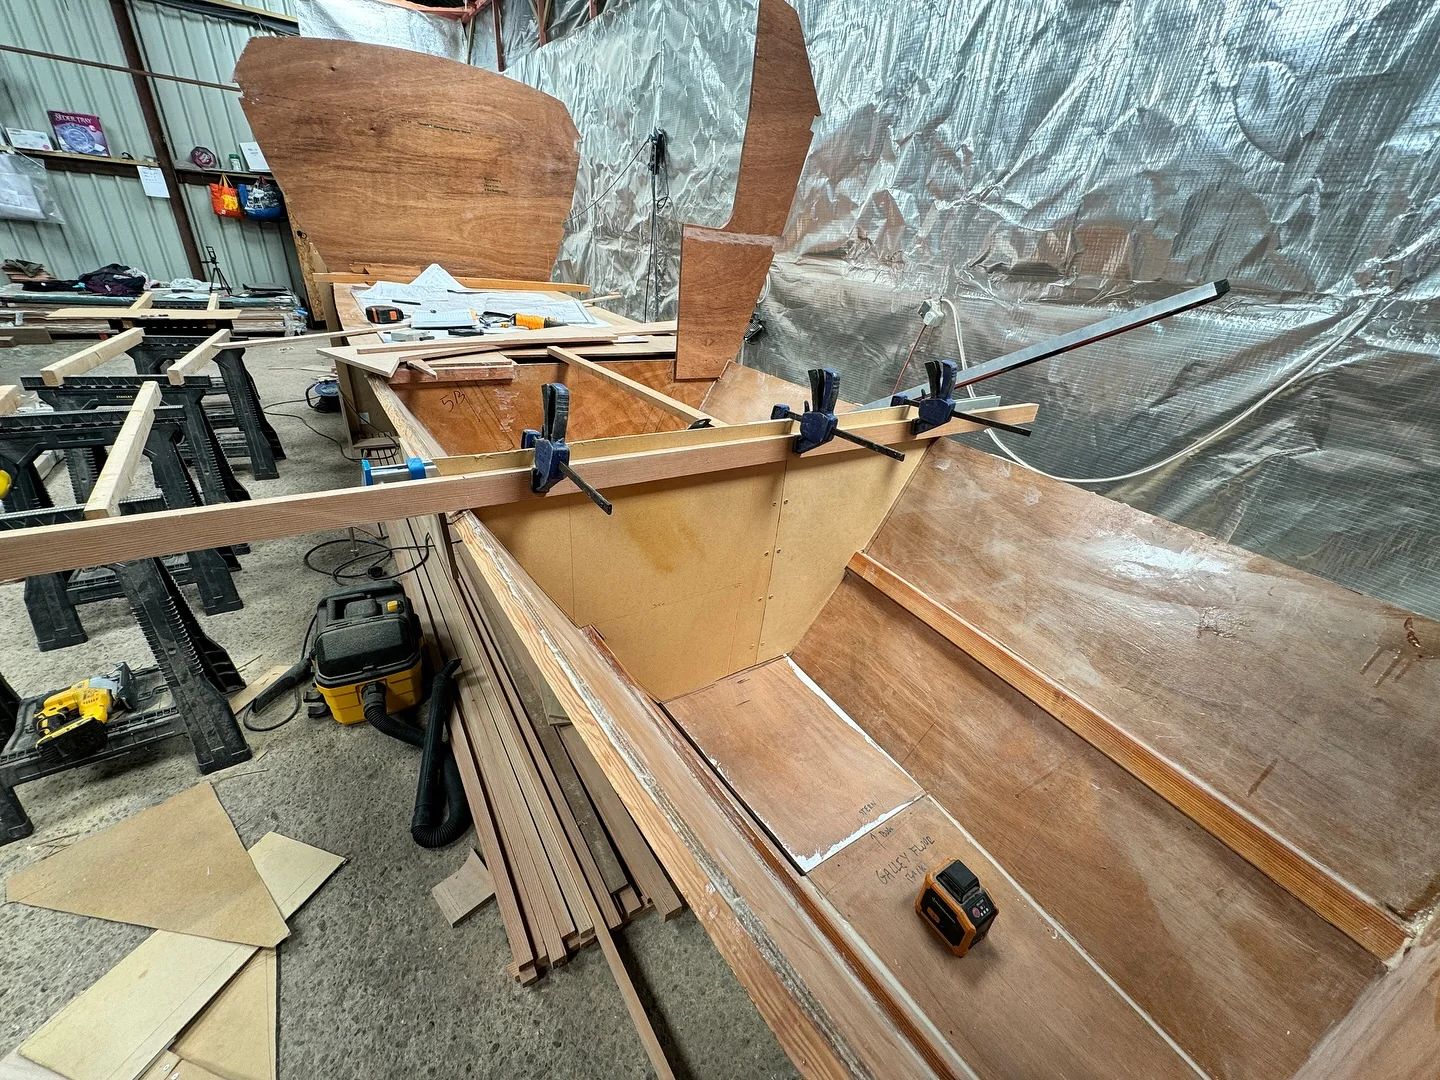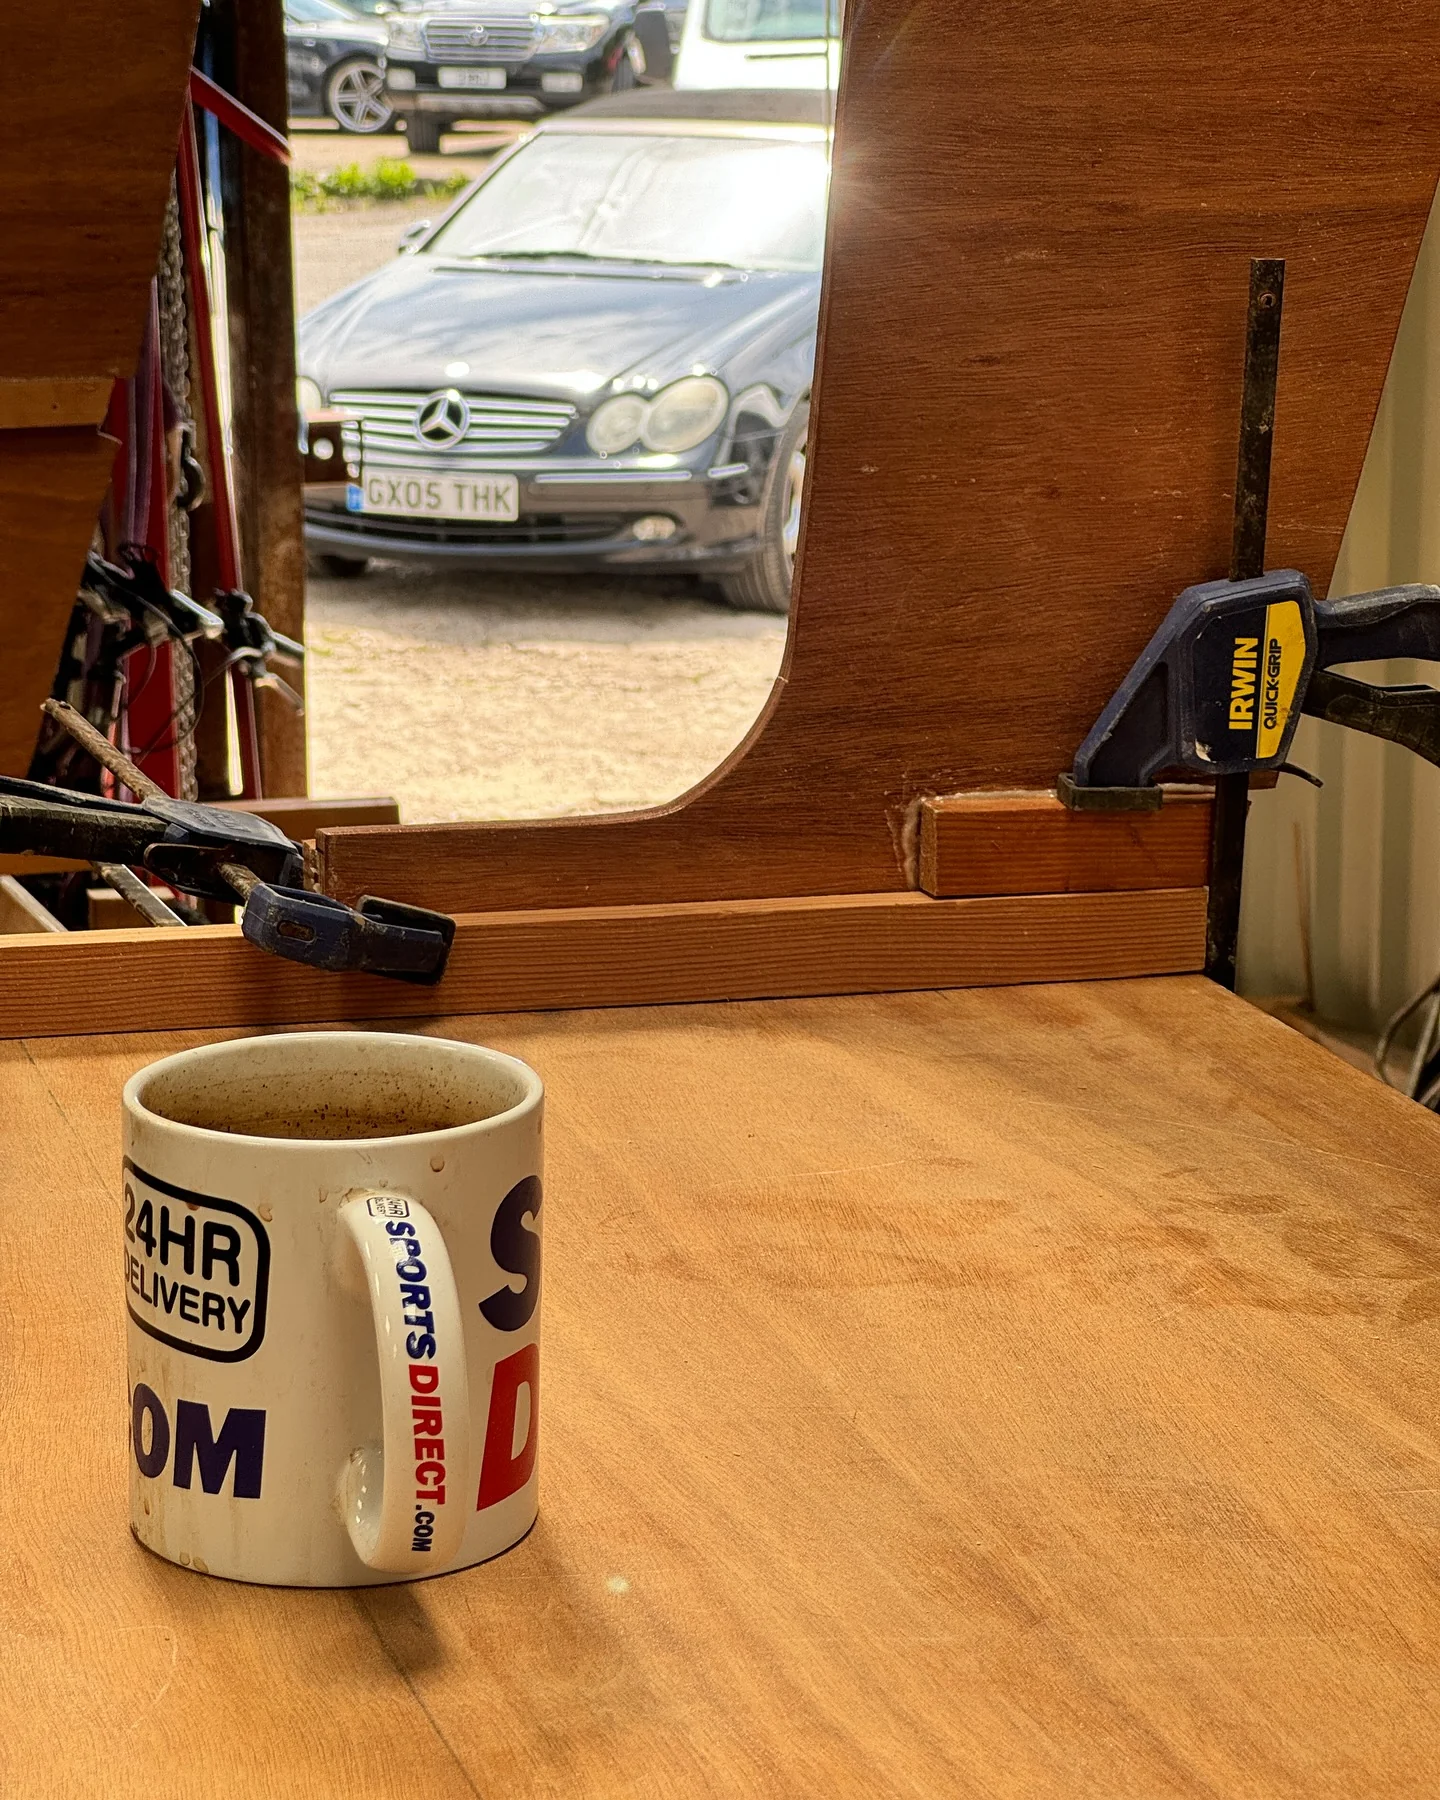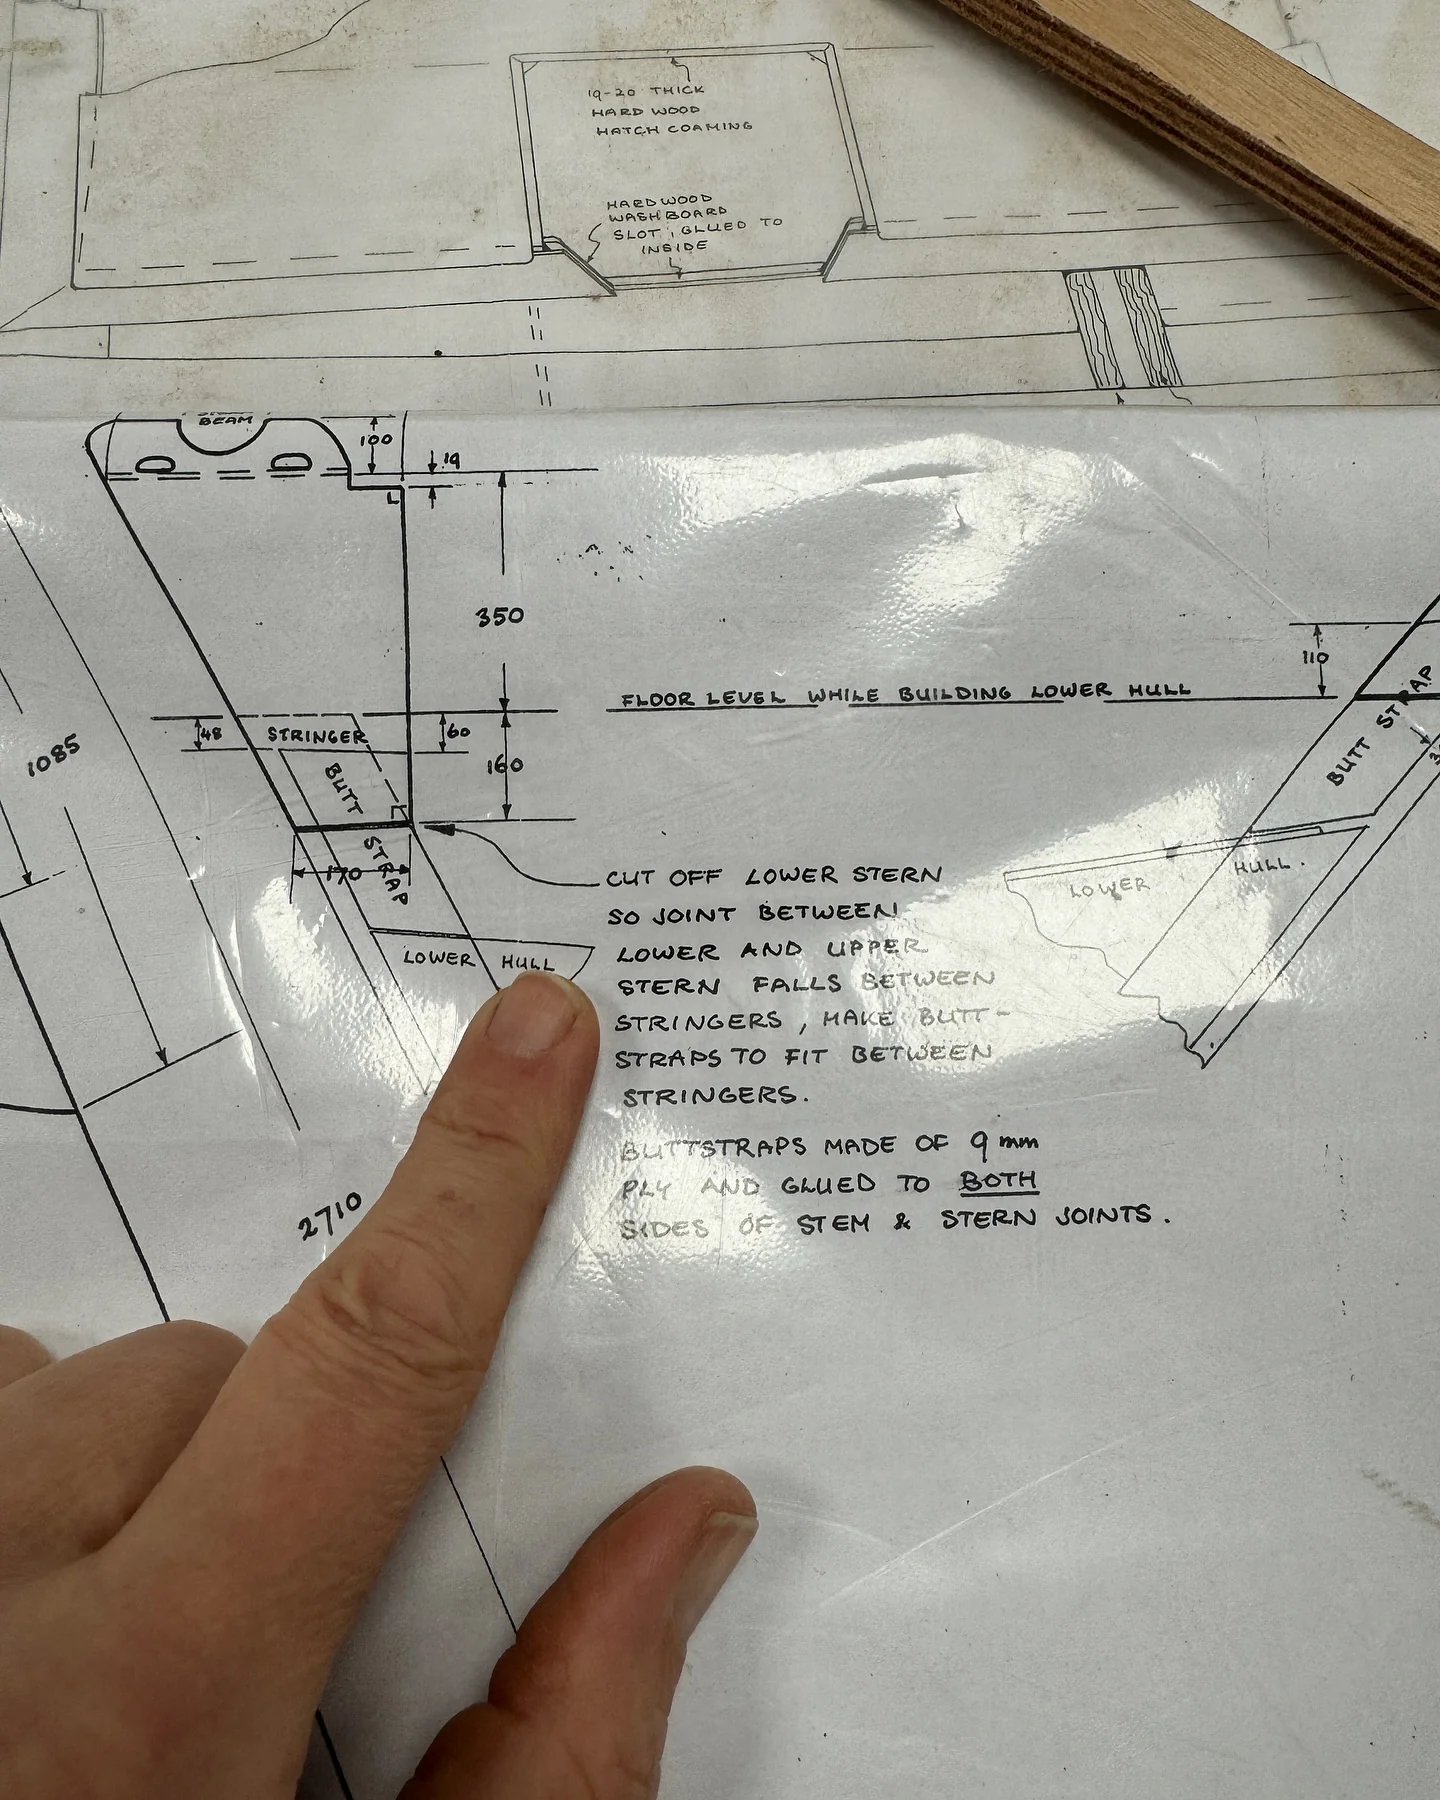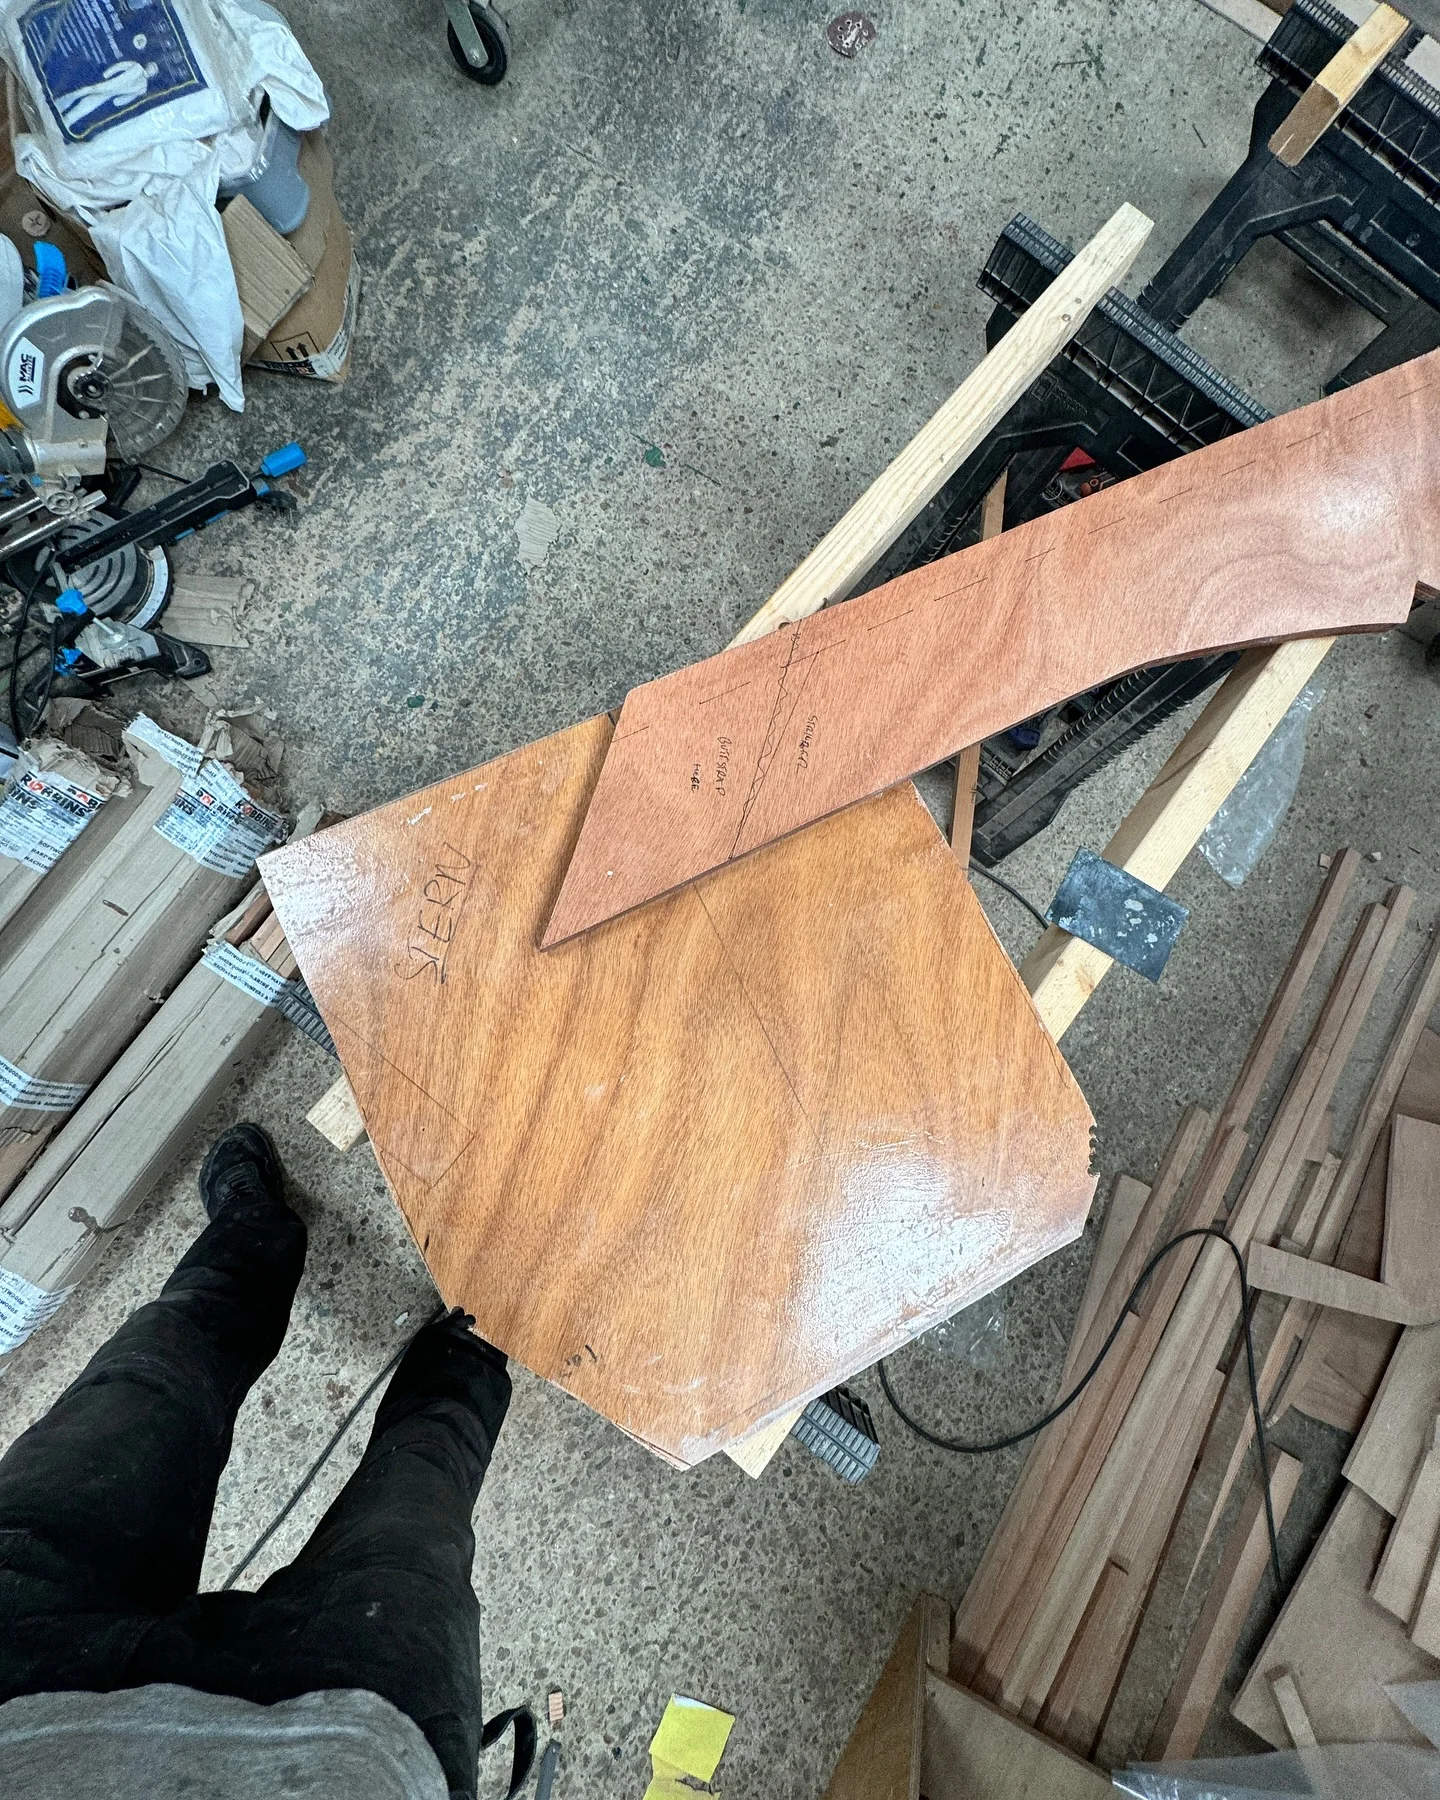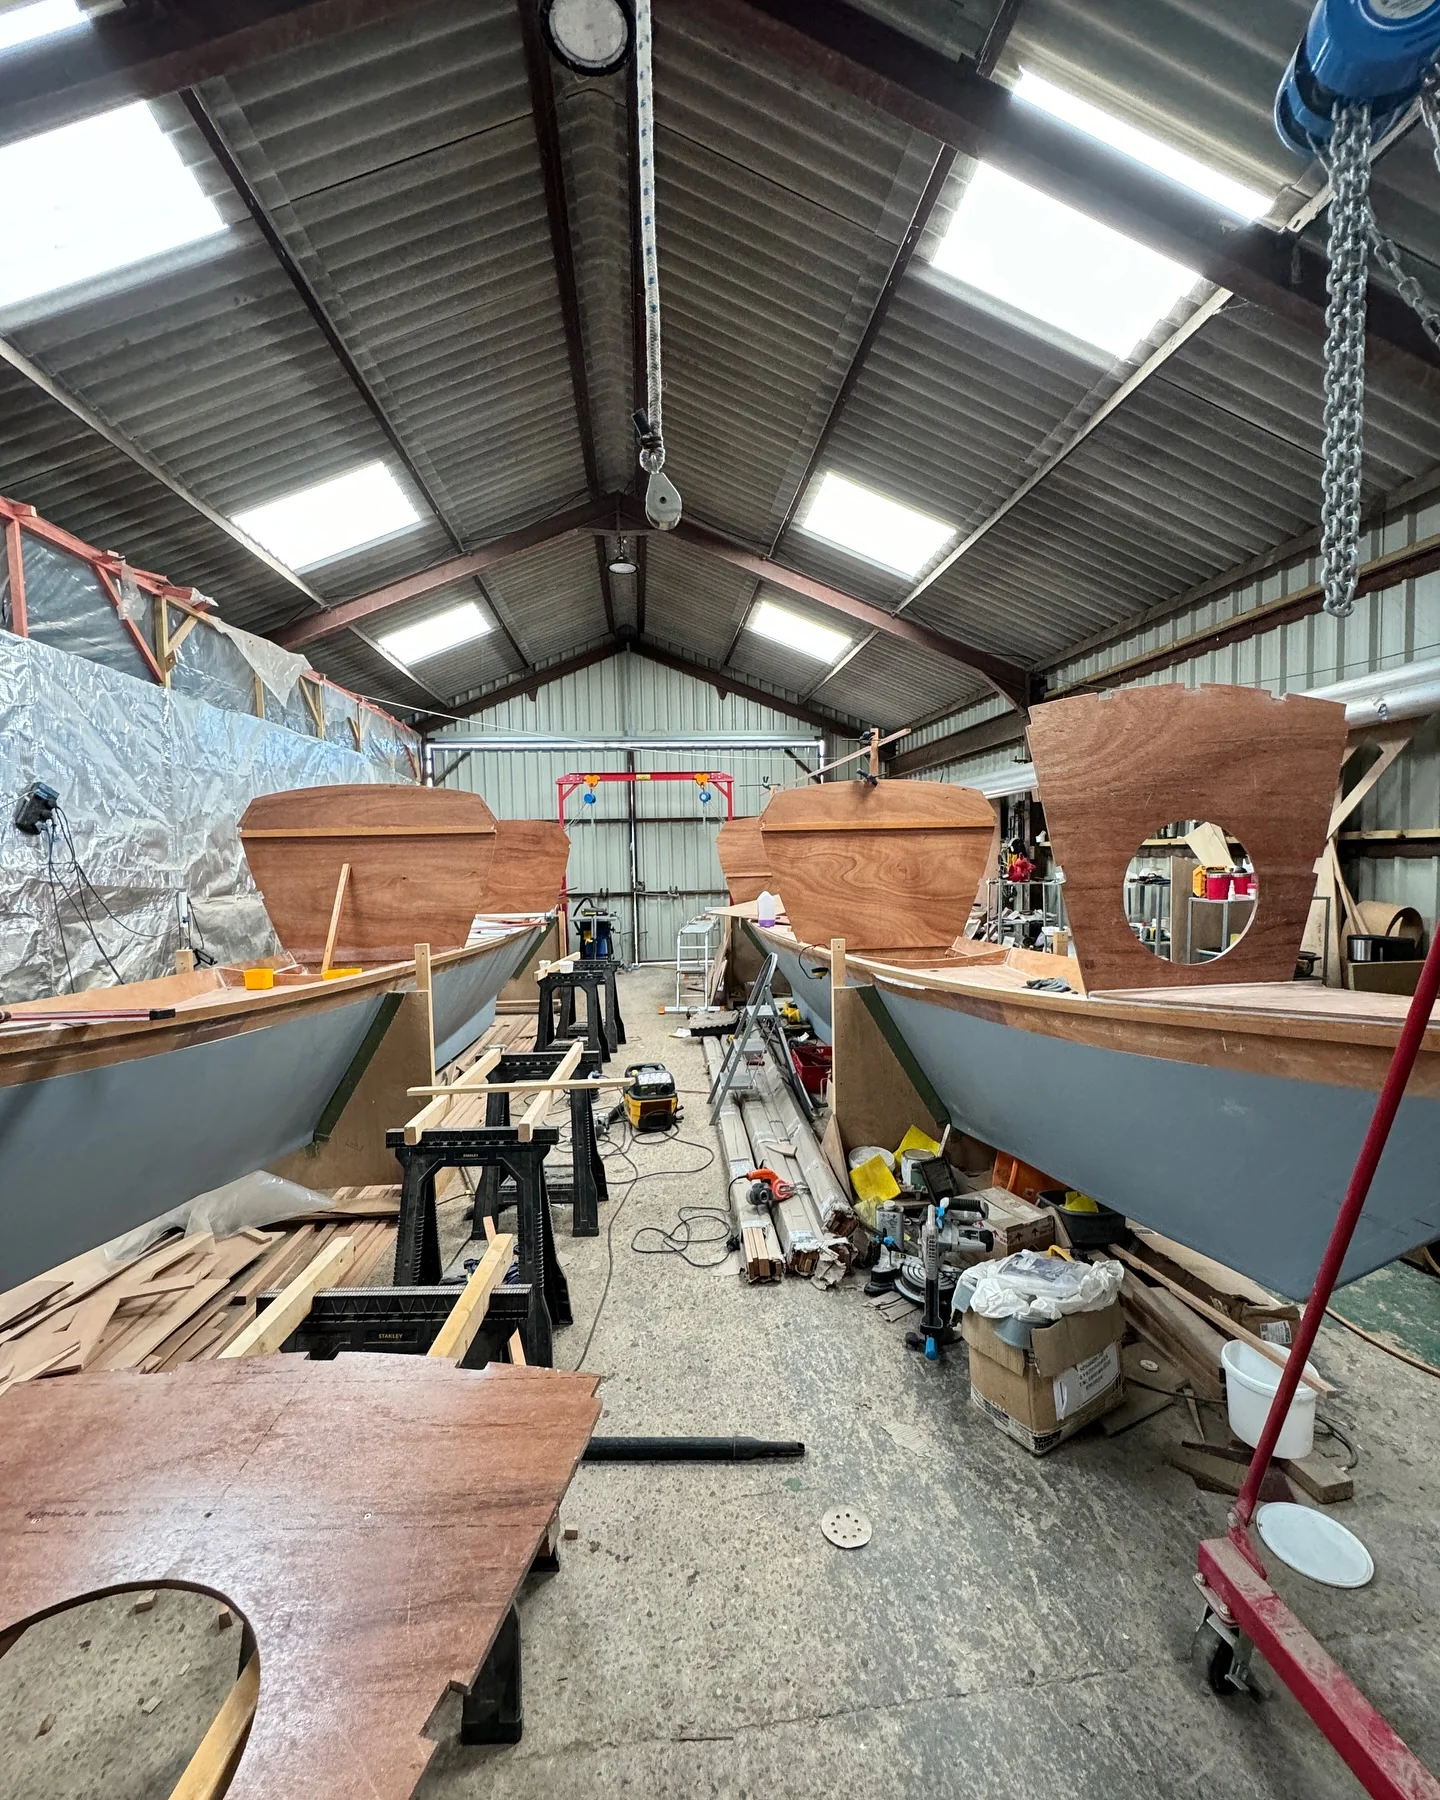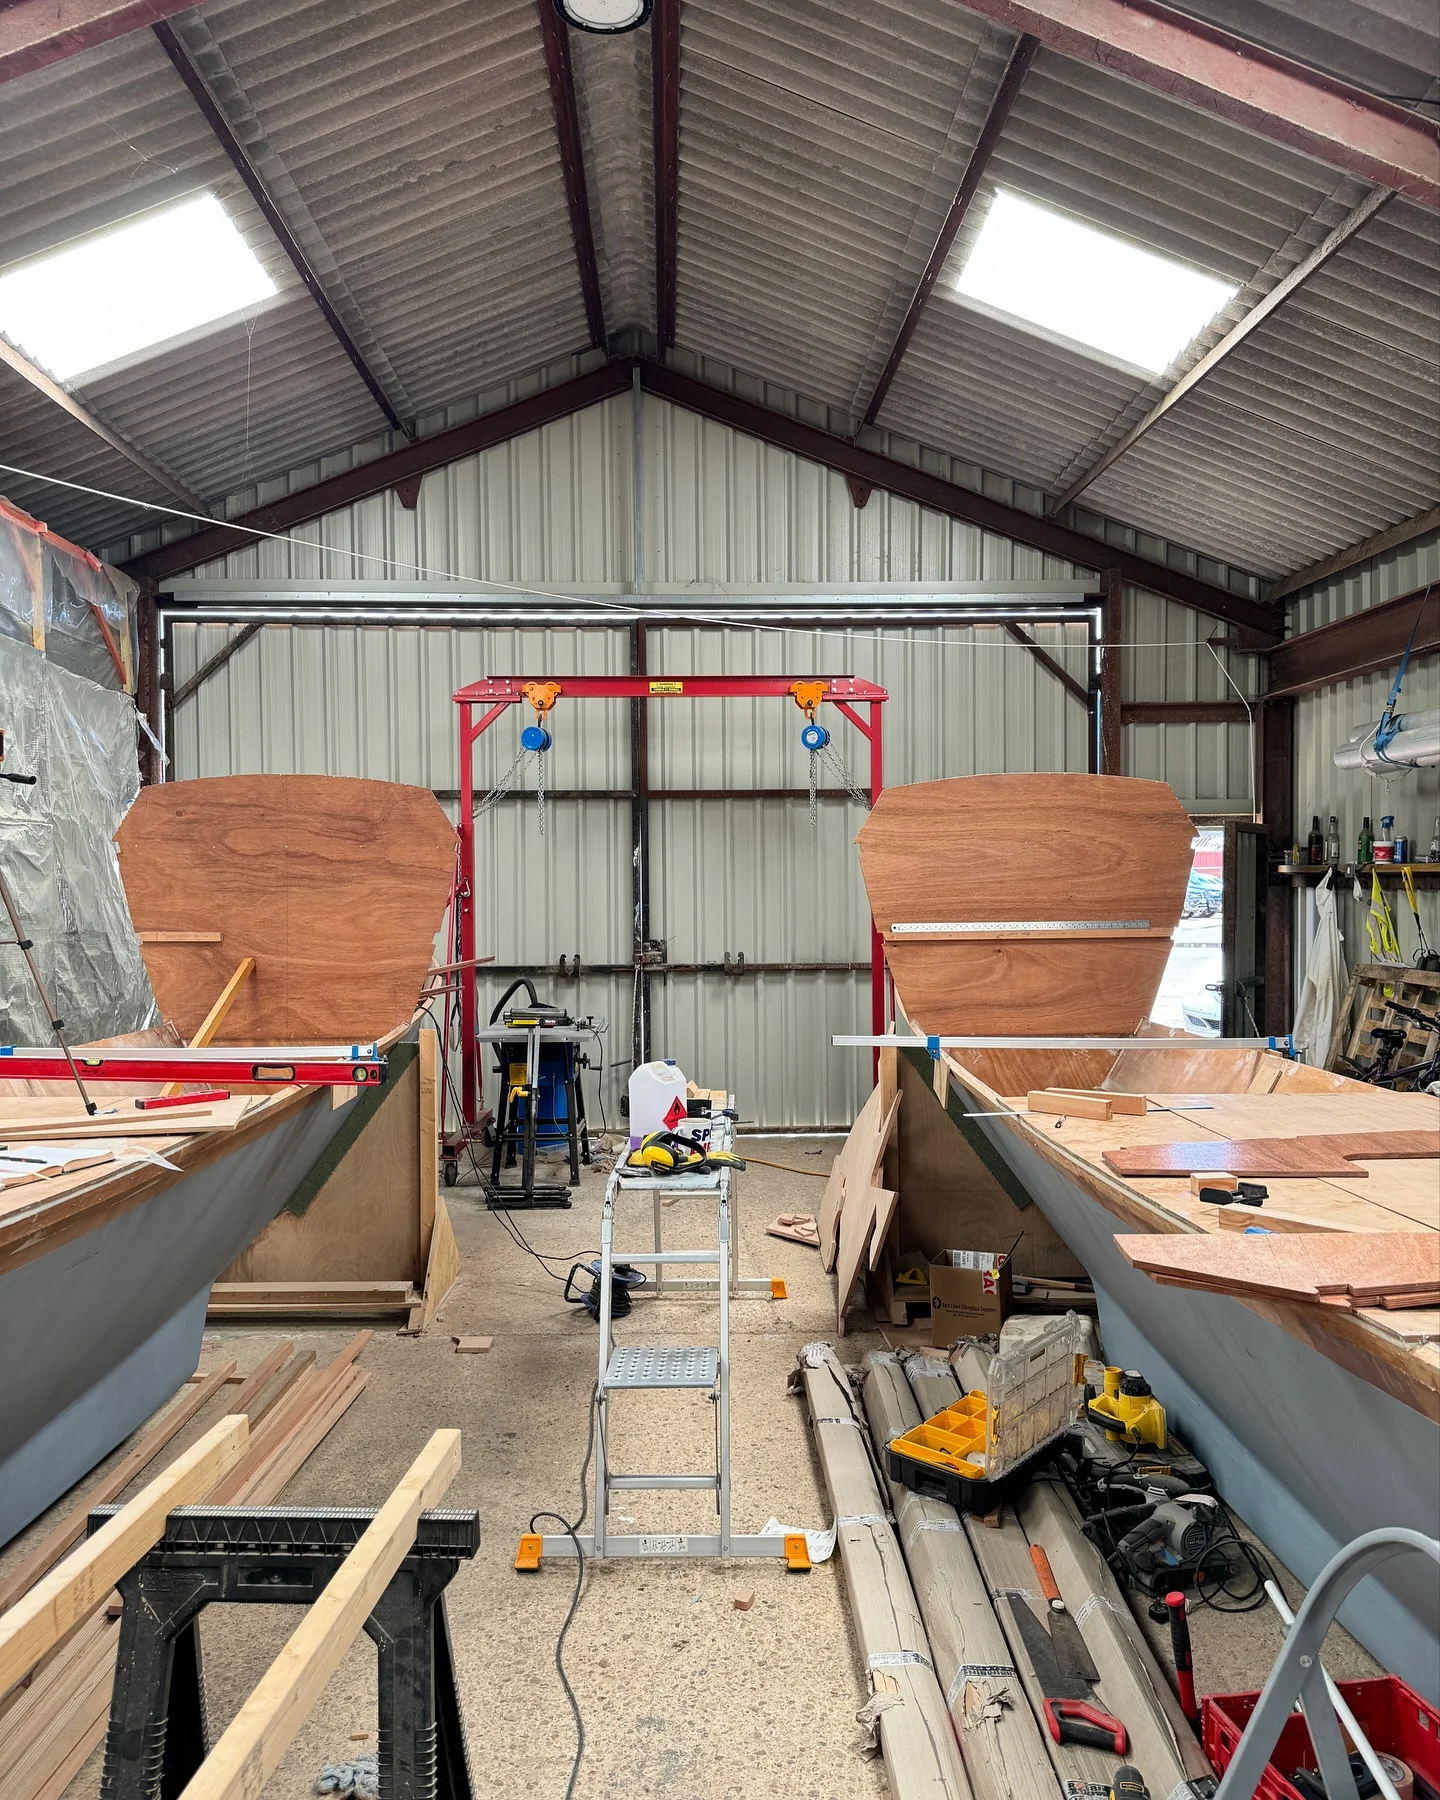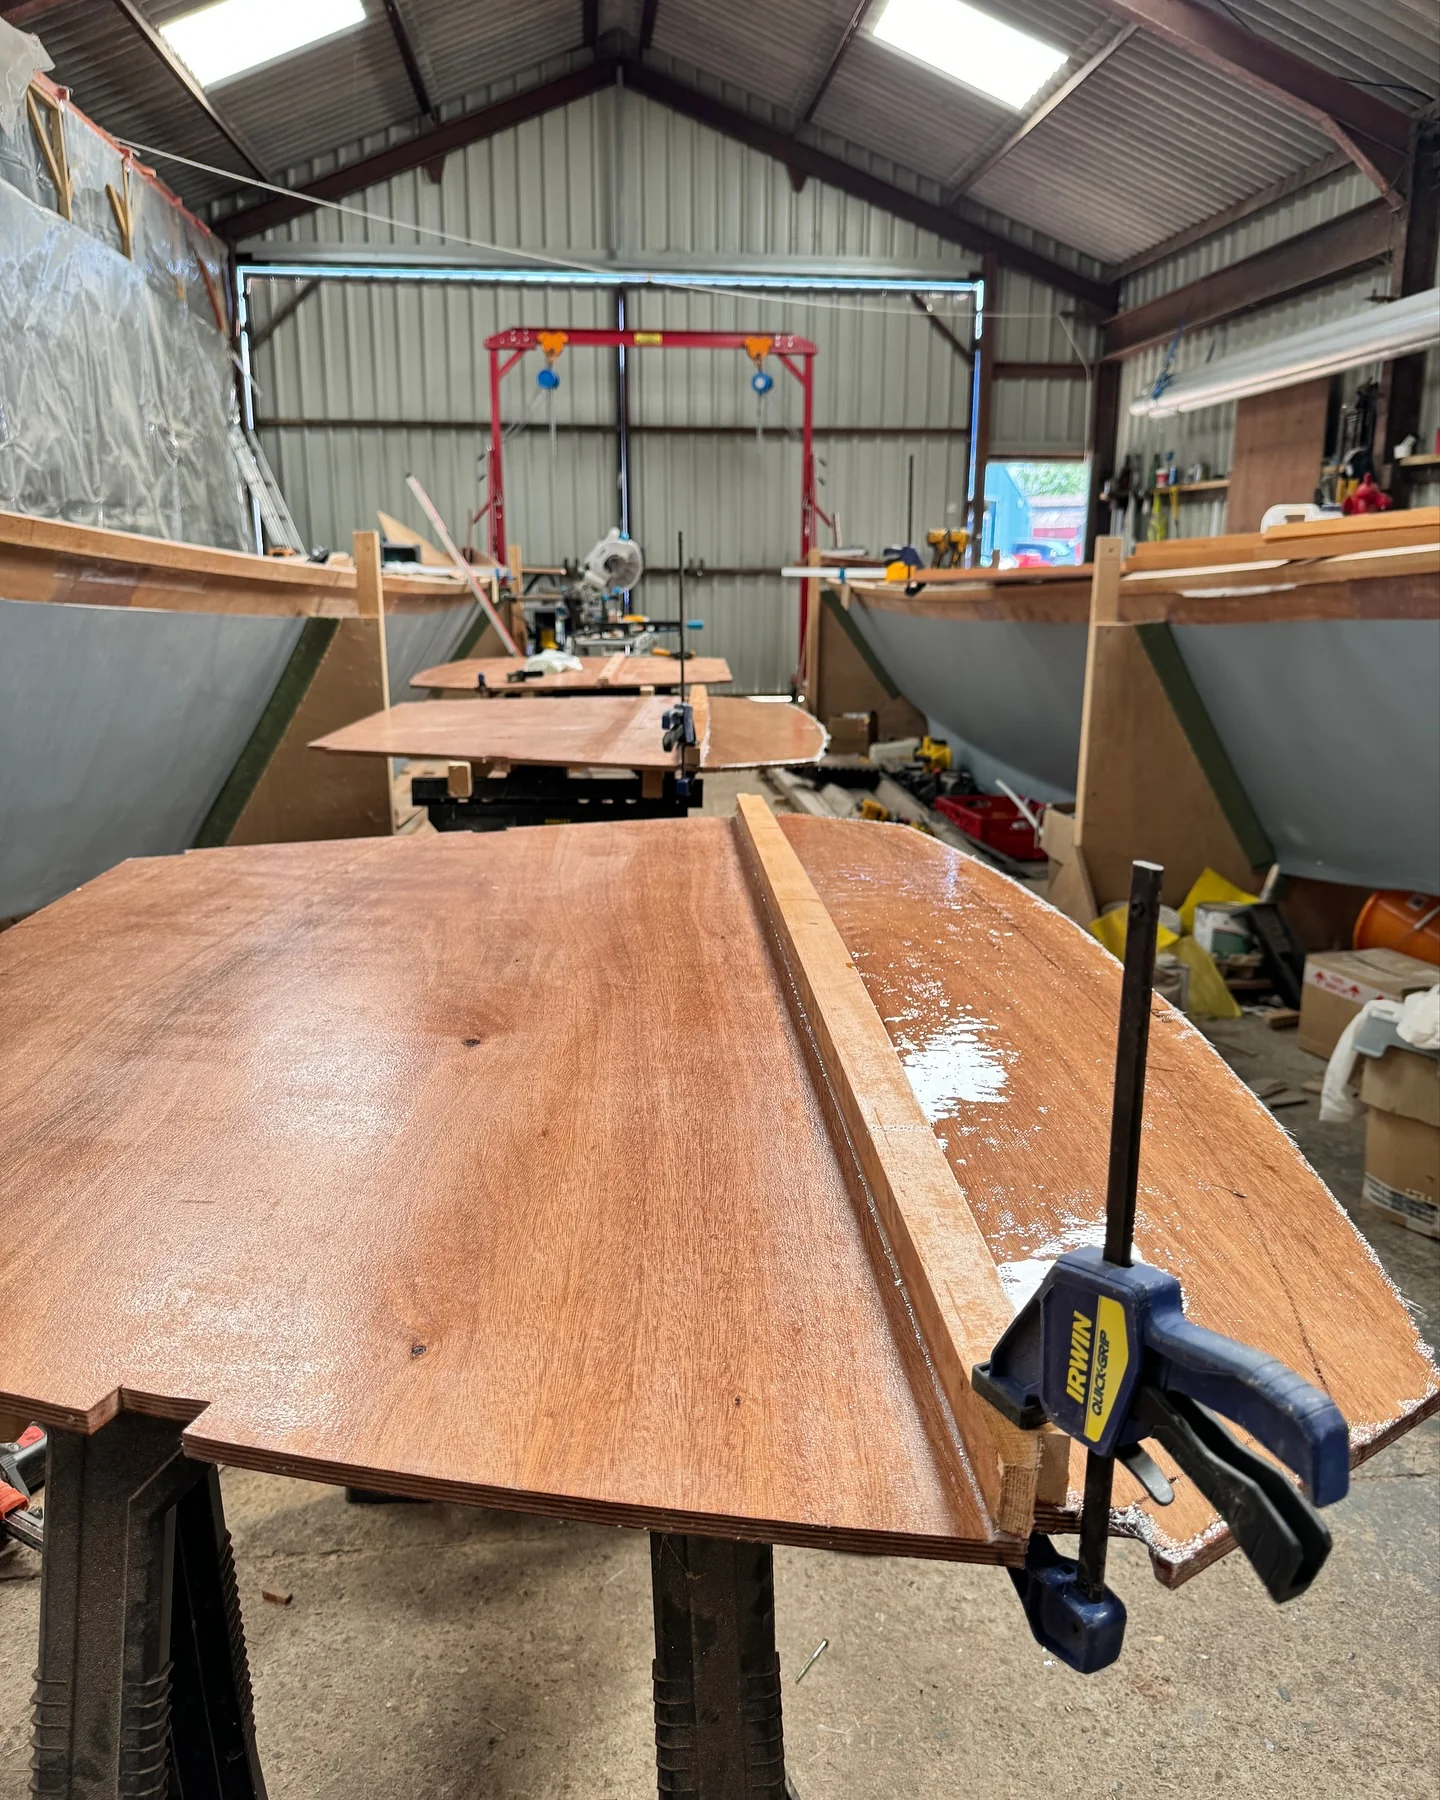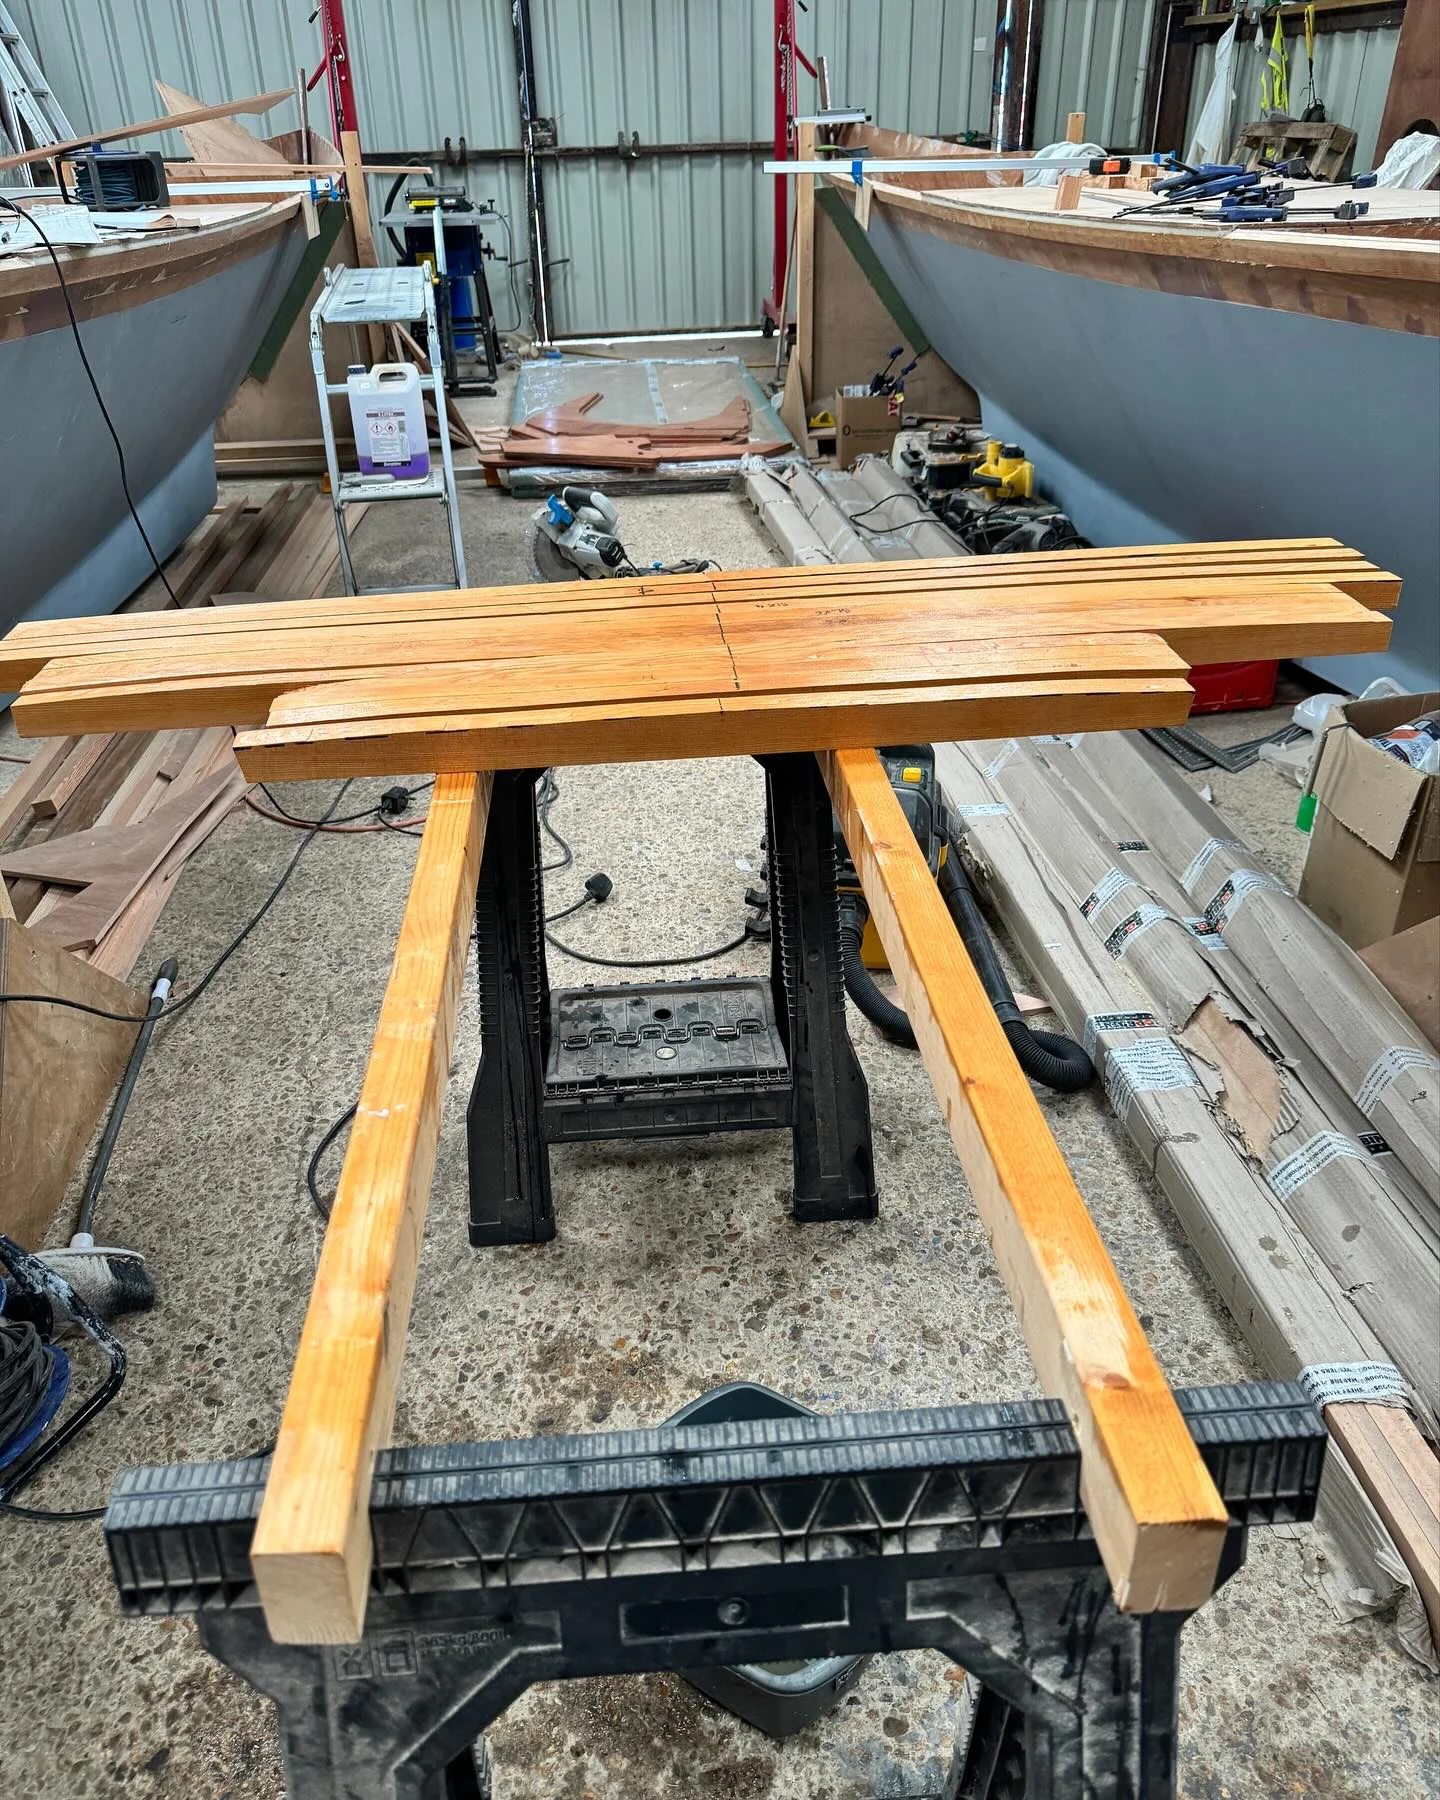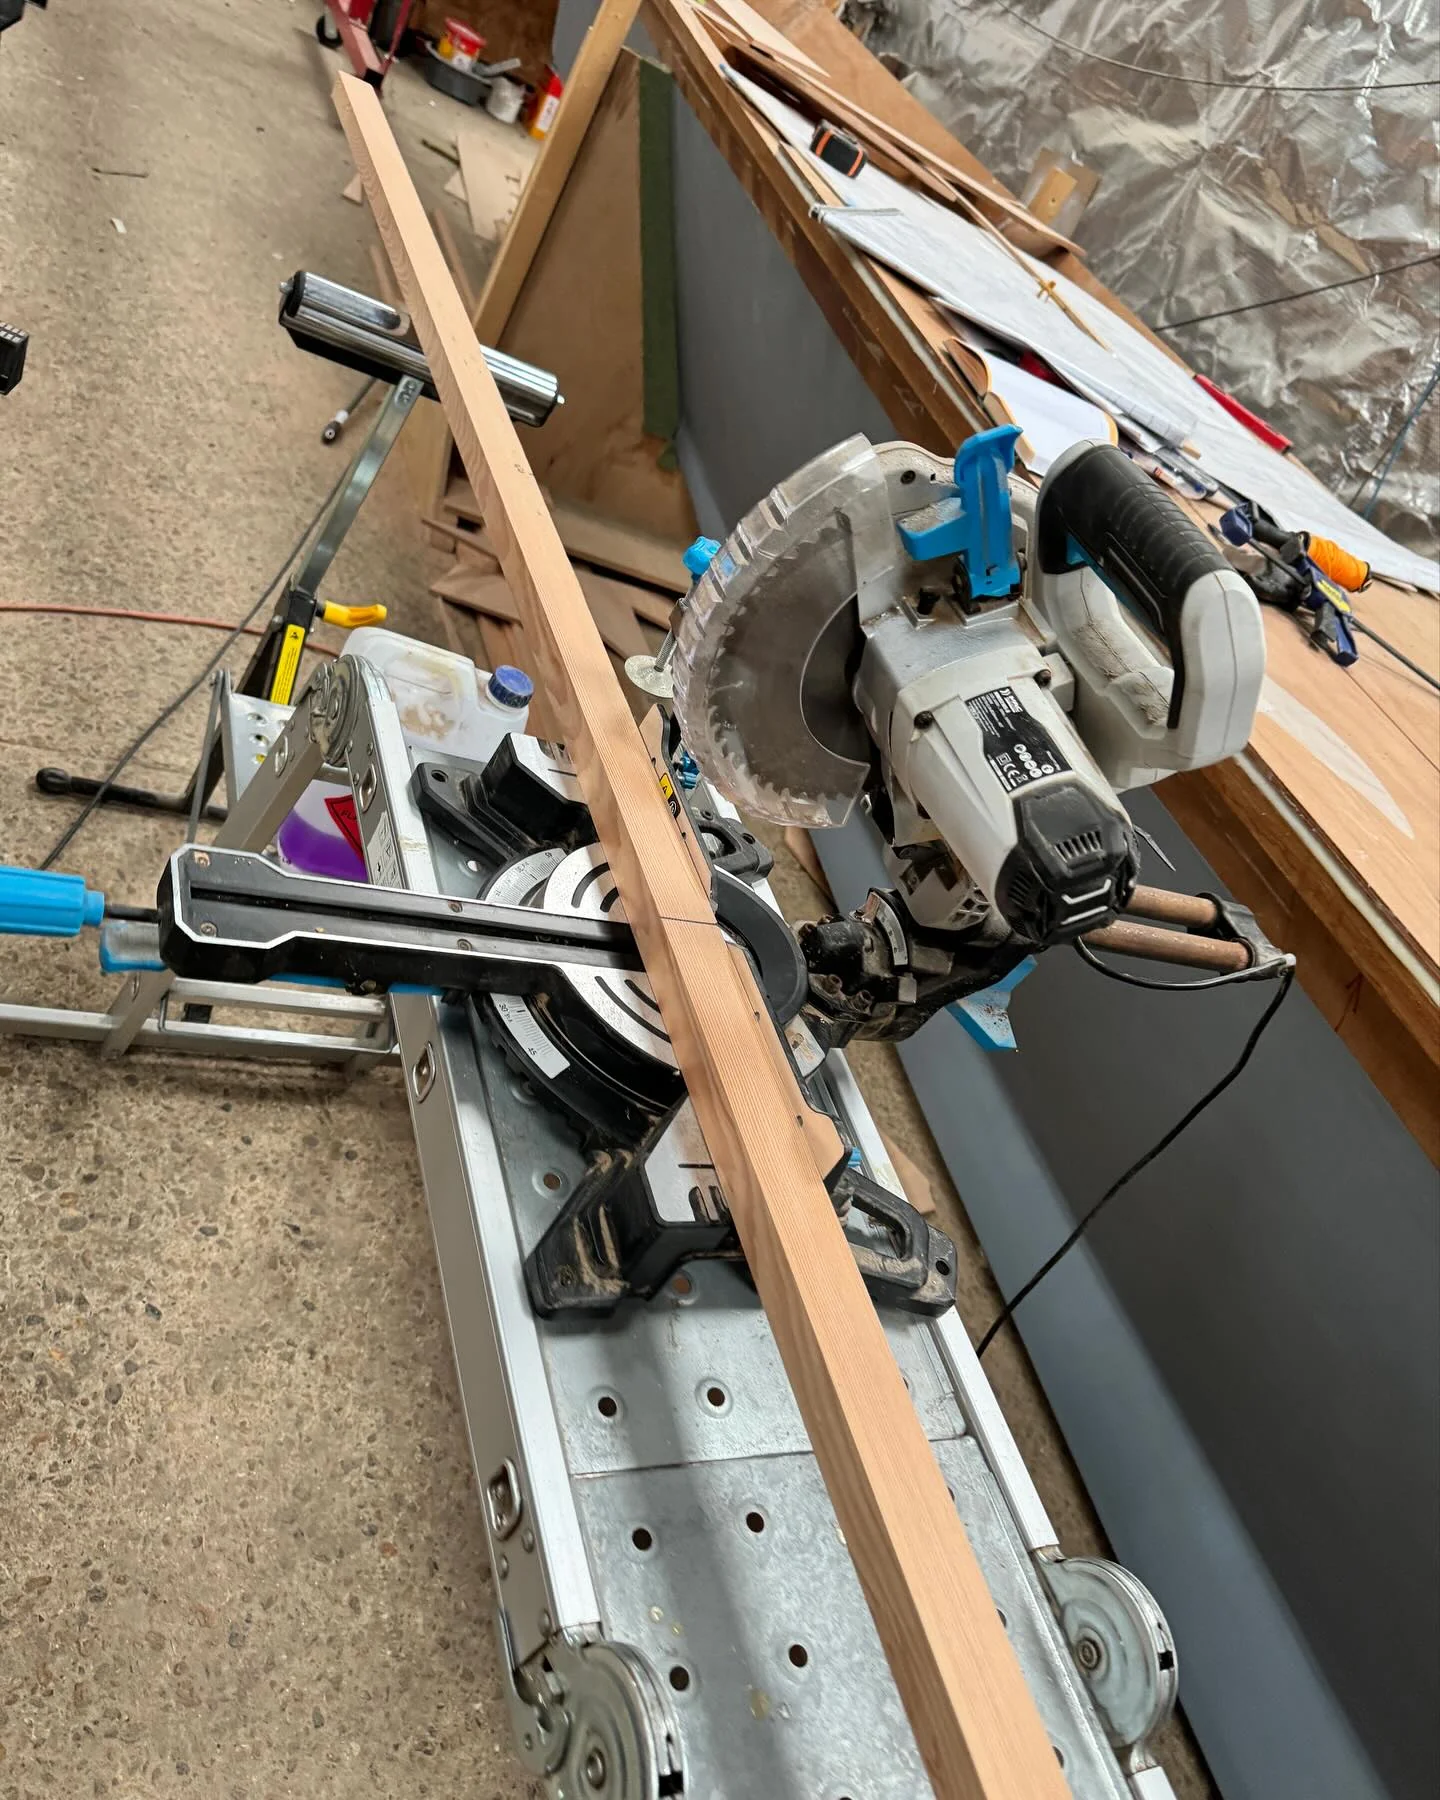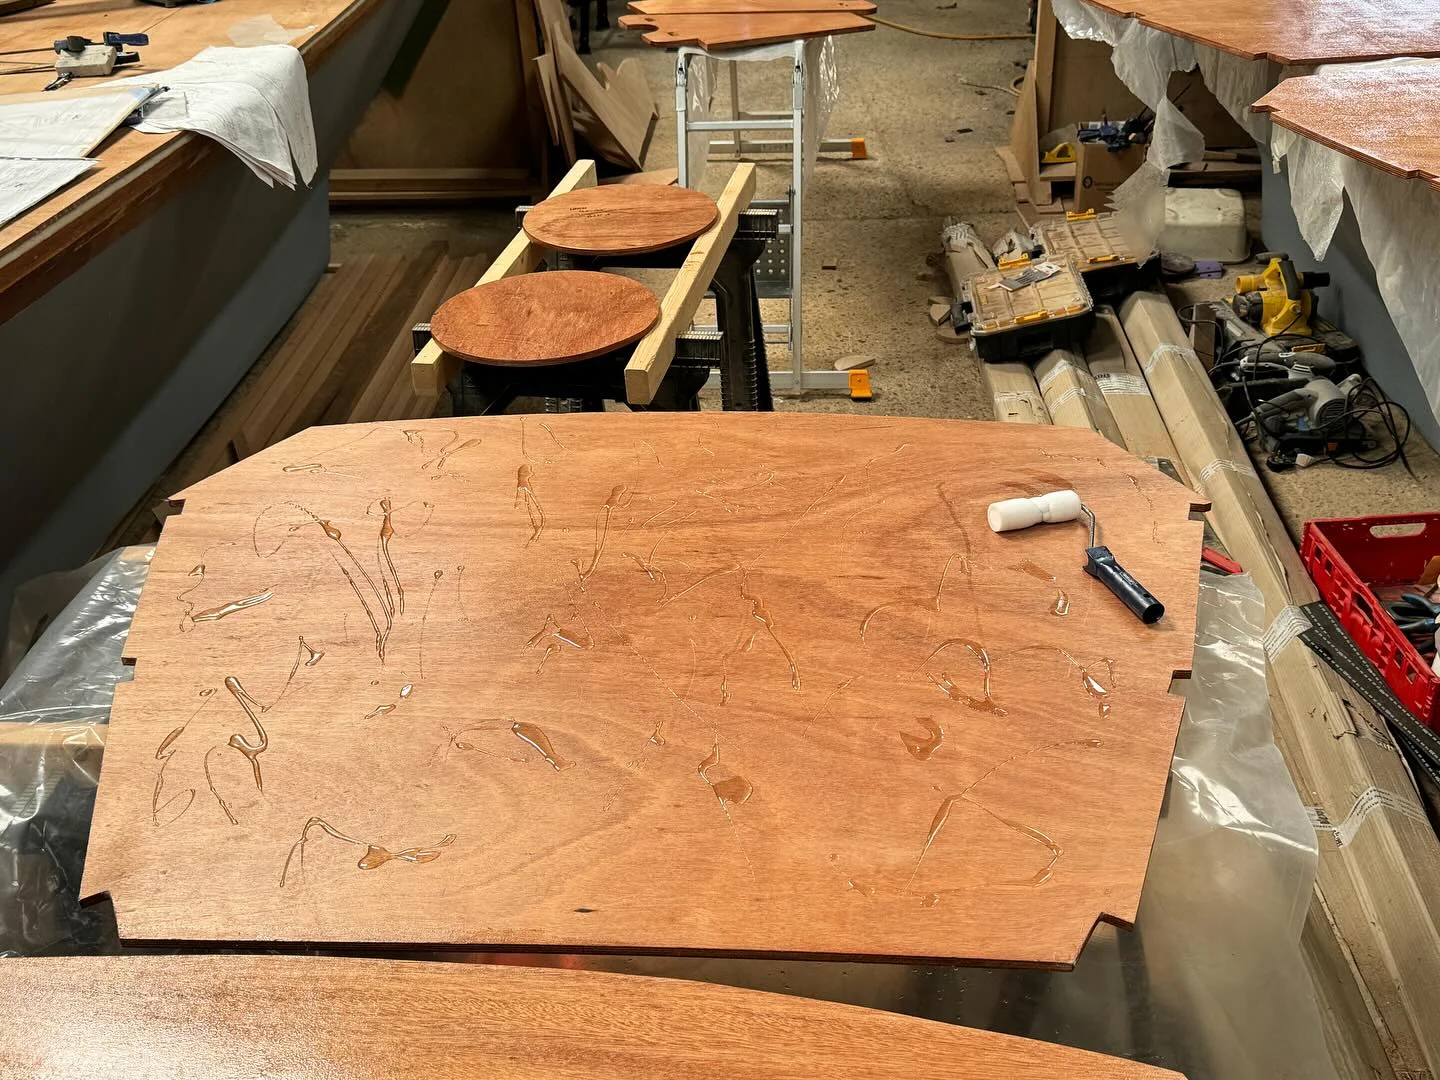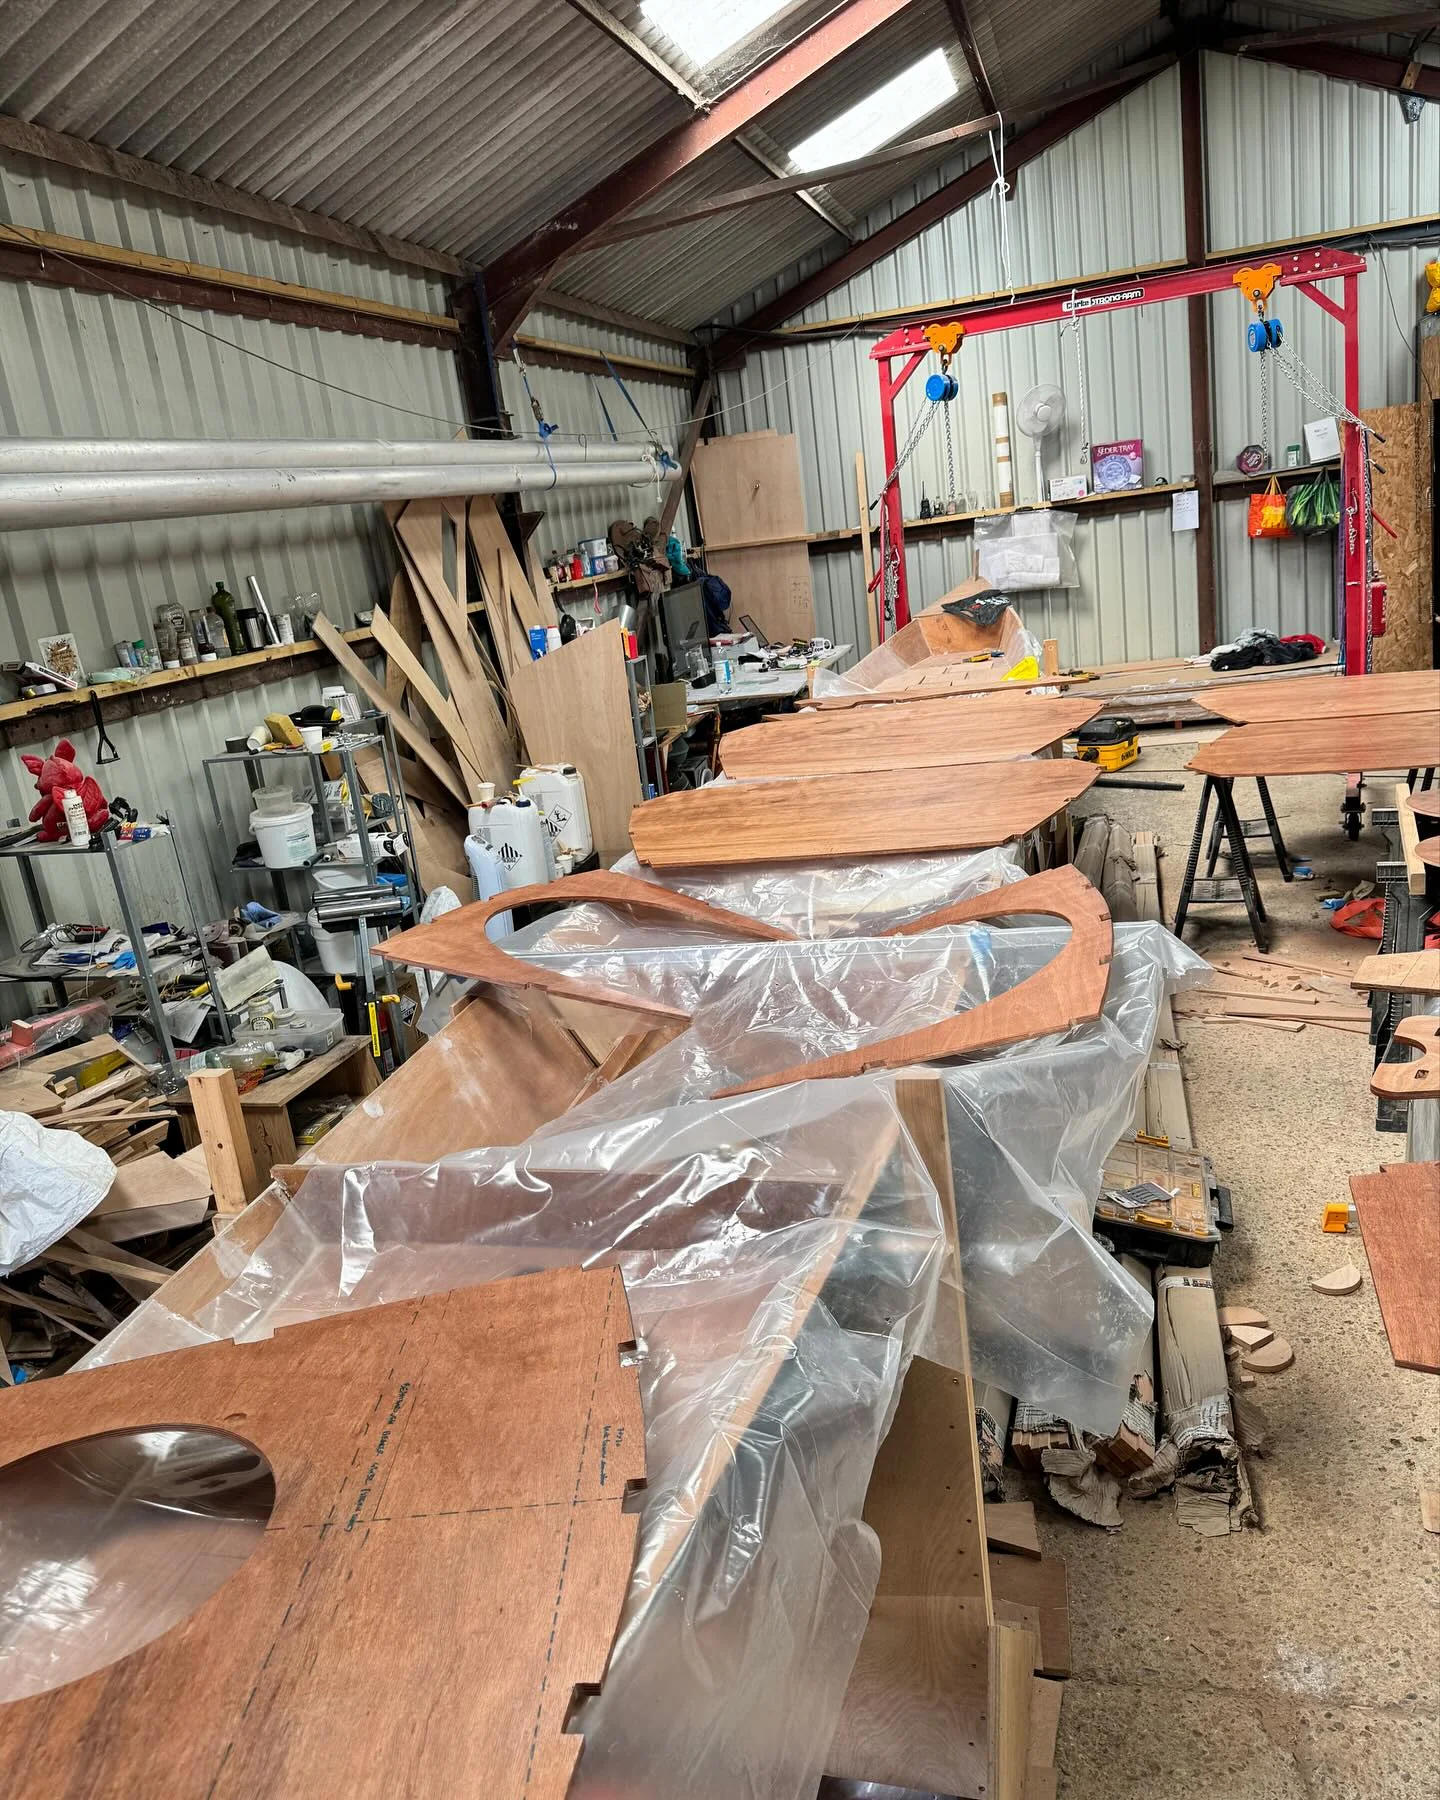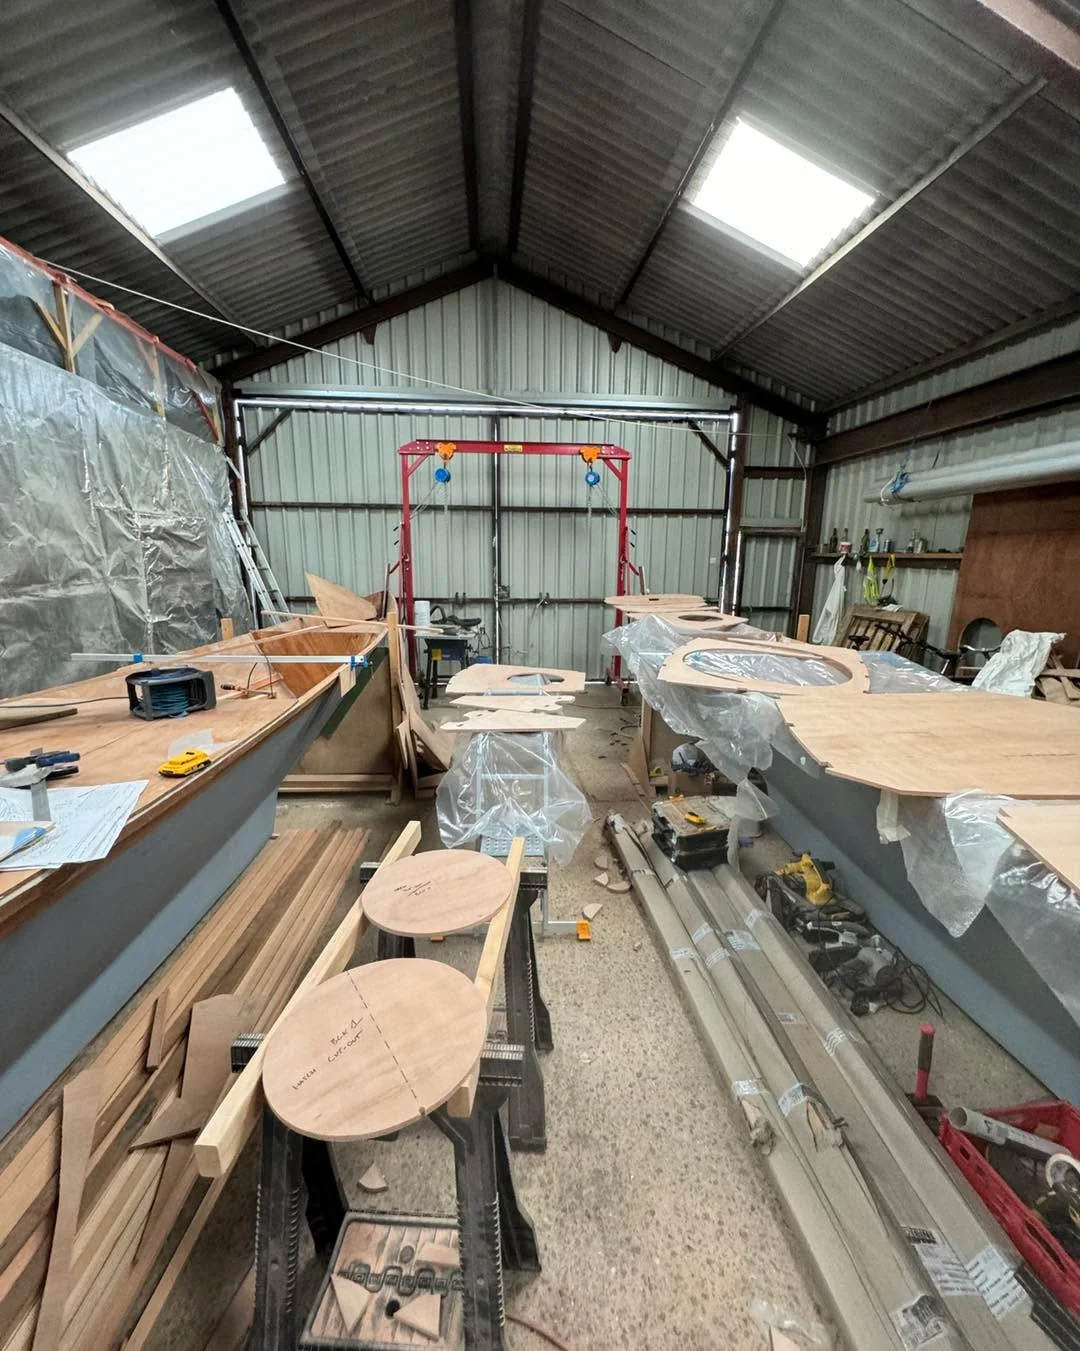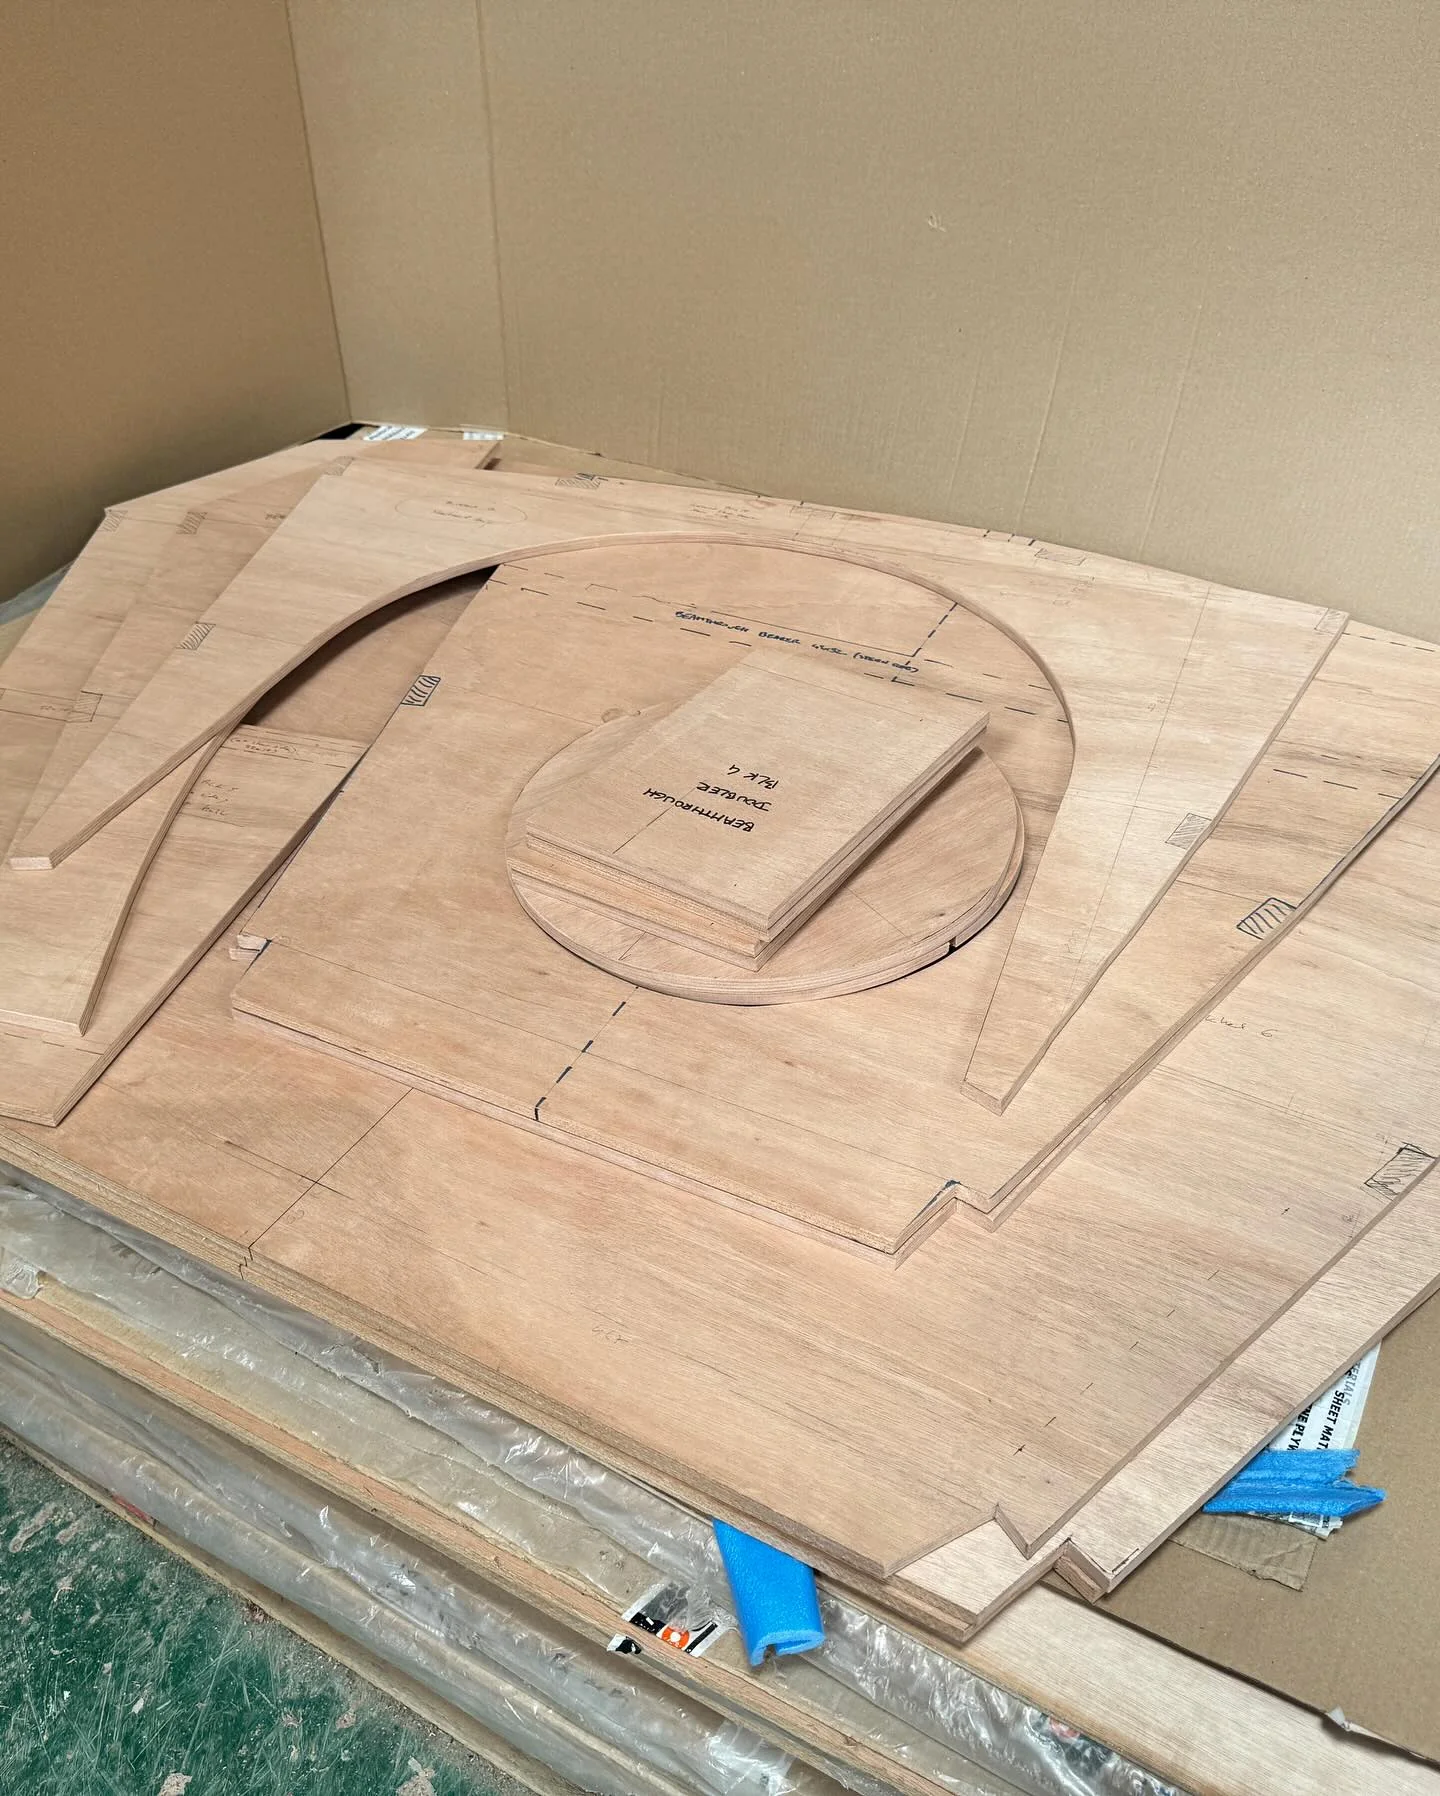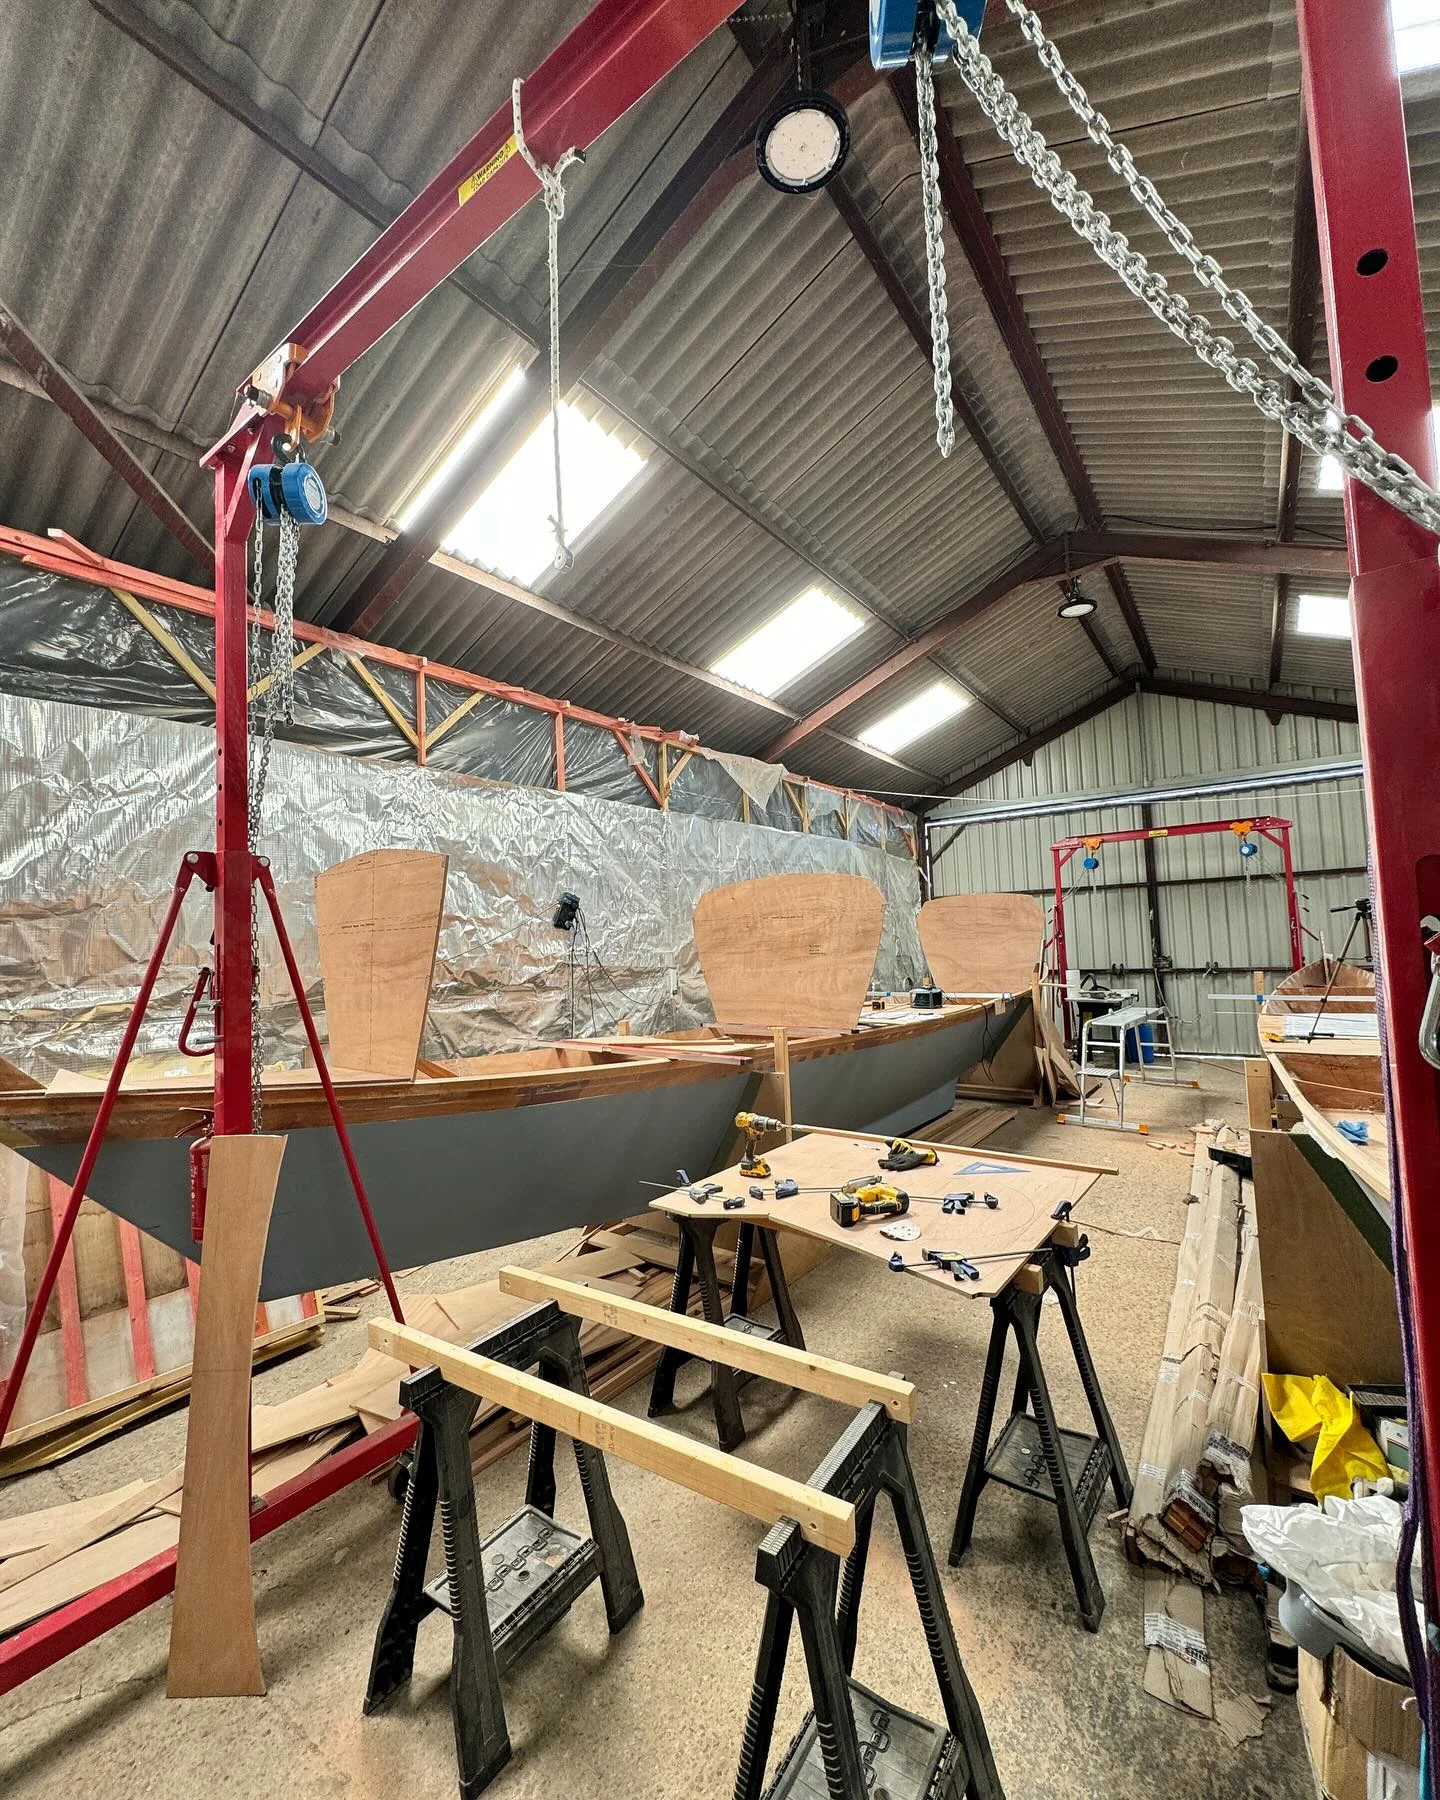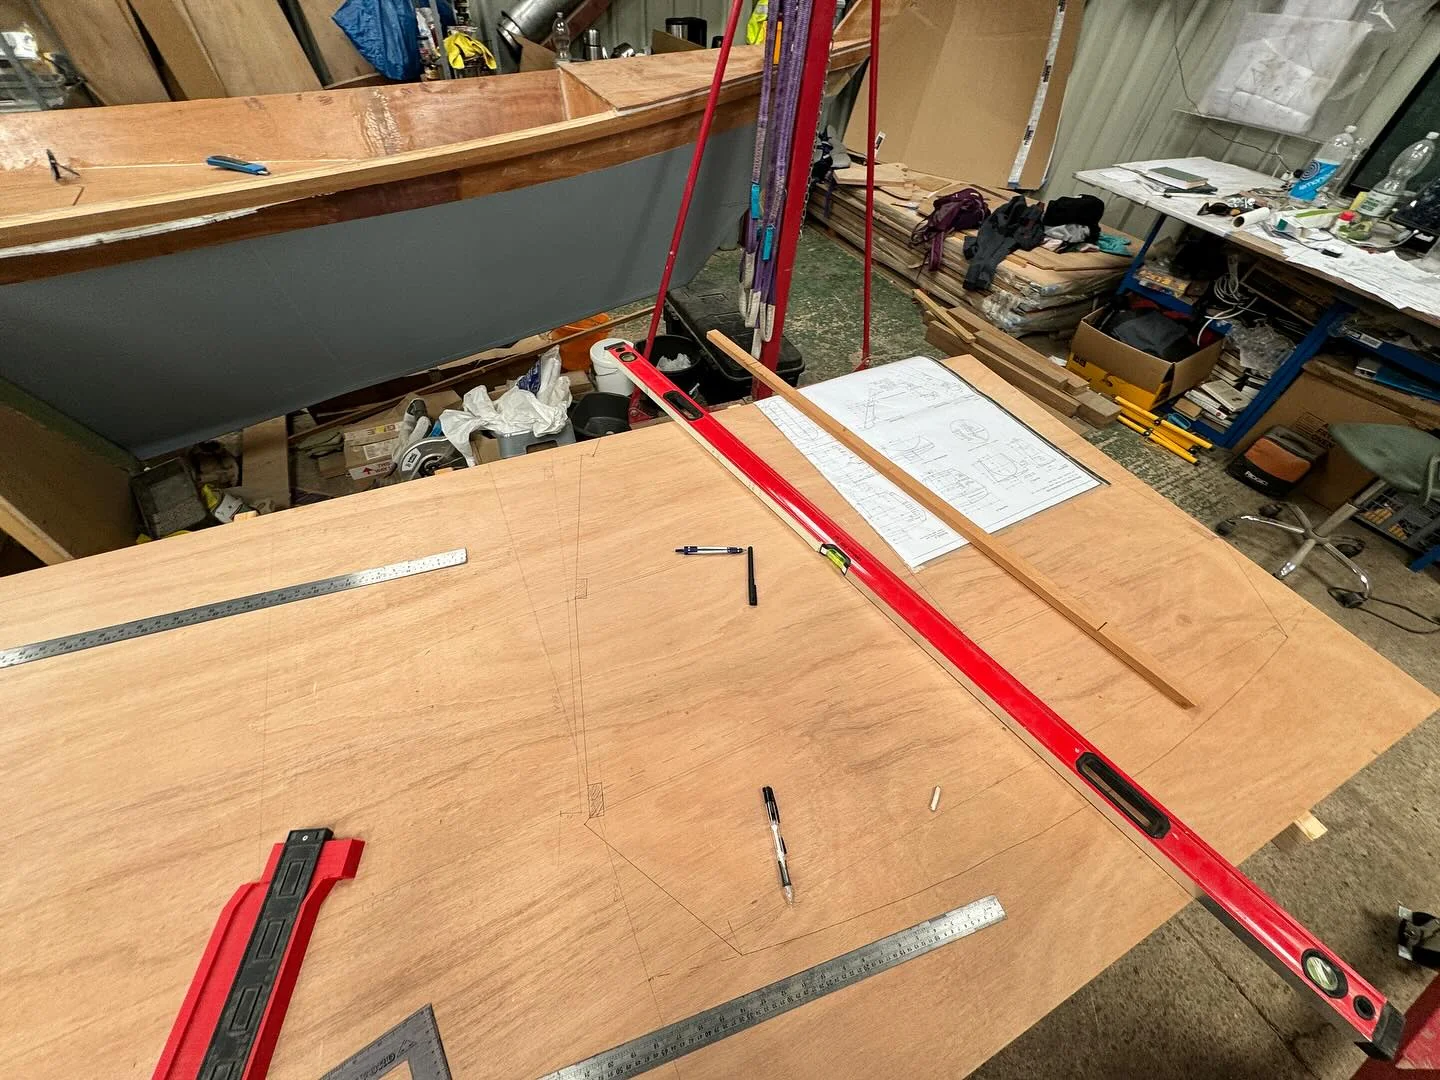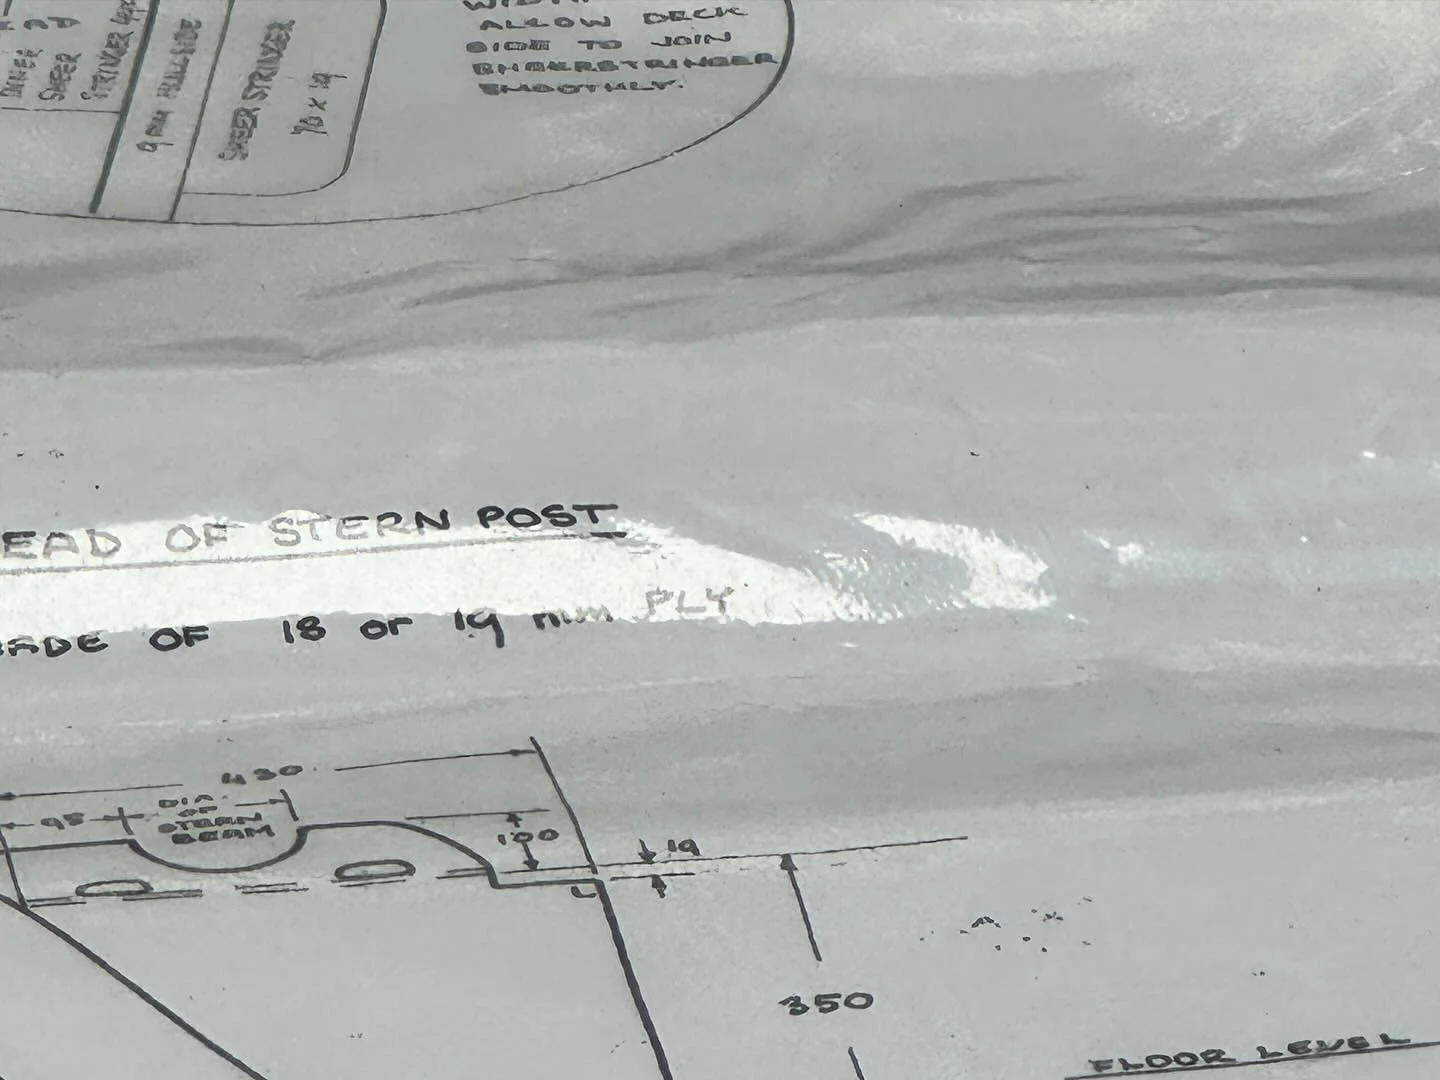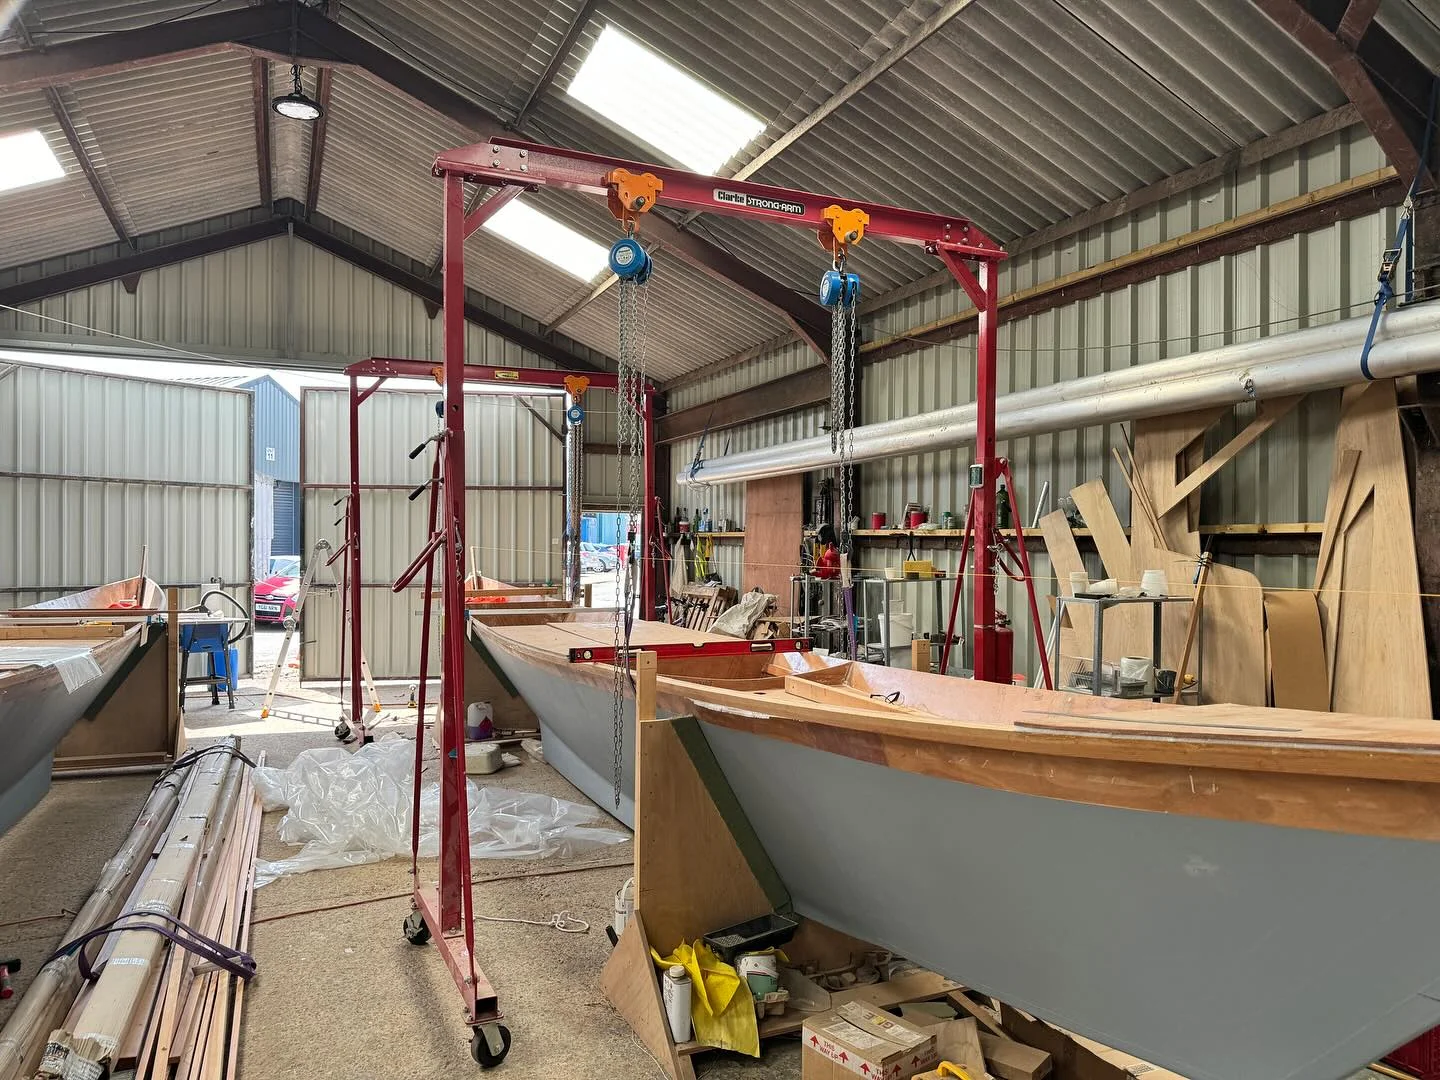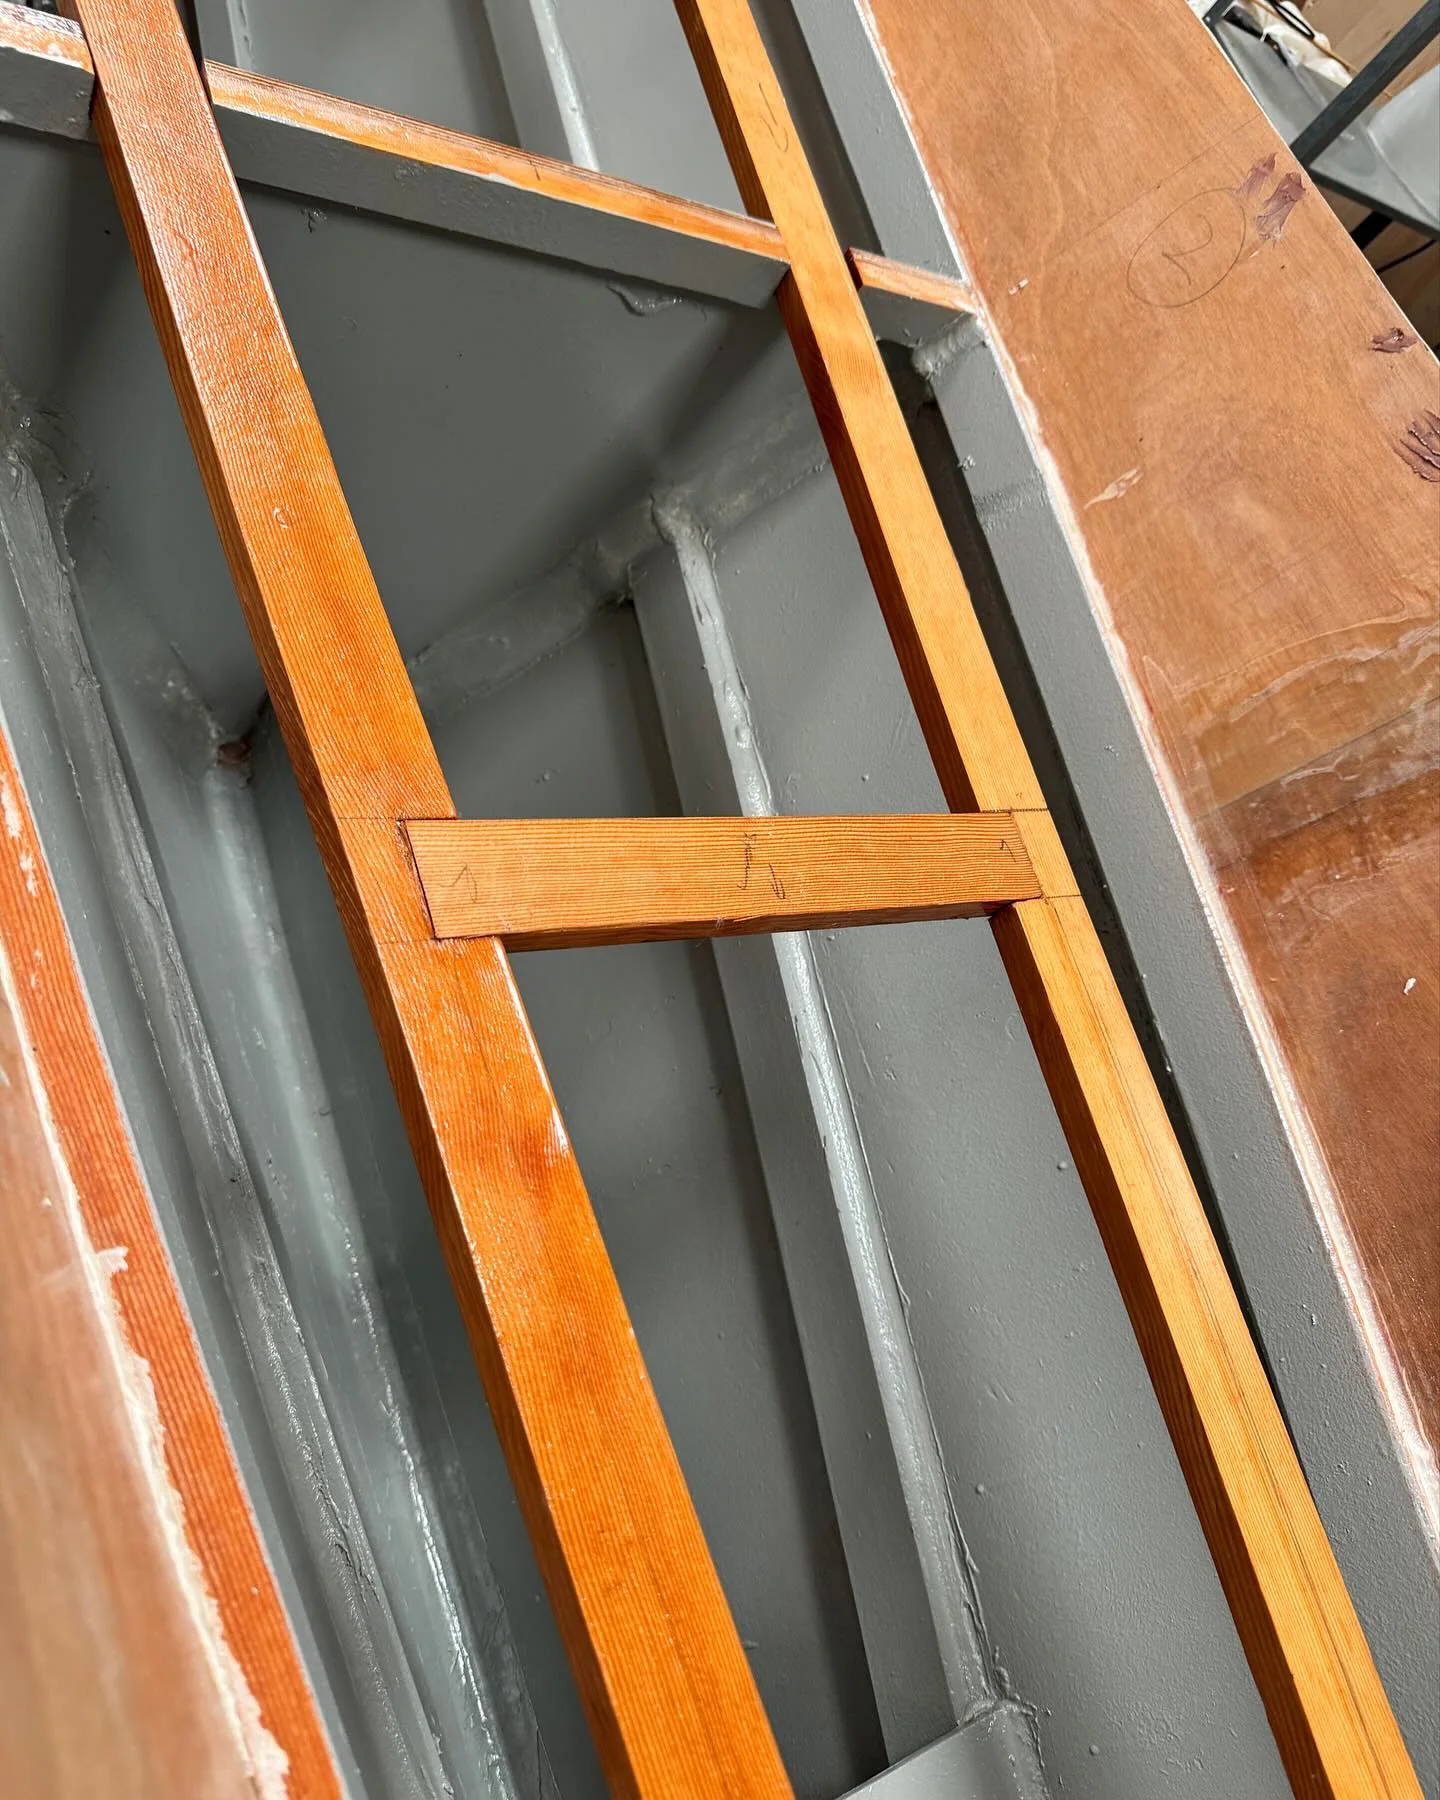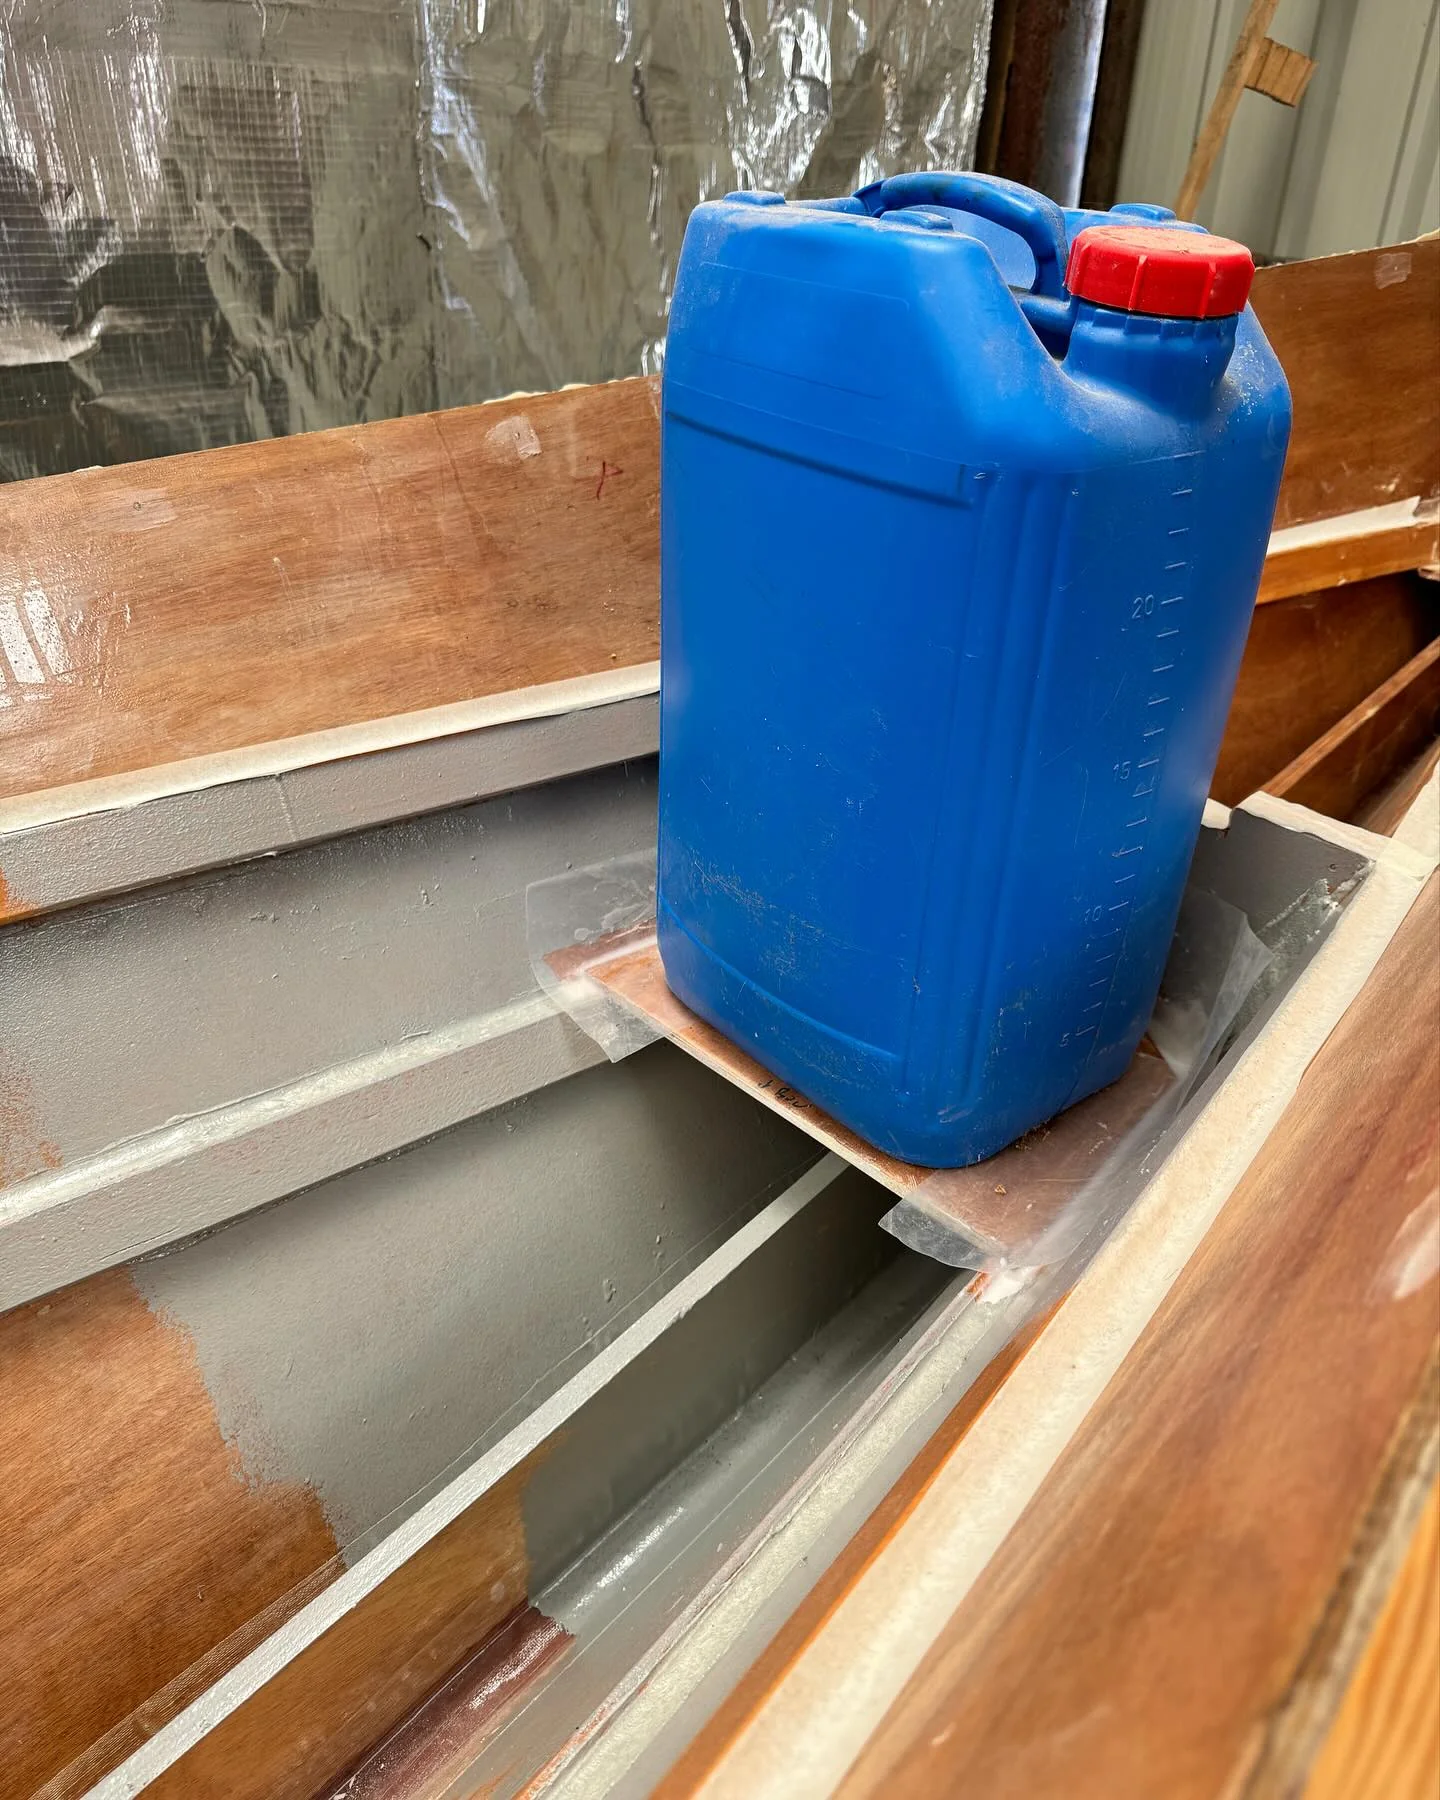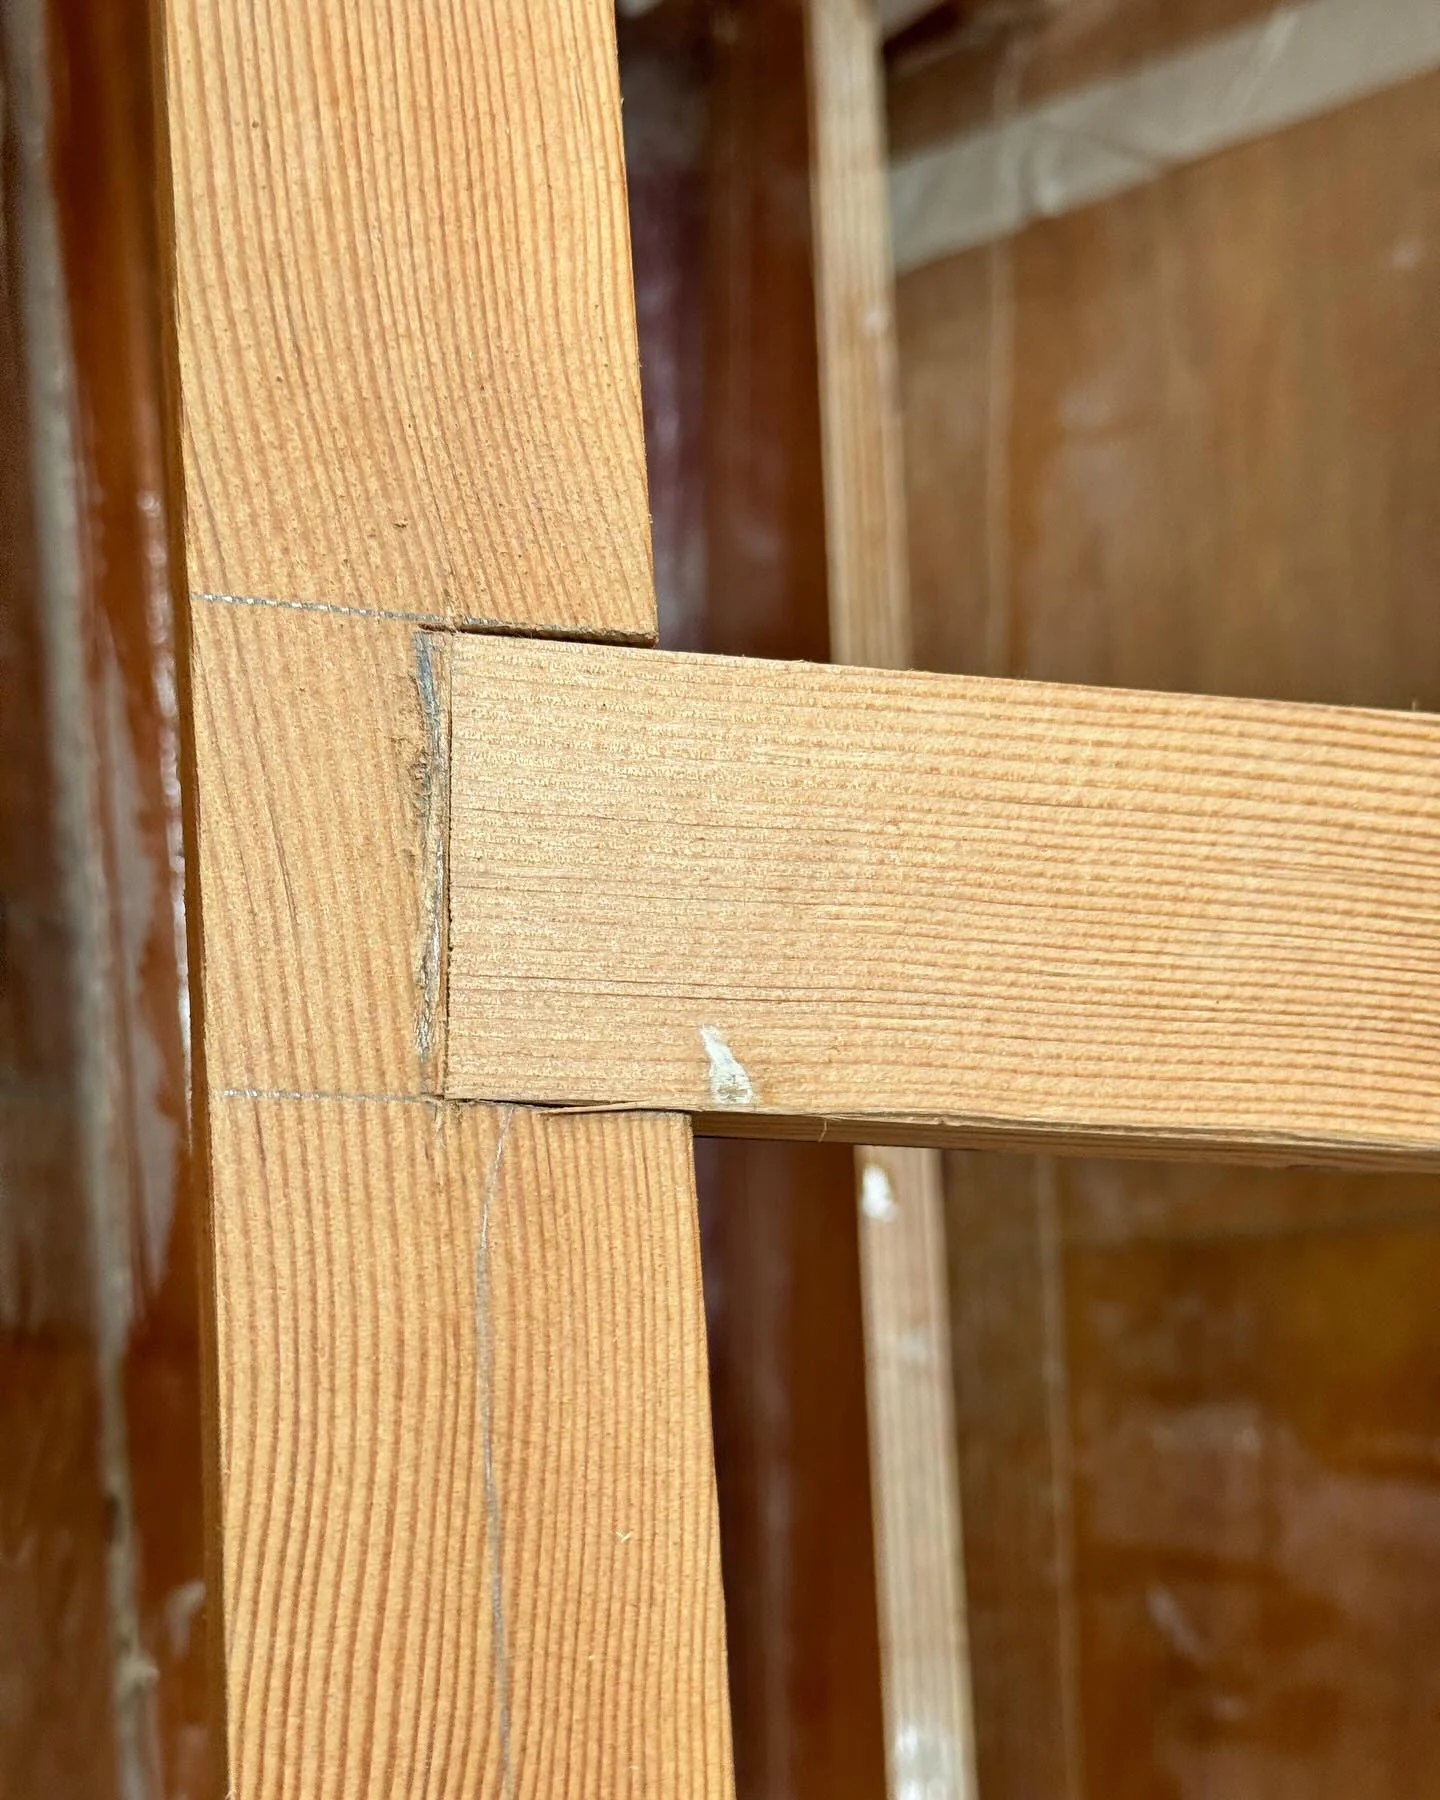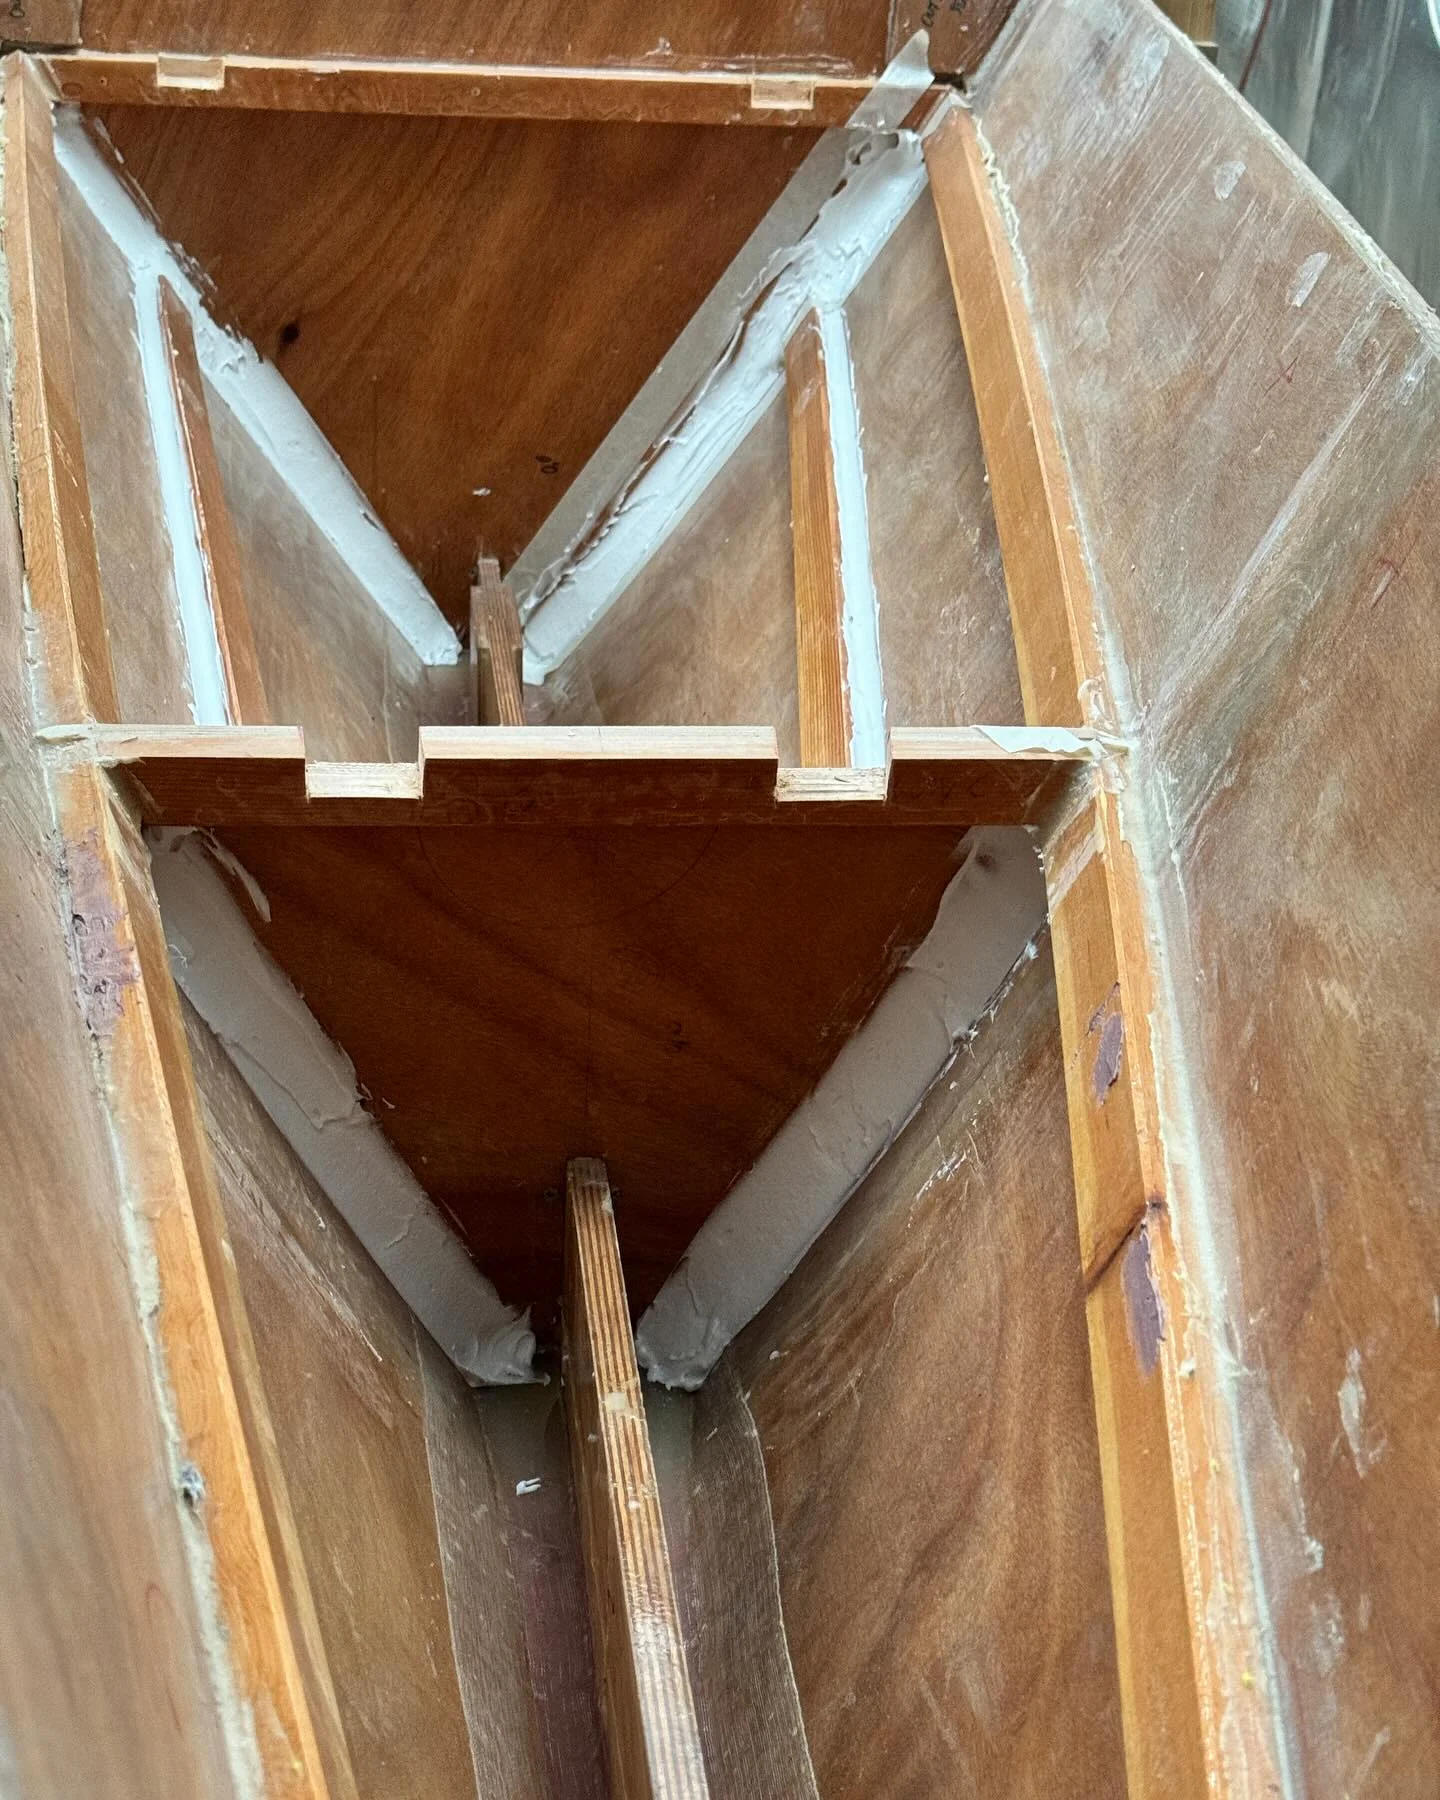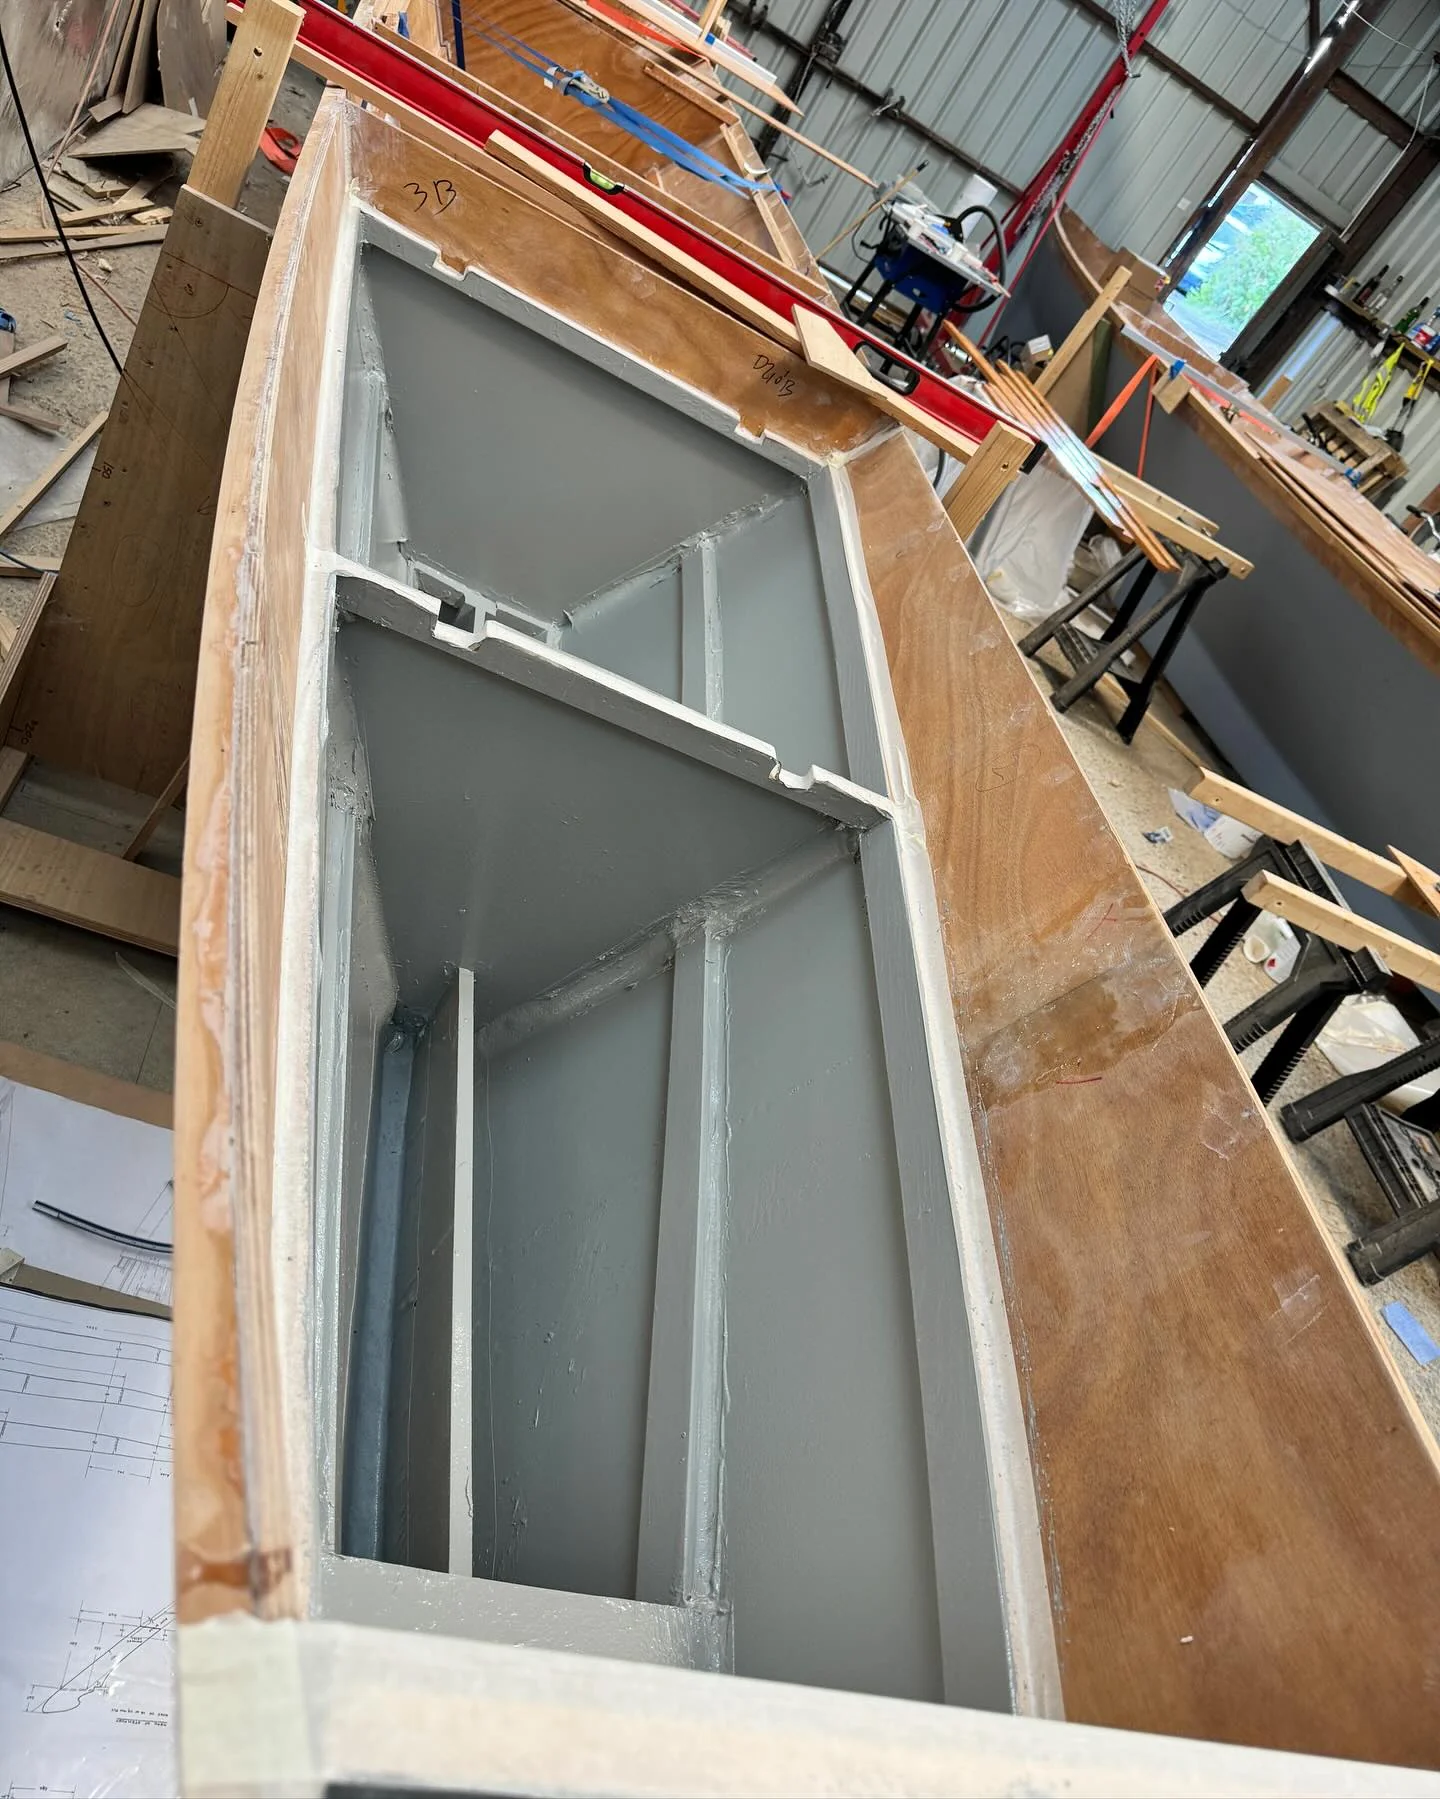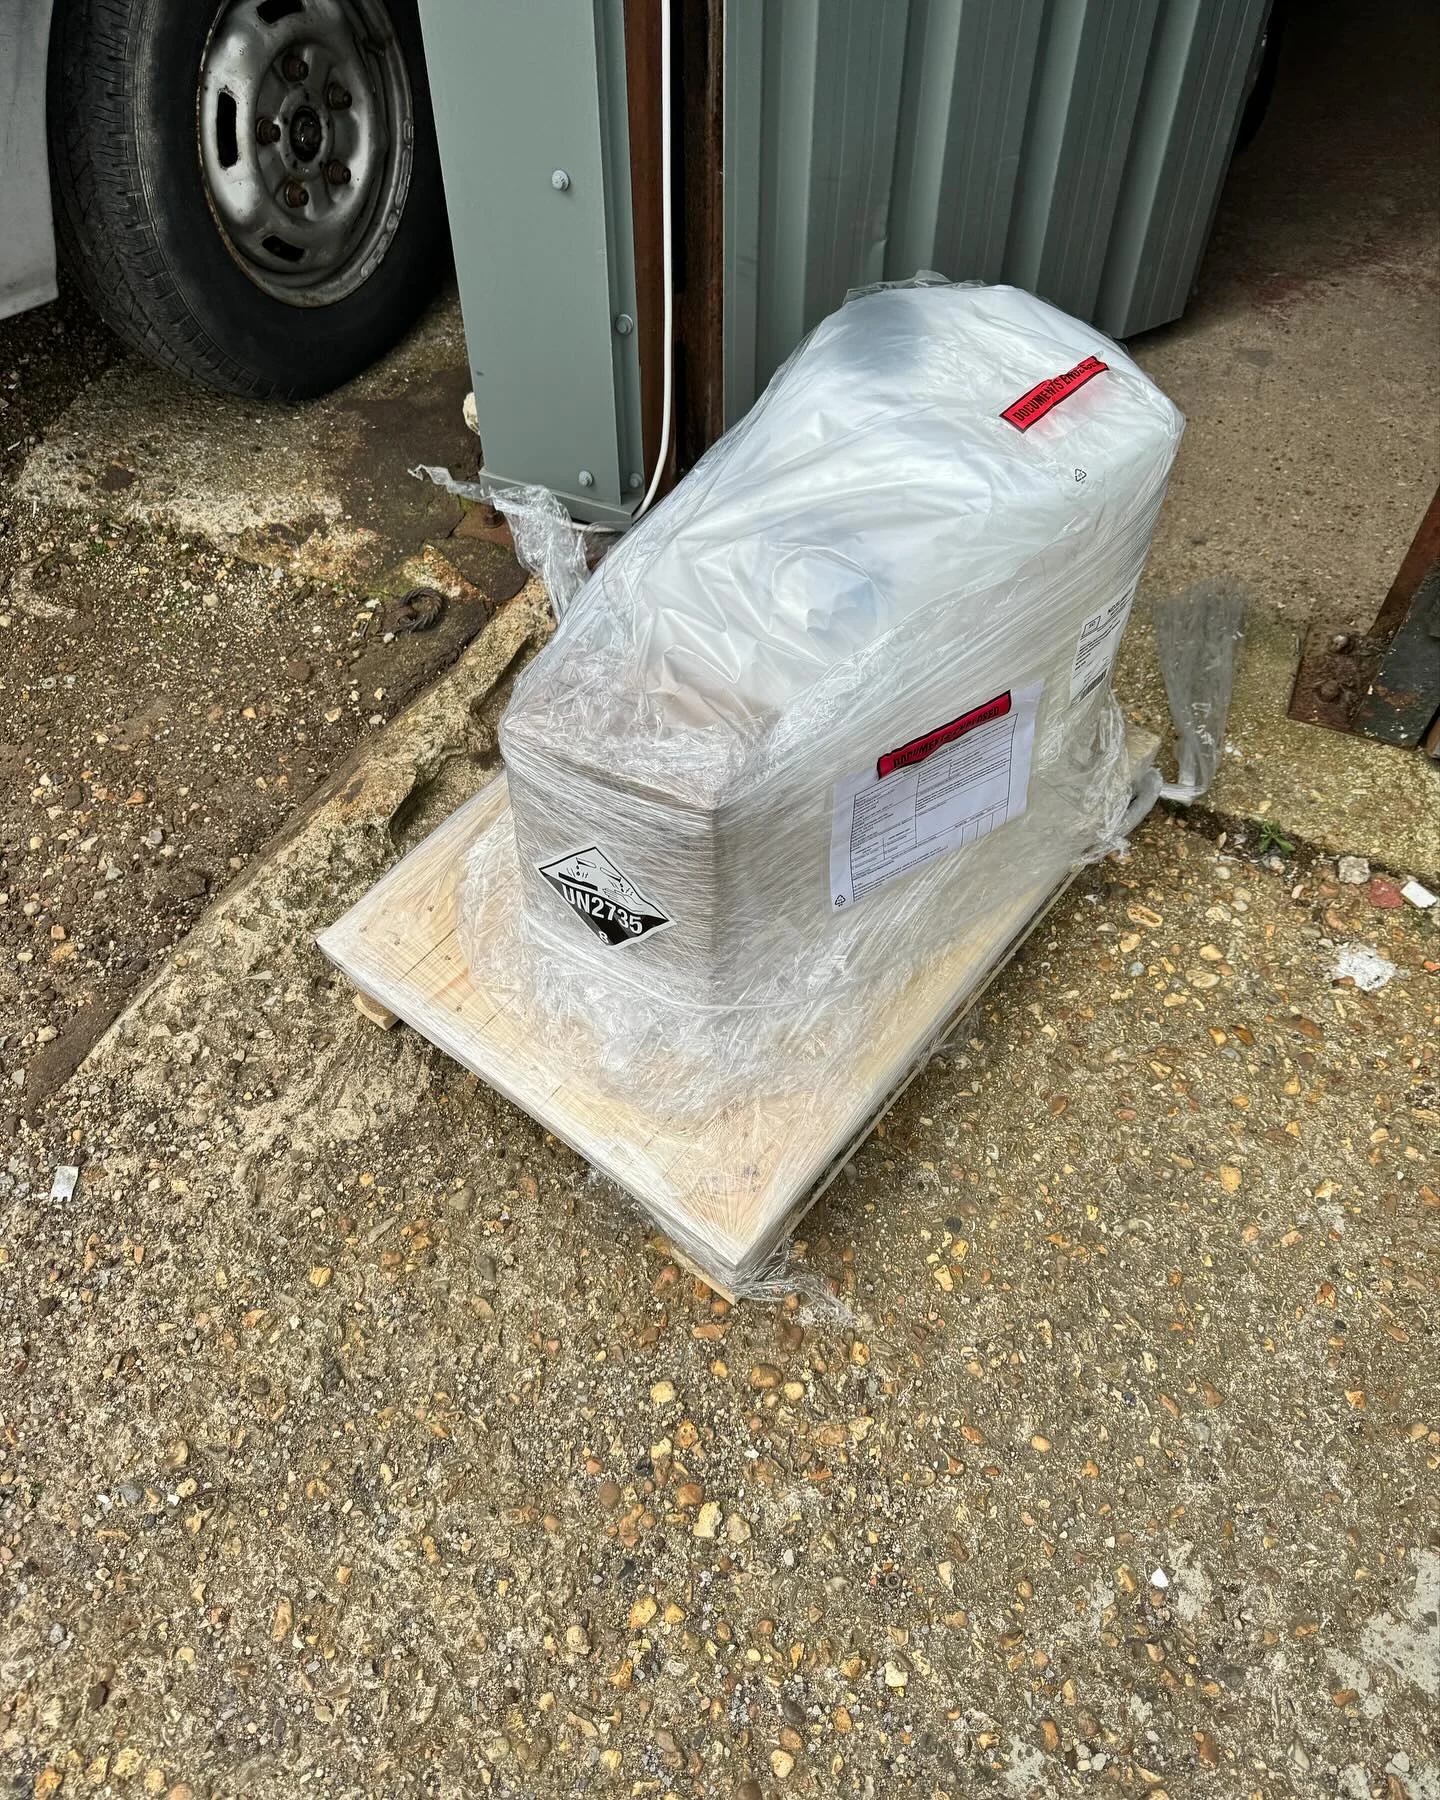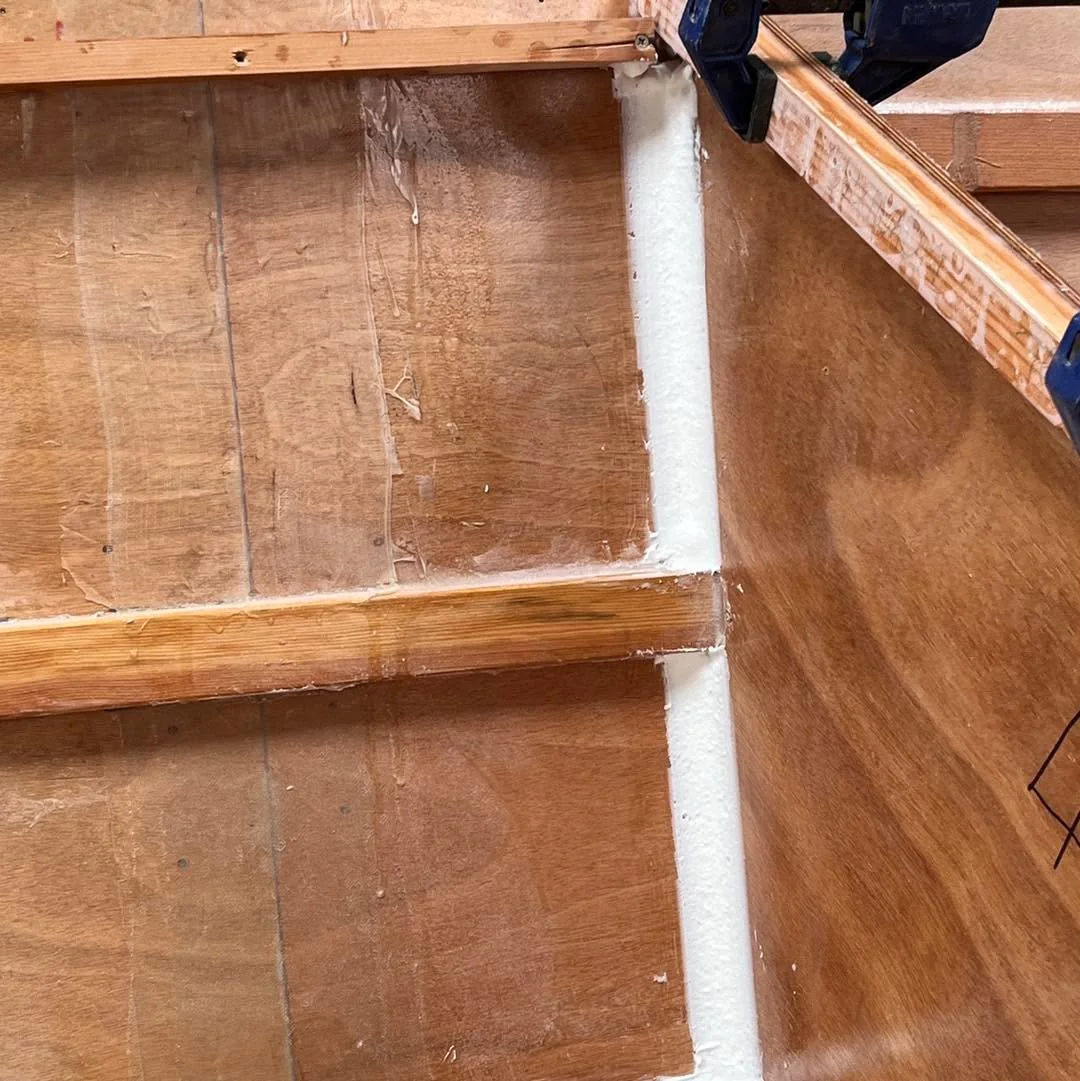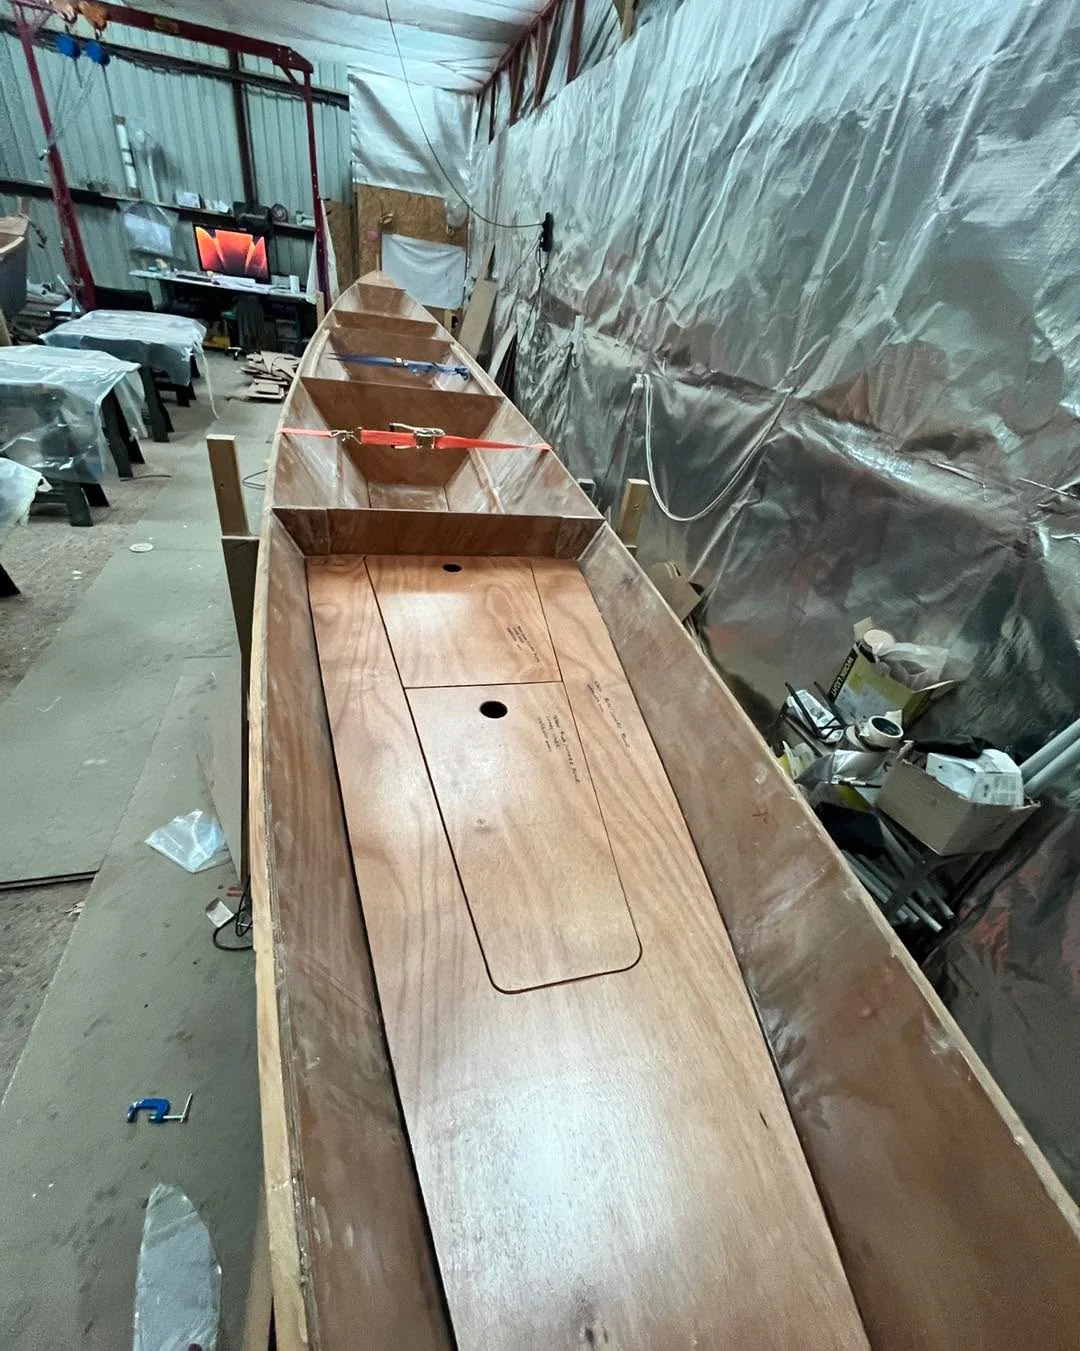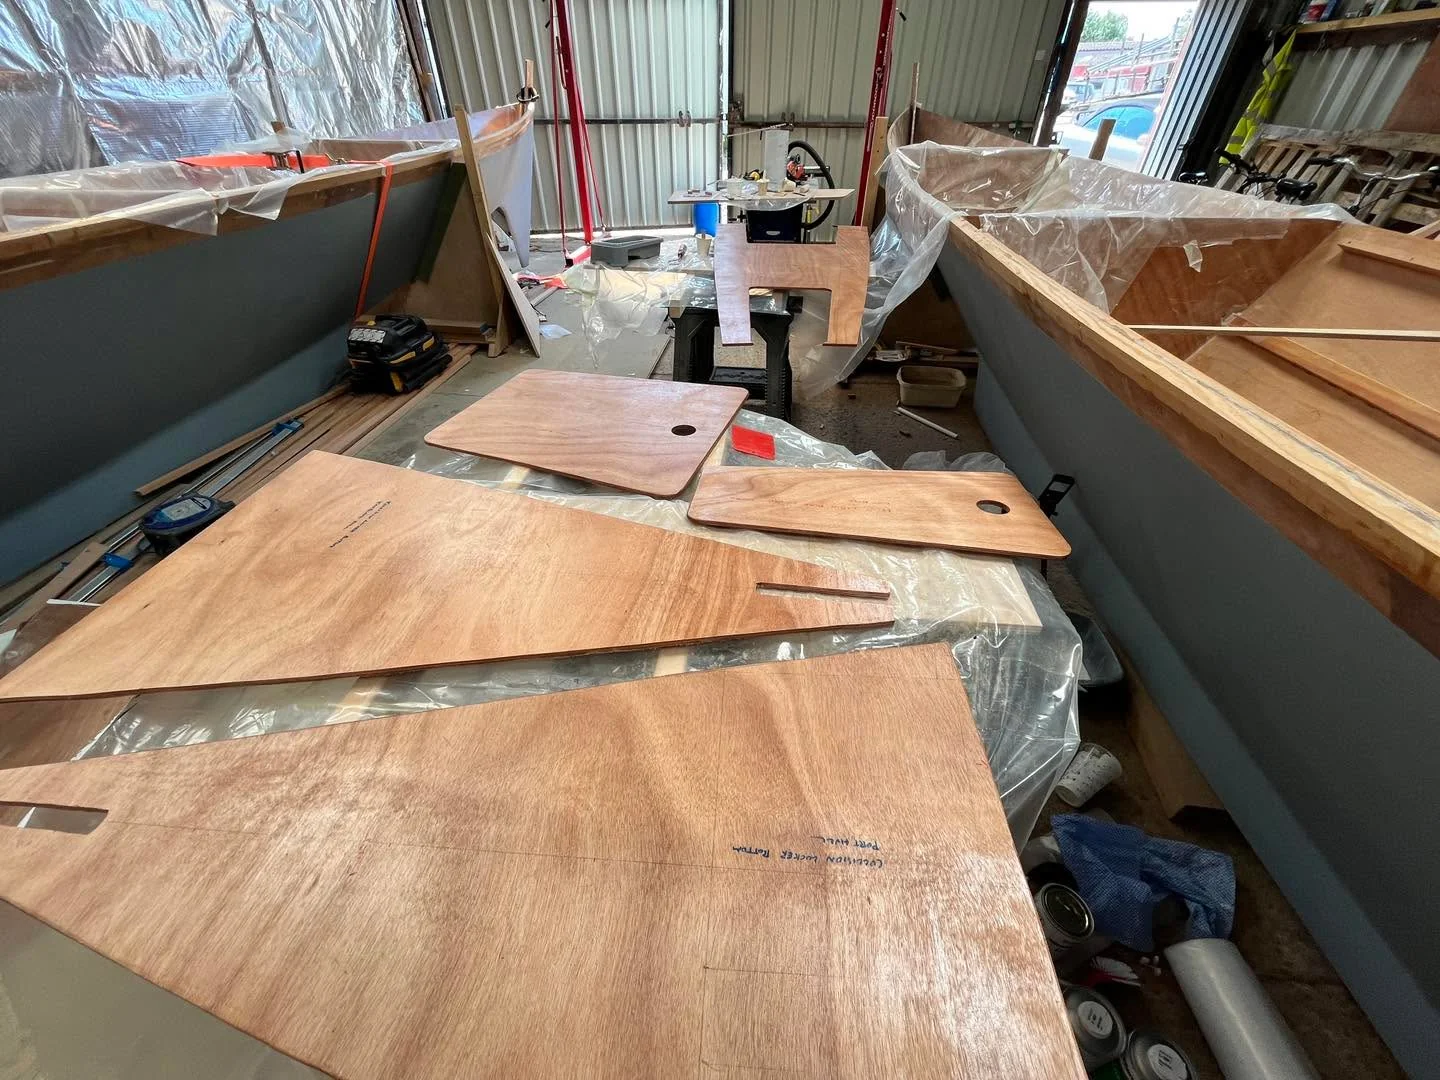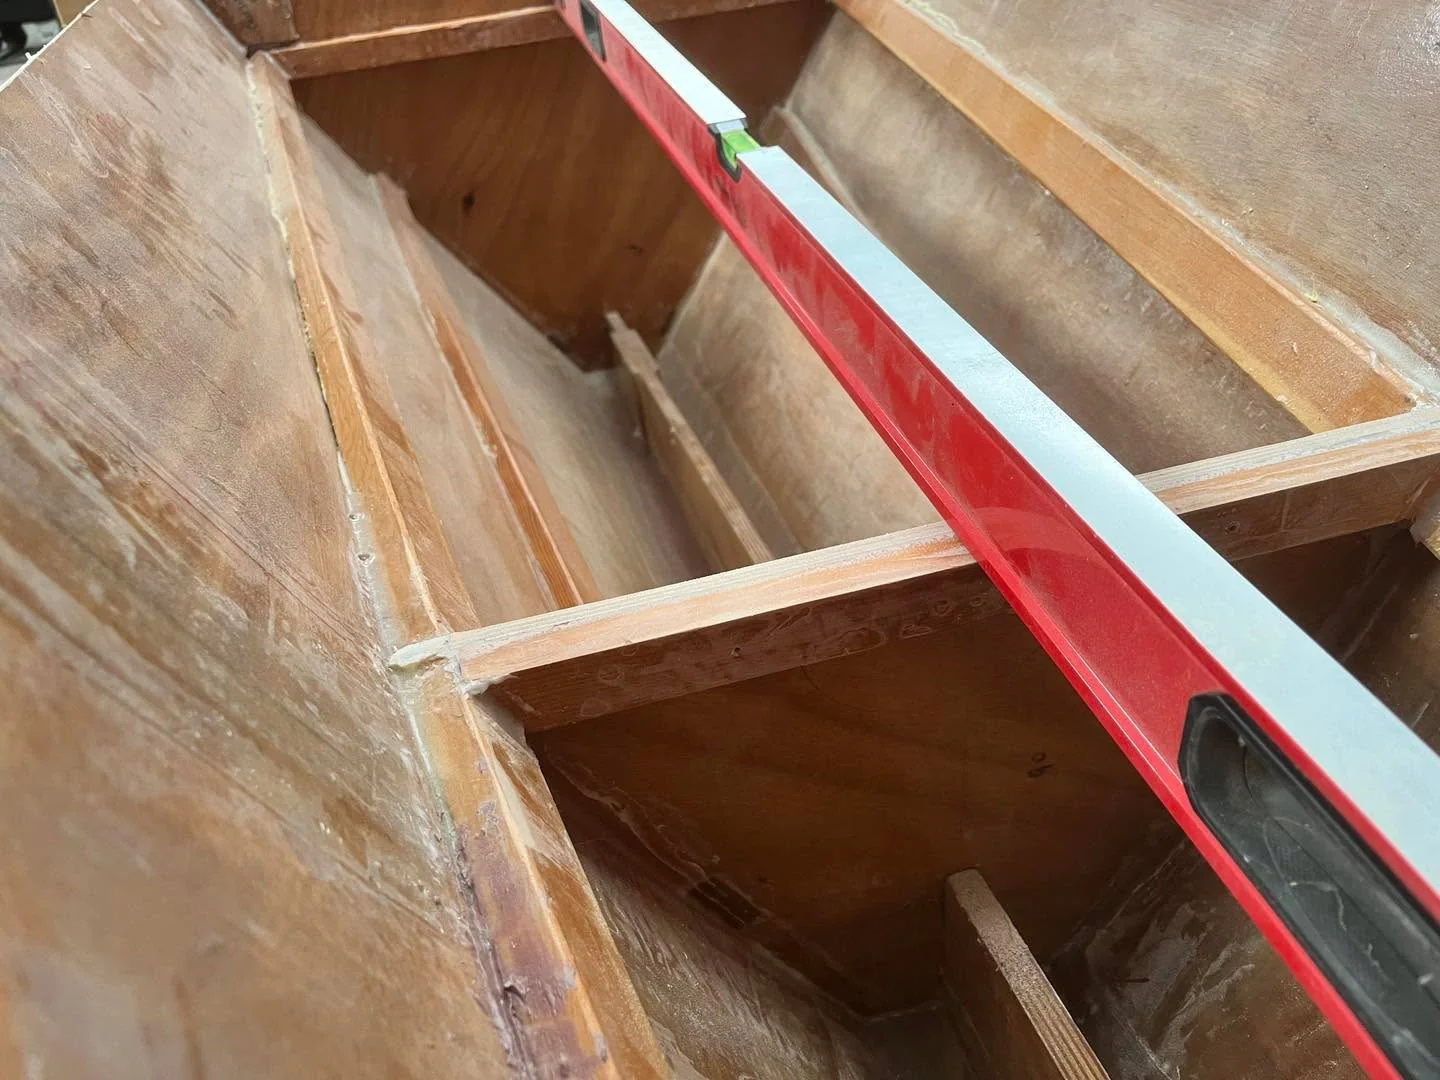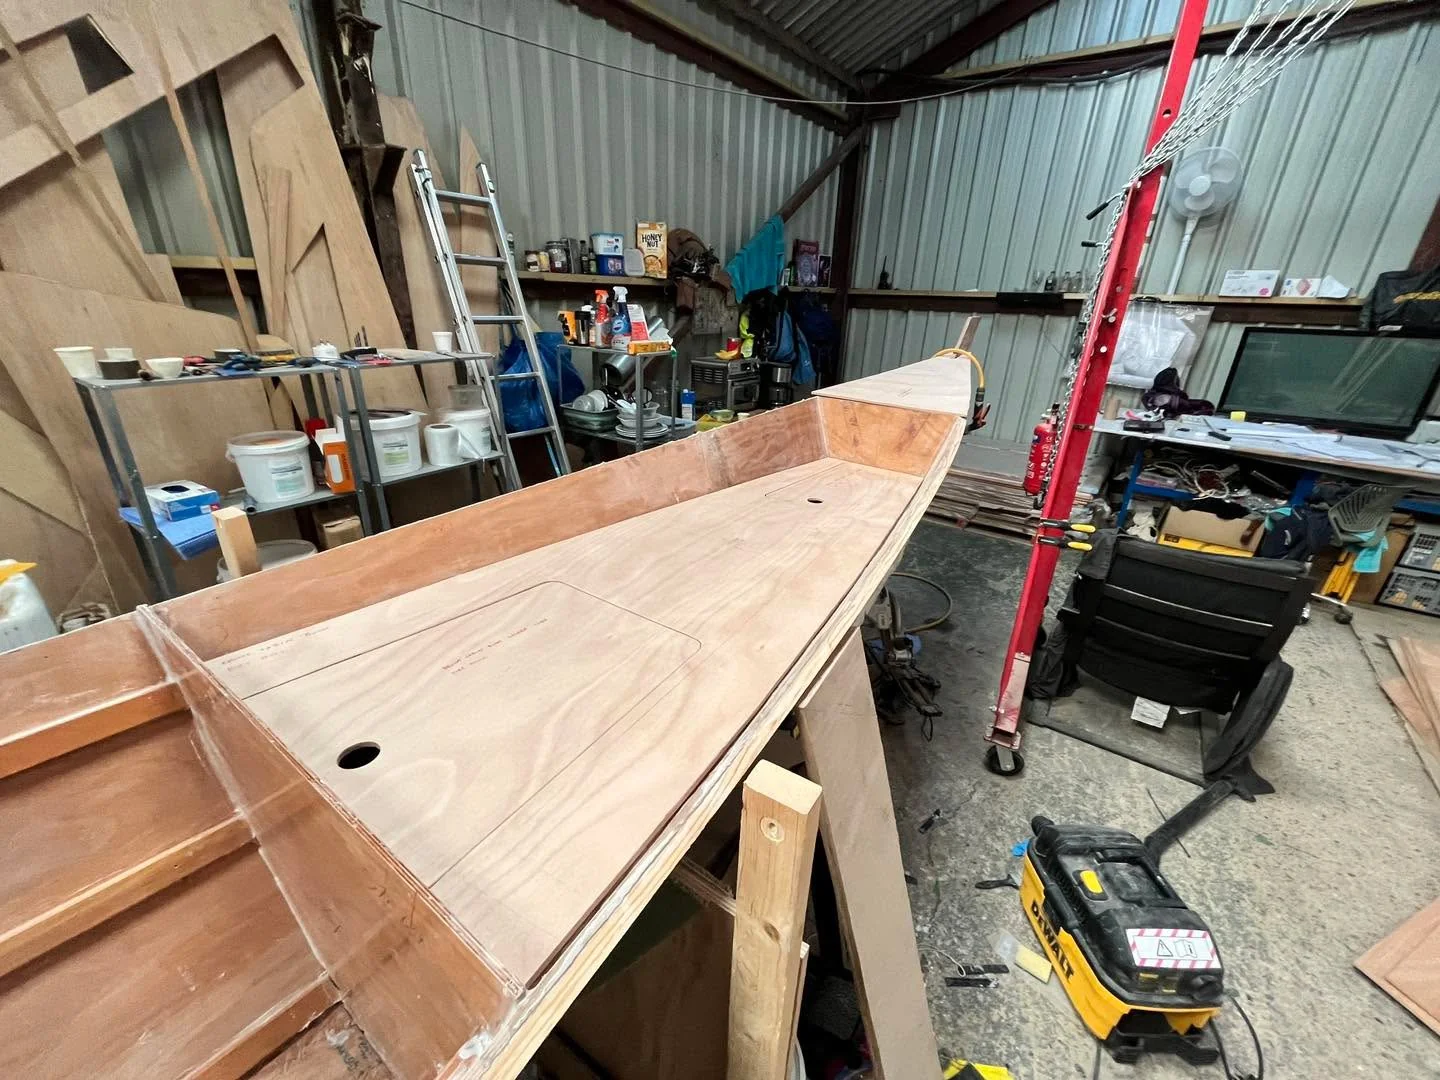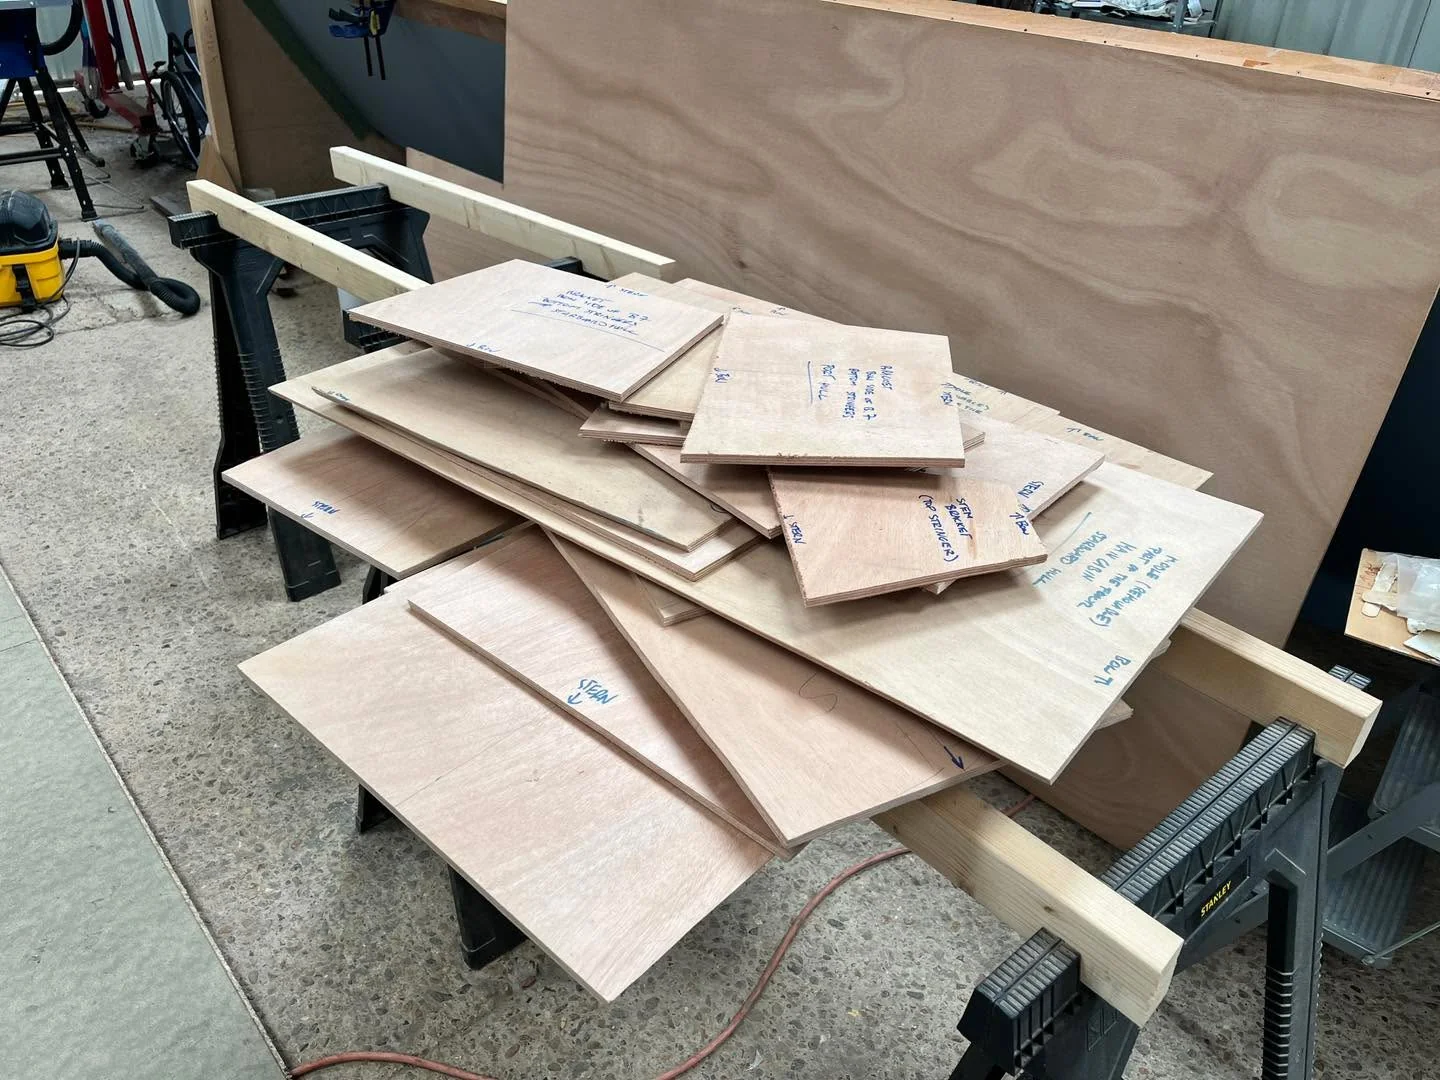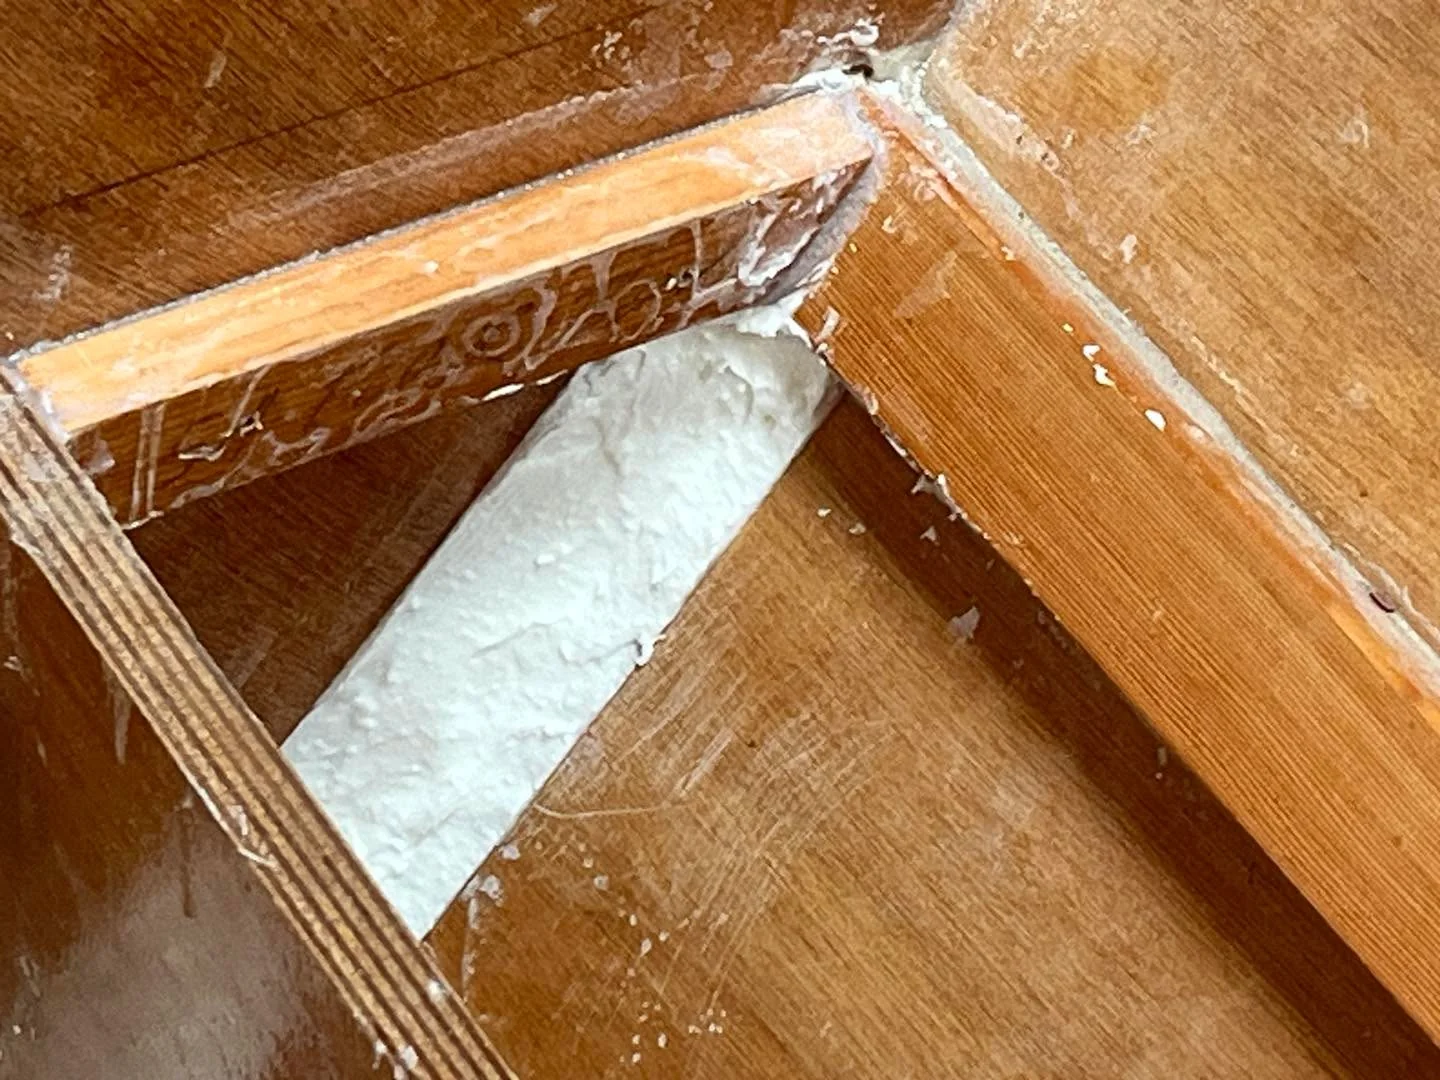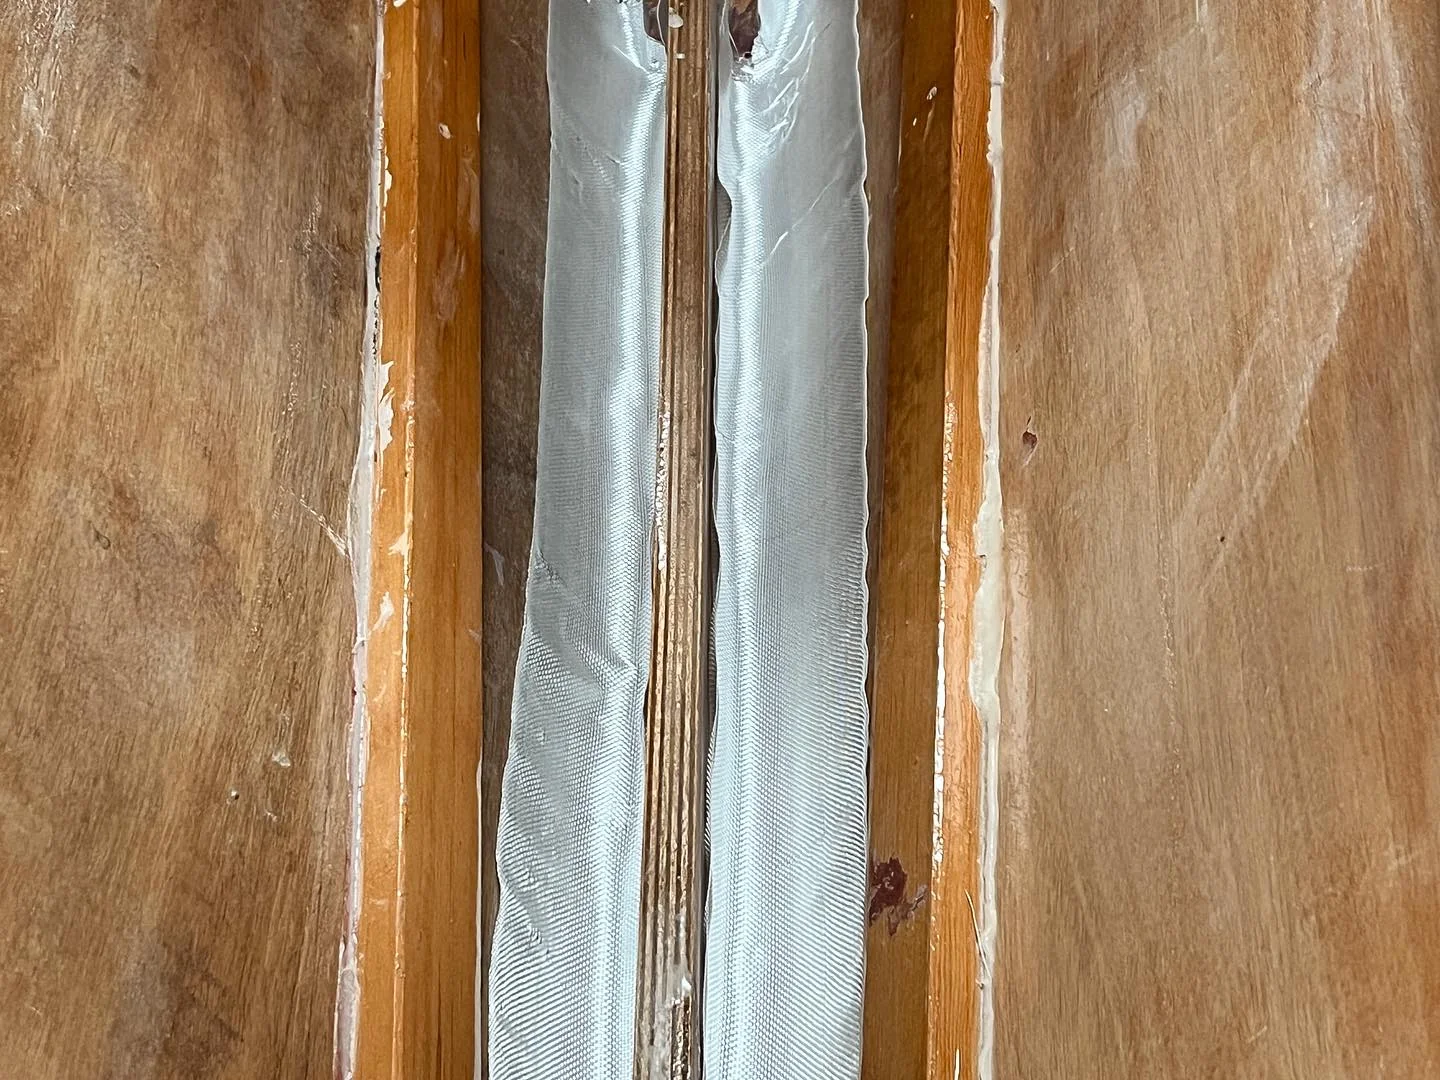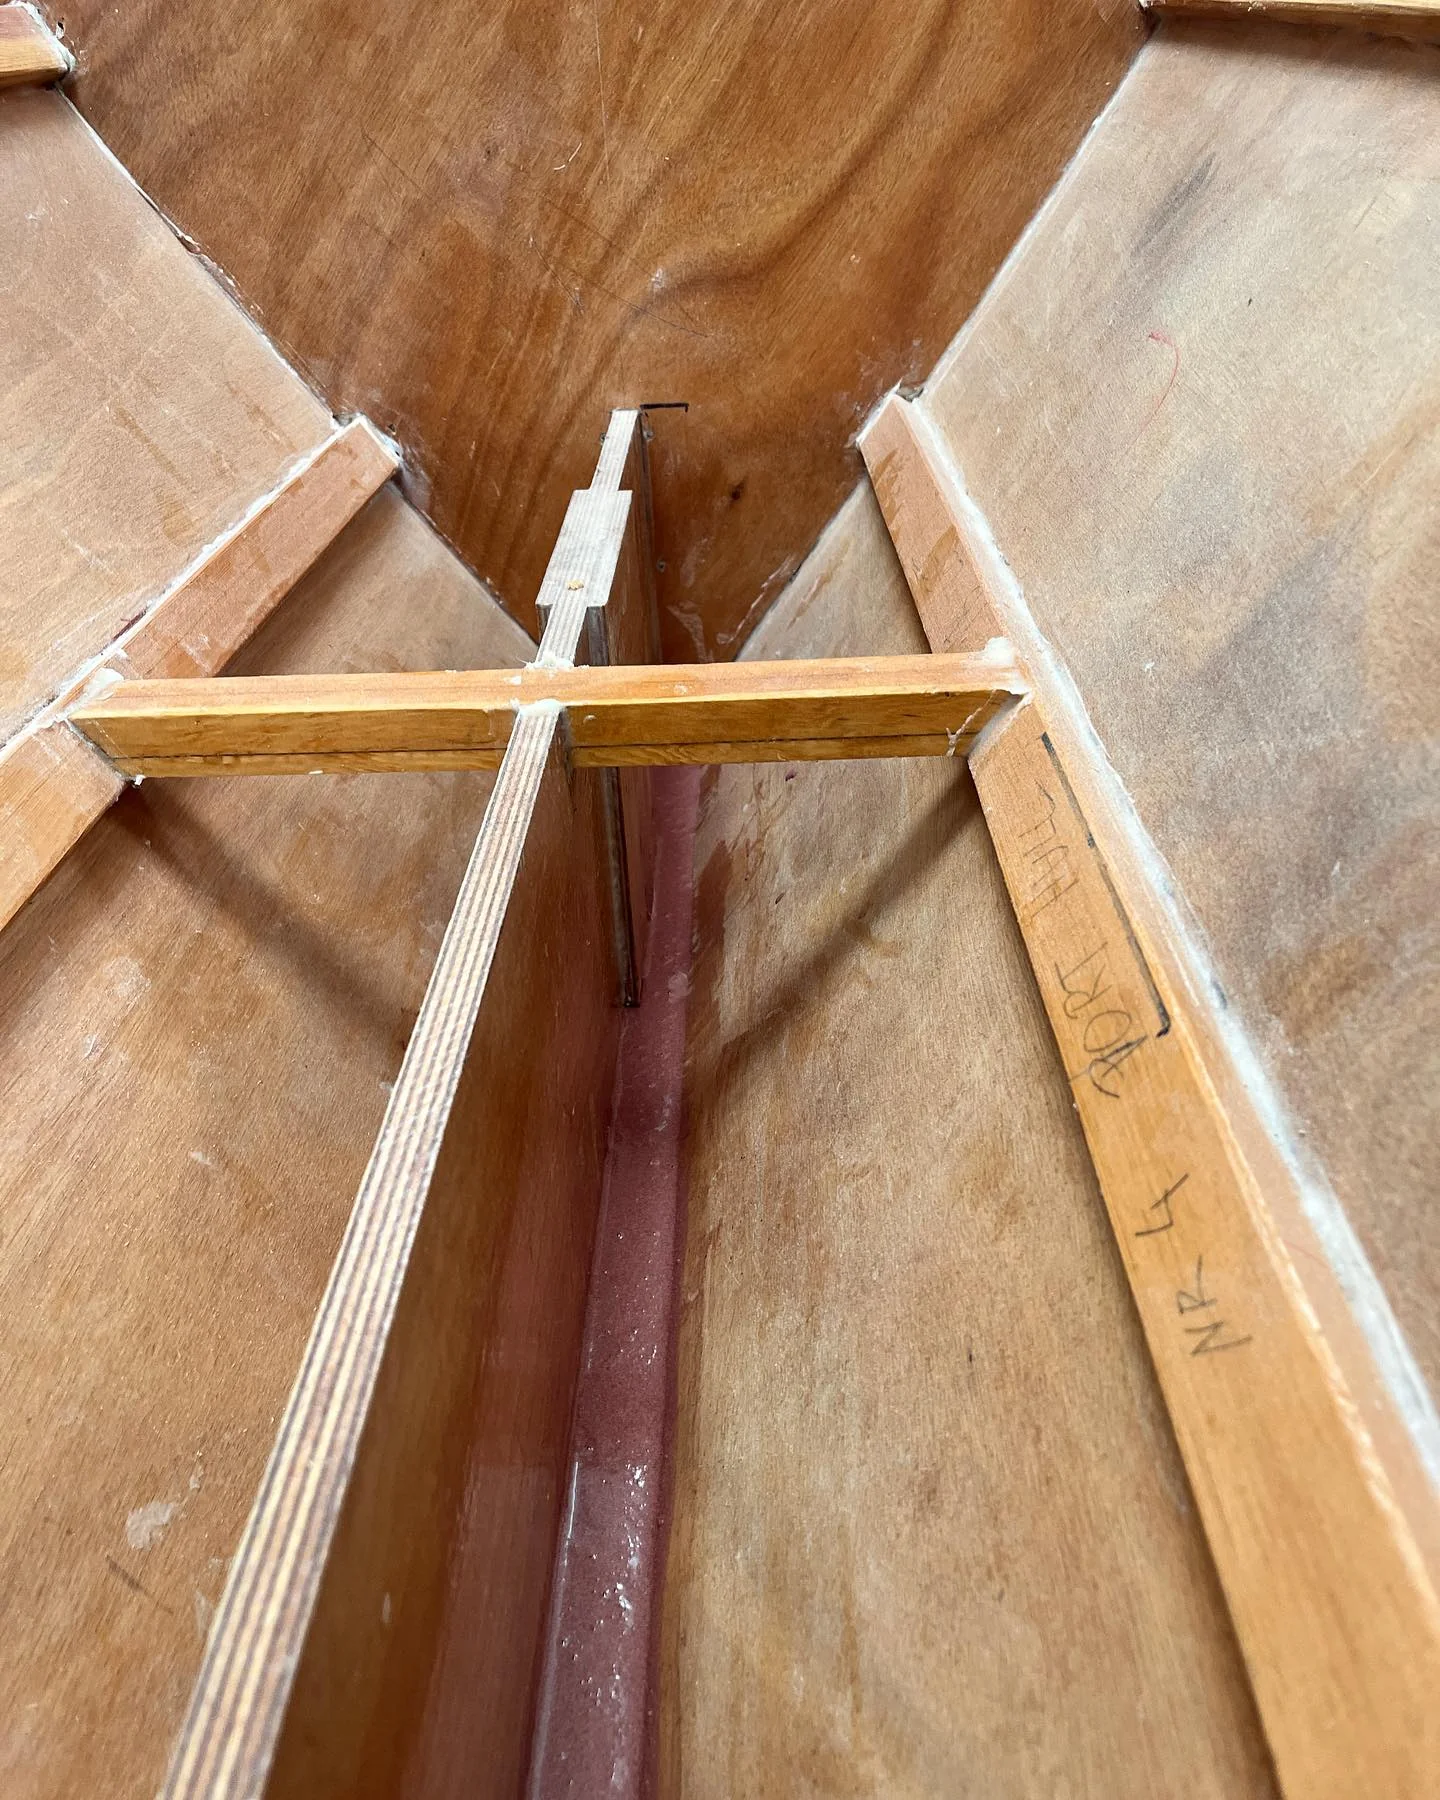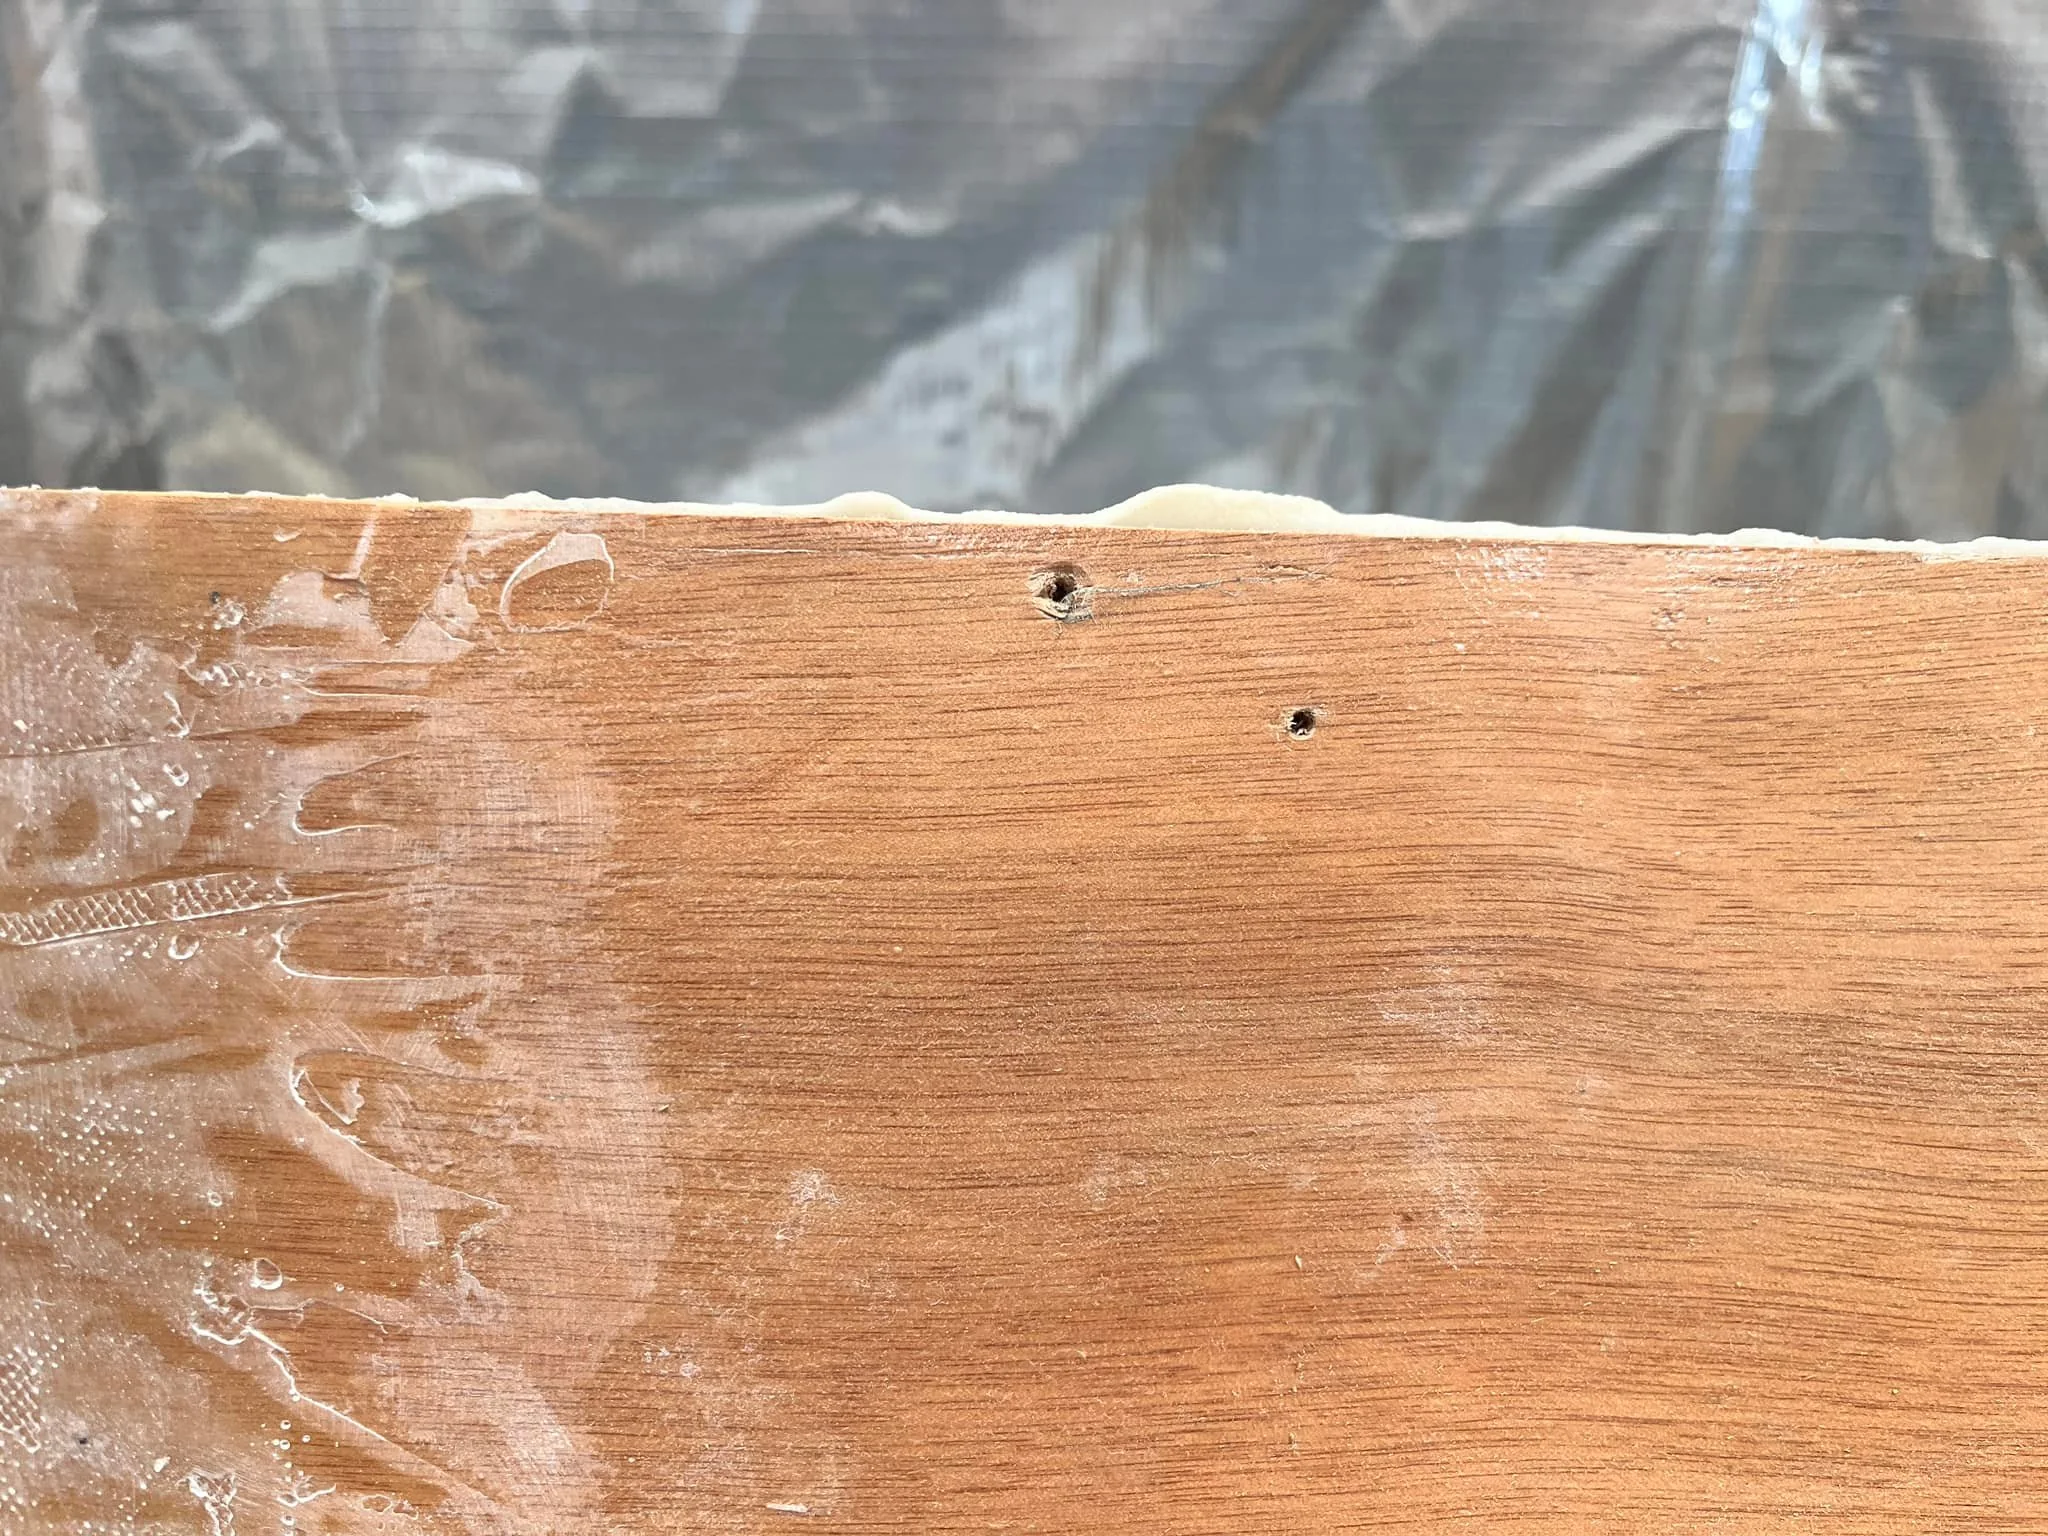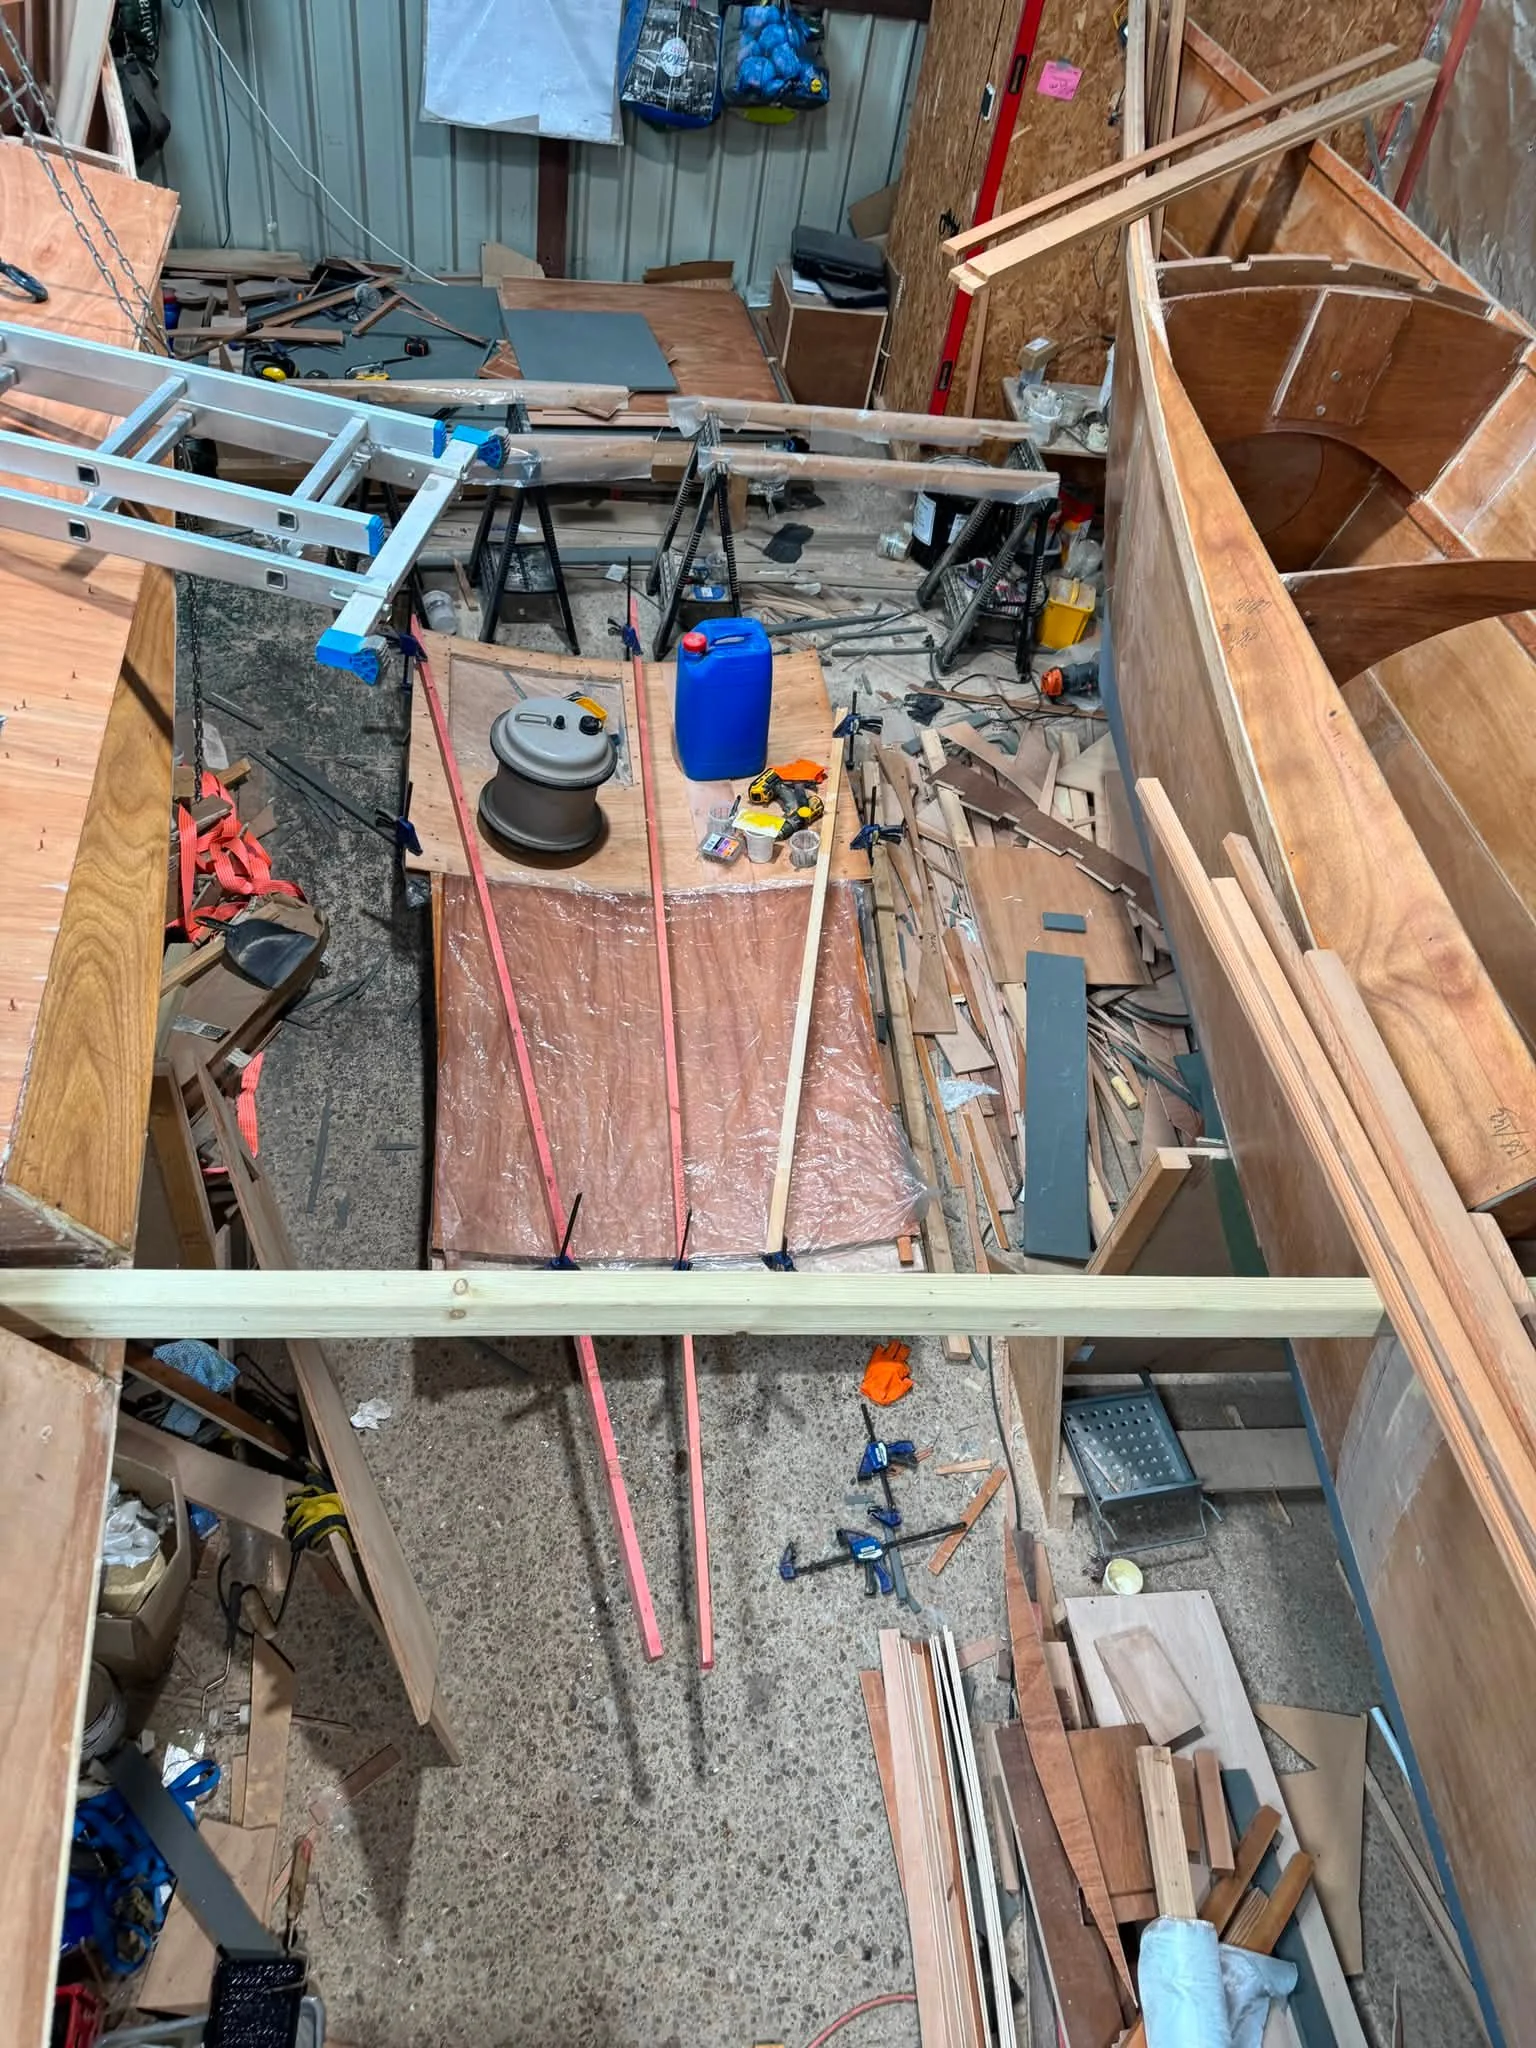
The Second Roof Is Curing The second roof took a day and a half, and it’s curing nicely. I’m hoping the mould came loose on the first roof, because this one may have flattened slightly where the fittings bent under the stress.
The Second Roof Goes Much Faster I spent four days checking, measuring and moulding the first roof; the second is already epoxied together and fitting nicely. A little trimming remains, plus one suspiciously unsupported lifting operation.
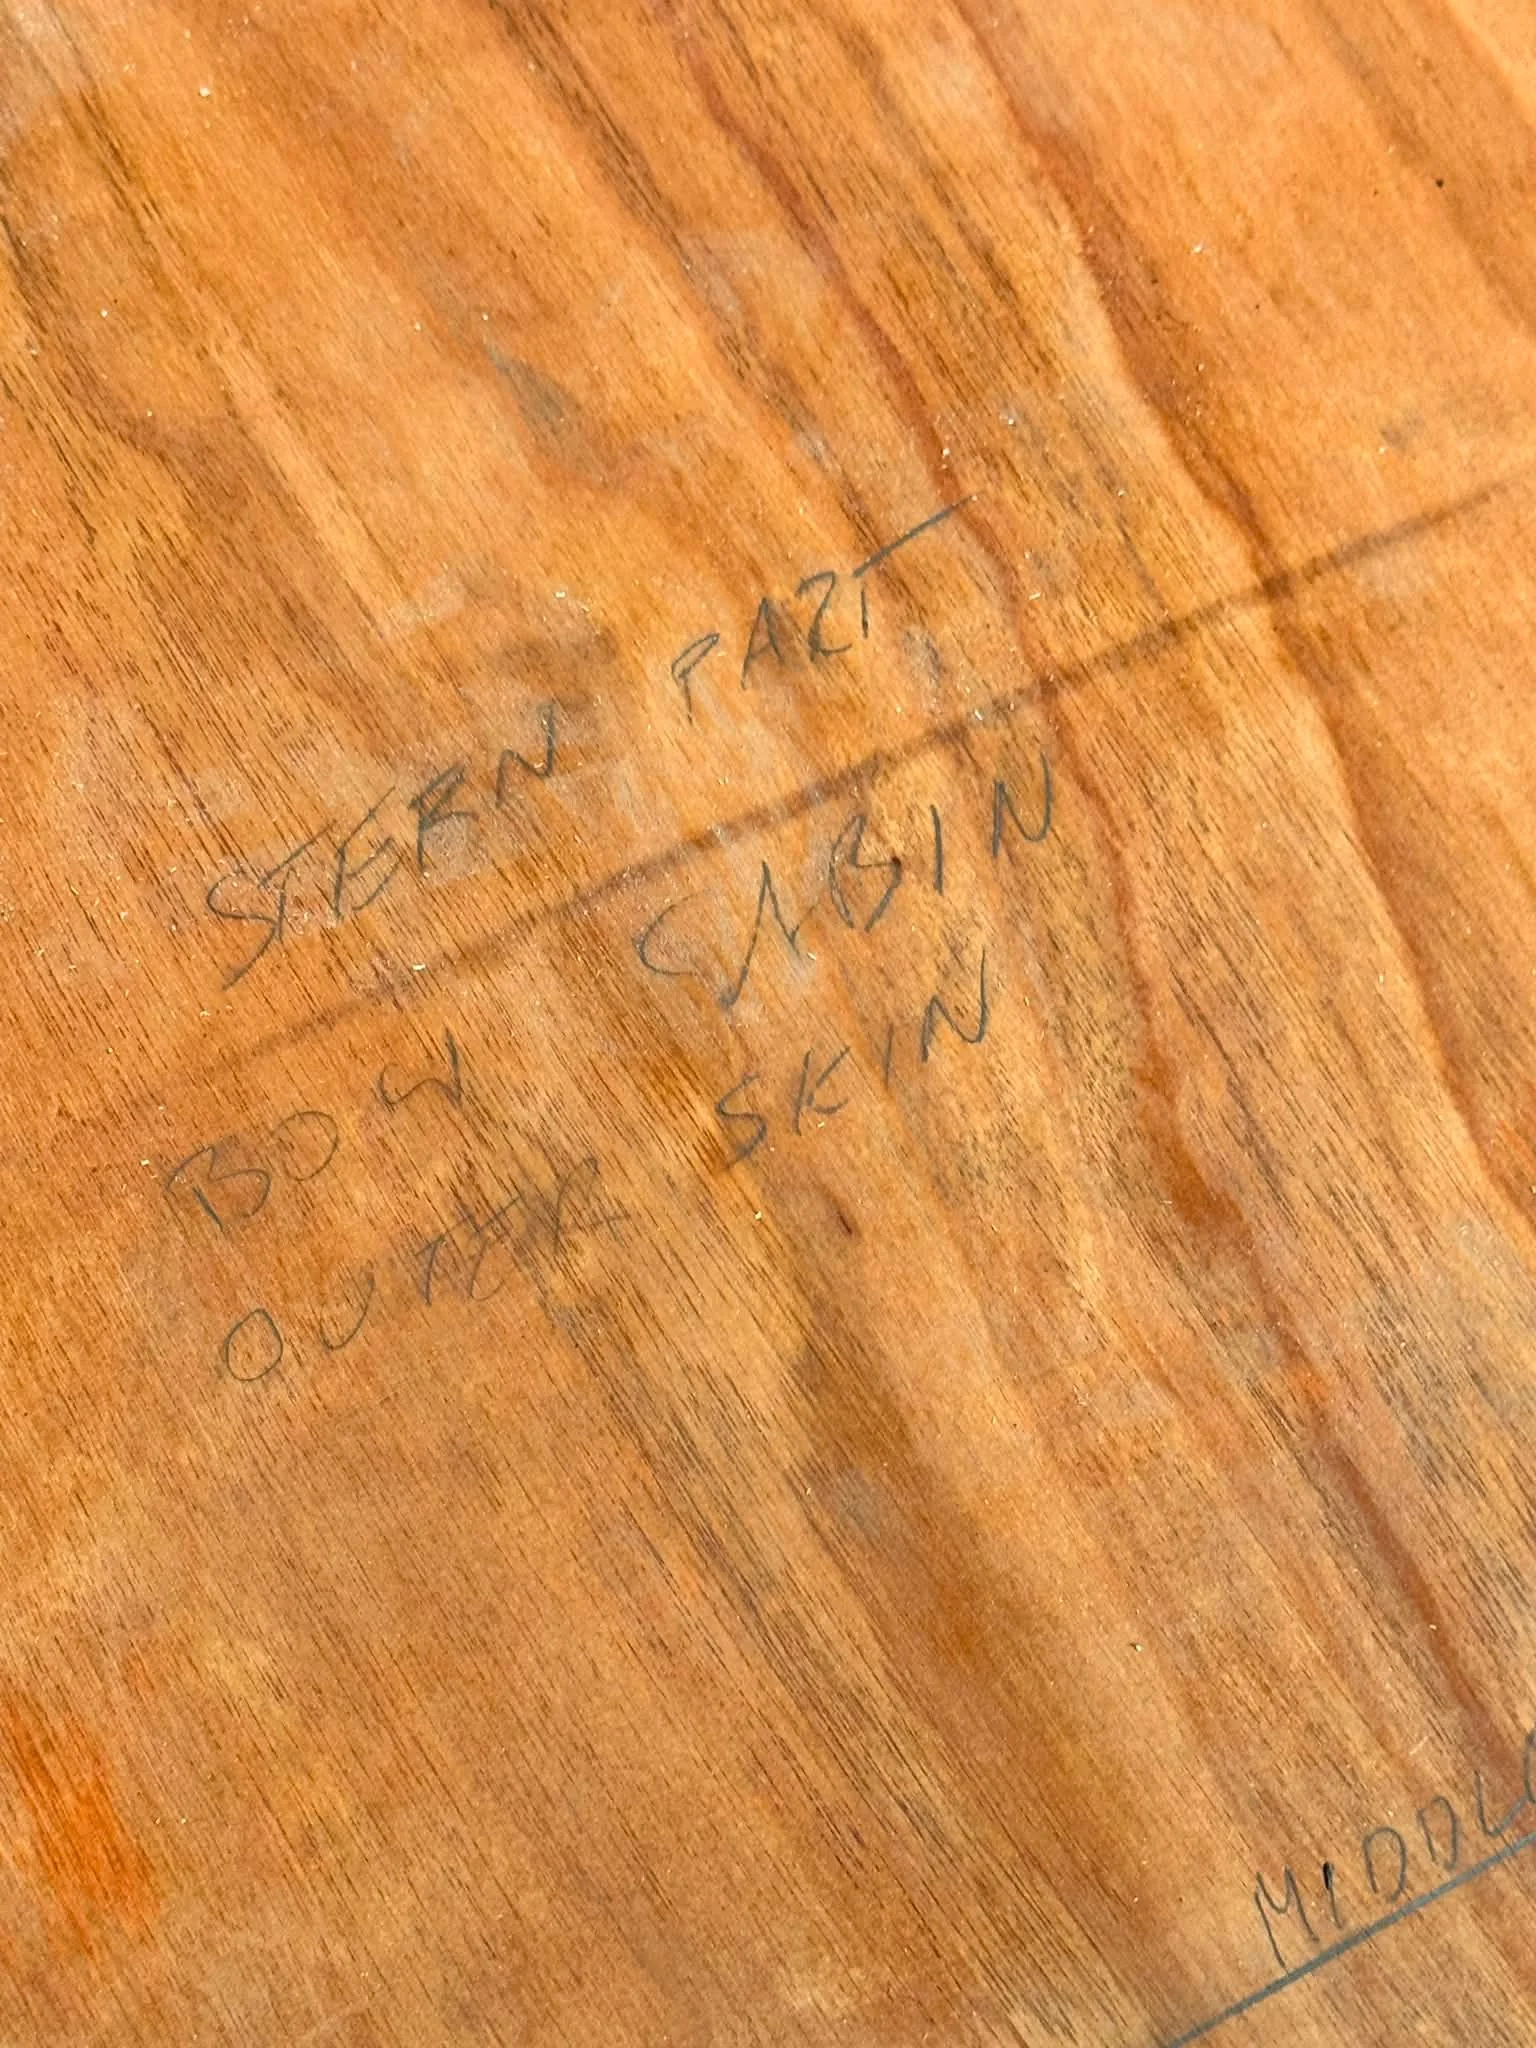
The Bow Cabin Roof Gets Complicated I’m piecing together the complex bow cabin roof from multiple sheets of plywood—and caught myself marking the hatch opening on the wrong side. Fun continues!
A New Mould for the Front Decks I realised the front decks needed a changing curvature, not the standard radius from the plans. After rebuilding the mould, the 9mm plywood seems to be bending just fine.
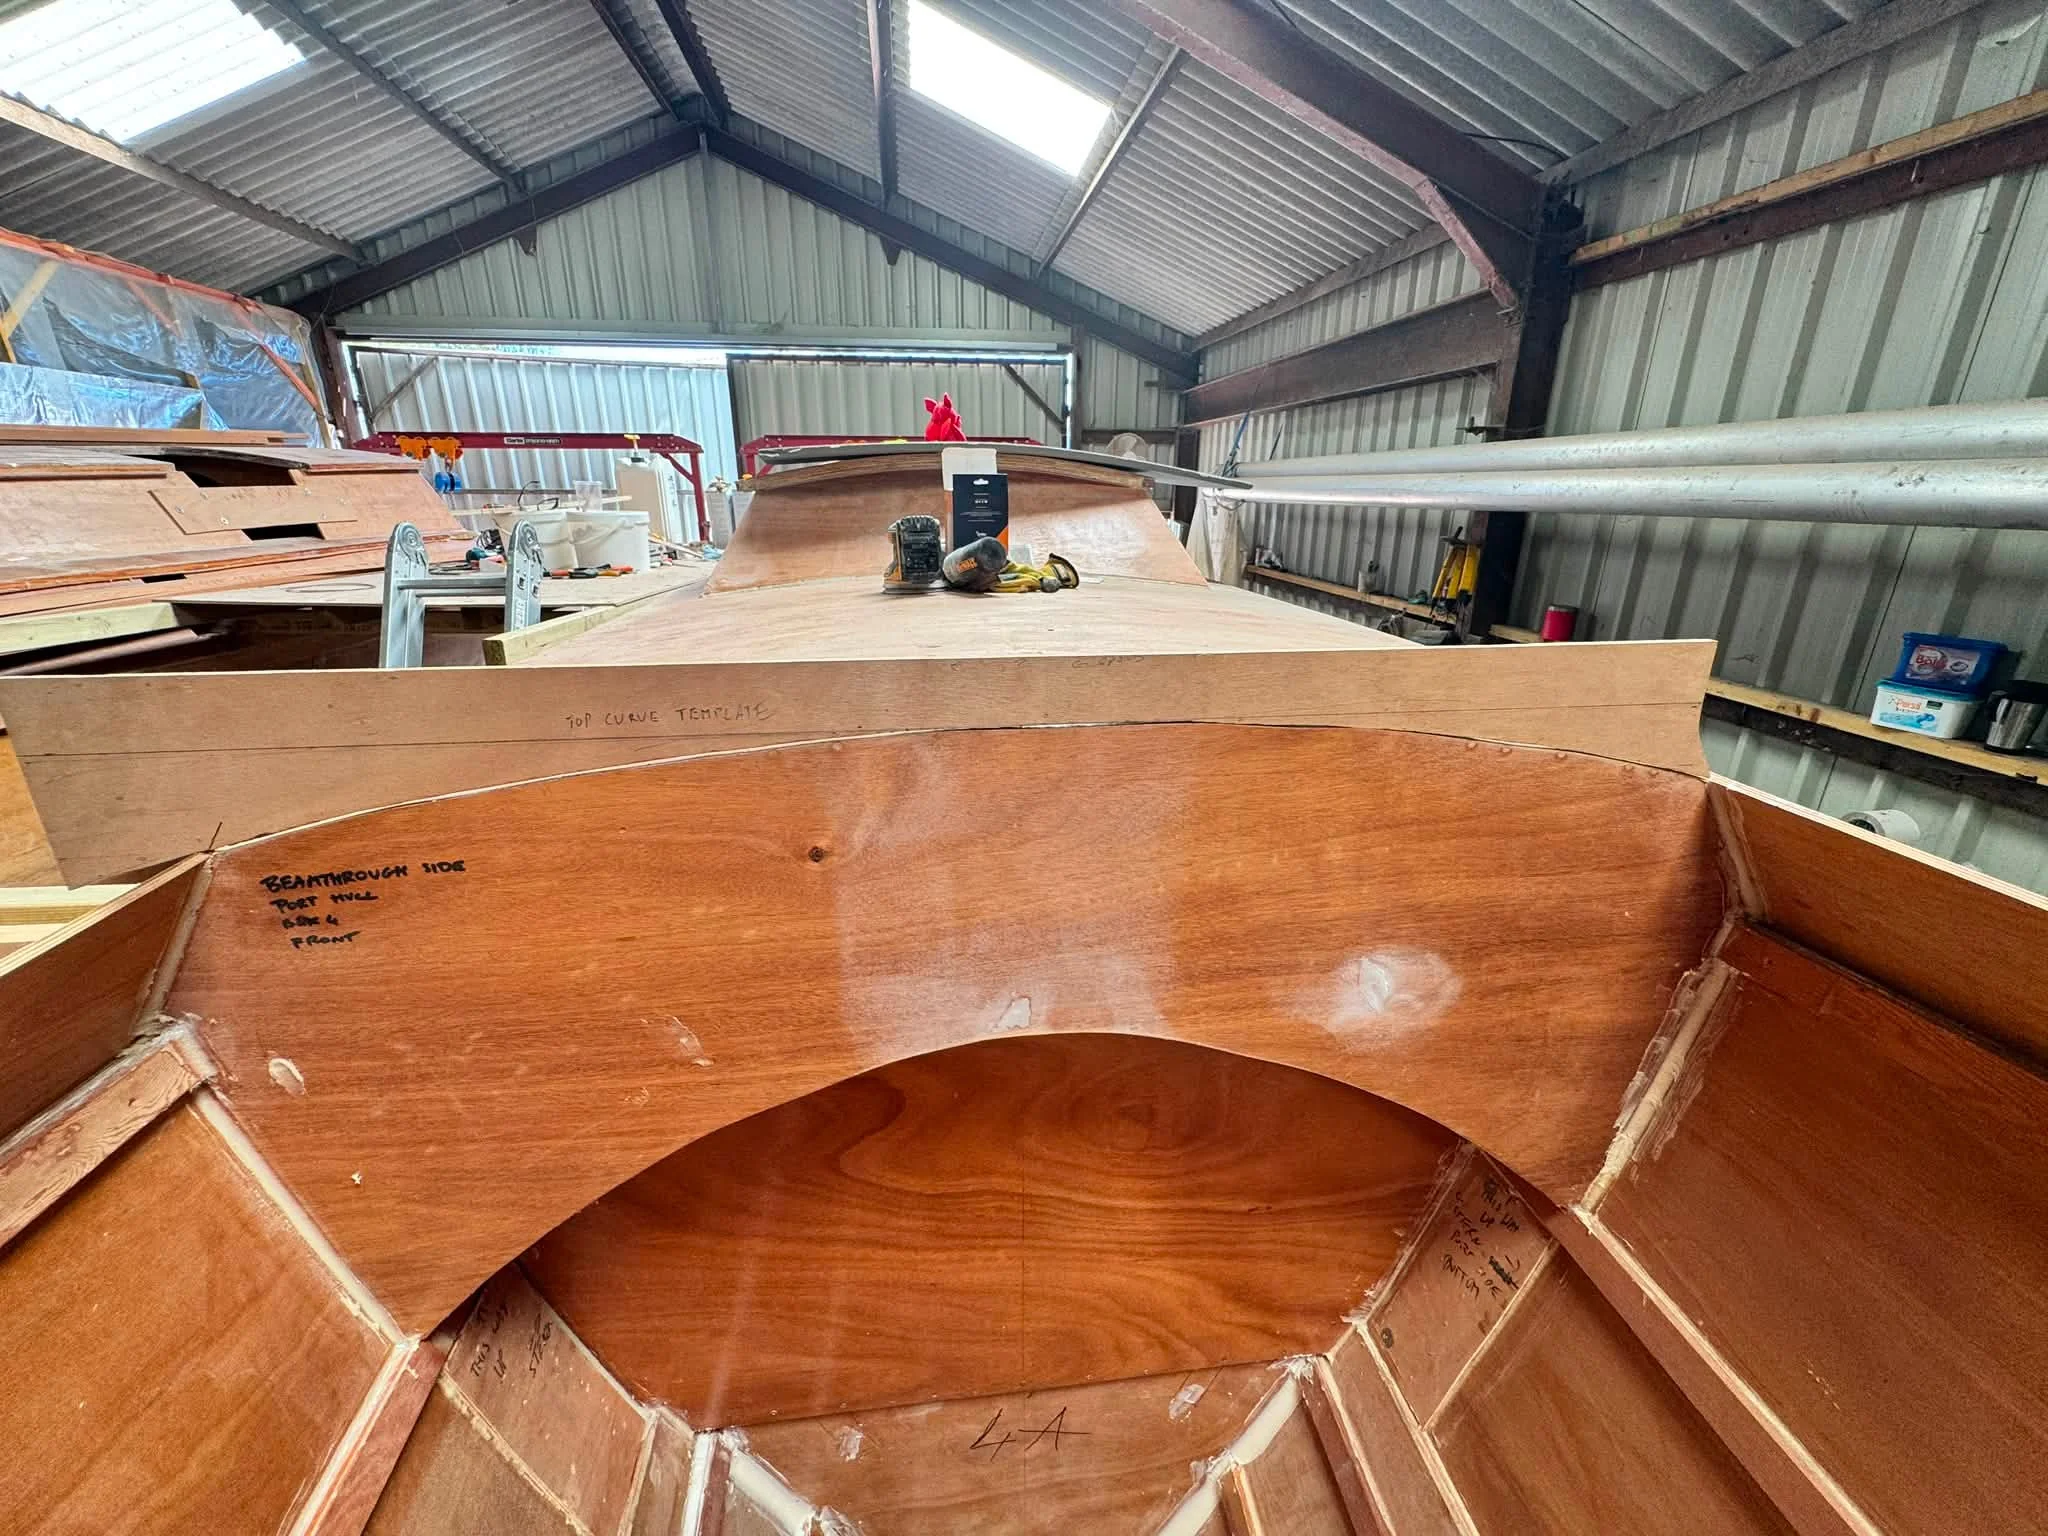
Fitting the Cabin Trunk Roof I spent a hot couple of days getting the cabin trunk roof to fit, correcting the front and back panels millimetre by millimetre. I’m still watching for sponginess in the sandwich, which I’ll be able to inspect and reinforce when I cut in the hatch.
Building a Tiki 38 Sandwich Deck I’m cutting and epoxying the plywood, battens and layers for a Tiki 38 sandwich cabin roof. The heat is making epoxy pot life a race against the clock.
Biaxial Tape for a Monolithic Cabin My cabin trunk and nav table are now permanent fixtures. I’ve ordered 100 metres of biaxial tape to fillet and glass the connections, while preparing the cabin roof.
Second Main Cabin Sides Ready I’ve got the sides of the second main cabin up and ready for epoxy. Tomorrow is a long sandwich-panel day, including the companionway cutout, before I can move on to the bow cabin roofs and decks.
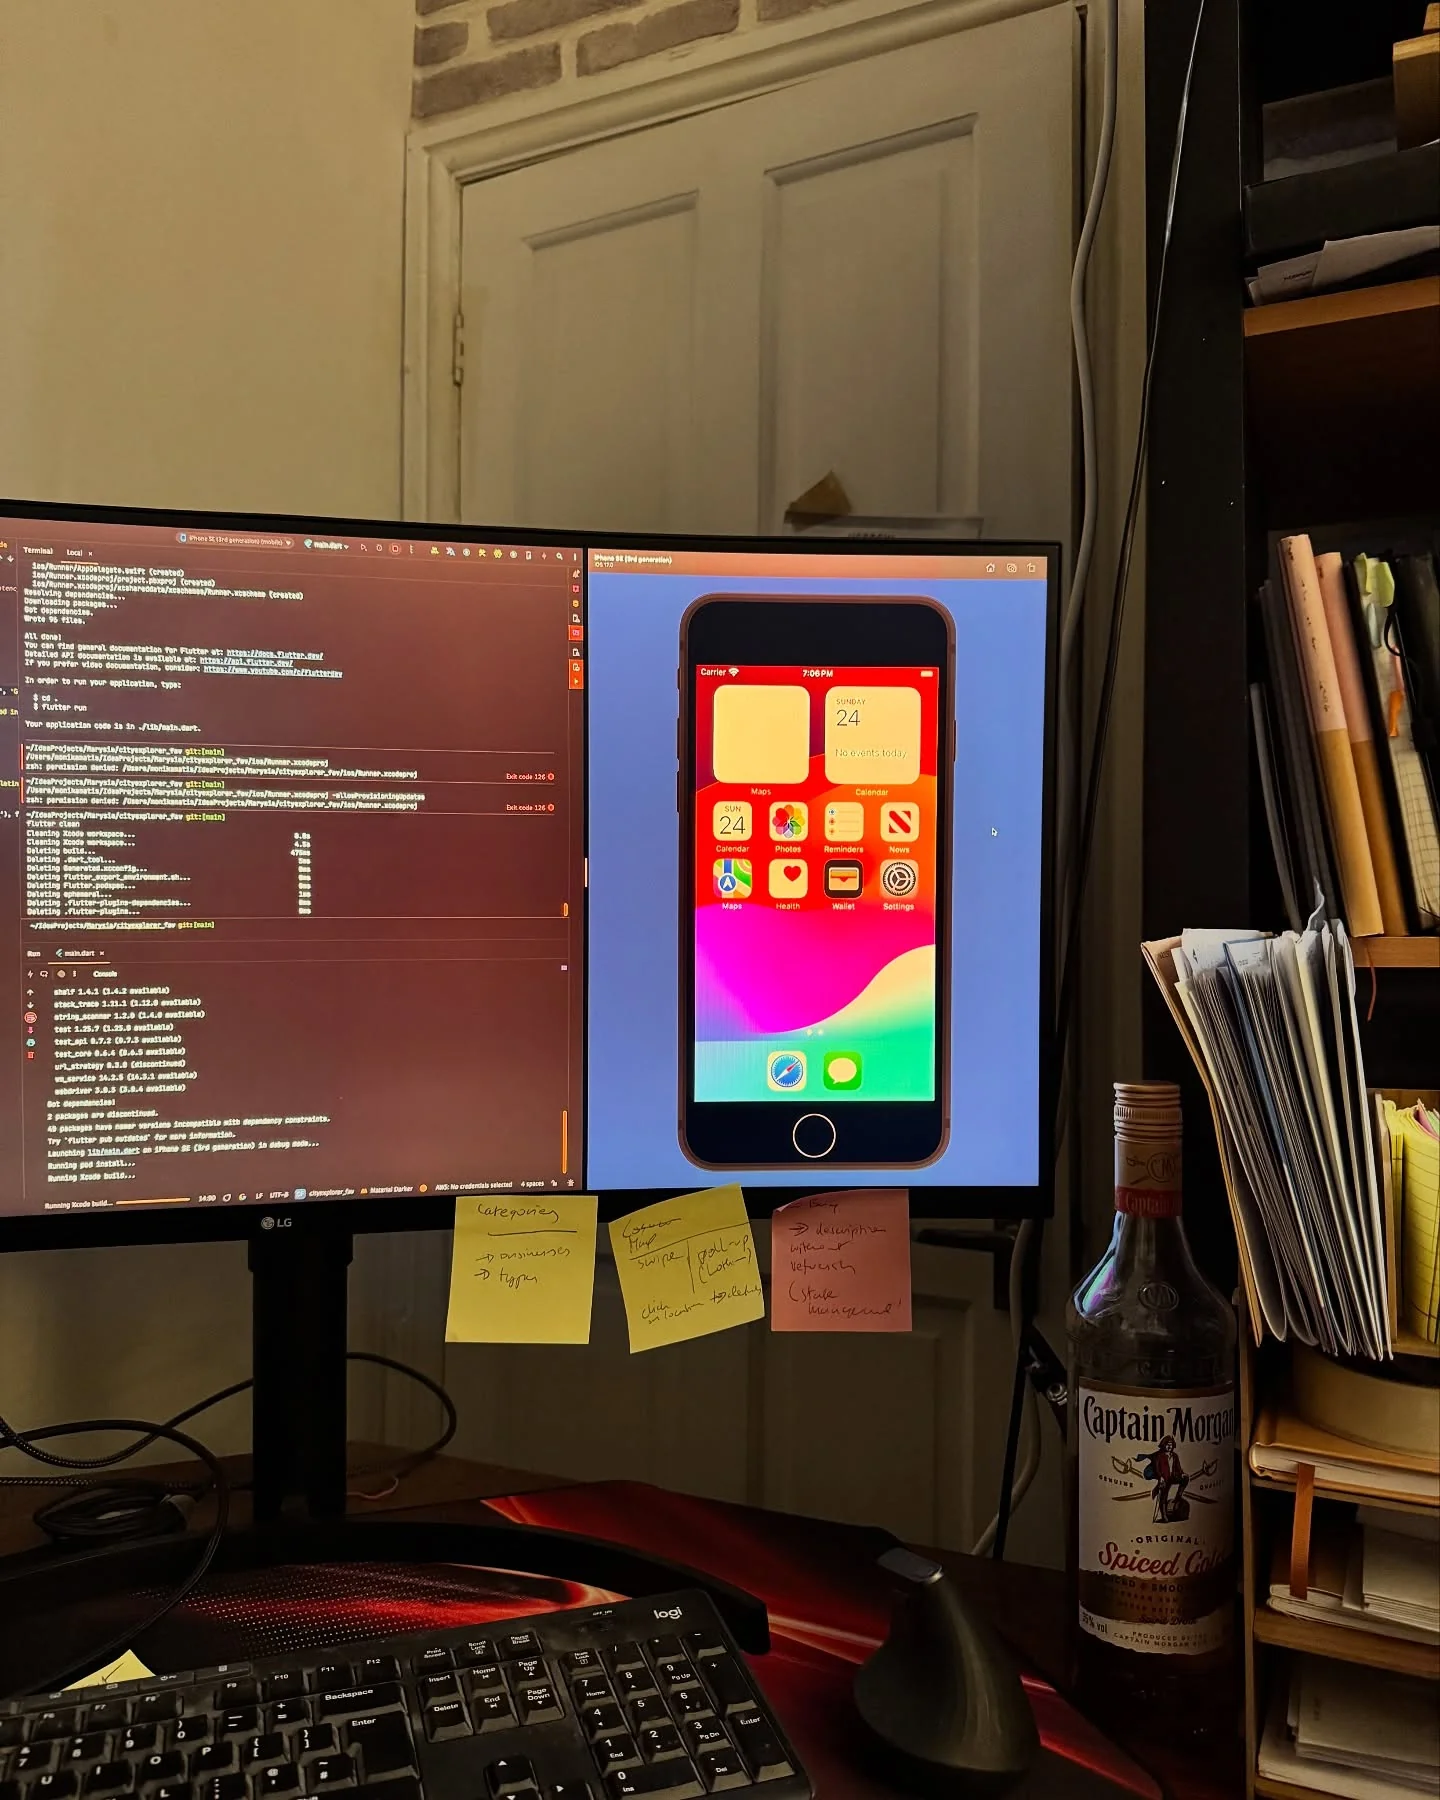
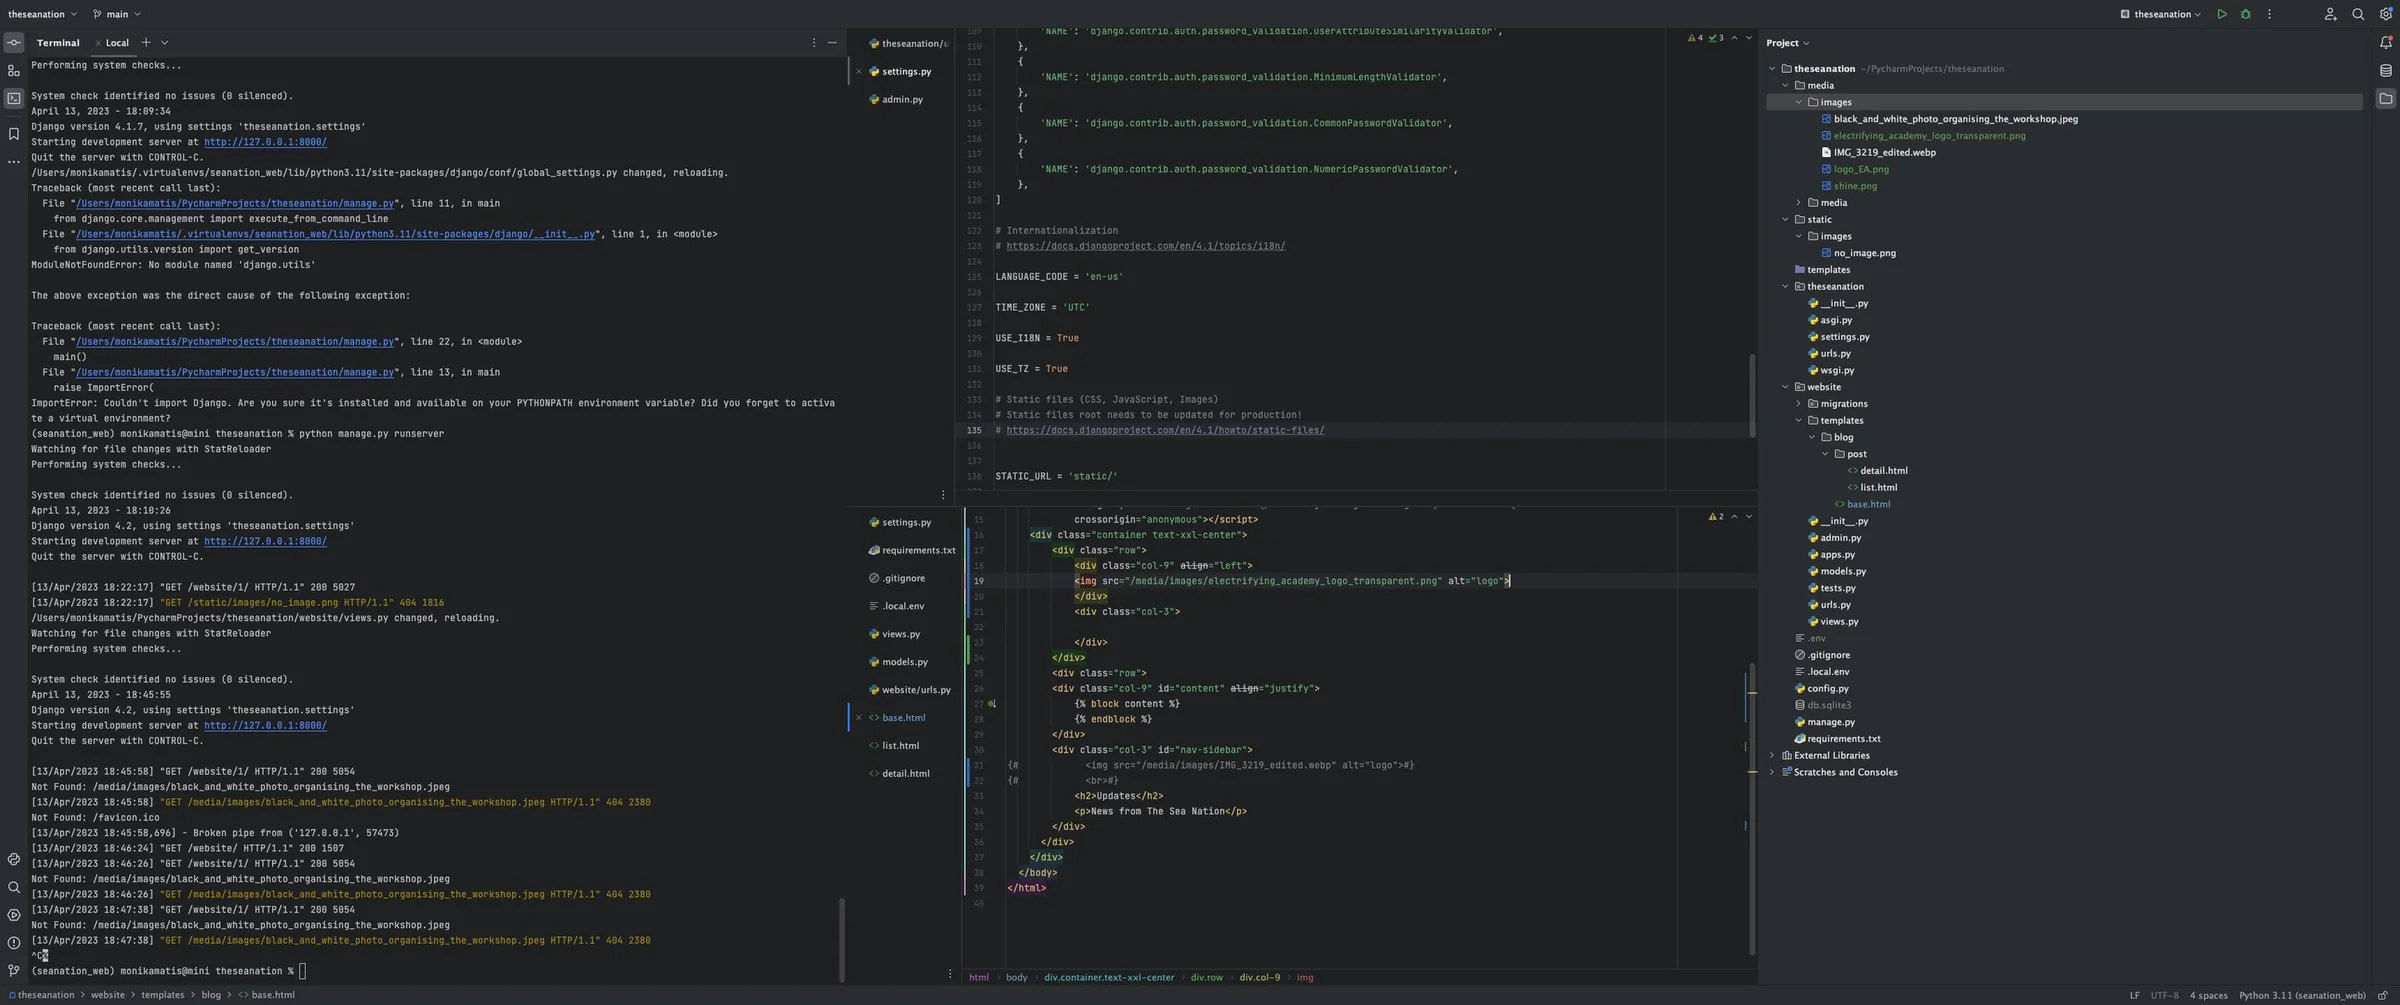
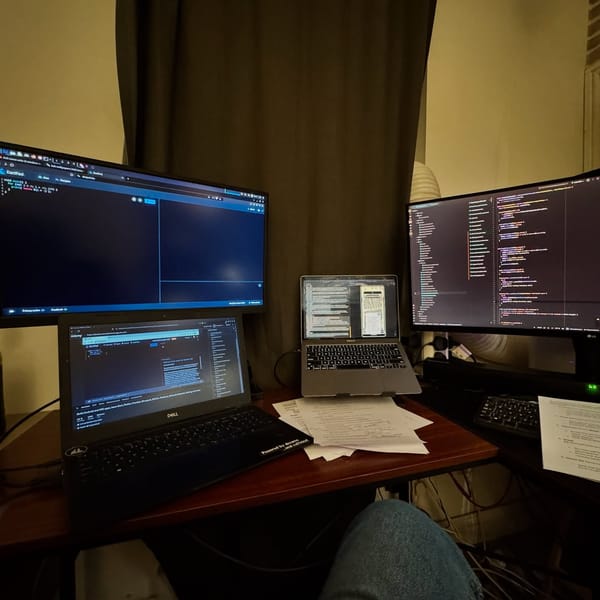
Debugging, Learning and Loving Programming I share the painful truth about debugging: a tiny change can consume two days, but the lessons tend to stick. Apparently, I chose this over Netflix.
Coding Our Premium App in Scotland I’m back in our Scottish office, working on our premium app and turning coffee into code.
Un-Messing a Main Cabin Deck Piece I unmoulded another couple of main cabin deck pieces, and they fit like a glove. I also started correcting the first, flatter piece with cutting, epoxy, a loading strap and 150kg of water.
Dry-Fitting the Tumblehome Sides I was apprehensive about dry-fitting the tumblehome sides, but they’re matching across both hulls. I’m rather proud—and still slightly surprised—that I haven’t completely messed it up.
My Least Favourite Epoxy Preparation Job I’m washing and sanding the hull and sheer stringers to remove amine blush before epoxying them. It is slow, sticky work, but I know from experience that skipping it would be a mistake.
Fitting the First Cabin Deck Side I spent most of the day matching the first plywood cabin deck side to the hull, working out an approach that should make the next eleven much quicker. Before that, I still have nearly 47 metres of sheer stringer to fit.
Laminating Hull Sides Before the Decks I’m laminating the hull sides together and trimming the stringers before I start on the decks. Sixteen connection lines take a surprising number of rollers—and I’m down to one glove.
My Free Guide to Onboard Electricity I put together a free beginner’s guide to energy independence, with hands-on formulas and calculations for onboard electricity. I also fixed the download link for anyone who had already signed up.
Coffee, Epoxy and Fast Hardener I’m calling the morning a success: coffee, half a debate and finally suitable humidity for epoxy work. The temperature means it’s time to order fast hardener, while I fend off some cold-weather lithium battery nonsense.
Dry-Fitting Six Panels on Starboard Hull I spent a tiring day dry-fitting six panels on the starboard hull, getting them matched and ready for permanent fitting. I’ve also added large bifacial solar panels to the store, and I’m eyeing similar ones for Ikaroa if they’ll fit.
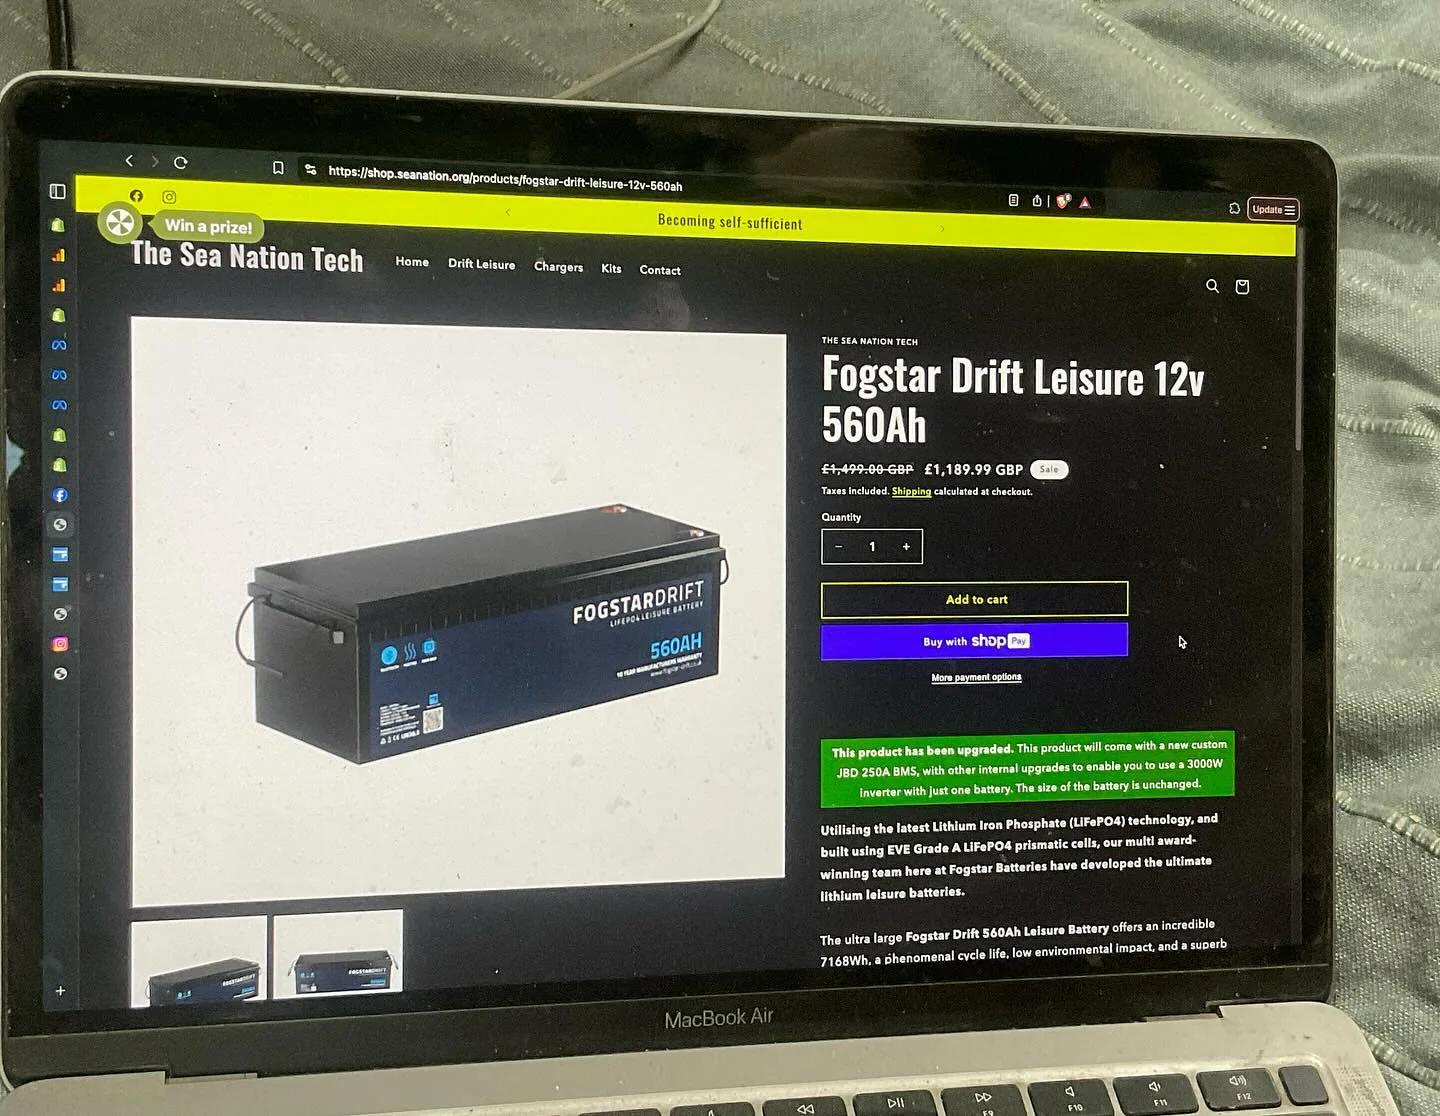
Launching Our Lithium and Solar Shop I’m relaunching our shop with equipment I use and can recommend, starting with a nearly 7kWh lithium battery for our all-electric boat. More lithium, solar panels and complete kits are on the way.
I’ve Opened the Sea Nation Shop I’ve set up a shop for the lithium batteries, solar panels, kits and charge controllers I’m using or recommending. For now, I can only serve customers in the UK because of transport restrictions.
Making the Companionway Stairs Take Abuse With epoxy deliveries delayed, I spent the day fitting companionway stairs from leftover 9mm plywood. The grooves should make each step solid enough for a well-fed person—and it looks good too.
Fitting the Epoxy-Coated Hull Sheets I’m slowly getting the hull dressed, fitting epoxy-coated sheets with generous edges and leaving the lower edge until the stringers and skin are working together. Large screws let me hang each sheet and pull it in without stress.
Plywood Supply Problems, Hull Sides Next Transport costs forced me to find a new plywood supplier, but I’m back to normal programming. I’ve dry-fitted and epoxied the remaining port-hull sheets, with hull sides and deck work next.
Dry-Fitting the Hull Panels I’m working on both hulls at once, dry-fitting, sanding and handling a steadily shrinking pile of 9mm plywood. So far the plan is working, which is always slightly unnerving.
Fitting the Upper Hull Sides Alone I’m fitting the upper hull sides on my own, with sheer stringers making the job easier than the lower hulls. I’ve also learned to dry-fit large pieces, check other people’s work, and cut only when I’m sure.
Why My Plywood Joints Look Wrong I explain why the plywood joints marked on my plans do not line up with the actual sheet edges, thanks to some unexpectedly non-standard sheet dimensions. The layout matters for both the beam-through joint and aligning the stern and bow sections of the hull.
Getting Ready for the Hull Sides I’ve taken stock of the workshop and the jobs still to finish before the first 9mm plywood sheets go onto Ikaroa’s stringers. Ten sheets are here, with another ten needed soon.
Mast Beam Knees, One Piece at a Time I’ve laminated the mast beam knees into the hulls and assembled four of the six beam-throughs. Once the remaining preparation is done, the hull sides can finally go on—which counts as HUGE CHANGES.
Sanding Bearers After Epoxying Them In I’m sanding beam-through bearers by hand because I forgot to roughen them before epoxying them into narrow, inaccessible spaces. I’m also fitting bearers to the mast knees and partitions, readying everything for the hull sides.
Fitting Beam Throughs and Floors I’m fitting and epoxying the beam throughs, then moving on to the floors and mast knees. The camber is looking good, and the hull sides are nearly ready to go on.
The Table Saw Gets Its Chance I put the table saw to work cutting precise iroko and plywood components for Ikaroa, while laminating beam-through sides, floors and mast-knee supports. It earned its keep, even if a battery circular saw may eventually replace it.
Slow Hardener Saves My Heatwave Workflow The heatwave had made fast epoxy nearly unworkable, so I switched to slow hardener and got back to fitting the bearers to my beam-through sides. I also recorded the useful temperature and working-time margins for larger microfibre mixes.
Epoxy Before the Workshop Gets Too Hot I started early to cut out the beam through the sides and get the epoxy on before my workshop turned into a solar oven. The new shading fabric helped, but eventually it was too hot for fast hardener, so I went for a bike ride instead.
Starting the Beams, Marking the Firebox I started cutting the beams through the hull sides, with the port pieces next and the first coat of epoxy planned before the heat arrives. I also marked plywood for the boat’s eventual firebox—yes, Ikaroa will have a bonfire on deck.
Finishing the Stringers with Epoxy Leftovers I’m finishing the stringers, with only the stern left. I’m using leftover epoxy to fill screw holes and other places where the protective layer has been removed, before epoxy primer and hard polyurethane paint do their jobs.
Bulkheads Attached, Summer Finally Arrives I’ve permanently attached the remaining major bulkheads to the stringers, leaving only the stems and sterns before moving on. Summer has arrived at the workshop, so I’m taking the midday heat off and finishing the fast epoxy hardener before switching to slow.
Epoxying the First Wave of Stringers I’m working through the first wave of epoxying, joining the stringers to the major bulkheads, stem, stern and partition at 30 contact points. I’m also getting ready to launch our electrical shop and wondering what would make a good prize.
All the Stringers Finally in Place I finally fitted all the stringers, checking them with 9 mm plywood before epoxying them in place. The last 5 mm cut was a careful one—sometimes slower is safer.
Checking the Stringer Flow Before Fitting I’m taking the slow, careful route with the stringers, using partitions and mast knees to control their flow and avoid surprises later. Trusting and checking beats trusting alone.
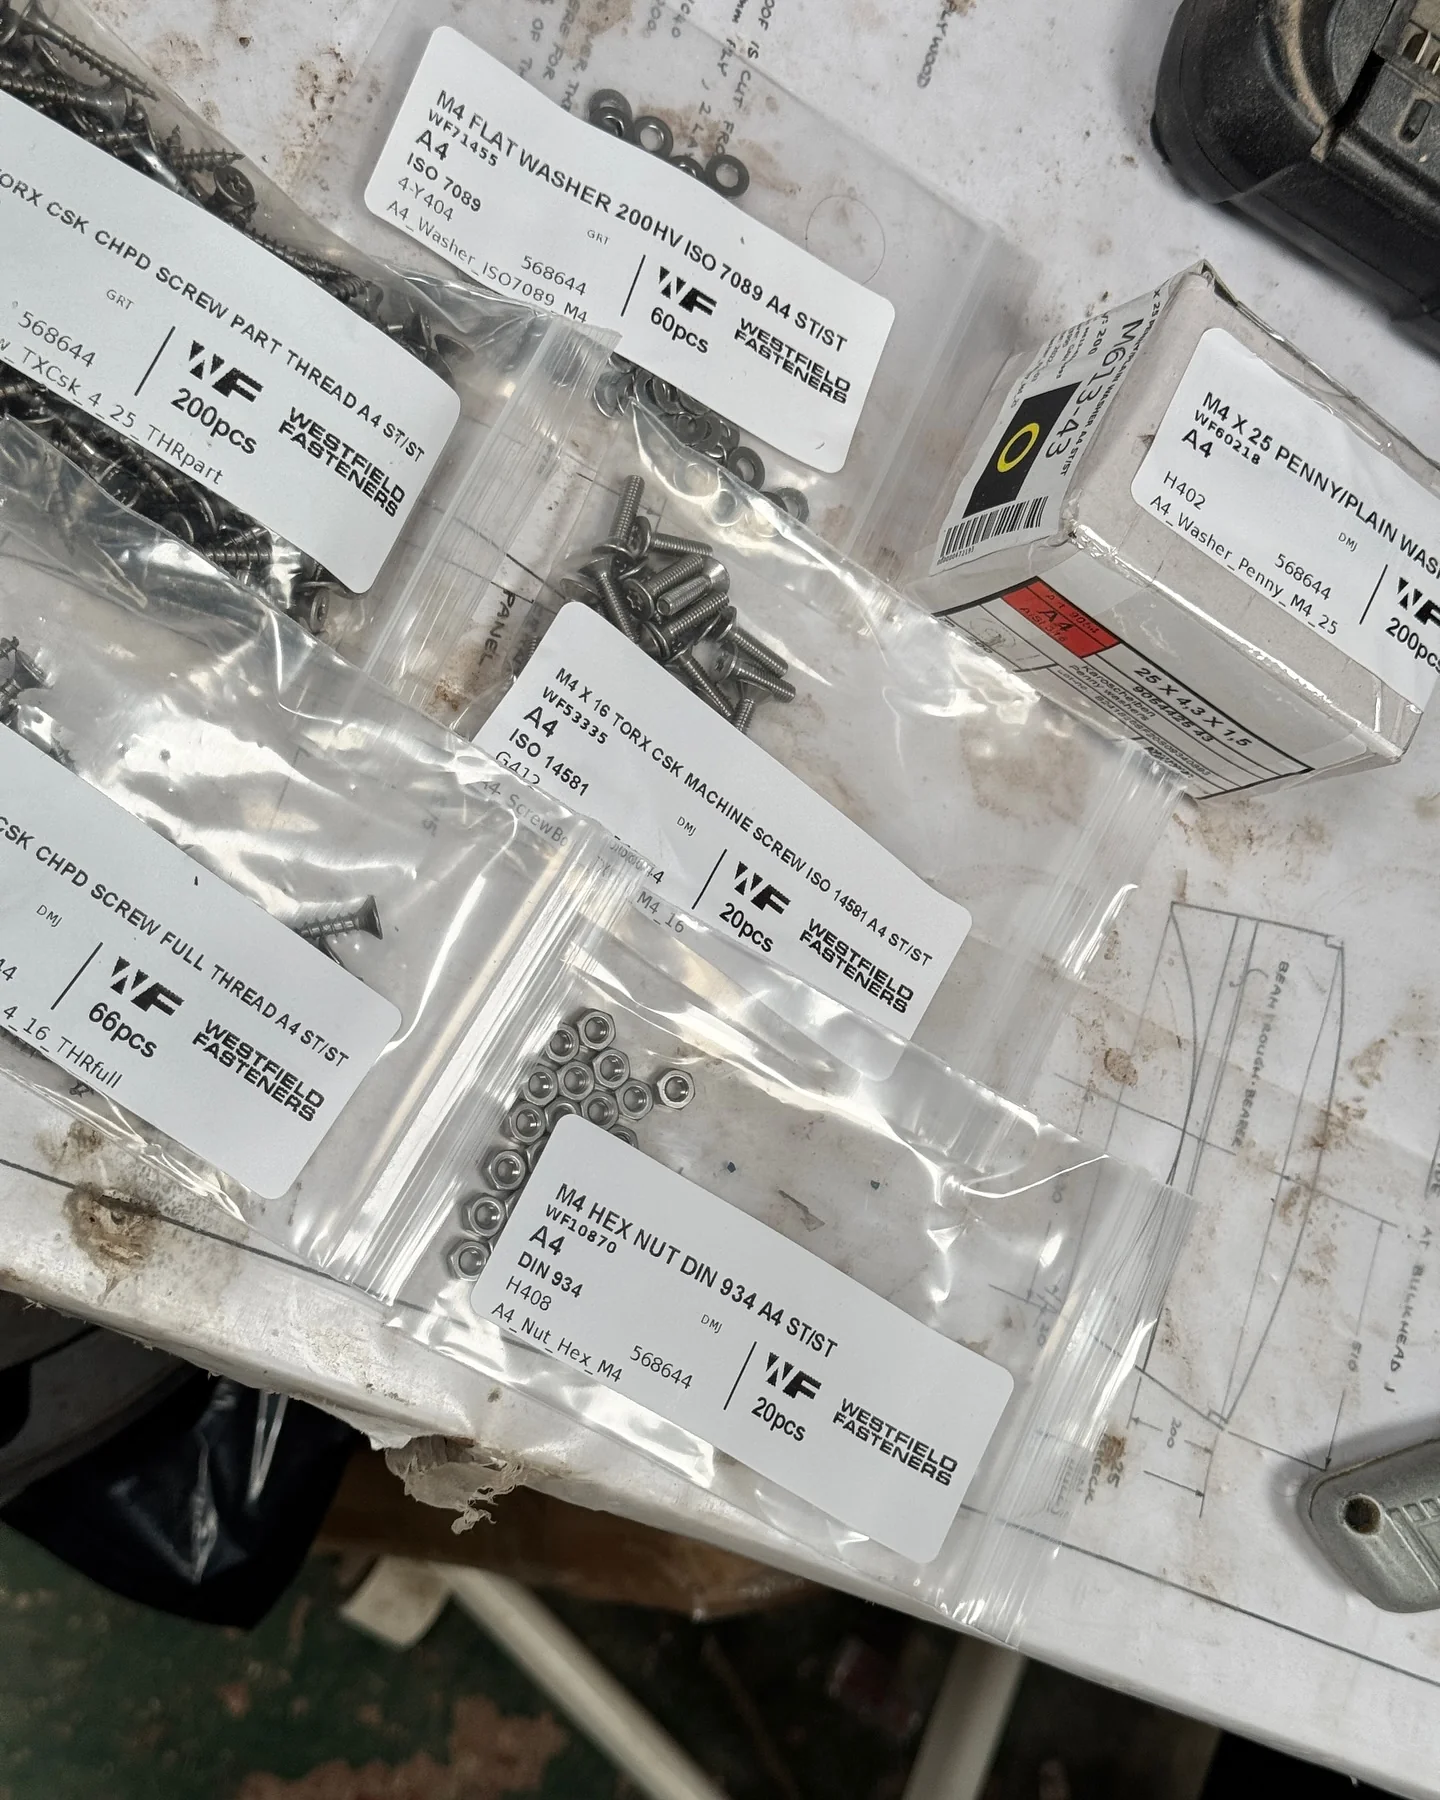
Why I’m Switching to Stainless Washers I’m replacing mild steel washers with A4 stainless ones for the next hull side, after discovering how much easier they make removing stuck screws. I’ve upgraded to TORX screws too, so we’ll see how much trouble that removes.
Glass Reinforcement for the Partition I reinforced the joint between the two partition pieces with small glass patches, while getting ready to continue with the stringers and beam cuts.
Bulkhead 8 and the Shower Bilge I’ve fitted Bulkhead 8 in both hulls, epoxied the lower stringers and started building up the shower bilge with epoxy, glass bubbles and microspheres. Next up are more partitions, a seat and cupboard bottom, and plenty more cutting.
A Shower Tray in the Starboard Hull I changed plans, finished the first stringer work and fitted a compact shower tray in the starboard hull. Function won over appearance, as usual, with a small bilge pump tucked underneath.
Stringers, Long Tape and a Revised Plan I reached for the 30-metre tape to measure the long stringers, then discovered the week’s carefully arranged plan needed turning upside down. The lower stringer has to go in before I can cut the beam-through bearers, so that is now the job.
Bulkhead 8 and the Hull Sides After a few rough days, I’m back working full time. Bulkheads 8 are cut and epoxied for both hulls, with deck-stringer supports underway and hull sides coming next.
Busting Myths About Amine Blush I’m clearing up a few persistent myths about amine blush, including how to detect it and remove it properly. Water, detergent and a microfibre cloth will do the job—just do it before sanding.
The Workshop Gets Smaller Again My workshop is getting harder to work in as Ikaroa grows. I’m epoxying trays, partitions and ladder parts, with the next big jump still waiting on more seats, shelves, stringers and bulkhead 8.
Making Tools for Smooth Epoxy Fillets I’m finally making the filleting tools I should have made months ago, using old plastic buckets, scrap plywood and a saved paintbrush handle. We’ll see whether they produce the smooth, elegant fillets promised by Gougeon’s book.
Full-Size Templates Fit the Hull I templated the full-height plywood piece and was pleasantly shocked by how closely the plans matched the real hull. After some nerve-wracking cutting, the doors matched perfectly and the piece was ready for epoxy.
Mocking Up the Galley Worktops I’m using scrap material to mock up the galley, working out the worktop, sink, induction hob and cupboard dimensions before I cut the lower shelf. After a nasty cold, I’m slowly getting back to work and have also dry-fitted the remaining top stringers and started the collision locker hatch.
Cutting Stringers Without Ruining Everything I’m fitting the stringers, carefully cutting both ends to the right length and angle while building in a few fail-safes. I’m also finding 2mm copper wire much better than cable ties for holding things together.
A Twelve-Metre Stringer, Finally in Place I wrestled a spectacularly bendy 12-metre stringer into place on my own. With the deck line finally appearing, there are only seven more to go.
My Workshop Meets the Upper Hull Stringers I’ve reached the upper-hull stringers, and my supposedly large workshop is suddenly too small. With limited sawhorses and space for only four stringers, I’ll be working on one hull at a time.
Templating the Scary Plywood Partition I’m back to the scary stuff: templating the main cabin partition before committing my limited 12mm plywood. It needs to be right before I can build the shelves and seats around it.
Finding the Right Cabin Table Height I’m fitting bulkhead 5, shelf bearers and intricate mast beam knees, while testing the table position that will double as my office. After a few tries, I’ve found a comfortable place to sit inside the hull.
Shortening the Port Stern I cut 160mm from the lower port stern so the stringers would land above the butt strap. The laser level and jigsaw guide made a stressful cut come out straight, while the new stern brackets cure in epoxy.
Turning Bulkhead Offcuts Into Butt Straps I’m reusing 9mm plywood cut from the hull bulkheads to make butt straps for the stem, and hunting around the workshop for enough material to do the stern as well.
Two More Bulkheads Standing in Place I’ve got another two bulkheads standing in their own place, with only one big one and a couple of smaller ones left. Bulkhead number 5 is the awkward special case, carrying the mast beam through the middle of the cabin.
Fitting Bulkheads Without Losing the Plot I wrestled with a bulkhead that refused to stay aligned once the screws went in, then found a slower, more controlled way to squeeze the epoxy joint properly. The next bulkheads went much more smoothly with clamps, timber and a little hard-won experience.
Glassing the Bulkheads Before Fitting Them I kept postponing fitting the bulkheads so I could glass their tops and beam-through parts while everything was still horizontal. I’ve also discovered that little kevlar scissors make clean, precise cuts through glass without pulling the strands.
Cleaning Epoxy Before the Bulkheads I’m cleaning every epoxy-covered surface yet again, because amine blush has earned my suspicion. Once the sanding and washing are done, I’ll be ready to fit the bulkheads.
Planing Bearers for the Beam Throughs I’m back to sanding, planing and cutting bearers for the beam throughs. Each one gets a slight slope so water can drain, while spreading the beam loads through the bulkheads.
Two Epoxy Coats, Twenty-Five Pumps I cleaned and recoated the bulkheads, using far more epoxy than expected—about 1.5 to 2 litres across two layers. Resin removal cream remains essential, and I’m finally learning that slow hardener has its advantages.
Why the 12mm Plywood Turned Dark I noticed that the 12mm okume plywood turns much darker after epoxying than the older 9mm and 18mm sheets. I also reorganised the workshop and counted my way towards closing the hulls—apparently not very successfully.
Epoxying Bulkheads Takes All the Space I’ve discovered that even a normally spacious workshop is not large enough to epoxy bulkheads and do anything else. With the major upper-hull bulkheads laid out, I’ll tackle the epoxy first thing Sunday morning.
Making Room for Beamthrough Doublers The slightly larger plywood sheets are paying off, letting me cut all the beamthrough doublers I need alongside the bulkheads. Next comes epoxy, shaping the bearers and fitting the major bulkheads into the hulls.
Turning Drawings into Upper Hull Bulkheads I’m turning the drawings into actual pieces of the boat: two sheets of 12mm plywood have become part of the upper-hull bulkheads, with plenty more still to cut for the other hull.
A Bulkhead Takes Two Days I’m spending days drawing and checking each bulkhead so it fits my hull, with only eight sheets of 12 mm plywood available and no room for mistakes.
Stern Pieces, Bulkheads and Hull Shape I’m getting the stern pieces and bulkheads cut so I can prep the stringers, start epoxying, and make the whole hull shape visible by the end of the week.
Re-Leveling Both Hulls Before the Tops I moved and re-levelled both hulls, using several more or less scientific methods to check the workshop floors and hull alignment. It took two extra days, but I need measurements I can trust before starting on the top hulls.
Lockers Painted, Bunks Ready to Fit I’ve painted the lockers, fitted the battens stiffening the bunks and floors, and enjoyed a warm evening aboard. Tomorrow, at least a couple of bunks go in permanently.
Stern Brackets and the Galley Floor I fitted two stern brackets and, with some leftover microfibre mix, quickly installed the rest of the galley floor. Warm weather meant everything could cure nicely while I had breakfast and considered some Flutter lessons.
A Tight Joint Despite the Cold I managed to make another neat, tight wood joint with the multitool and jigsaw. The cold and damp slowed down the resin work, but a few degrees made all the difference later.
Checking the Double Bunk Alignment I’m doing one of my middle-of-the-work checks, using a laser to confirm that the apparently misplaced double bunk is actually landing precisely on its mark.
Finishing the Stern Cabin Fillets I abandoned my carefully prepared painting plan to finish the fillets in the stern cabin lockers of both hulls. The bow cabin in the port hull can wait, while I slowly get back into the groove of boatbuilding—and warmer mornings.
Painting the Hull’s Hard-to-Reach Spaces I’m painting the bow and stern lockers by brush and roller, because the Jotun epoxy primer is too thick for my current spray gun. I also finished the bow-cabin fillets and fixed parts of the starboard main-cabin floor.
When the Resin Dosing Pump Quit My resin dosing pump finally gave up after almost 100 litres, so I kept today’s jobs small and postponed most epoxy work. I’m also switching from International to Jotun epoxy paint, including for future spray application.
Starting Again with Hull Fillets I’ve finally started proper work again, beginning with fillets in both bow compartments and tidying the stringer finishes. There’s plenty to do before the new timber arrives, so I’d better get on with it.
The Wrong Hardener, Then Back to Work I received 206 slow hardener instead of the 205 I needed, causing a small delay while the correct epoxy arrived. Now I’m finishing the lower hull and preparing for the next stage.
A Survey for More Spontaneous Journeys I’m asking travellers to help me shape CityExplorer.App, an AI-powered guide for planning impulsive adventures—square that circle, if possible.
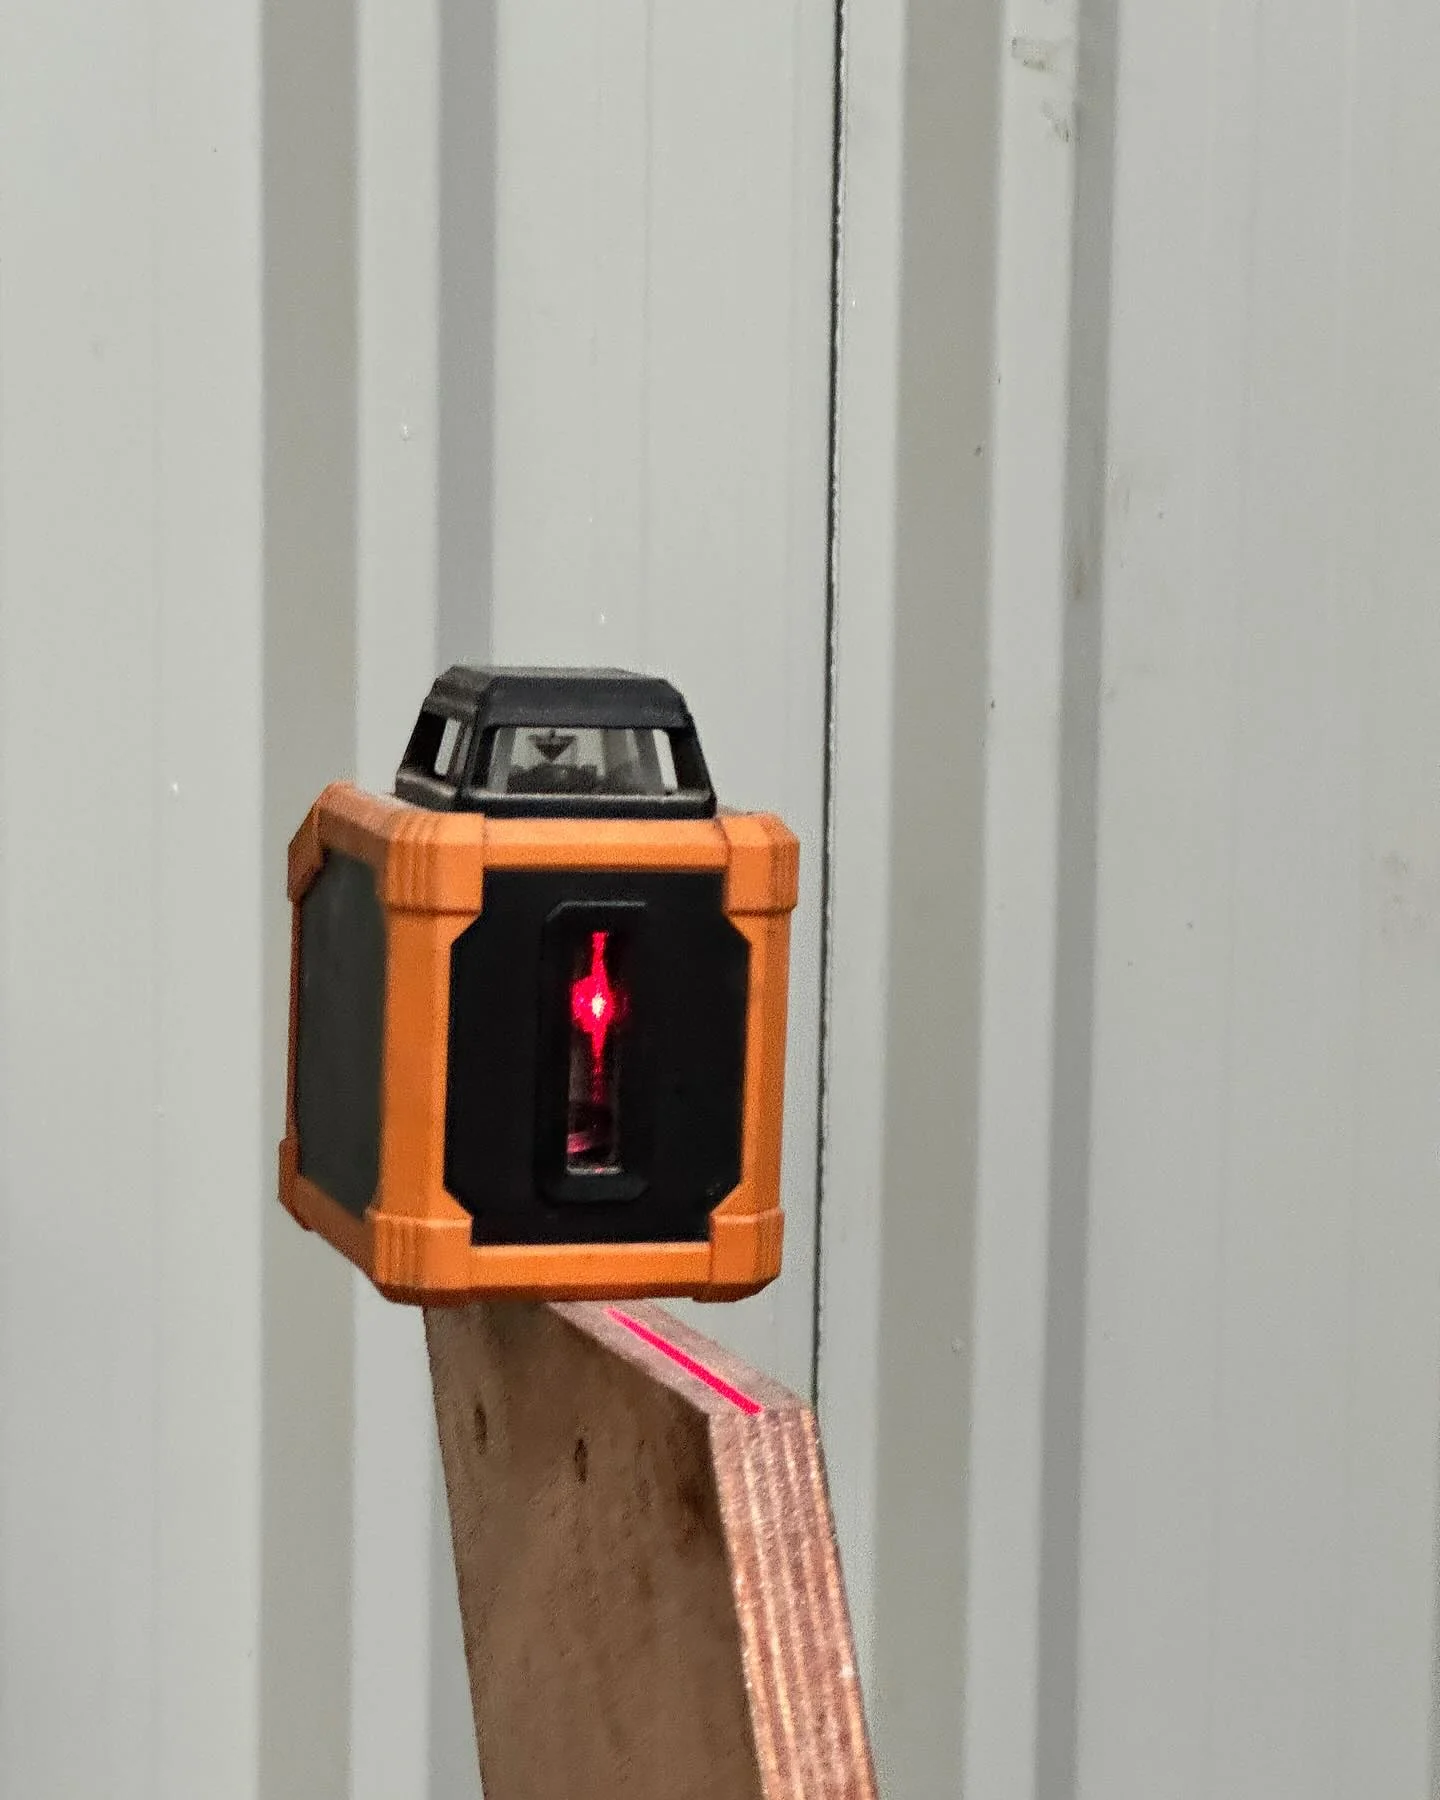
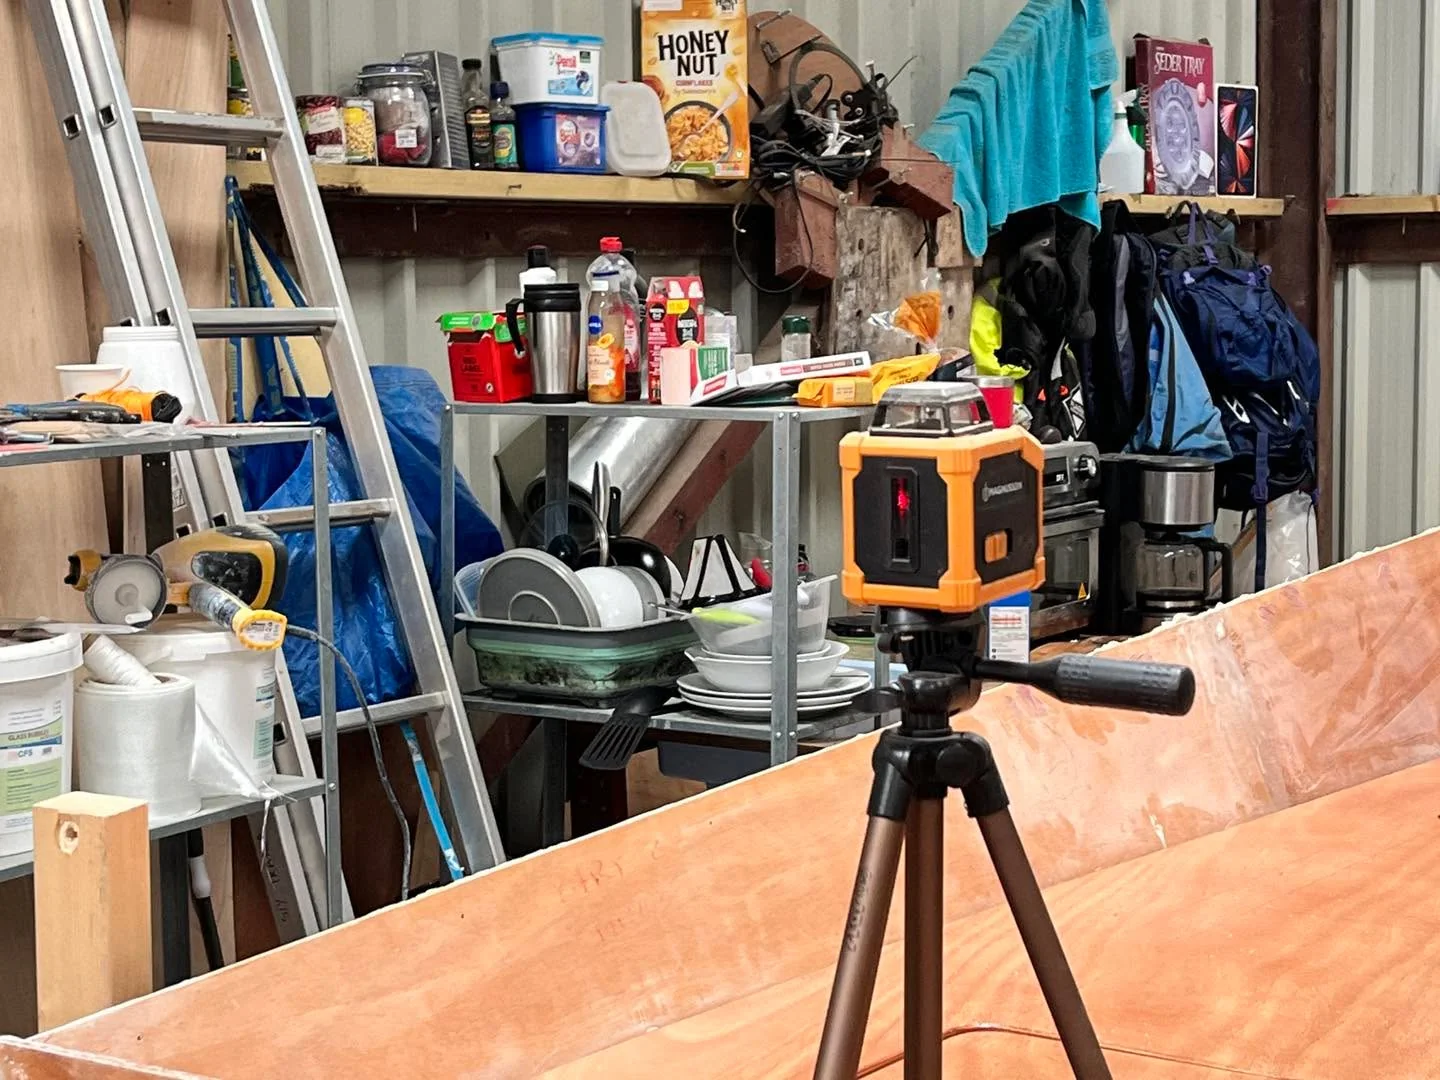
Drawing a Straight Line Without Straight Edges I used a self-levelling laser to draw a precise 2-metre reference line across a piece of plywood with no straight edge. It was for the main cabin seats in the port hull.
Fillets, Bunks and Cabin Layout Games The fillets over the floors turned out better than expected, but the resin finally ran out. I glued on the last bunk supports and played with the toilet, shower drainage and holding-tank layout before splitting the starboard moving floor in two.
Honey-Coloured Bunks Shape the Lower Hull I’m finishing the bunks and floors so I can finally see how the lower hull will look. Next I’ll move on to the upper bulkheads, heavier plywood and Douglas fir.
Epoxying Floors While Waiting for Timber I’m slowly epoxying the cut parts and protecting them from moisture while I wait for more timber and resin. The floors will have to wait a little longer.
Fitting Bunks and Locker Floors Aft I cut back the stern bulkhead and started preparing the bunk and locker floors, with the supports landing nicely level. We chose a narrow bunk arrangement for extra locker space, though fitted tanks may mean dismantling it later.
Bunks Bring the Hulls to Life While I wait for the wayward paint, I’ve prepared bunk levels in both hulls through to bulkhead 4, including locker access covers. There’s still epoxy, fillets, knees and paint to do, but this stage is oddly satisfying.
My Spectacular Danboline Thinning Mistake I sprayed almost everything with Danboline mixed with epoxy thinner, having failed to check the tin properly. The results were surprisingly adequate, but I’ve bought myself another day of painting with the proper thinner.
All the Floors for Tiki 38 I’ve got all the floors and hull brackets ready for epoxy. Once they’re done, I can paint underneath and start fitting them before moving higher up the hull.
The Trouble With a 35mm Fillet I made a mess of the first two 35mm radius fillets, using microfibres when I really should have known better. They’ll work, but I’ll always know they’re there—even under the floor.
Glassing the Port Hull Joints I spent the day glassing the joints in a narrow space, getting resin in my hair and probably everywhere else. Two-thirds of the port hull is done, with the rest of both hulls next before the more adventurous construction begins.
Filling the Backbone-Hull Connection I’m filling the last bits of the backbone-hull connection, then sanding, cleaning and glassing the joints with tape. If the weather behaves, I’ll move on to the floor supports and bulkhead fillers.
Sealing Every Square Inch of Hull Before I close off any more spaces, I need to seal every damaged surface, screw hole and bit of bare wood inside the hulls with epoxy. It is one of those jobs that adds several unaccounted-for hours to a Wednesday.
Our App Is in the Press After working on it over the winter, our app has made it into the press. The National covered it as an AI-powered tourist guide.
Our AI Tourist Guide Fits in a Phone Over the winter, we made an AI-powered tourist guide that runs on Apple and Android phones. It may even uncover interesting things in places I thought I already knew.
A Chance at Tropicfeel Backpacks We’re planning to use Tropicfeel’s backpacks, so I’m sharing the chance to get a discount or freebie. And yes, it gives us more chance of a freebie too.
Vestas 15 MW Turbine Makes First Power I’m sharing news of Vestas’s 15 MW prototype offshore wind turbine producing its first power.
Learning the Boat’s Electrical Setup I’m in learning mode for now, with the Electrifying Academy launch coming soon. After that, we’ll start talking about our internal setup on the boat.
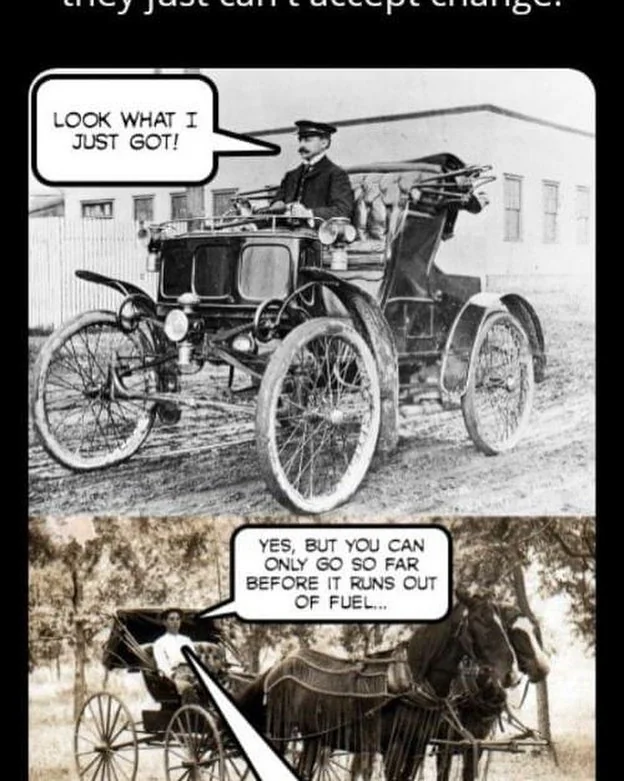
Diesel Fanatics Cannot Accept Electric Boating I’m on the electric-boat case again, and the diesel fanatics still cannot believe their time is over. Self-sufficient electric boating is worth another round.
My Wrists Are Finally Free My wrists are finally out of casts, although they’re still stiff. We’re staying in Edinburgh over winter, but I’ll be sharing how we plan to completely electrify the Wharram.