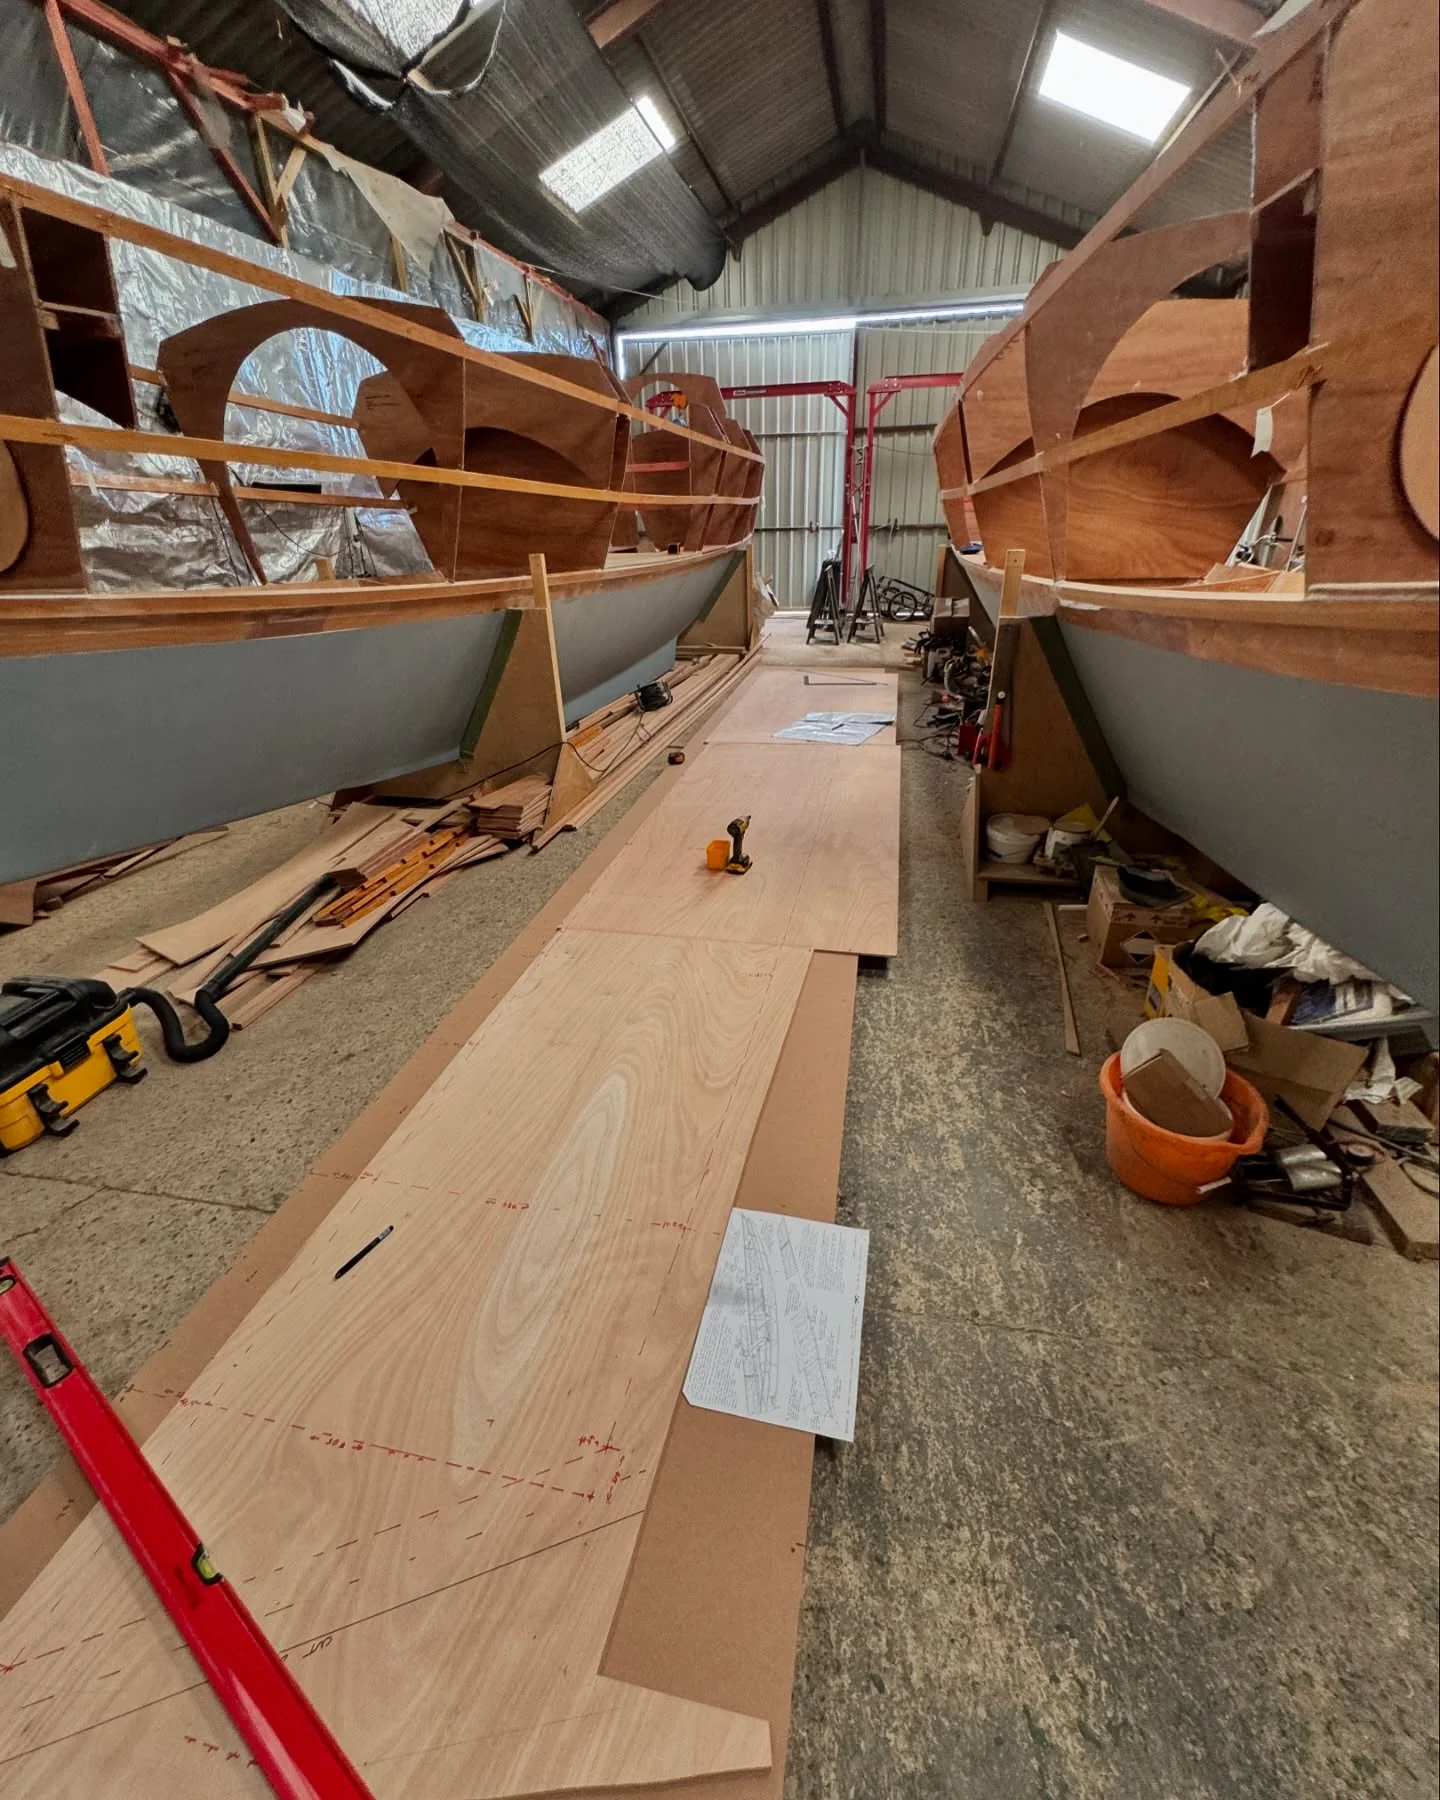
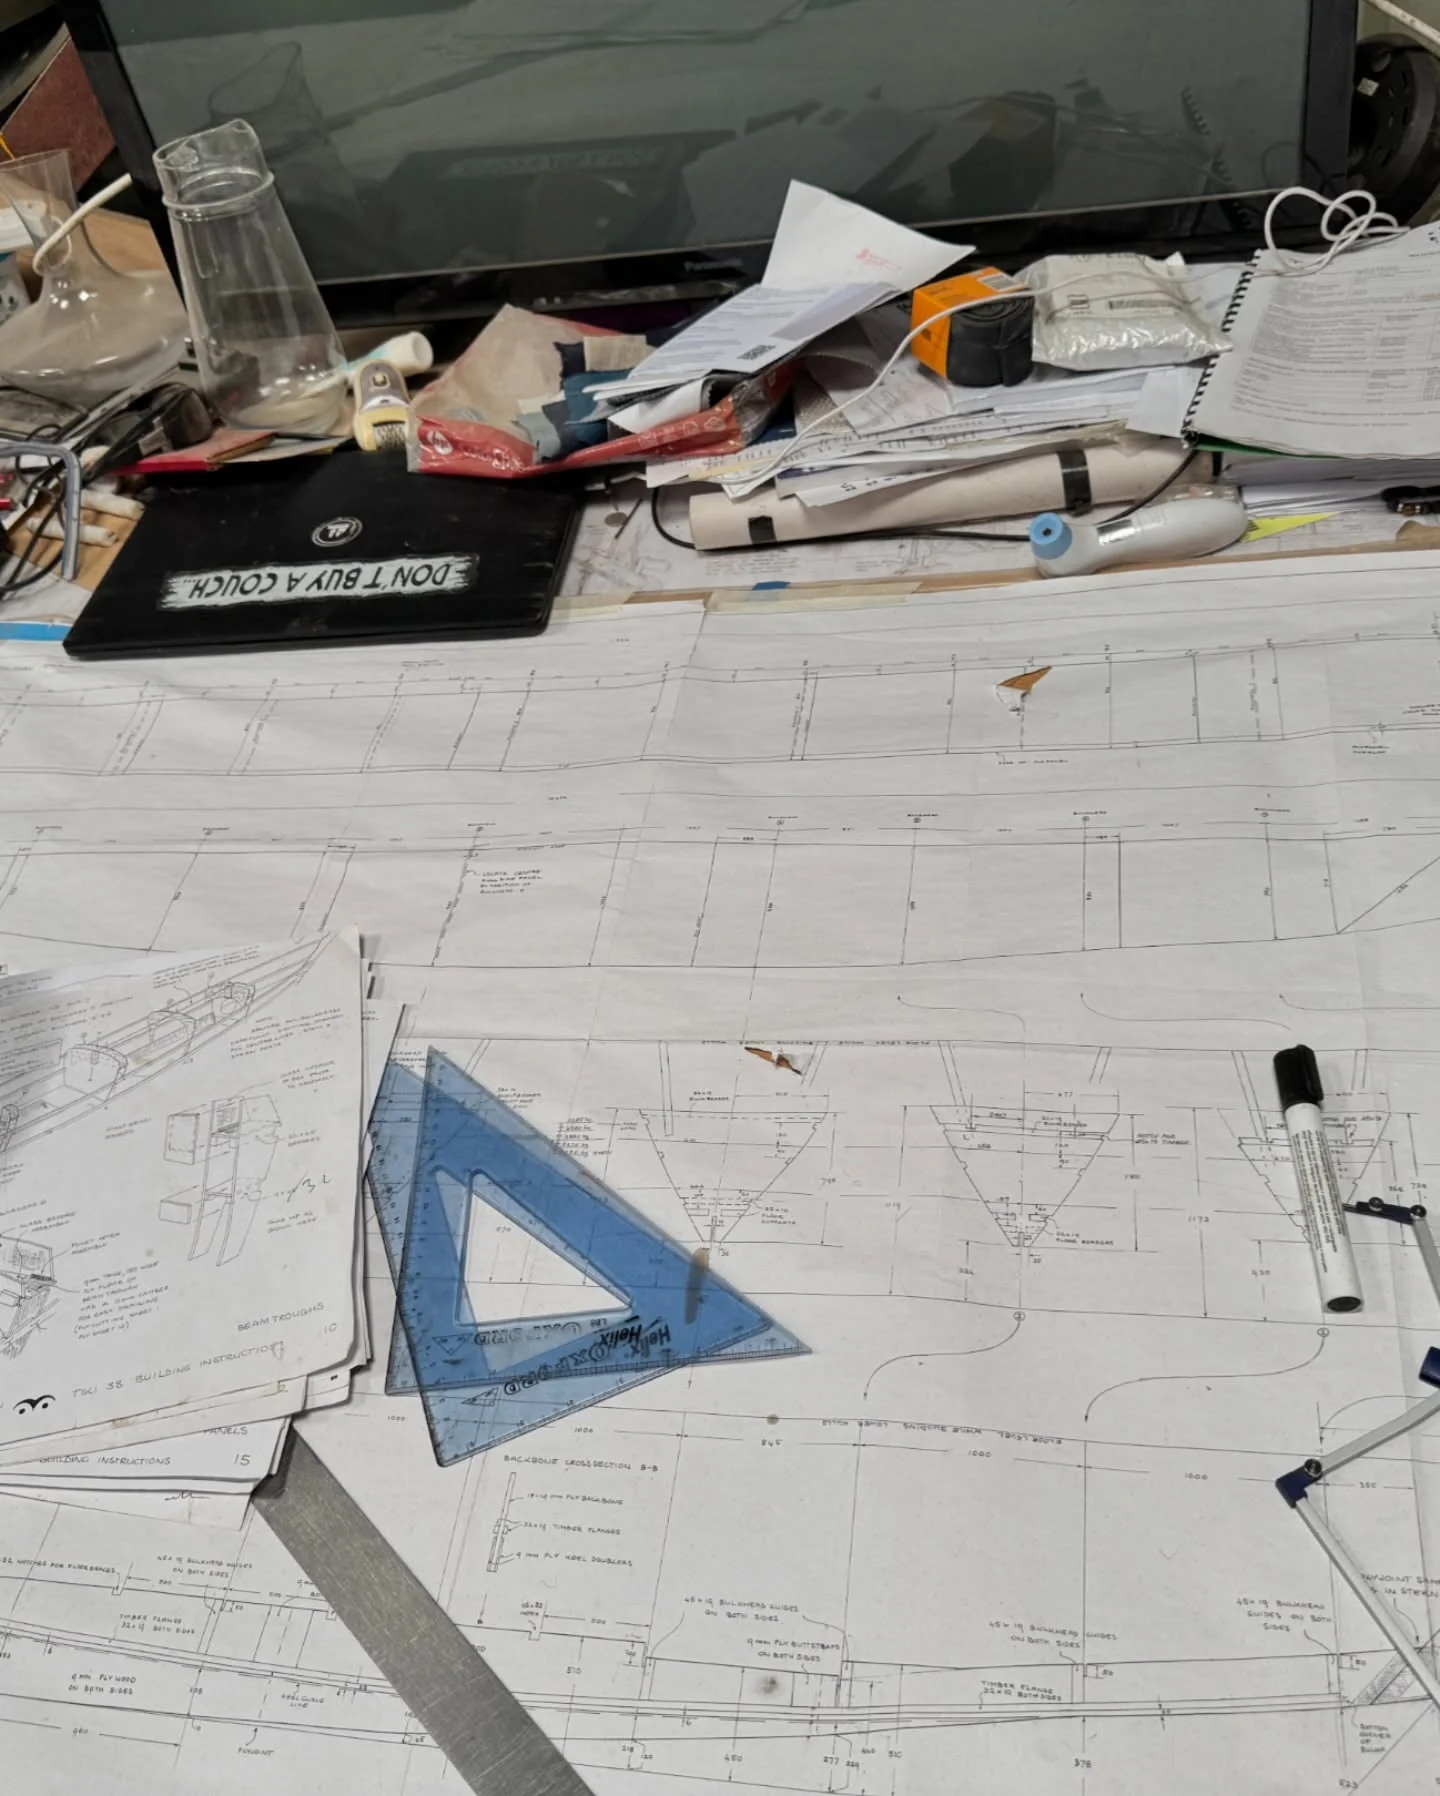
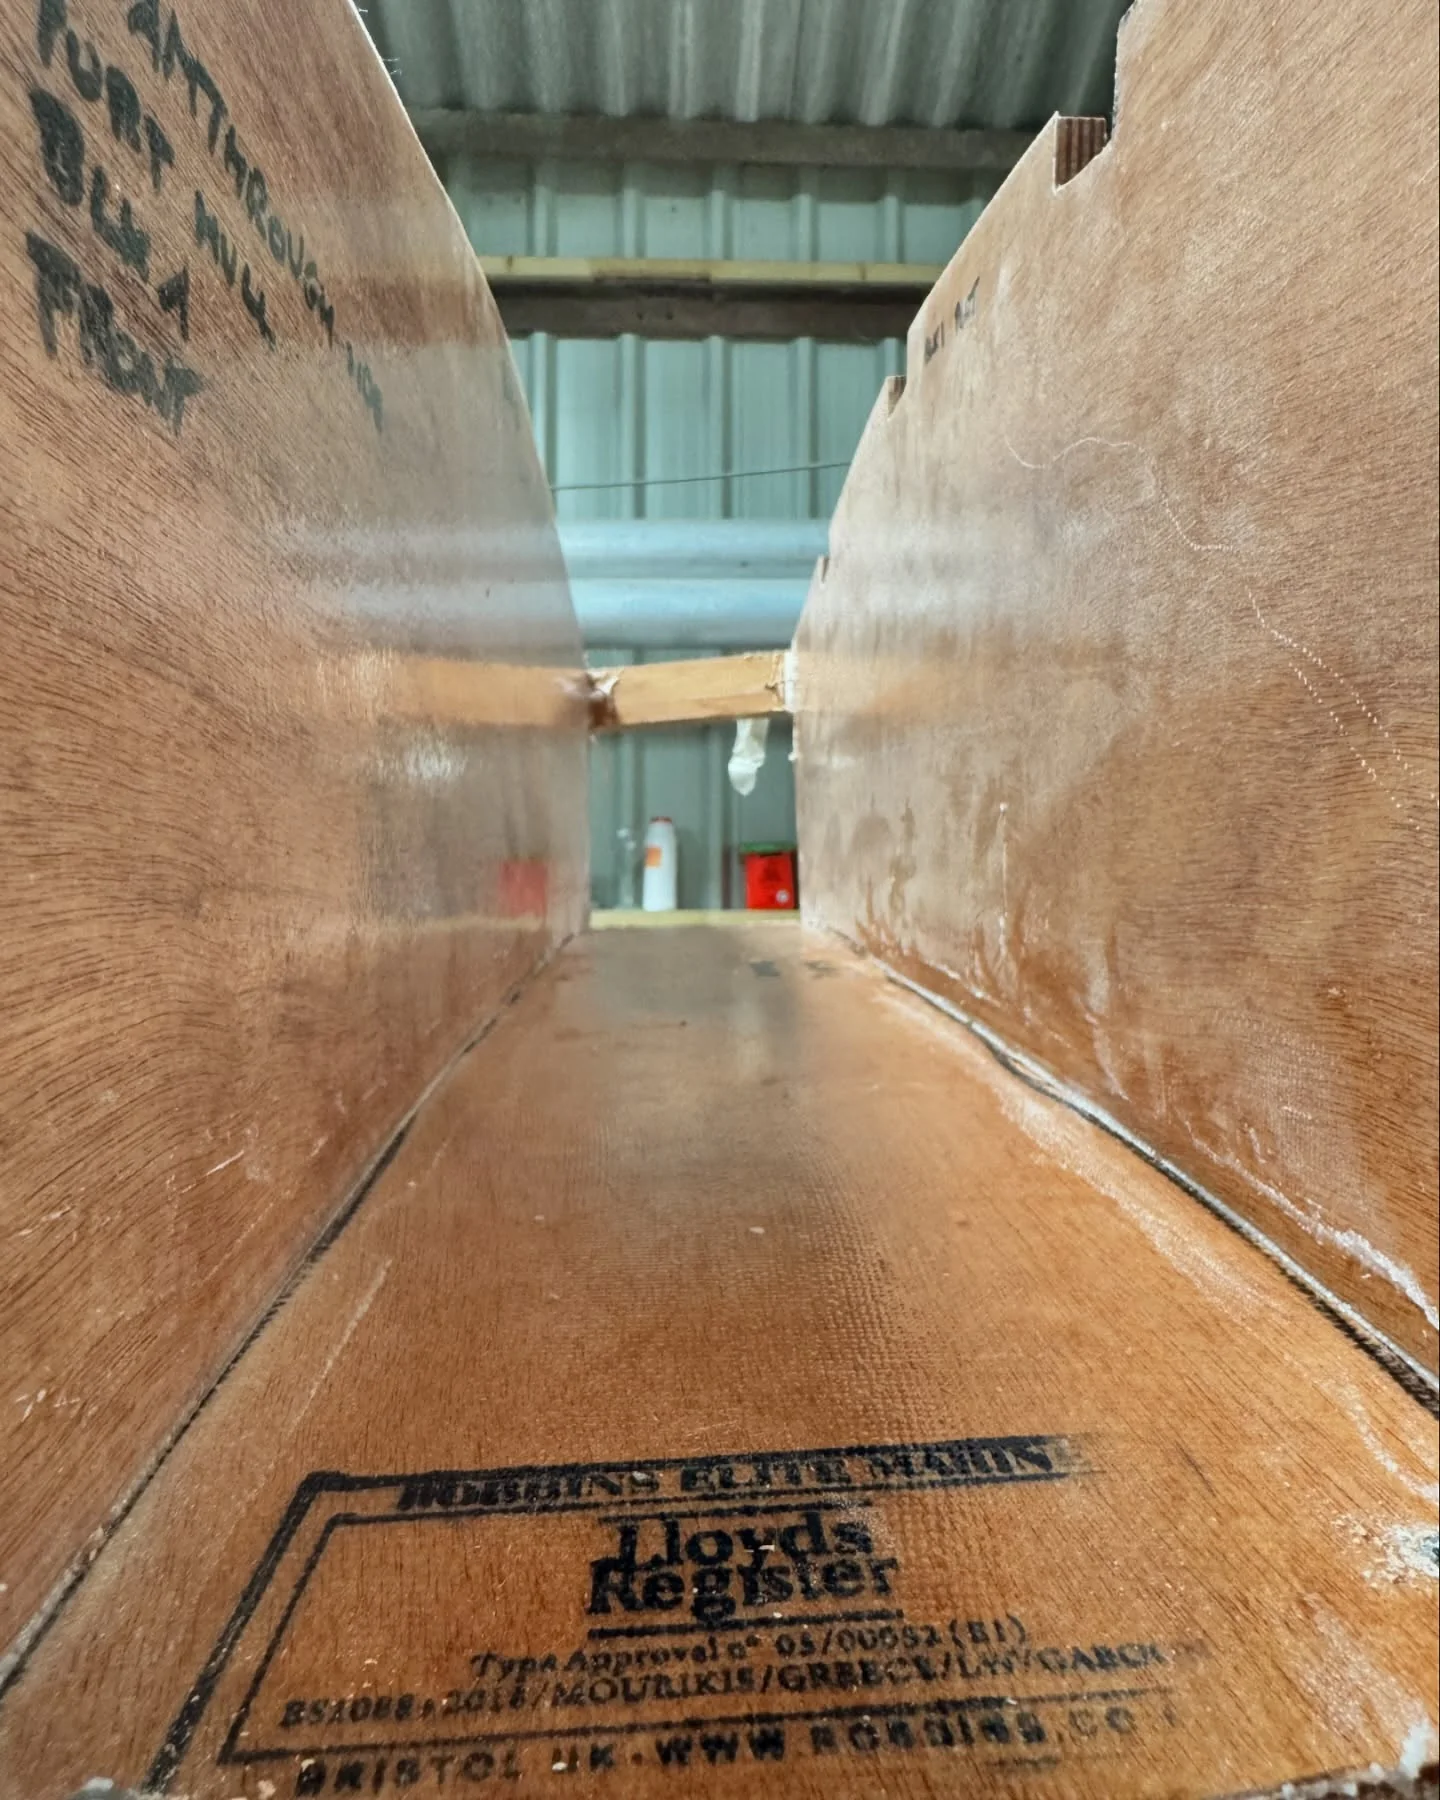
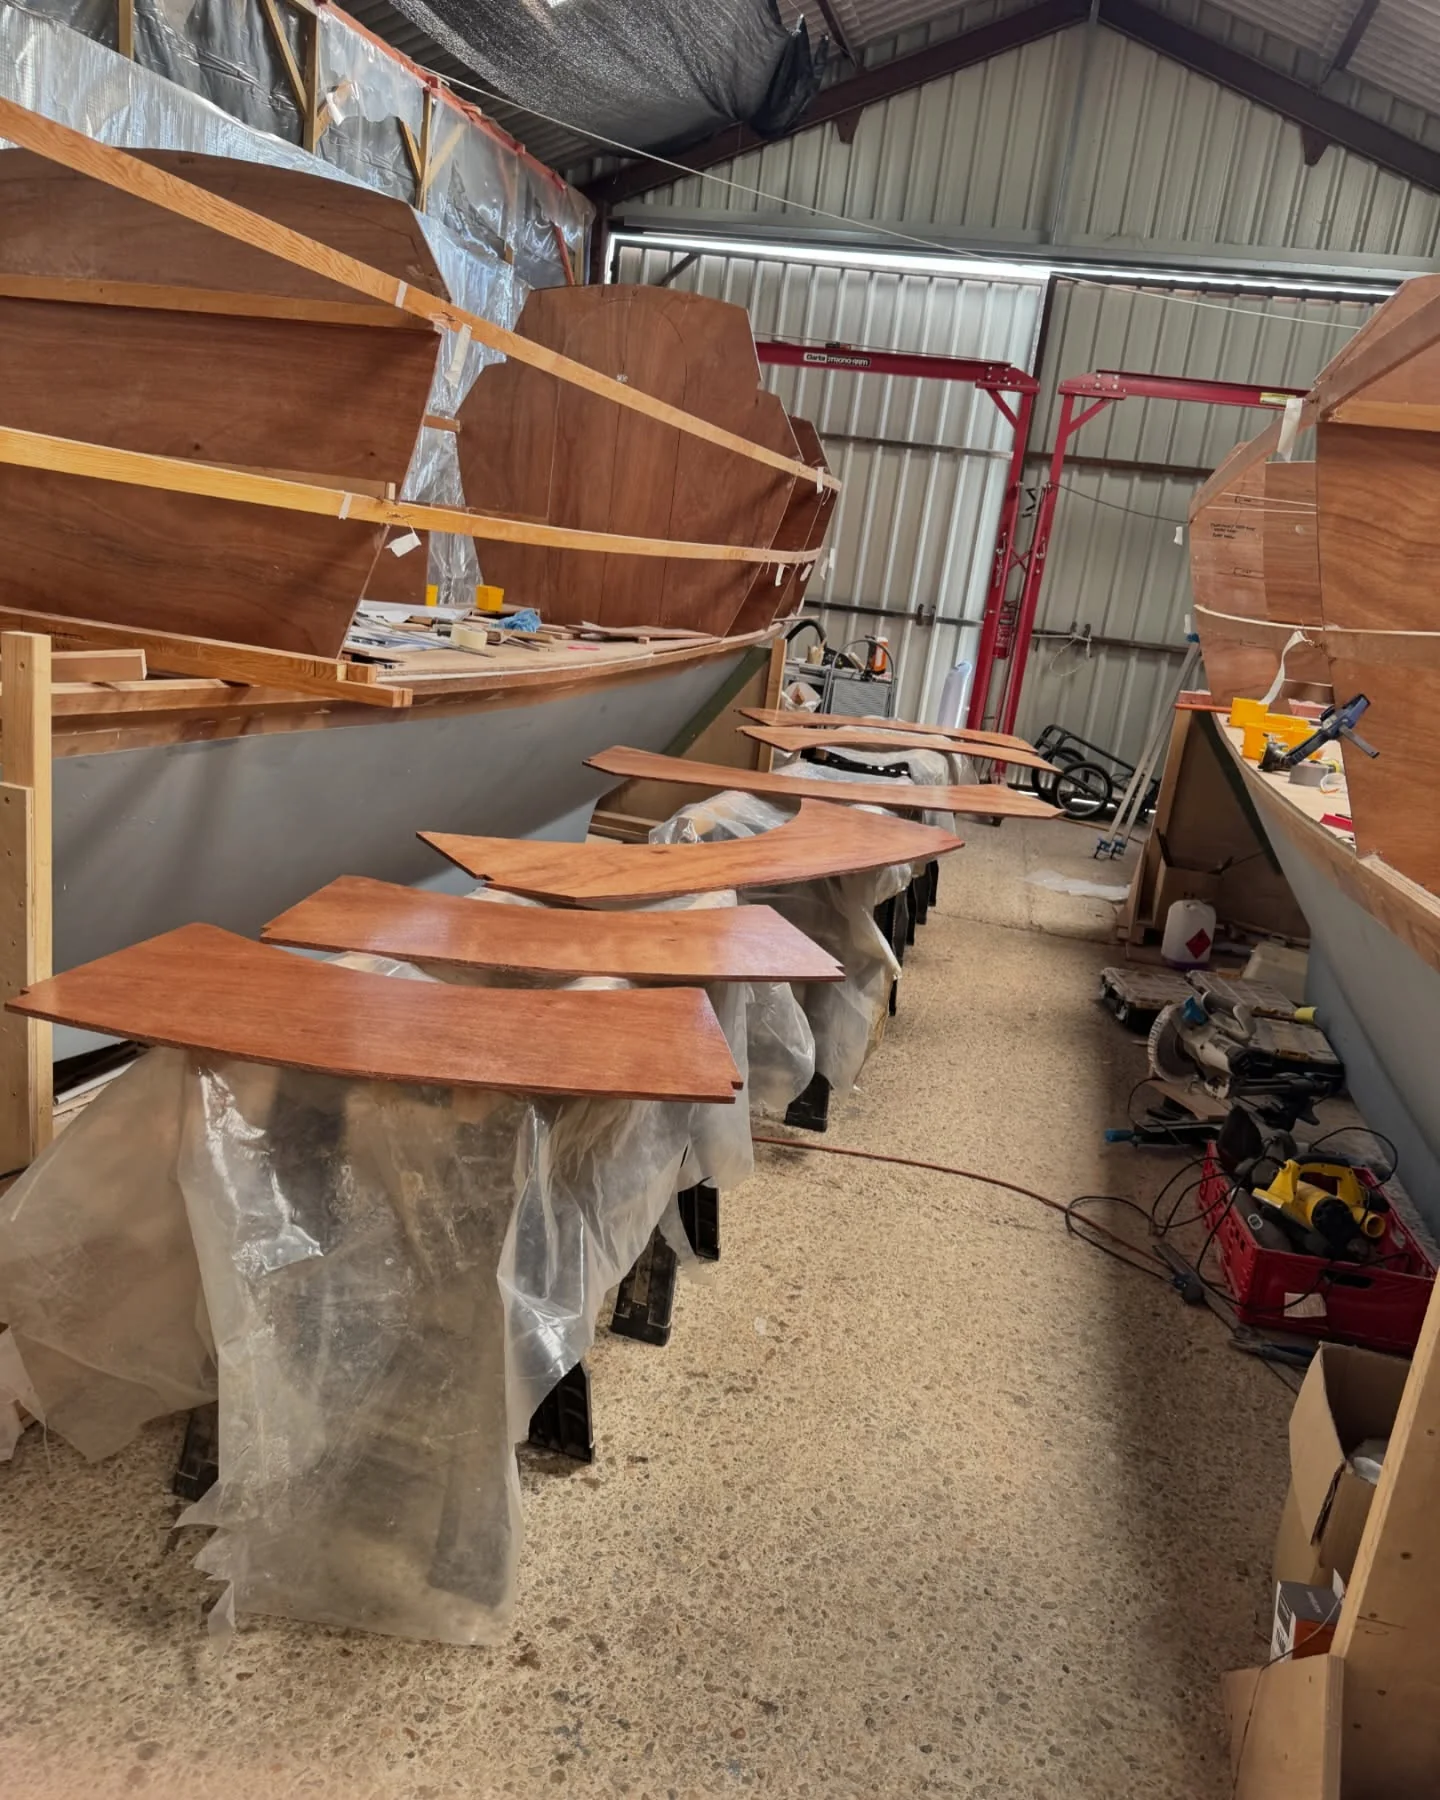
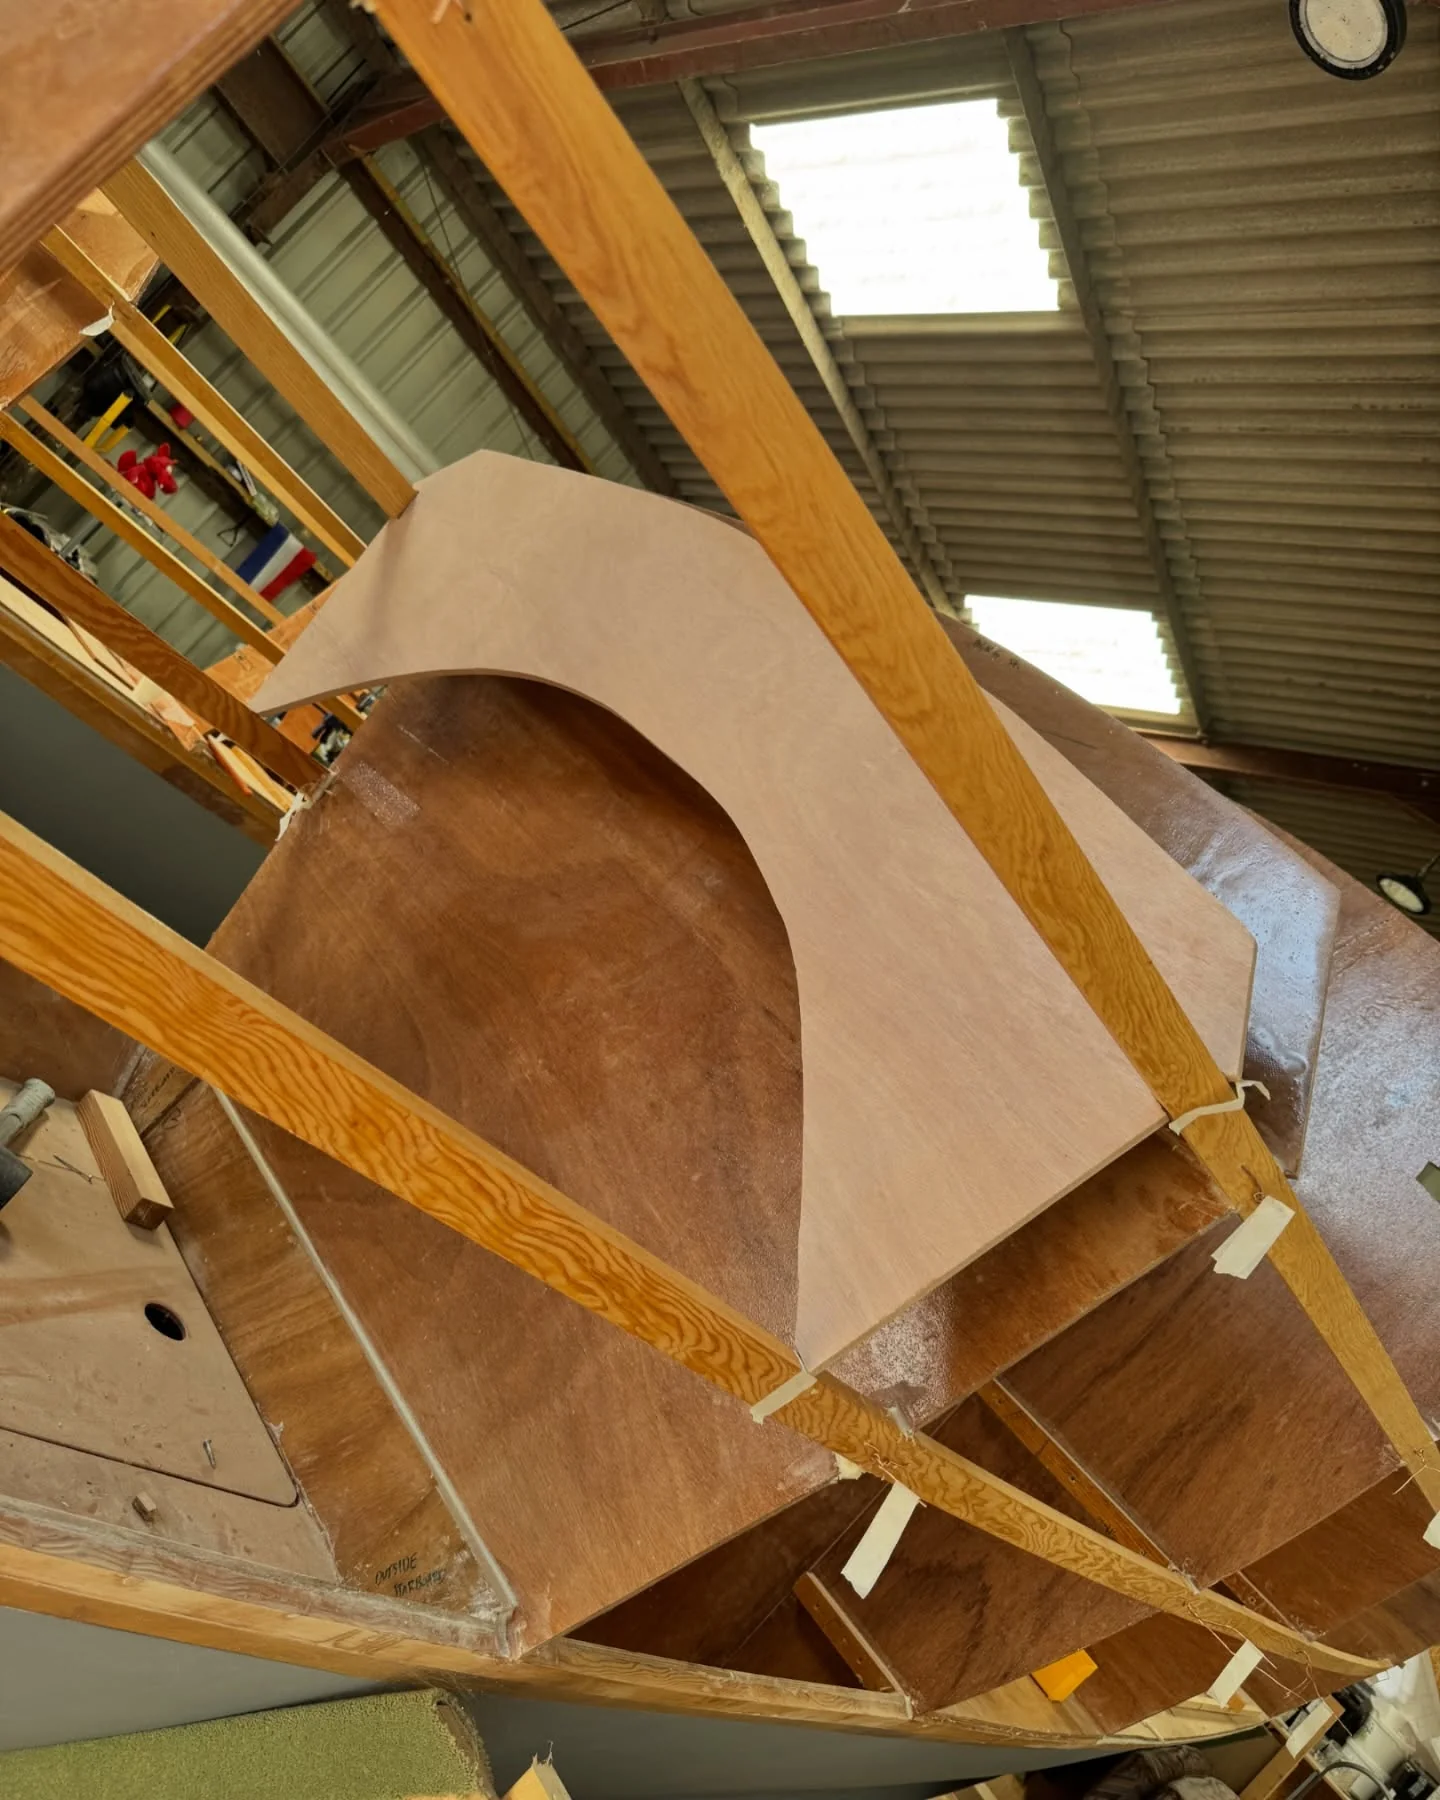
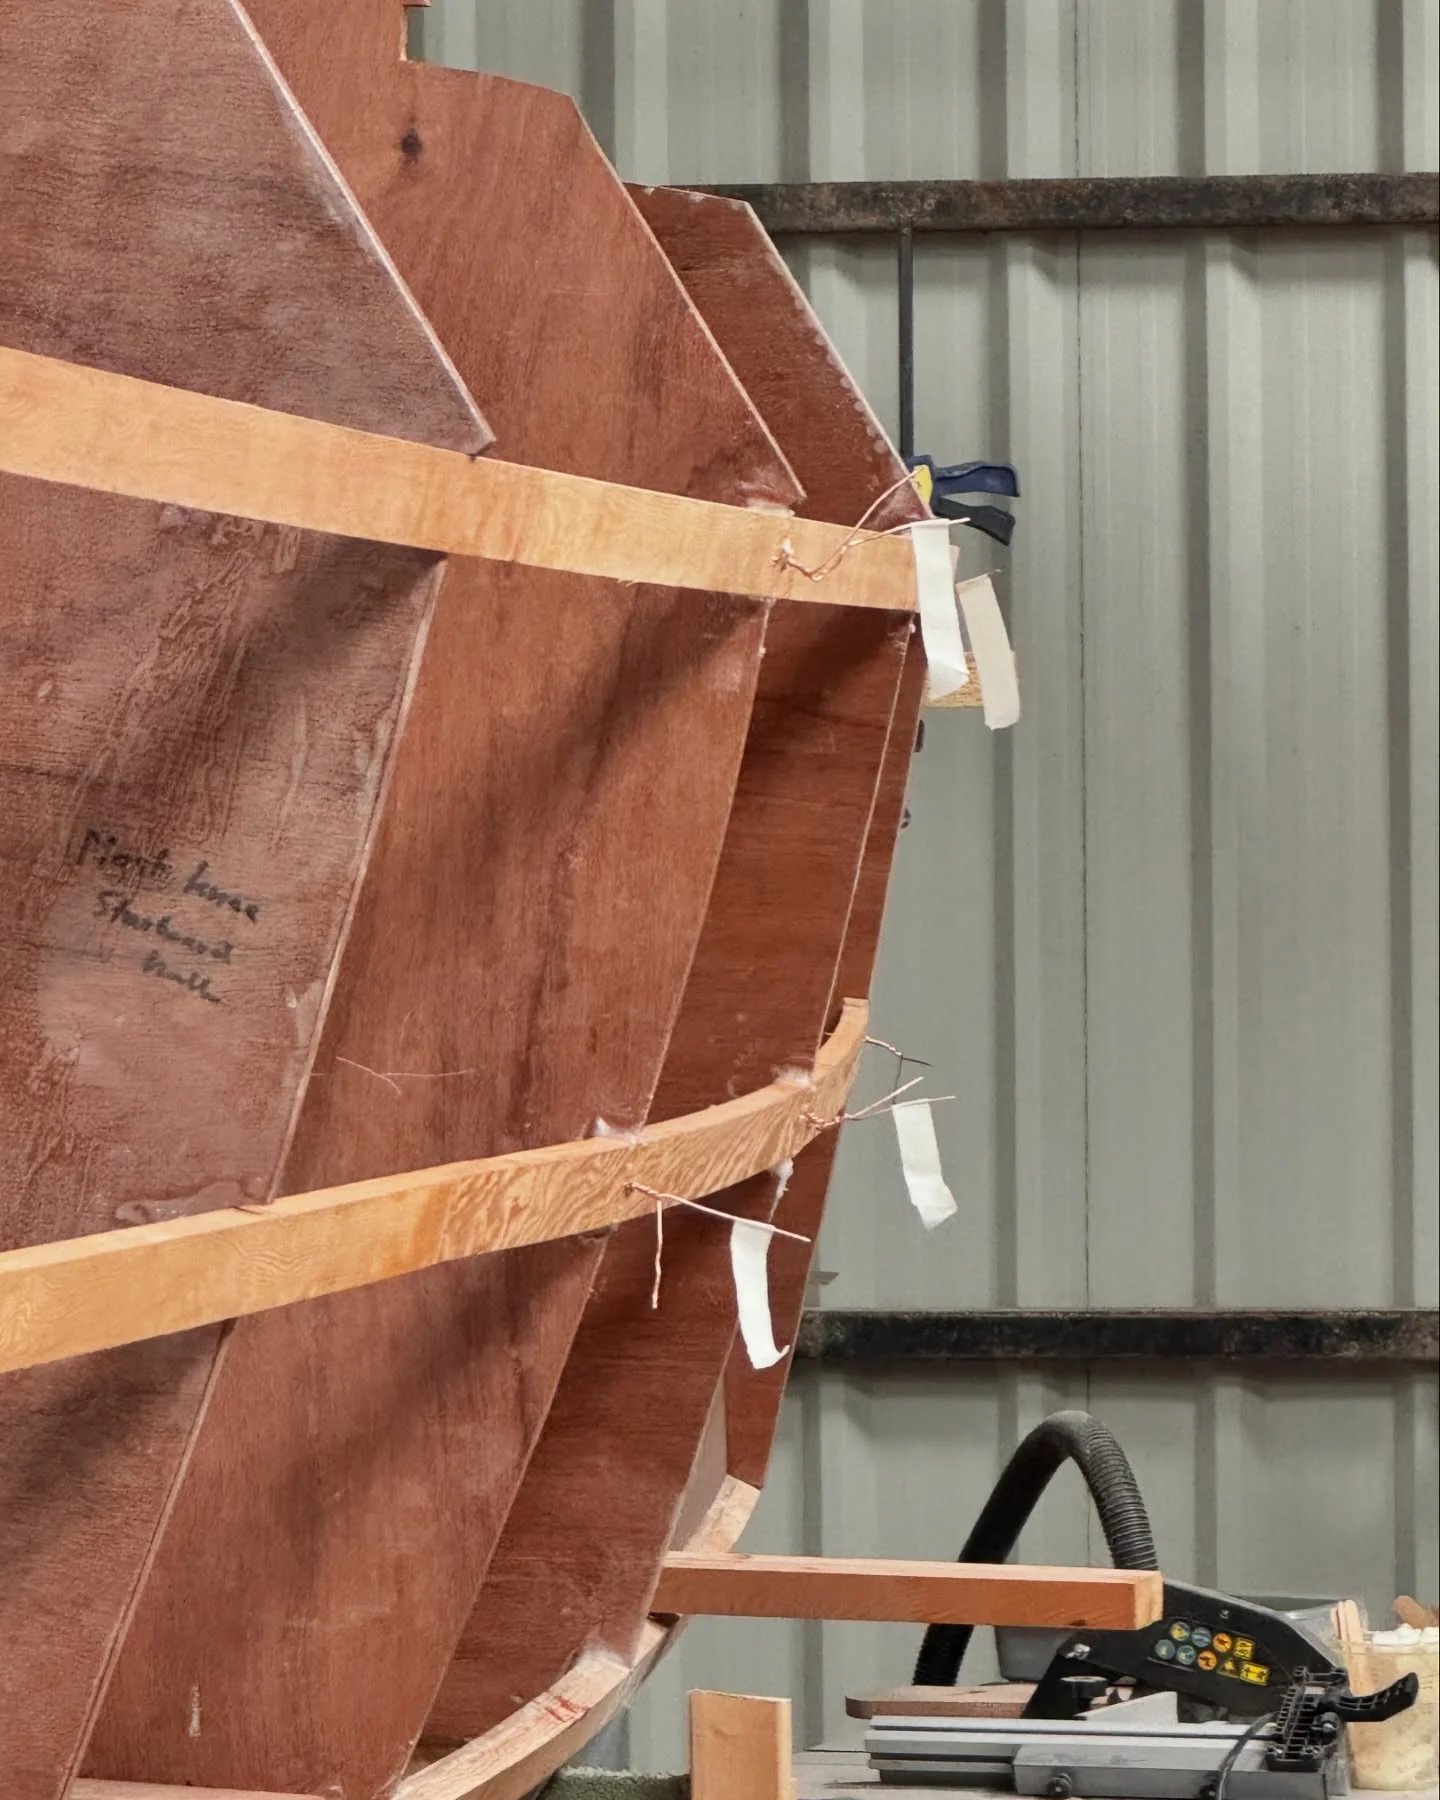
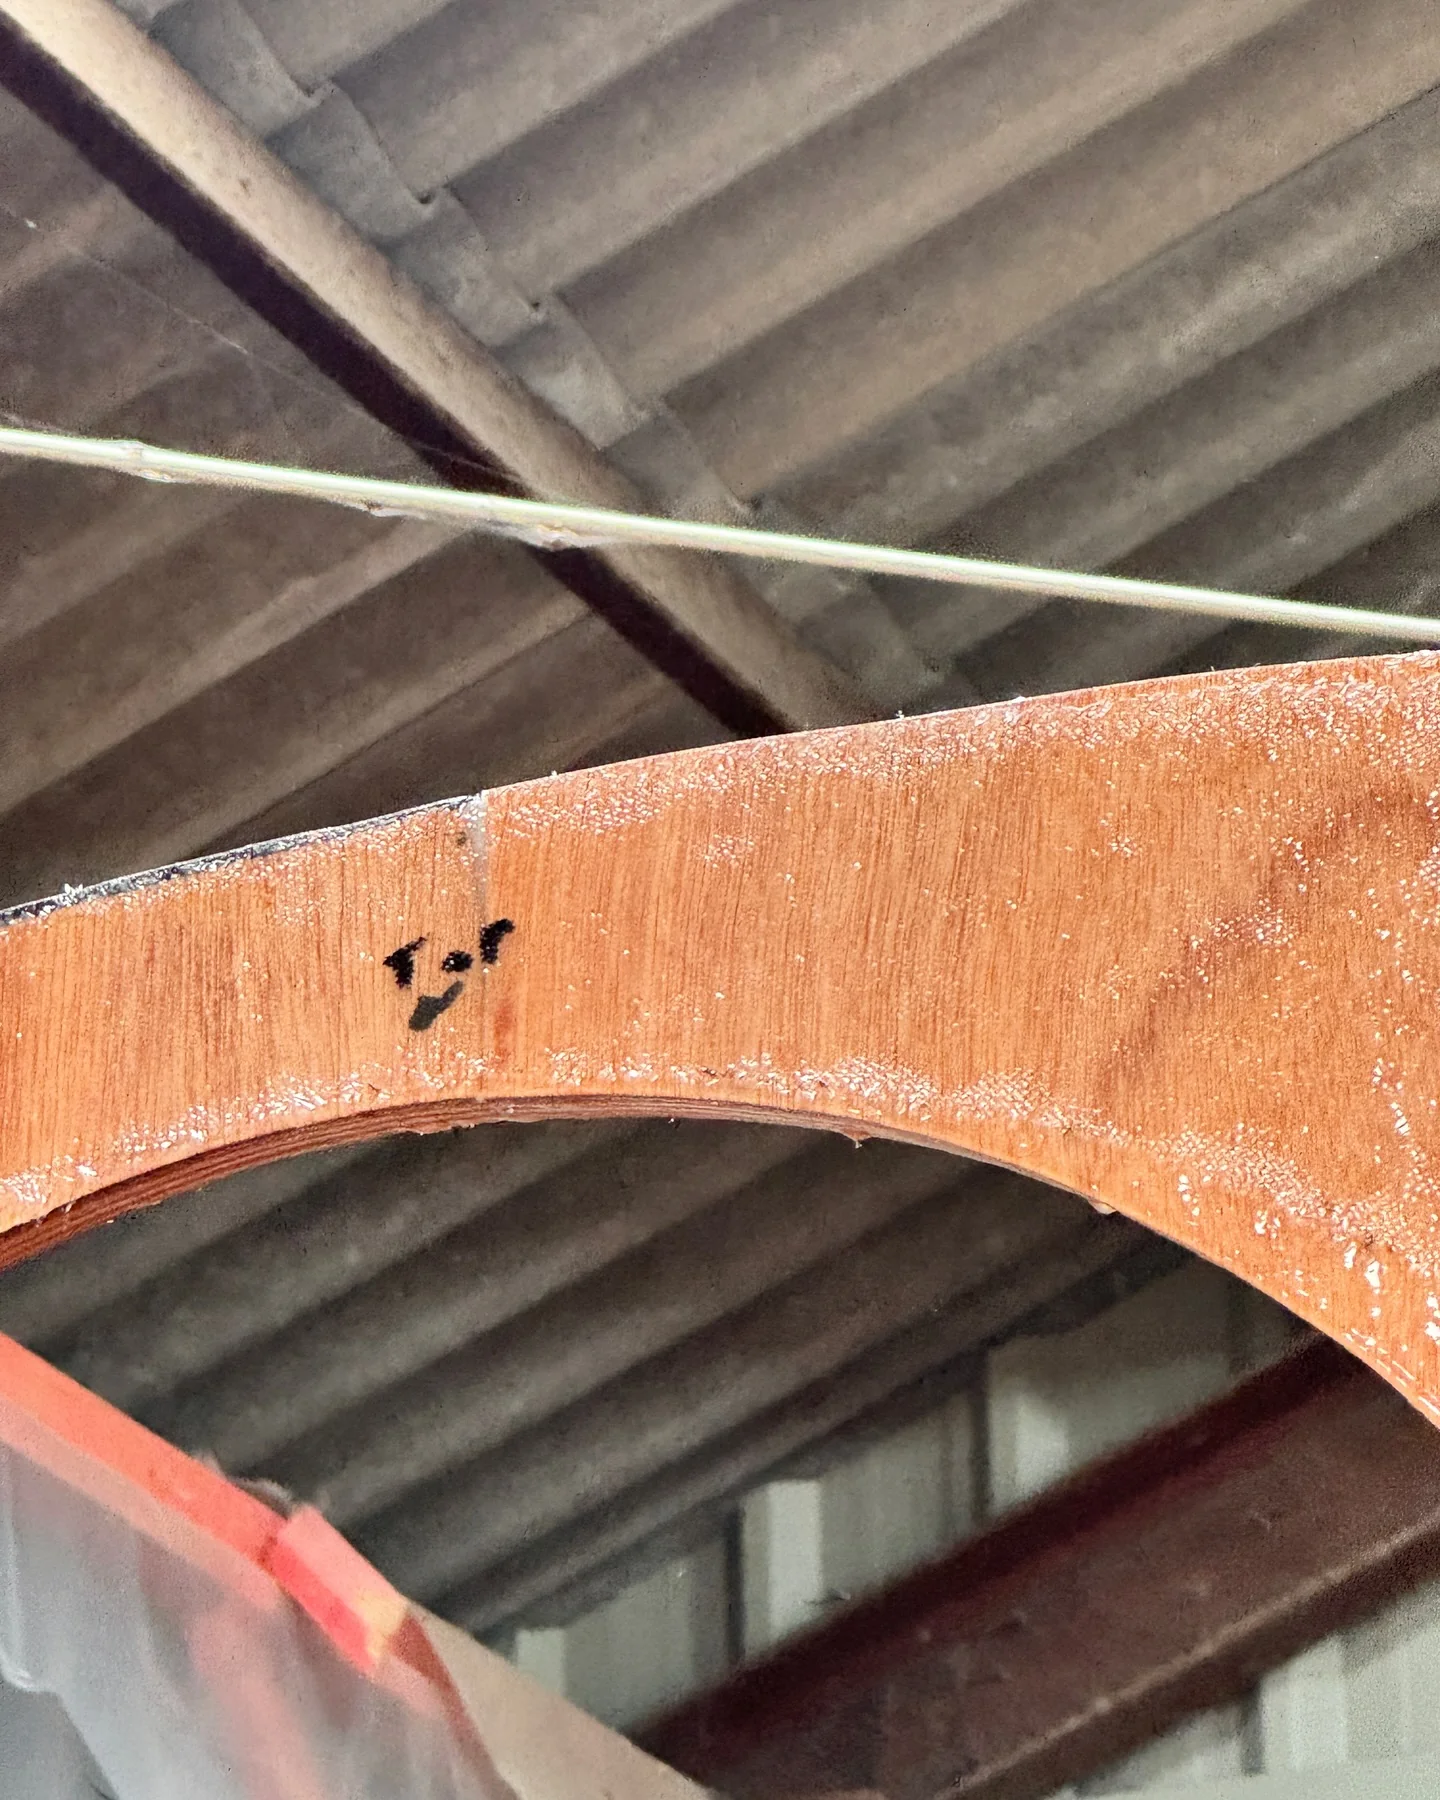
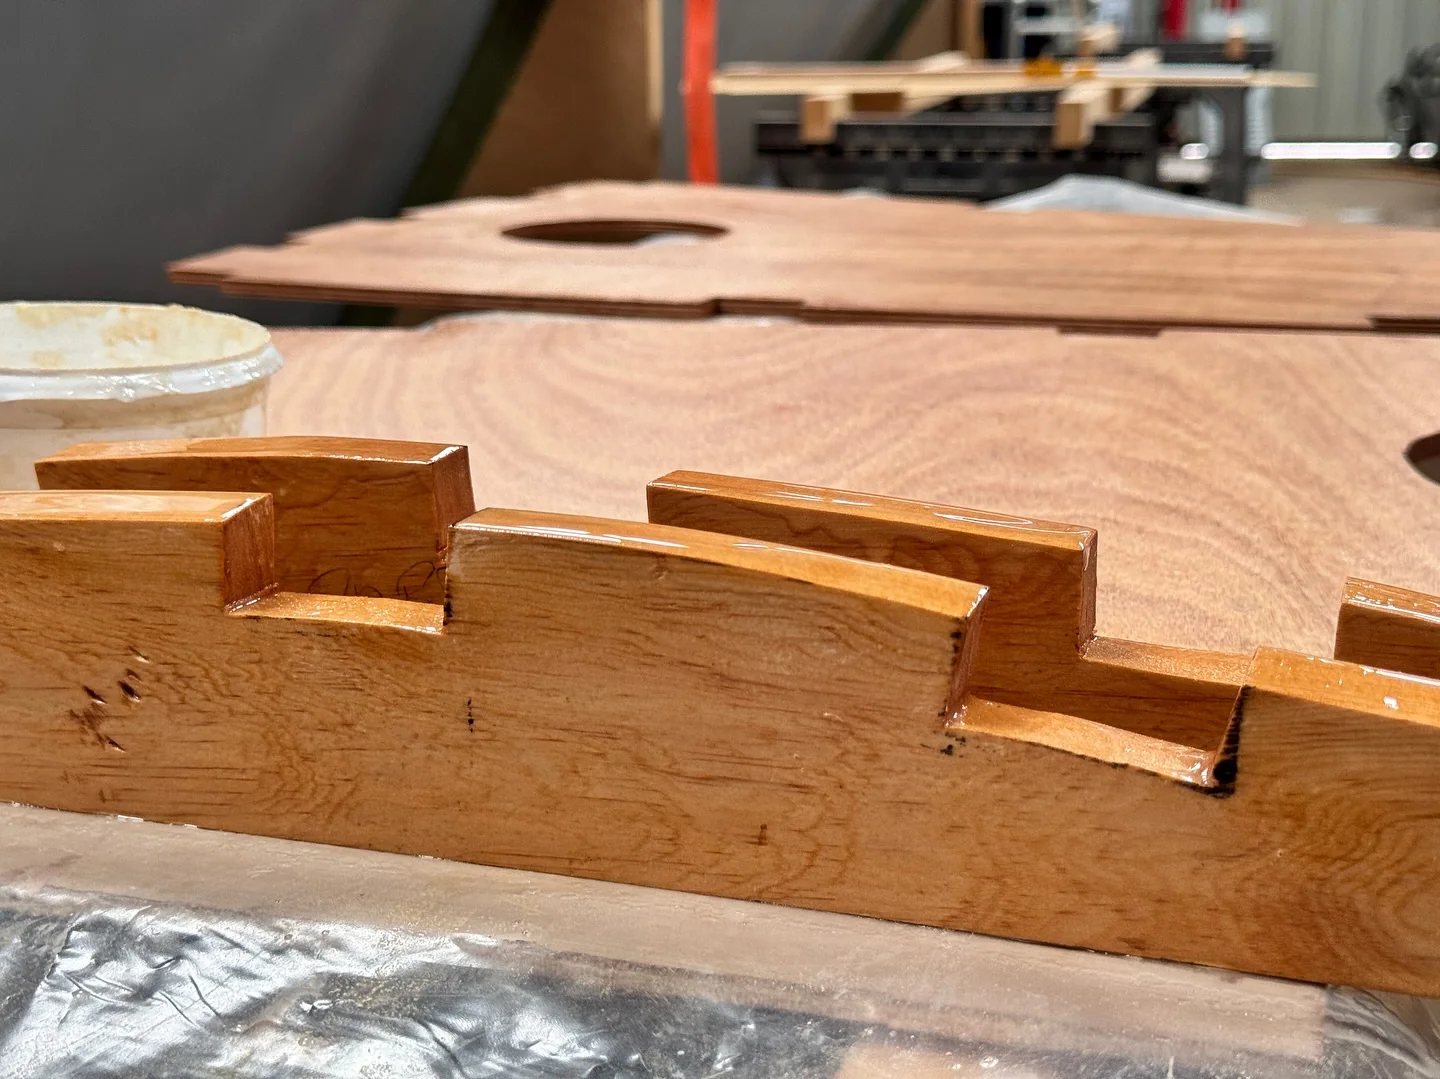
Ikaroa Why My Plywood Joints Look Wrong I explain why the plywood joints marked on my plans do not line up with the actual sheet edges, thanks to some unexpectedly non-standard sheet dimensions. The layout matters for both the beam-through joint and aligning the stern and bow sections of the hull.
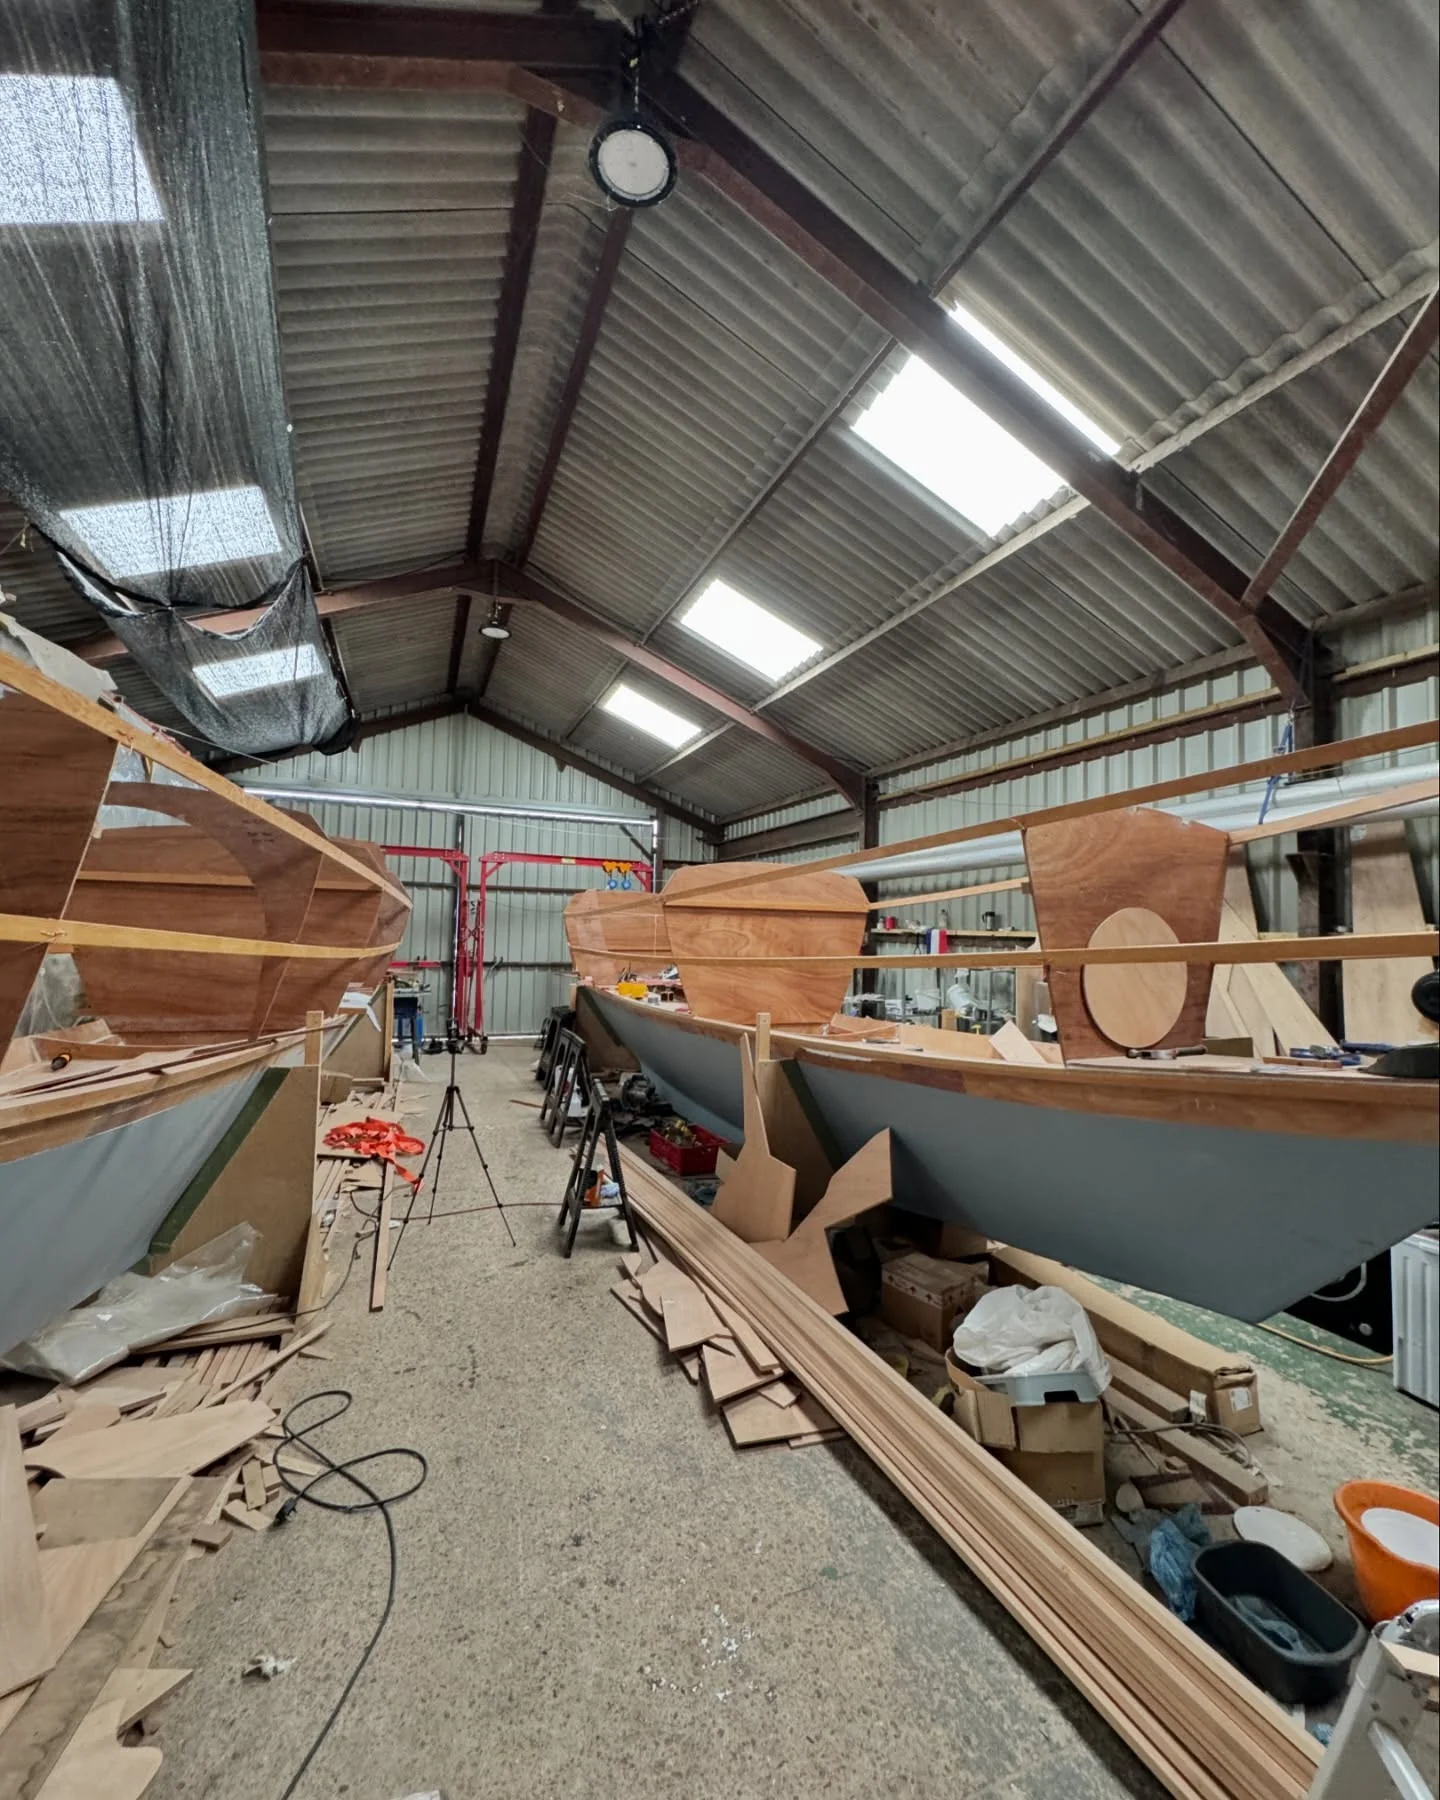
Ikaroa Getting Ready for the Hull Sides I’ve taken stock of the workshop and the jobs still to finish before the first 9mm plywood sheets go onto Ikaroa’s stringers. Ten sheets are here, with another ten needed soon.
Ikaroa Mast Beam Knees, One Piece at a Time I’ve laminated the mast beam knees into the hulls and assembled four of the six beam-throughs. Once the remaining preparation is done, the hull sides can finally go on—which counts as HUGE CHANGES.
Ikaroa Sanding Bearers After Epoxying Them In I’m sanding beam-through bearers by hand because I forgot to roughen them before epoxying them into narrow, inaccessible spaces. I’m also fitting bearers to the mast knees and partitions, readying everything for the hull sides.
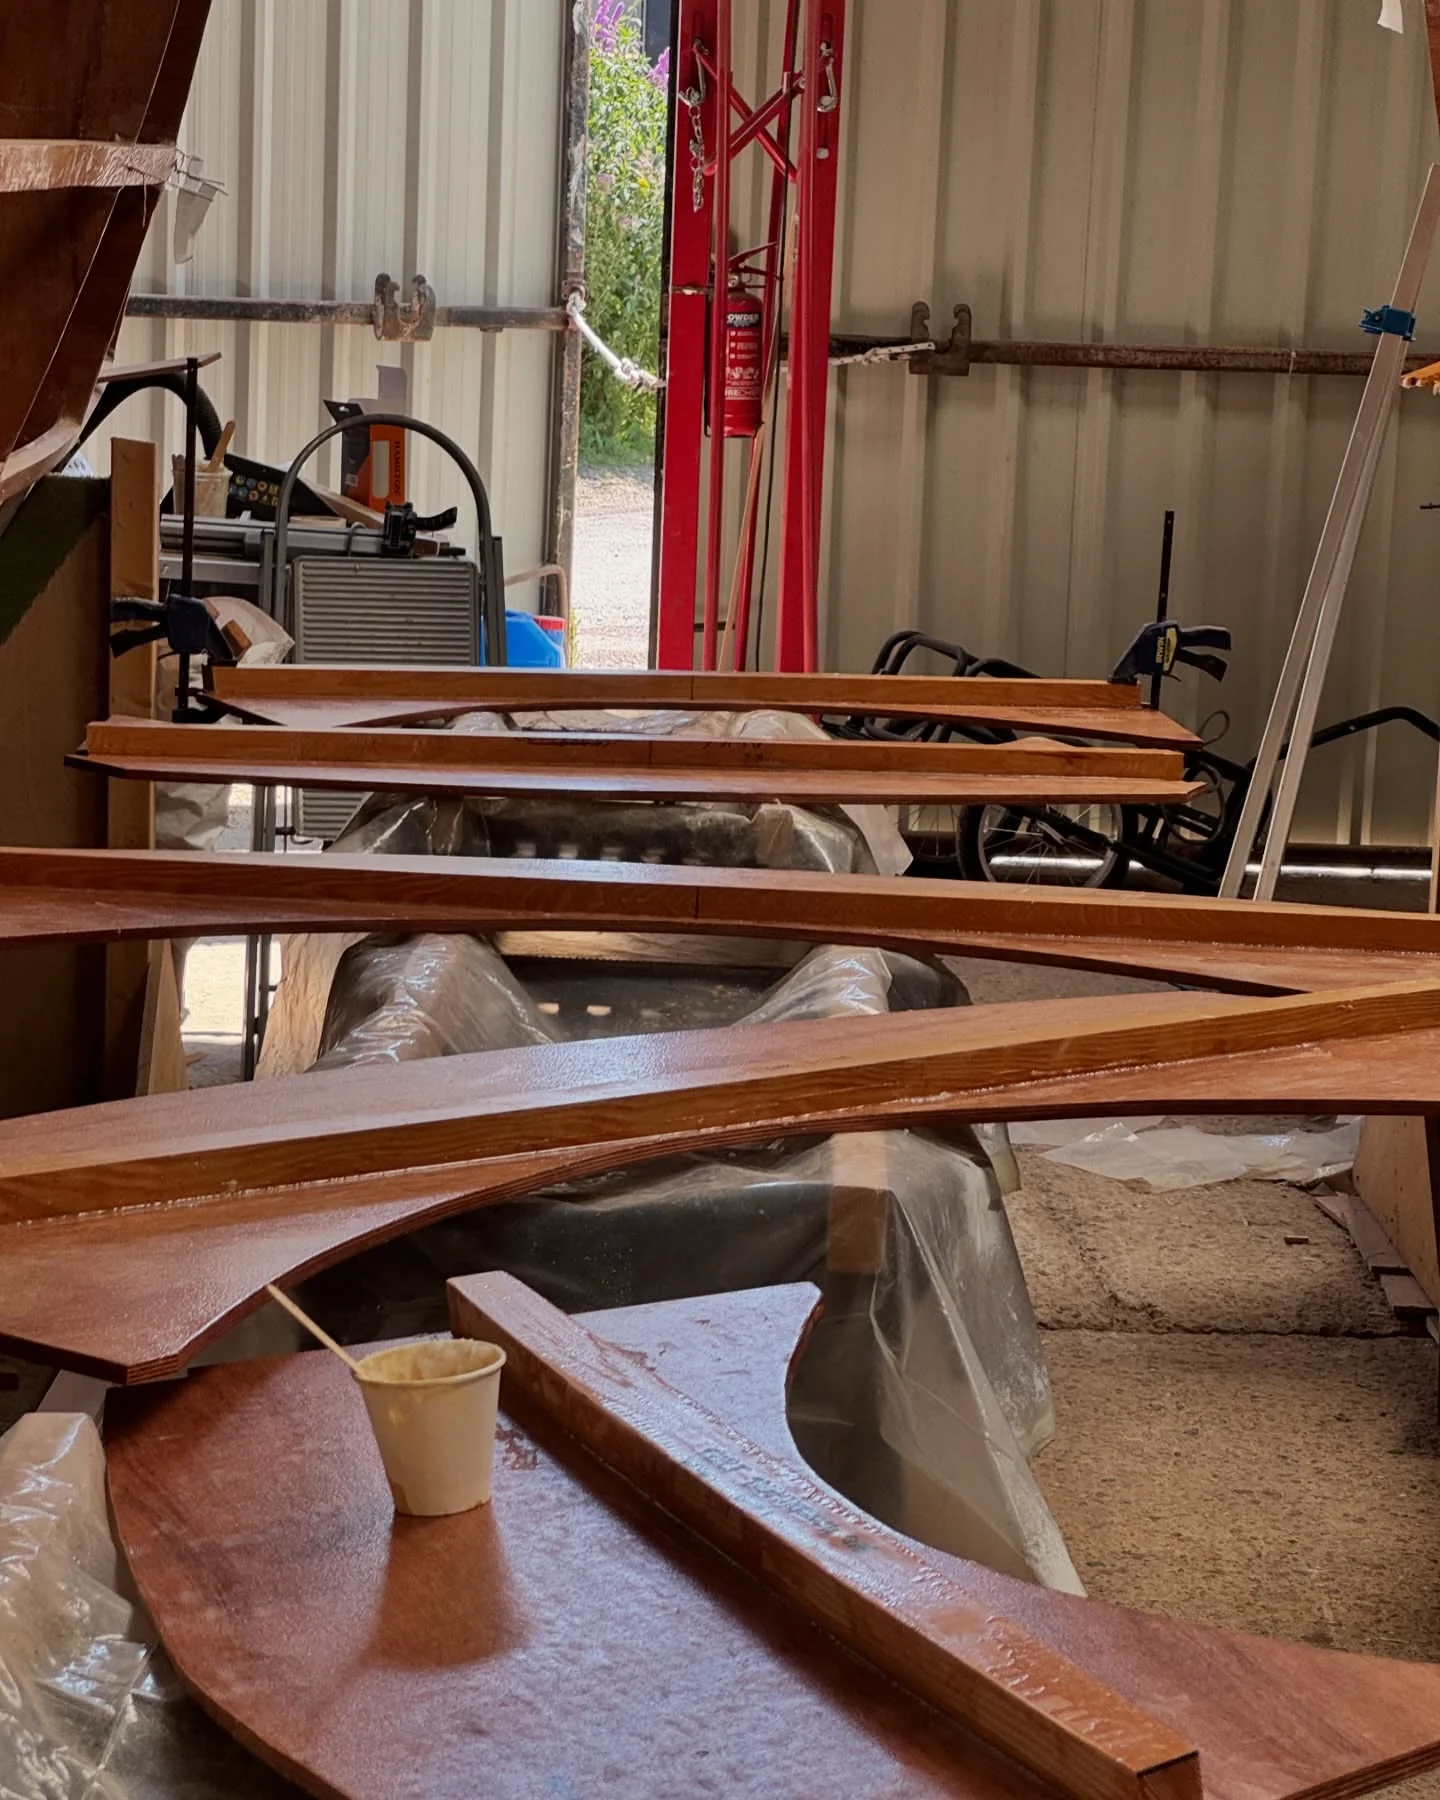
Ikaroa Fitting Beam Throughs and Floors I’m fitting and epoxying the beam throughs, then moving on to the floors and mast knees. The camber is looking good, and the hull sides are nearly ready to go on.
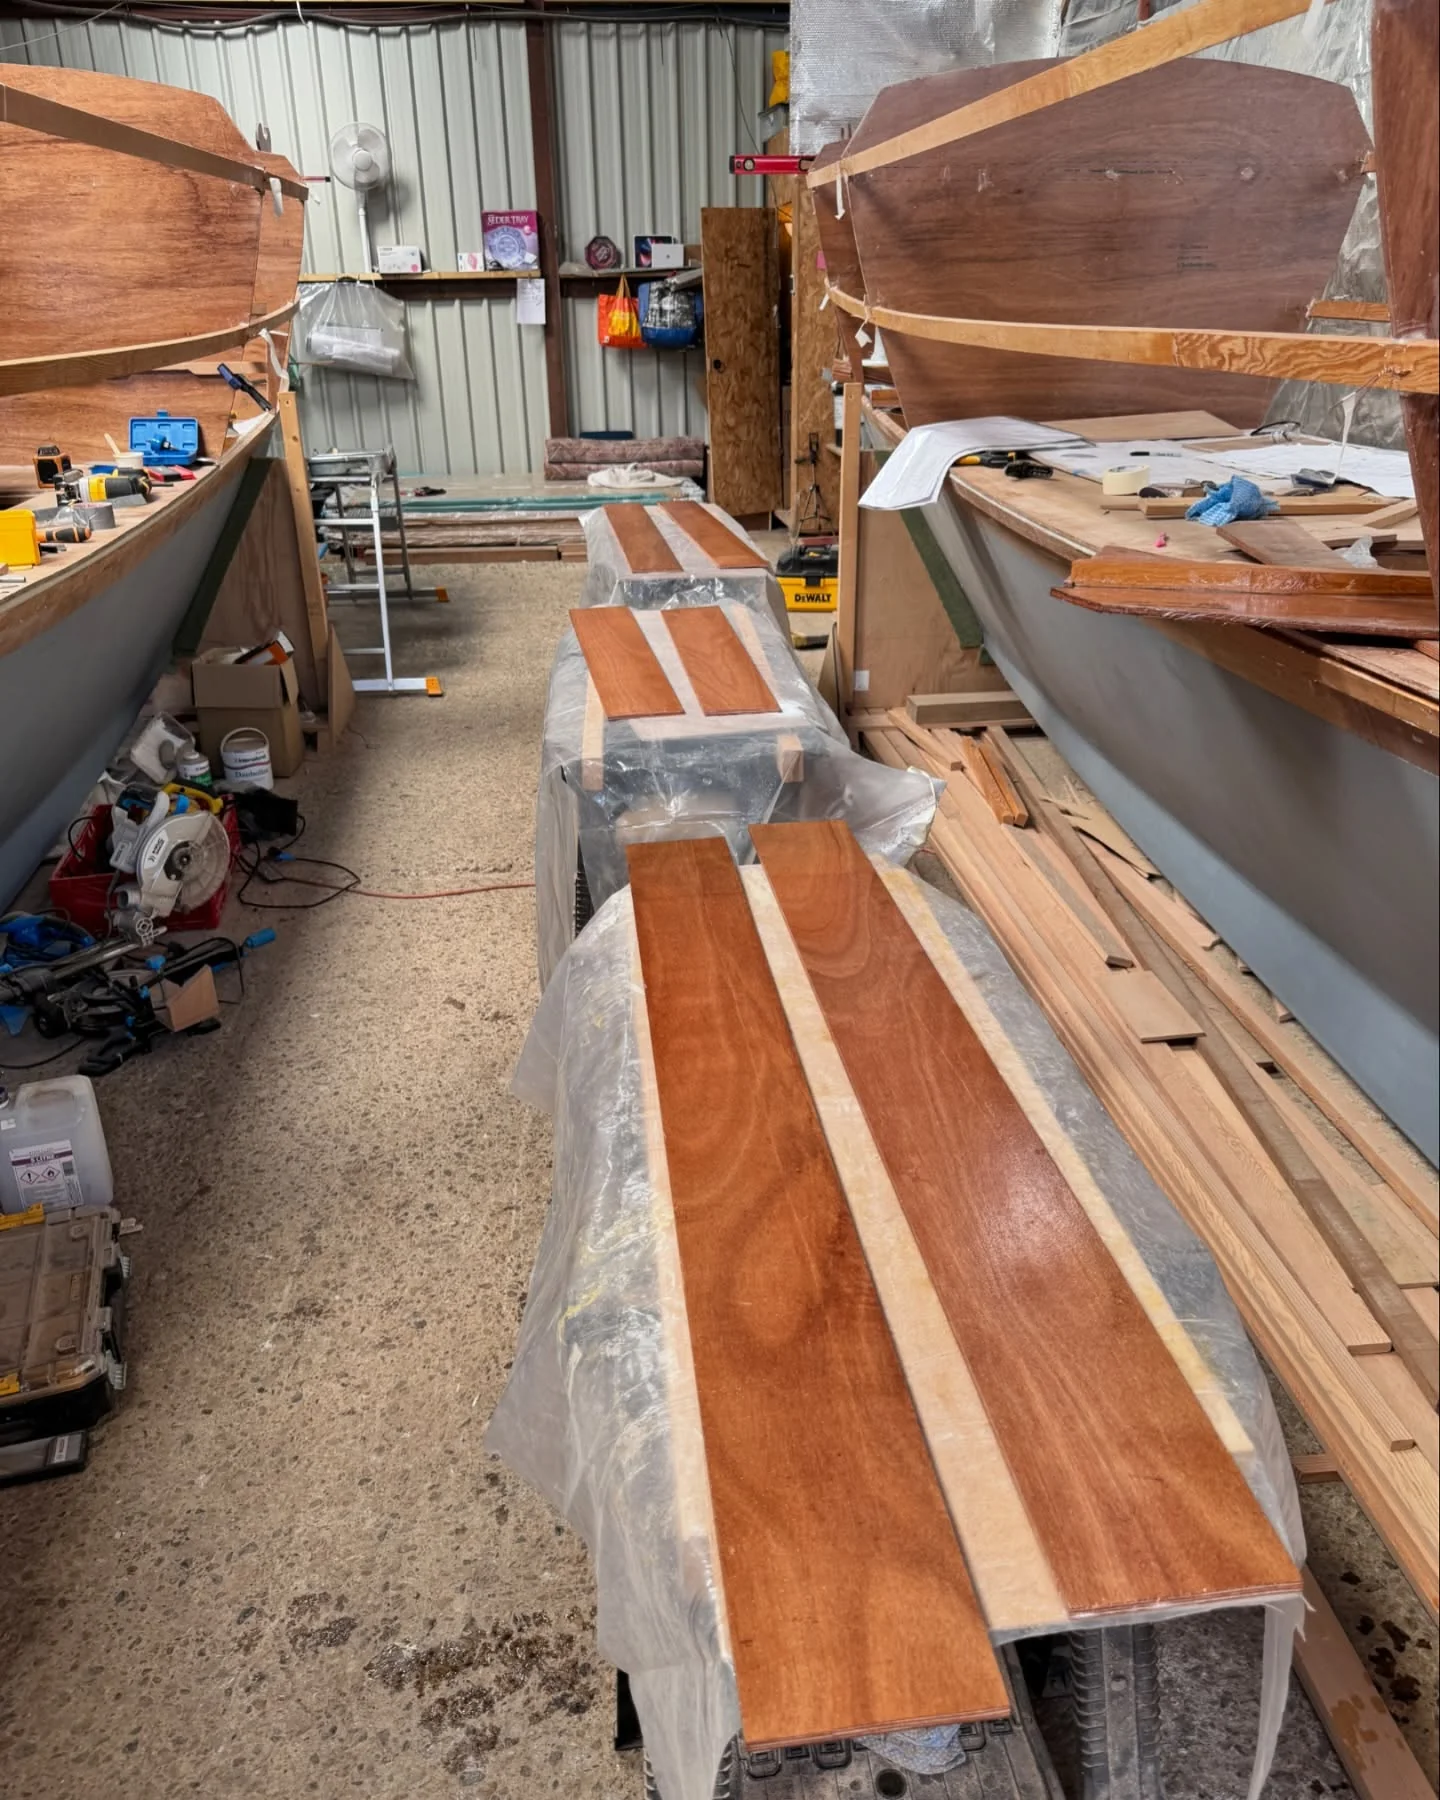
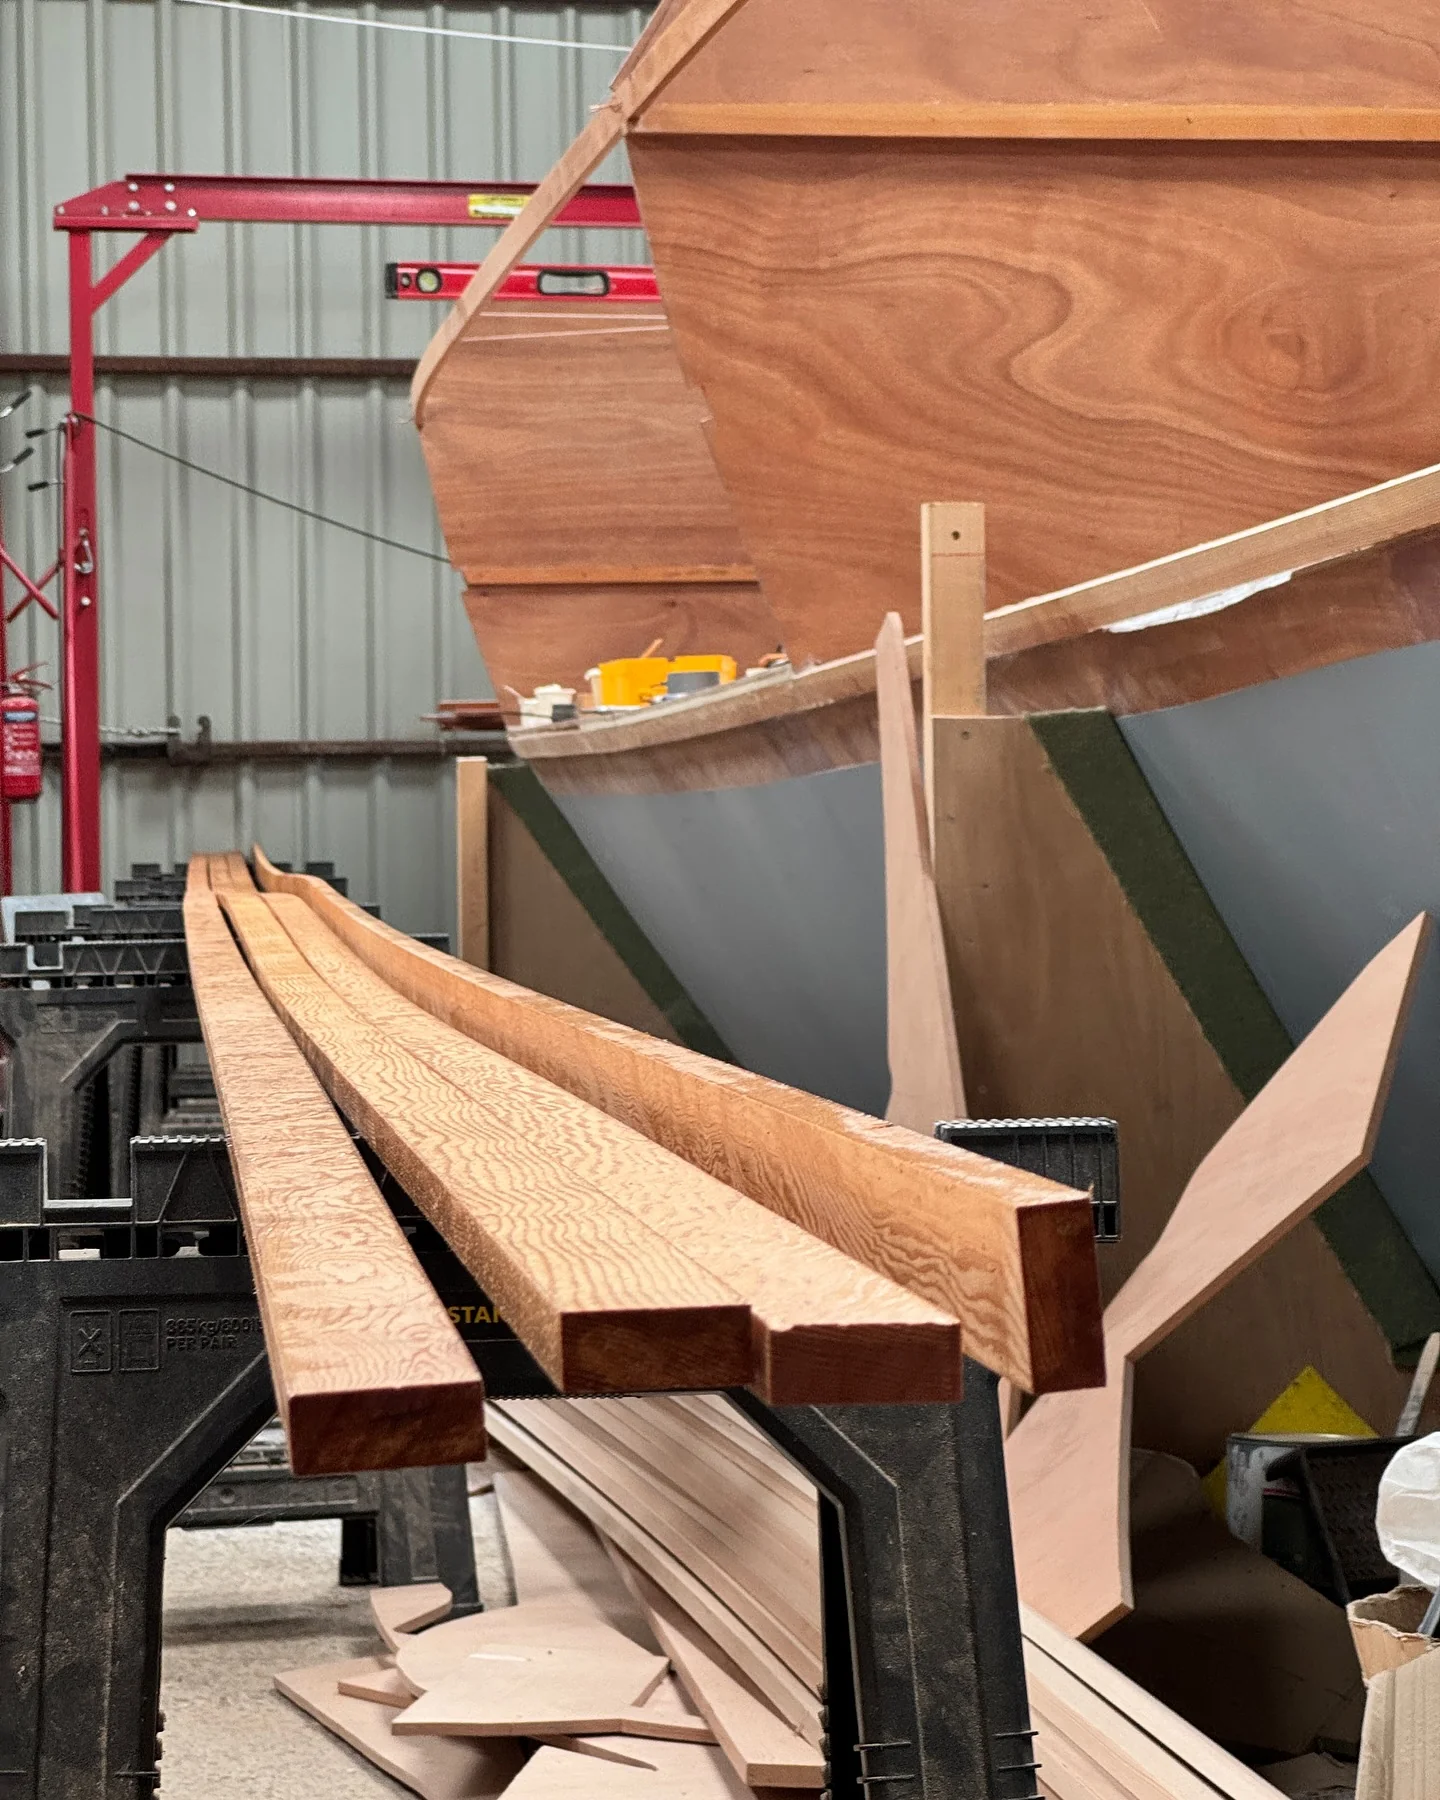
Ikaroa The Table Saw Gets Its Chance I put the table saw to work cutting precise iroko and plywood components for Ikaroa, while laminating beam-through sides, floors and mast-knee supports. It earned its keep, even if a battery circular saw may eventually replace it.
Ikaroa Slow Hardener Saves My Heatwave Workflow The heatwave had made fast epoxy nearly unworkable, so I switched to slow hardener and got back to fitting the bearers to my beam-through sides. I also recorded the useful temperature and working-time margins for larger microfibre mixes.
Ikaroa Epoxy Before the Workshop Gets Too Hot I started early to cut out the beam through the sides and get the epoxy on before my workshop turned into a solar oven. The new shading fabric helped, but eventually it was too hot for fast hardener, so I went for a bike ride instead.
Ikaroa Starting the Beams, Marking the Firebox I started cutting the beams through the hull sides, with the port pieces next and the first coat of epoxy planned before the heat arrives. I also marked plywood for the boat’s eventual firebox—yes, Ikaroa will have a bonfire on deck.
Ikaroa Finishing the Stringers with Epoxy Leftovers I’m finishing the stringers, with only the stern left. I’m using leftover epoxy to fill screw holes and other places where the protective layer has been removed, before epoxy primer and hard polyurethane paint do their jobs.
Ikaroa Bulkheads Attached, Summer Finally Arrives I’ve permanently attached the remaining major bulkheads to the stringers, leaving only the stems and sterns before moving on. Summer has arrived at the workshop, so I’m taking the midday heat off and finishing the fast epoxy hardener before switching to slow.
Ikaroa Epoxying the First Wave of Stringers I’m working through the first wave of epoxying, joining the stringers to the major bulkheads, stem, stern and partition at 30 contact points. I’m also getting ready to launch our electrical shop and wondering what would make a good prize.
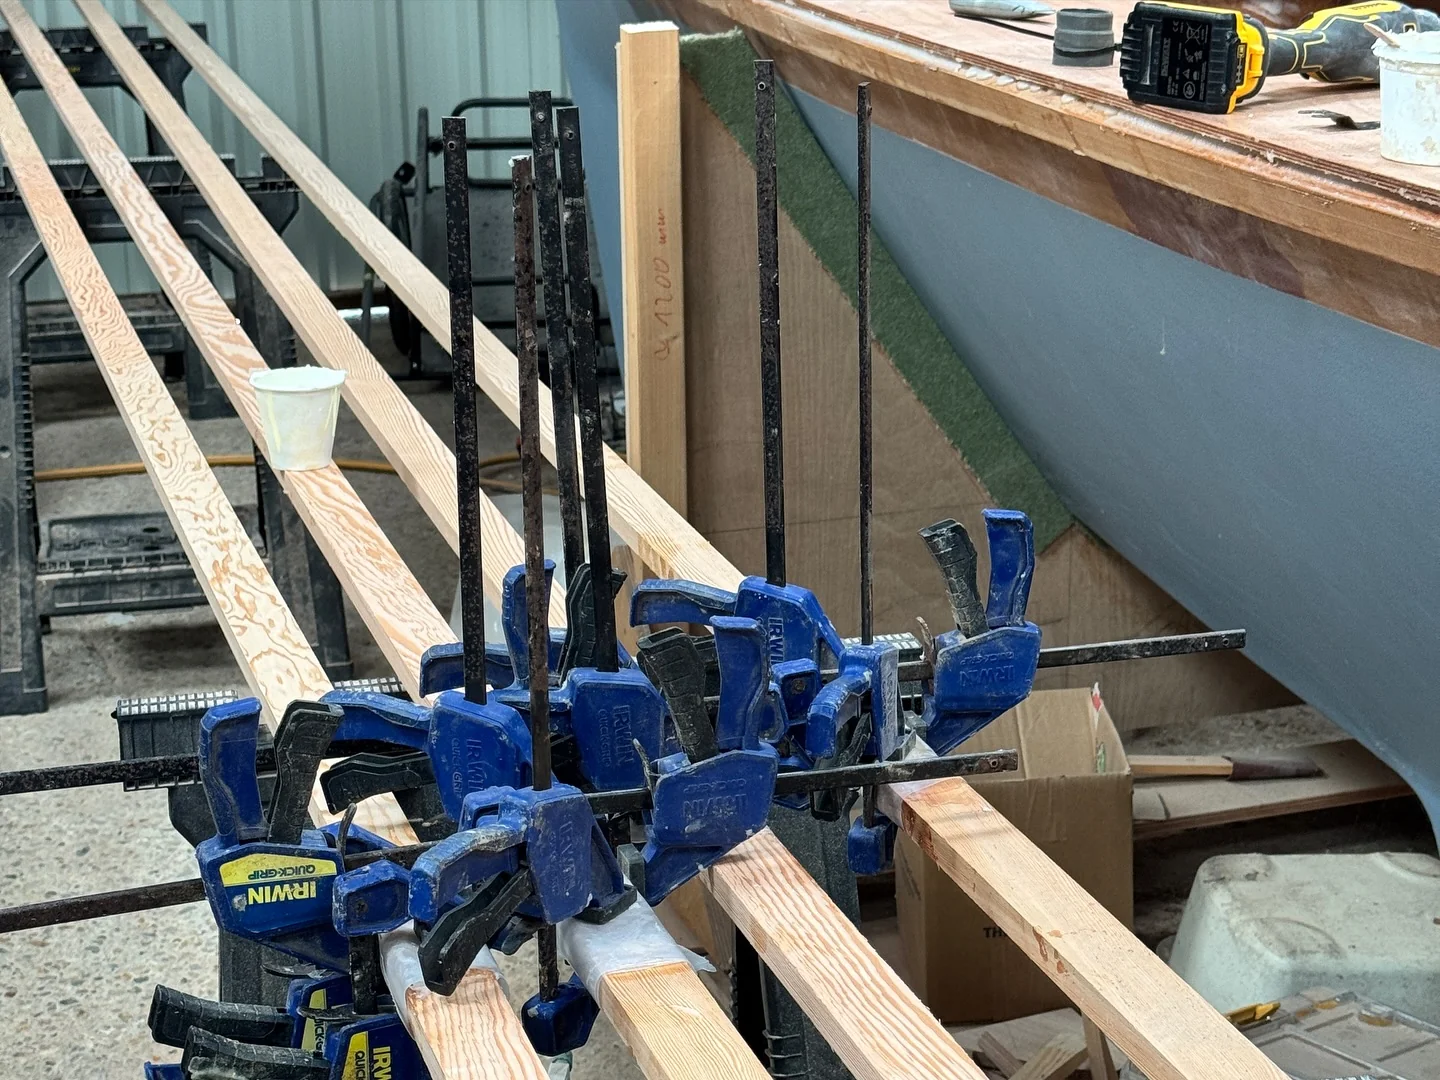
Ikaroa All the Stringers Finally in Place I finally fitted all the stringers, checking them with 9 mm plywood before epoxying them in place. The last 5 mm cut was a careful one—sometimes slower is safer.
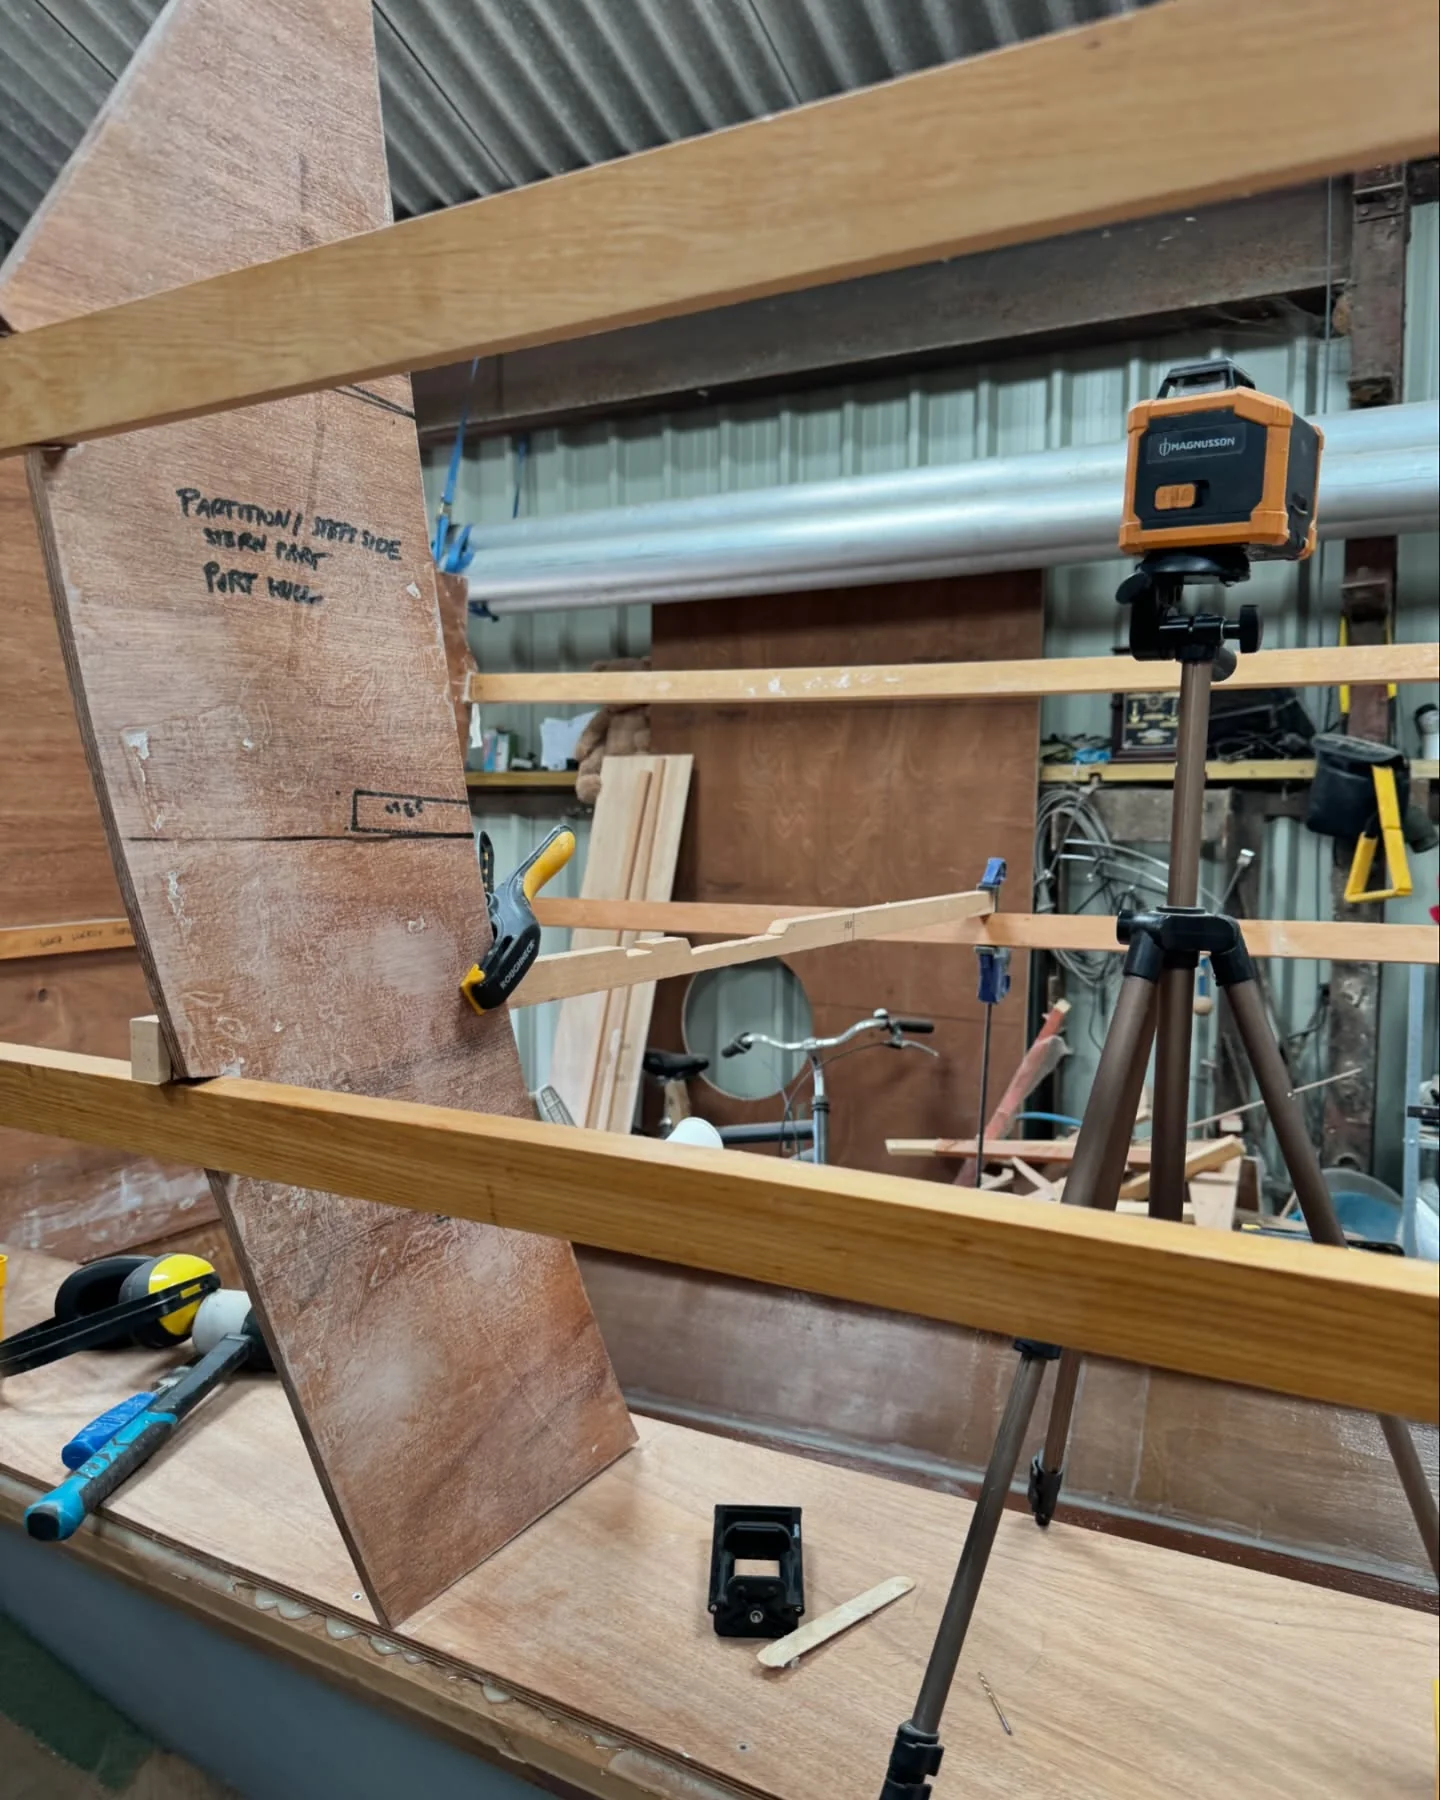
Ikaroa Checking the Stringer Flow Before Fitting I’m taking the slow, careful route with the stringers, using partitions and mast knees to control their flow and avoid surprises later. Trusting and checking beats trusting alone.
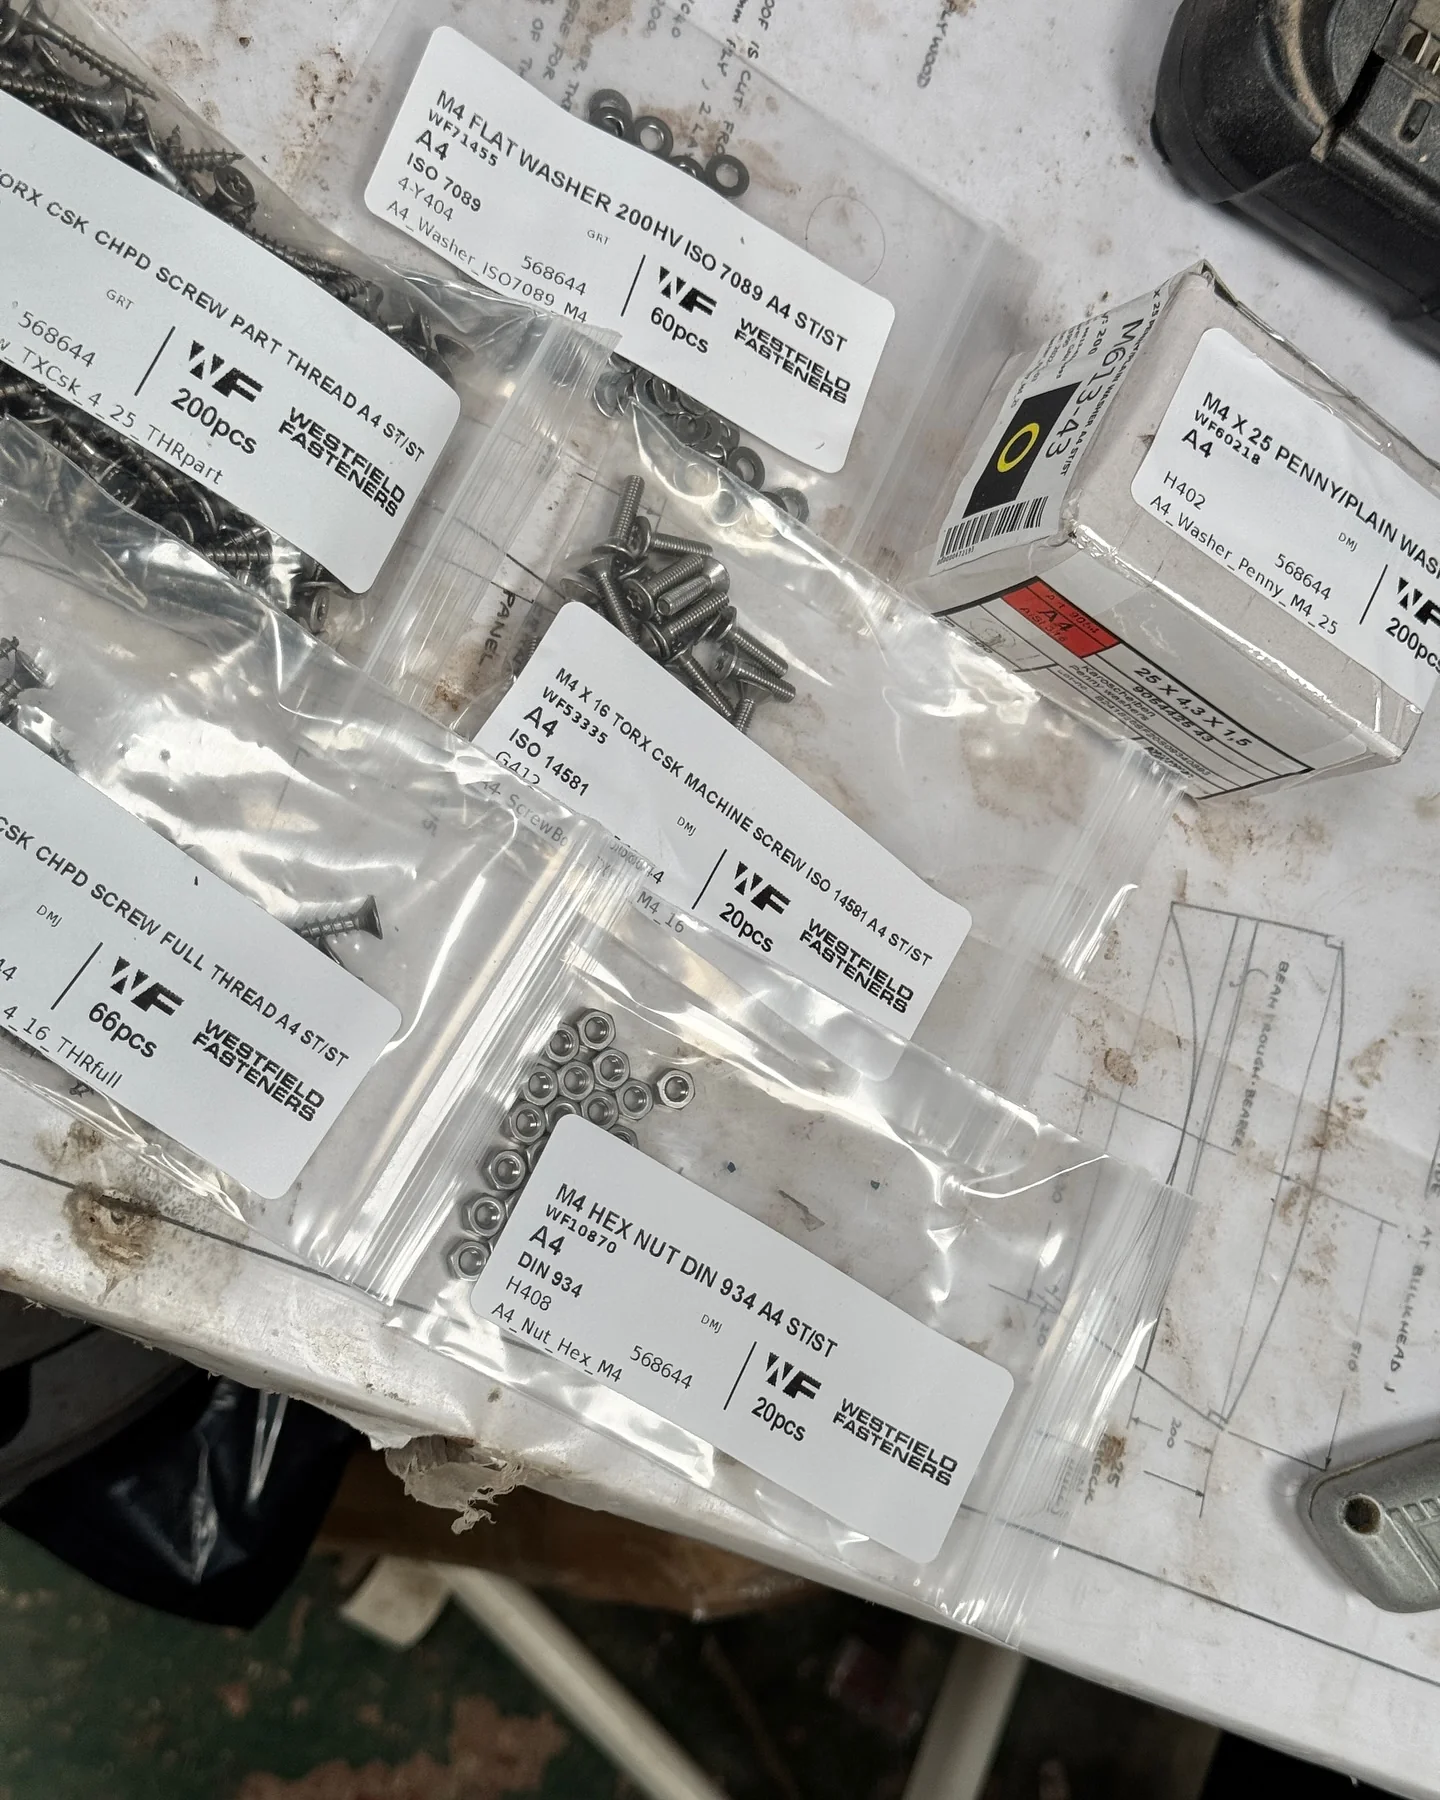
Ikaroa Why I’m Switching to Stainless Washers I’m replacing mild steel washers with A4 stainless ones for the next hull side, after discovering how much easier they make removing stuck screws. I’ve upgraded to TORX screws too, so we’ll see how much trouble that removes.
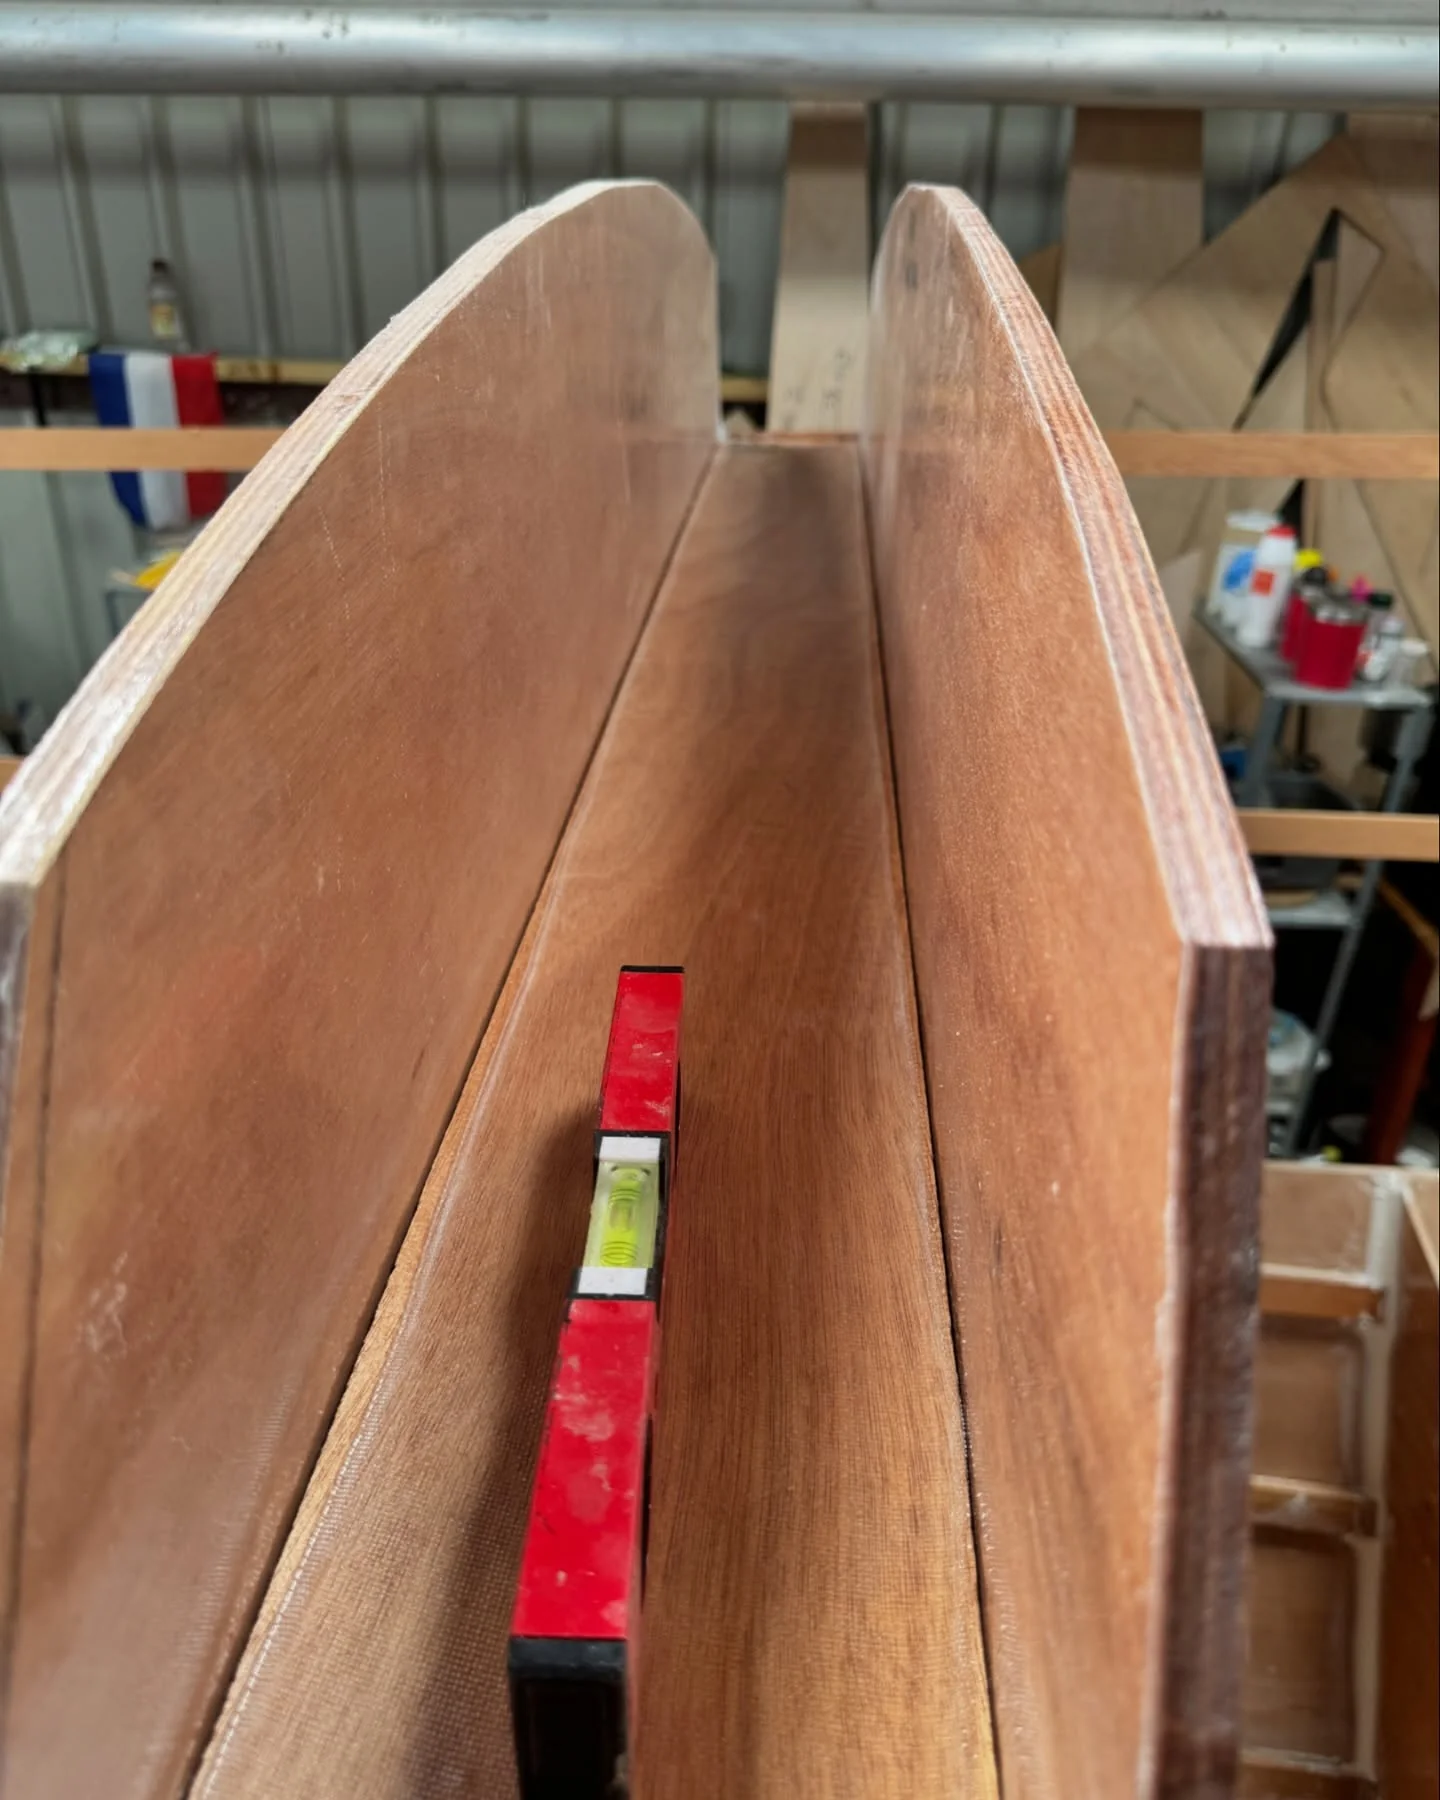
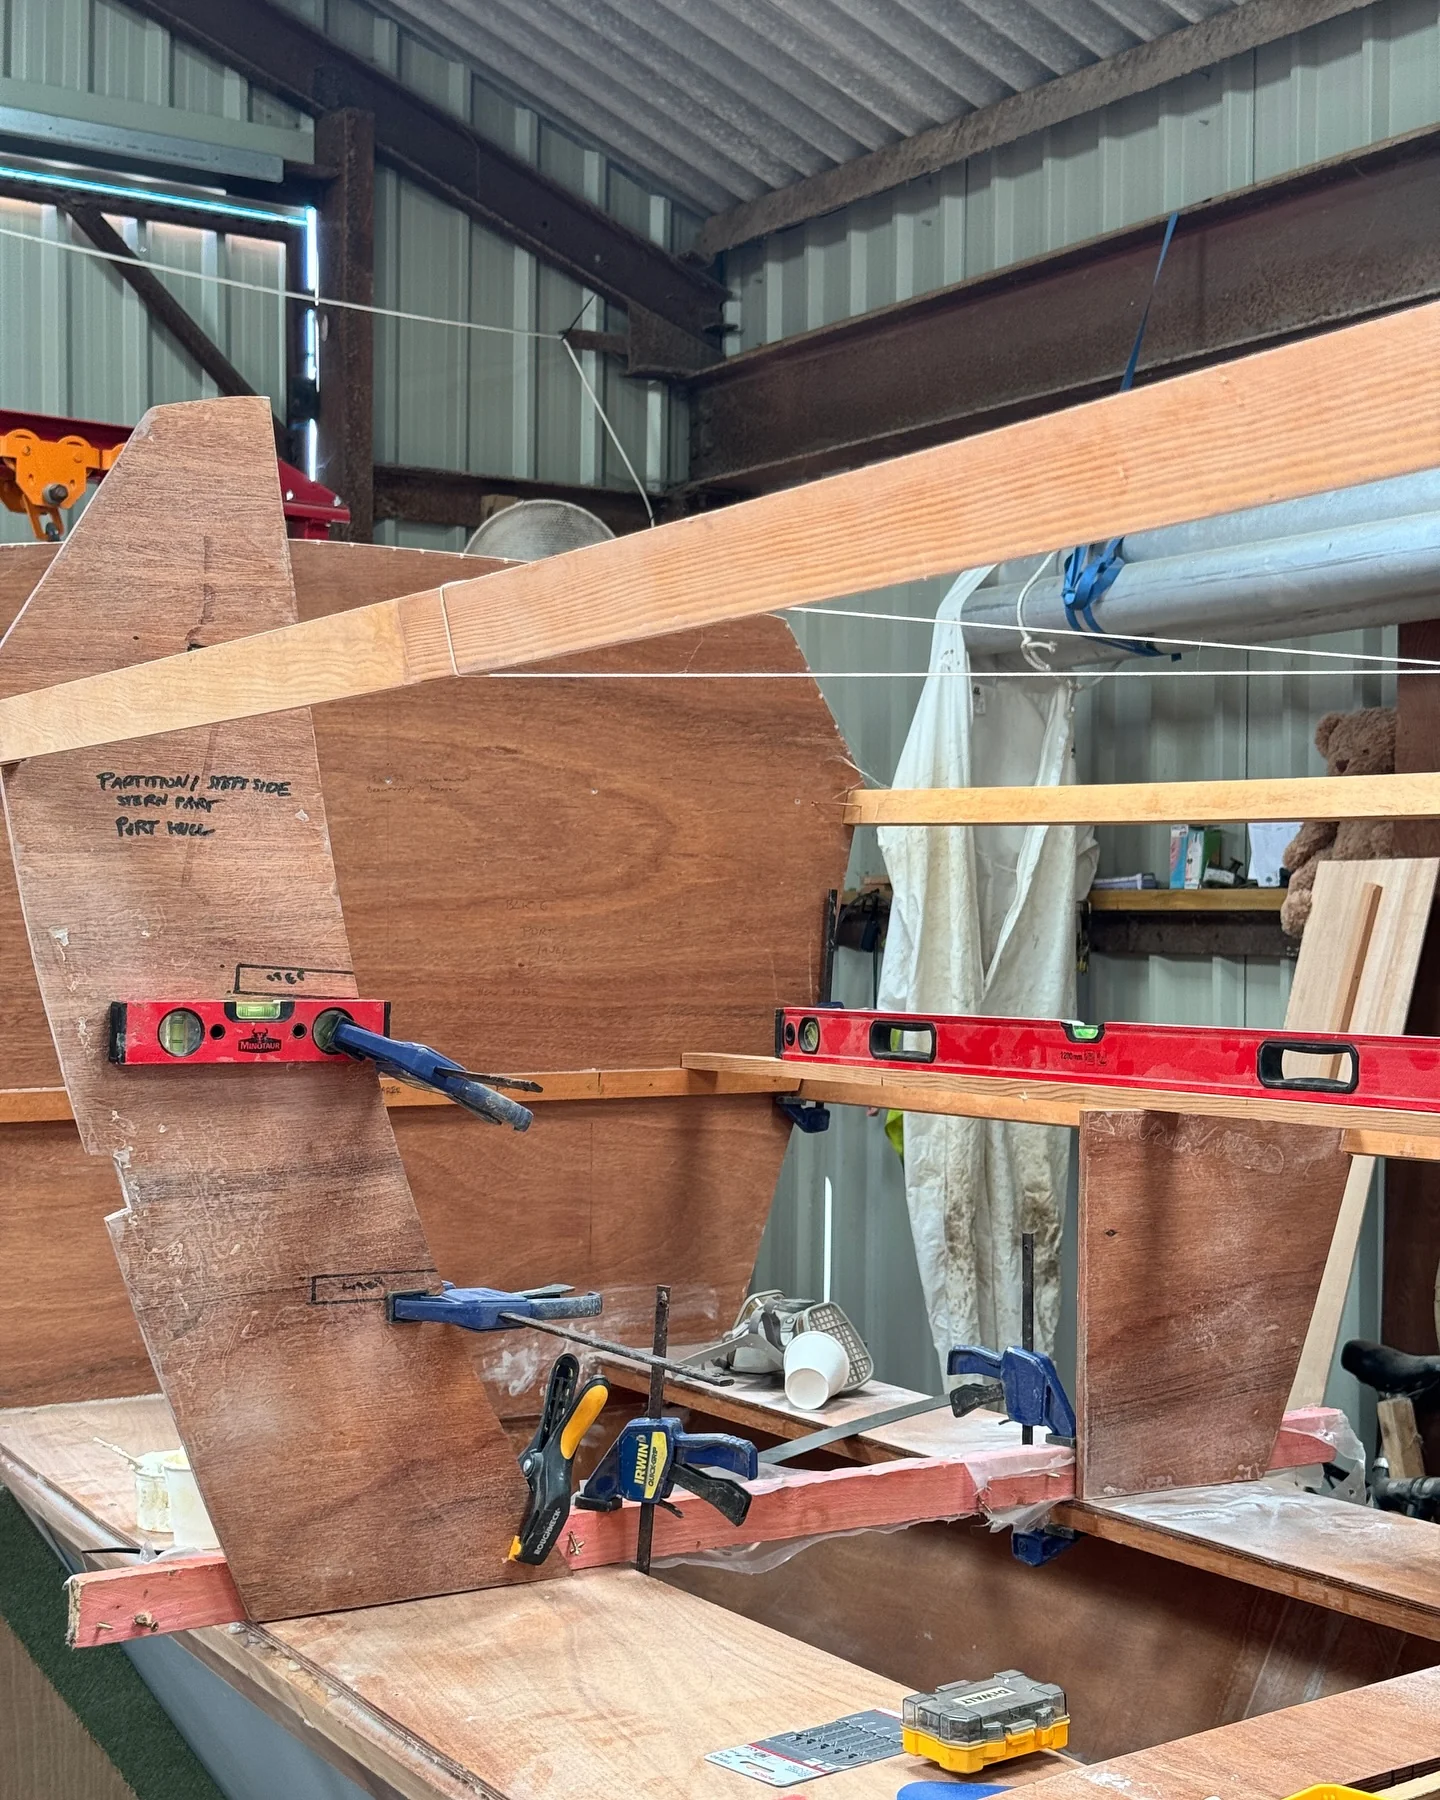
Ikaroa Glass Reinforcement for the Partition I reinforced the joint between the two partition pieces with small glass patches, while getting ready to continue with the stringers and beam cuts.
Ikaroa Bulkhead 8 and the Shower Bilge I’ve fitted Bulkhead 8 in both hulls, epoxied the lower stringers and started building up the shower bilge with epoxy, glass bubbles and microspheres. Next up are more partitions, a seat and cupboard bottom, and plenty more cutting.
Ikaroa A Shower Tray in the Starboard Hull I changed plans, finished the first stringer work and fitted a compact shower tray in the starboard hull. Function won over appearance, as usual, with a small bilge pump tucked underneath.
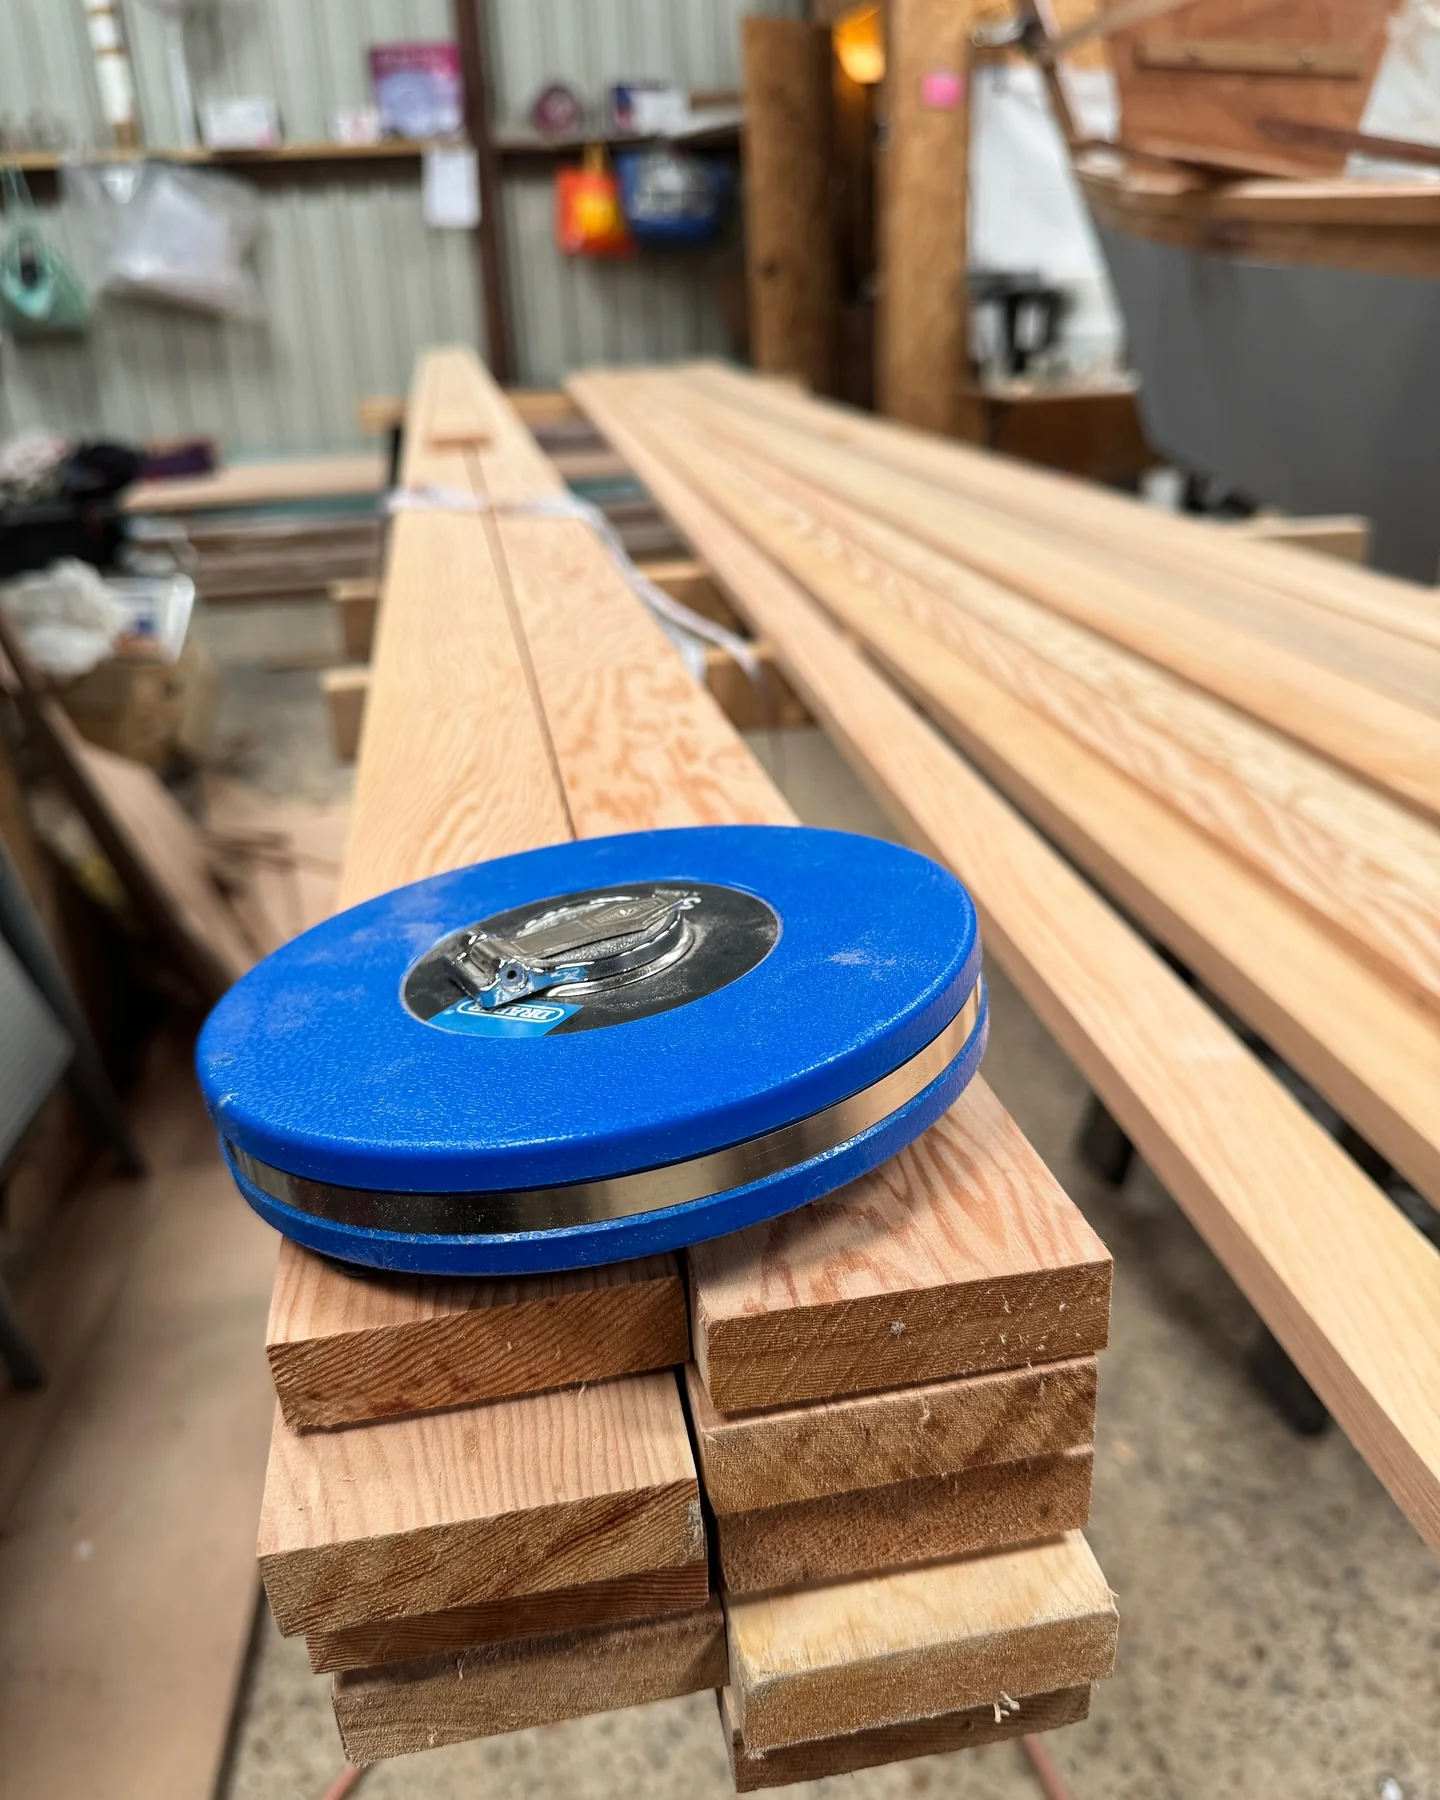
Ikaroa Stringers, Long Tape and a Revised Plan I reached for the 30-metre tape to measure the long stringers, then discovered the week’s carefully arranged plan needed turning upside down. The lower stringer has to go in before I can cut the beam-through bearers, so that is now the job.
Ikaroa Bulkhead 8 and the Hull Sides After a few rough days, I’m back working full time. Bulkheads 8 are cut and epoxied for both hulls, with deck-stringer supports underway and hull sides coming next.
Ikaroa Busting Myths About Amine Blush I’m clearing up a few persistent myths about amine blush, including how to detect it and remove it properly. Water, detergent and a microfibre cloth will do the job—just do it before sanding.
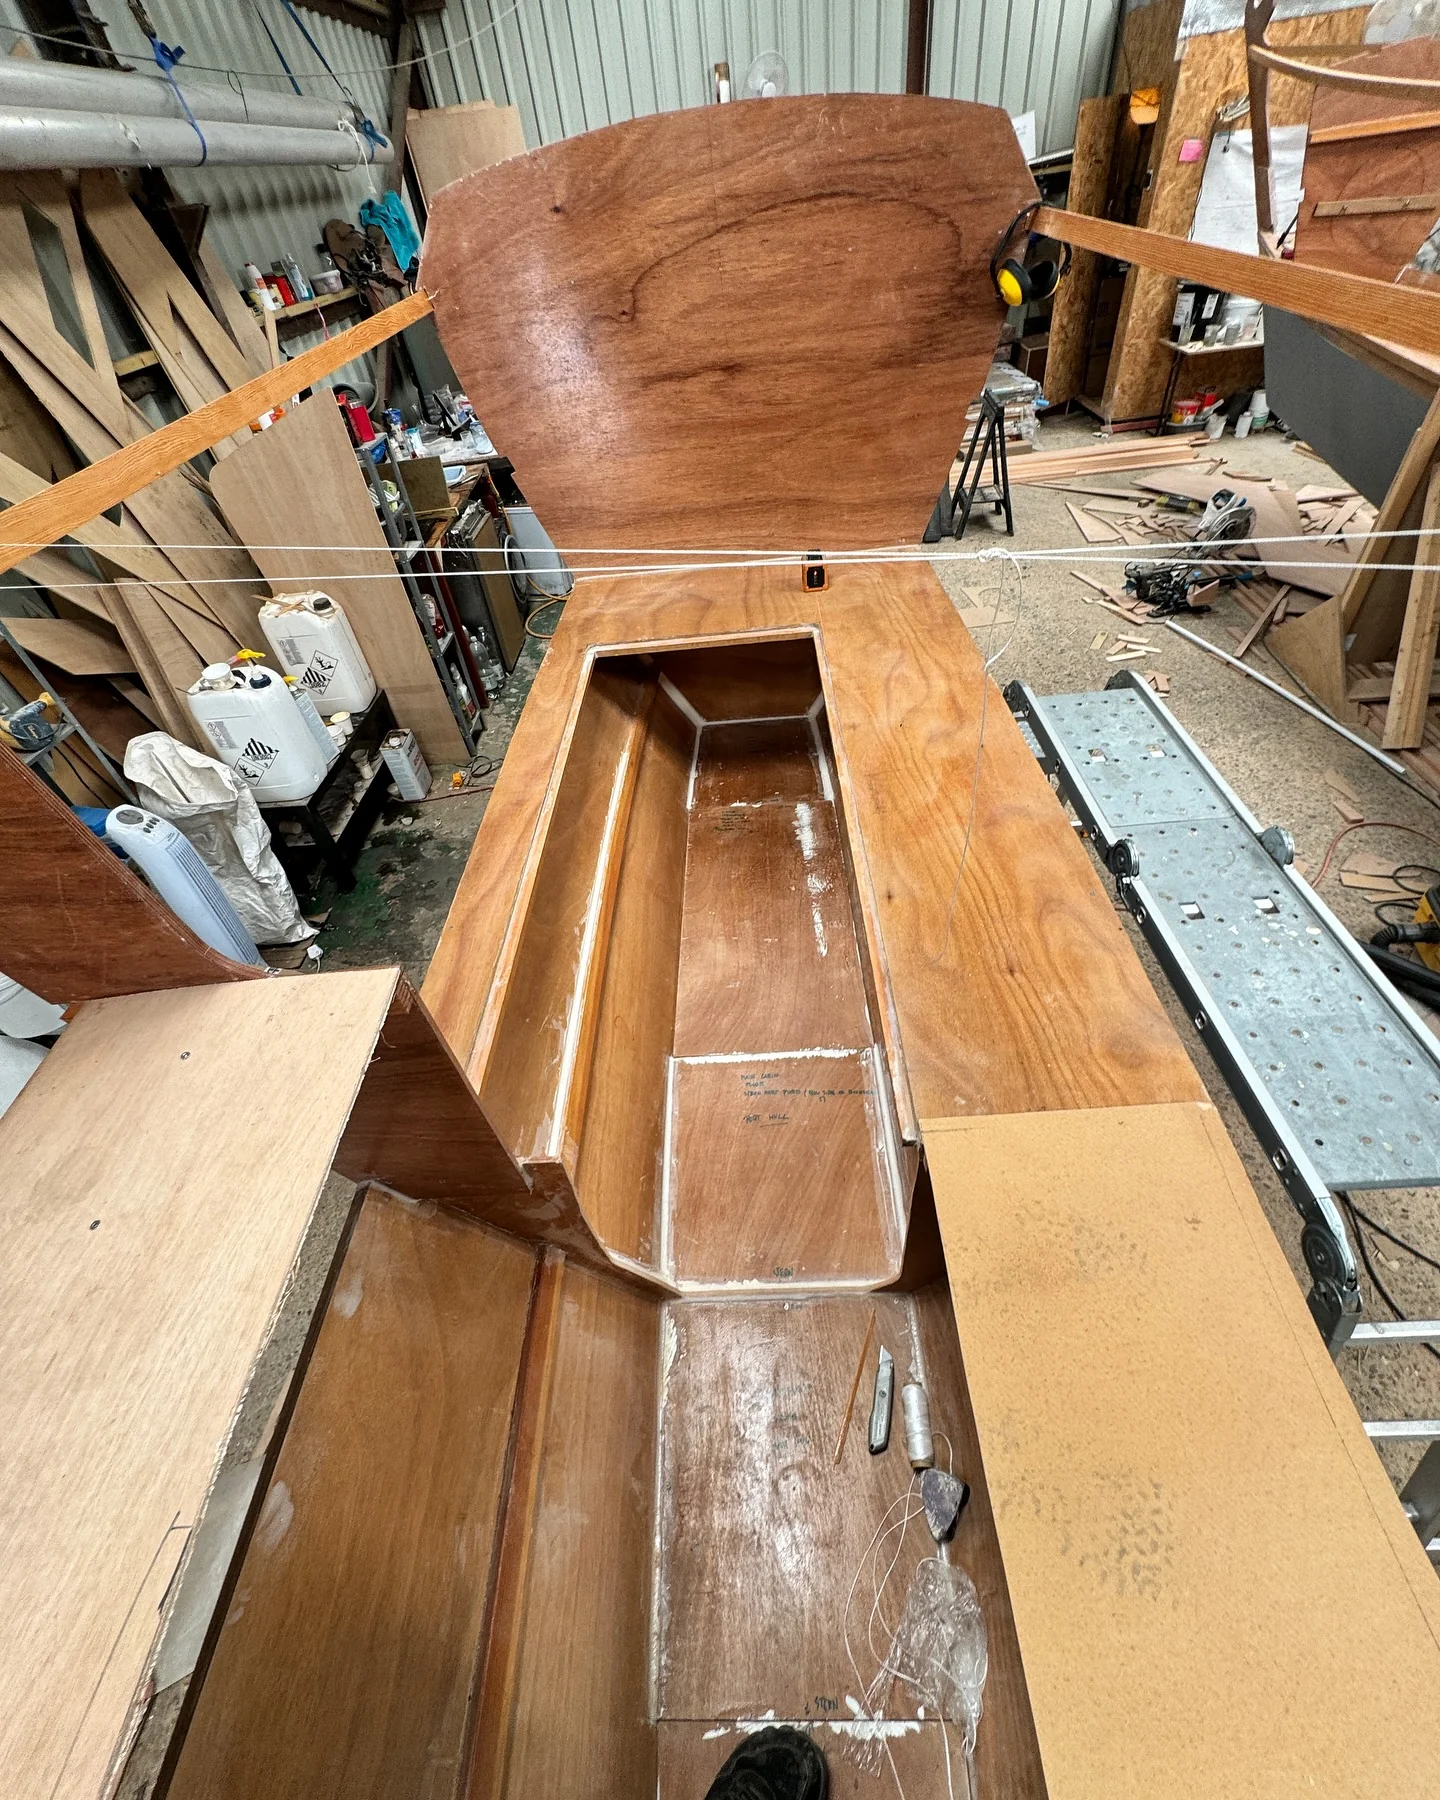
Ikaroa The Workshop Gets Smaller Again My workshop is getting harder to work in as Ikaroa grows. I’m epoxying trays, partitions and ladder parts, with the next big jump still waiting on more seats, shelves, stringers and bulkhead 8.
Ikaroa Making Tools for Smooth Epoxy Fillets I’m finally making the filleting tools I should have made months ago, using old plastic buckets, scrap plywood and a saved paintbrush handle. We’ll see whether they produce the smooth, elegant fillets promised by Gougeon’s book.
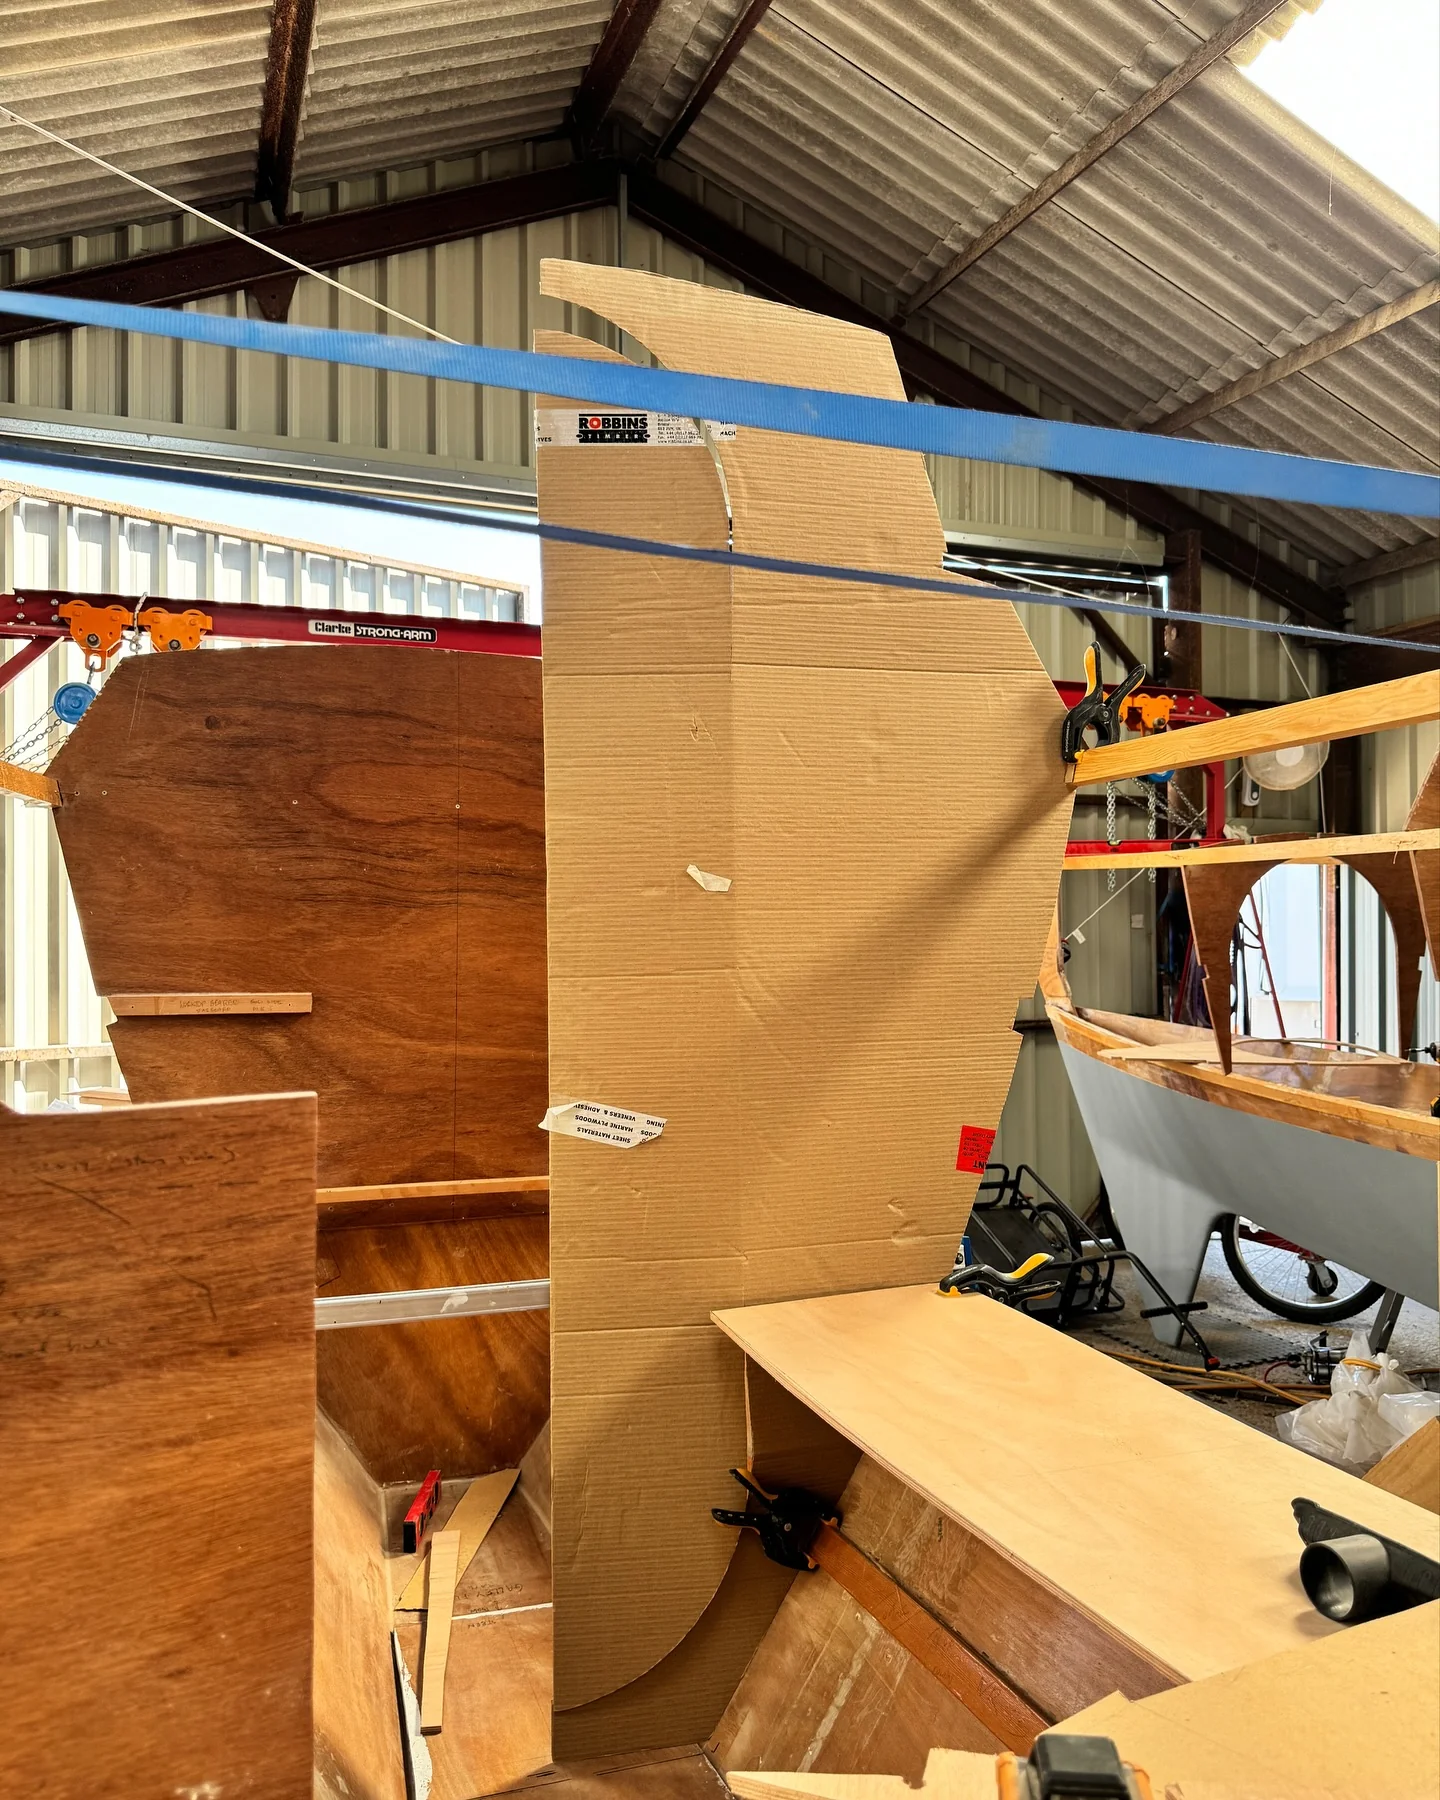
Ikaroa Full-Size Templates Fit the Hull I templated the full-height plywood piece and was pleasantly shocked by how closely the plans matched the real hull. After some nerve-wracking cutting, the doors matched perfectly and the piece was ready for epoxy.
Ikaroa Mocking Up the Galley Worktops I’m using scrap material to mock up the galley, working out the worktop, sink, induction hob and cupboard dimensions before I cut the lower shelf. After a nasty cold, I’m slowly getting back to work and have also dry-fitted the remaining top stringers and started the collision locker hatch.